This post may contain affiliate links. Please read our disclosure policy.
Soft and fluffy mini bubble bread with their vibrant rainbow colors are fun to make and eat. The shape is also inspired by the popular Pop It Fidget Toy.
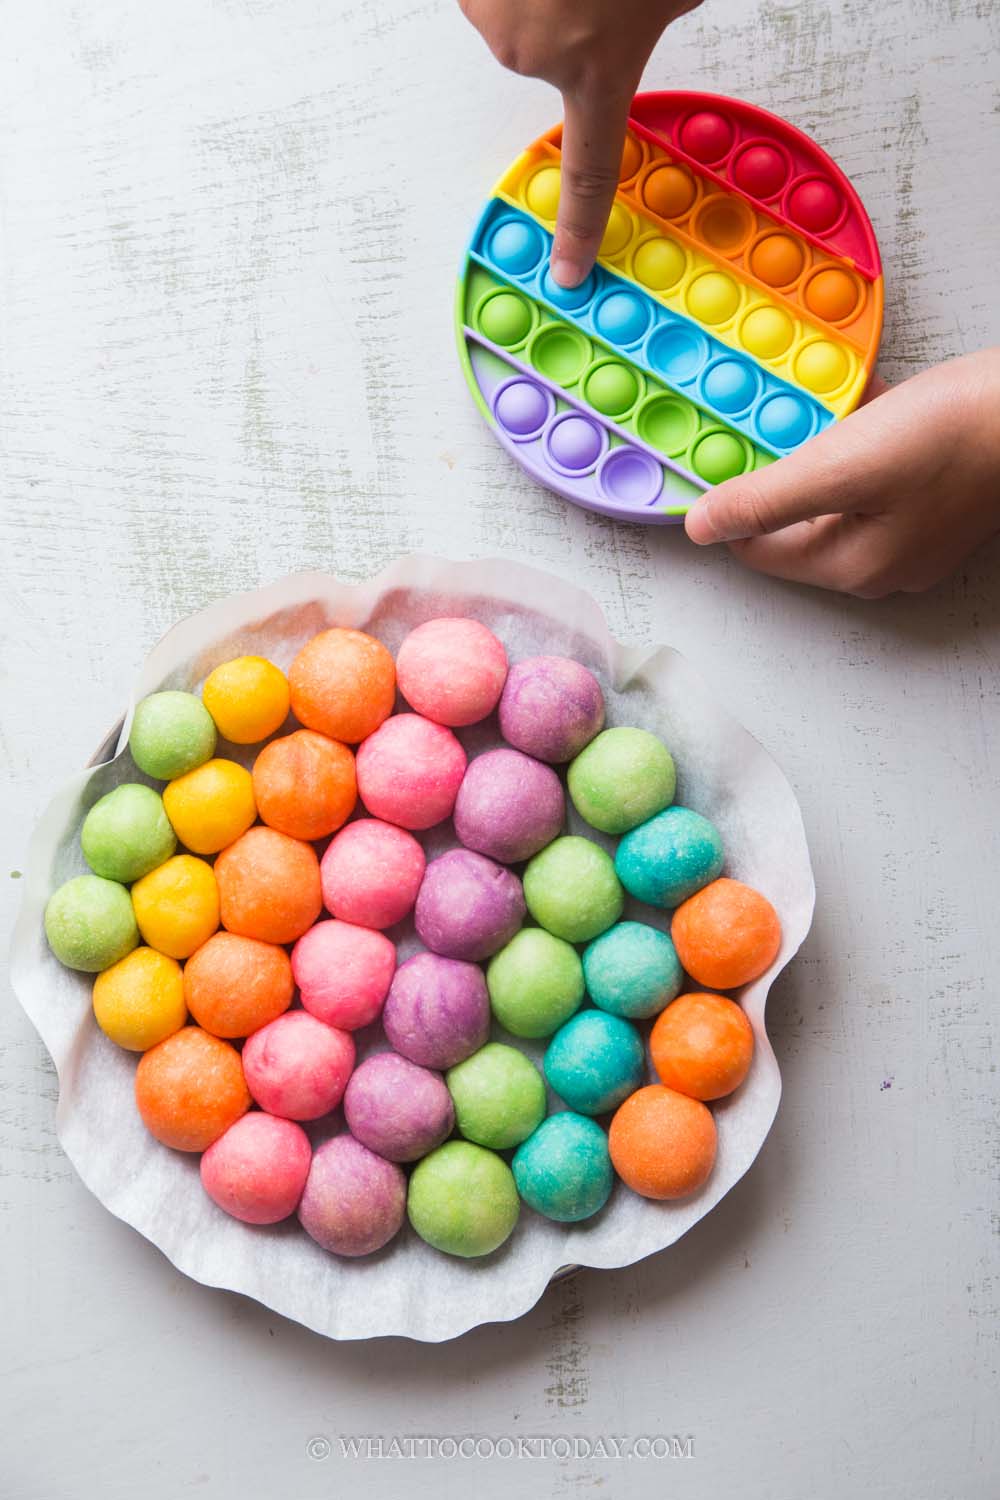
These mini bubble breads are such a fun pull-apart bread. My kids loved them a lot, especially because they were inspired by the popular Pop It Fidget Toy that my kids are obsessed with.
The recipe rundown
Taste: This is a sweet bread (but not overly sweet)
Texture: Soft and fluffy
Pros: Fun to make and eat
Cons: It can be time-consuming to roll mini doughs one by one
What is bubble bread?
To be honest I’m not sure why it’s name bubble bread, but my guess is because it resembles those bubble wrap that you sometimes see in packaging to protect fragile breakable items. They are like super mini dinner rolls with their bubbly appearance 🙂
What is pop it fidget toy?
So my kids came home with this pop it fidget toy one day. They got them from their friends who owned like TONS of them. Apparently, almost every kid at school talk about this top and own them. You push on those little buttons or bubbles and it is marketed as a sensory toy to help relieve stress and anxiety. They come in so many different shape and colors.

How to make Pop It Rainbow Bubble Bread
1. Put all ingredients in a mixing bowl of a stand mixer fitted with a dough hook attachment

2. Knead on medium speed until the dough is soft and stretchy, about 5 minutes. If you knead by hands, may take 15-20 minutes


3. Divide the dough into 6 portions: 150 grams dough, 2 of 140 grams dough, 3 of 90 grams dough. They don’t have to be exact. The size depends on which color you want to be the most dominant

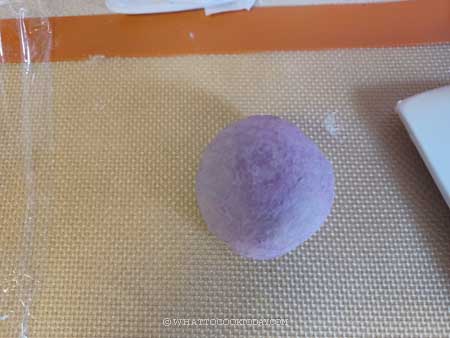
4. Keep the dough cover. Get one dough and put one or two drops of the gel food coloring of your choice.

5. Stretch one side of the dough and fold over

6. Go around and do this stretch and fold over


7. You will see the color will gradually distribute evenly. I found that this is the easiest to incorporate color into the dough. Keep them covered

8. Once you have all six doughs colored, cover them and let them proof for 45 minutes to 1 hour at a warm place or until they are puffy. They may not double in size, but should be light and puffy


9. Work with one dough at a time, start with the dominant color you choose (large dough) and keep the rest covered. Portion out about 10 grams of mini dough and use your fingers to stretch and tuck the dough under to get a smooth round dough. Arrange the mini dough as shown in the photo if you want a round shape on a baking sheet lined with a parchment paper. I put some of the dough balls a bit too far from each other (especially the green and blue ones). You can put them a bit closer, about 1/8 inch apart, almost touching each other but not quite

10. Bake the bread at the middle rack for 15 minutes. See recipe card for tips with baking two trays at the same time.
For this rainbow bread, we don’t want to brown the bread so, you may want to start watching the bread at about 10 minute-mark and tent the bread with a foil (shiny side up) if they start to get brown
11. Remove from the oven and immediately brush with some butter on top. The butter will melt as you brush it on the warm bread. This will give the bread a soft texture on top instead of being crusty

12. Transfer to a cooling rack. You can serve them warm or room temperature

So here it is…the round pop it bubble bread. Pulling them apart to eat is just fun 🙂 My kids even imitate what they did to the pop it fidget toy by pushing on the mini bubble bread 🙂 The mini bread itself is sweet and buttery and my kids love to pull and eat them because they are quite adorable I must admit!

To show you an example of the hexagon pop it shape I made. This batch, I baked them a bit too long that the top got a bit brownish. But I like how the mini breads are connected to each other because I put them close enough together

Did you make this Pop It Rainbow Bubble Bread (Mini Version) recipe?
I love it when you guys snap a photo and tag to show me what you’ve made 🙂 Simply tag me @WhatToCookToday #WhatToCookToday on Instagram and I’ll be sure to stop by and take a peek for real!

The recipe is adapted from here. What a fun idea!
Soft Fluffy Pop It Rainbow Bubble Bread
Ingredients
- 350 gr bread flour plus more for dusting
- 20 gr cornstarch
- 40 gr butter unsalted, softened, plus more for brushing
- 50 gr sugar
- 40 gr condensed milk
- 1 large egg about 60-62 grams with the shell
- 1 tsp salt
- 1 ½ tsp instant yeast
- 130 ml milk plus more as needed
For colors: (use gel coloring if possible)
- pink, orange, yellow, green, blue, purple
Instructions
Prepare the dough:
- Put all ingredients in a mixing bowl of a stand mixer fitted with a dough hook attachment. Knead on medium speed until the dough is soft and stretchy, about 5 minutes. If you knead by hands, may take 15-20 minutes
- Divide the dough into two portions. I made two large round bubble bread because my baking sheet is not big enough to accommodate two round bubble bread on the same tray. You can just make one large one and it can be the shape of your rectangle baking sheet if you don't want it round. I've made hexagon shape before too. It's up to you
- Divide the dough into 6 portions: 150 grams dough, 2 of 140 grams dough, 3 of 90 grams dough. They don't have to be exact. The colors depends on which color you want to be the most dominant
Color the dough:
- Keep the dough cover. Get one dough and put one or two drops of the gel food coloring of your choice. Stretch one side of the dough and fold over and go around and do this stretch and fold over and you will see the color will gradually distribute evenly. I found that this is the easiest to incorporate color into the dough. Keep them covered
First proofing:
- Once you have all six doughs colored, cover them and let them proof for 45 minutes to 1 hour at a warm place or until they are puffy. They may not double in size, but should be light and puffy
Shaping:
- Work with one dough at a time, start with the dominant color you choose (large dough) and keep the rest covered. Portion out about 10 grams of mini dough and use your fingers to stretch and tuck the dough under to get a smooth round dough. Arrange the mini dough as shown in the photo if you want a round shape on a baking sheet lined with a parchment paper. I put the dough a bit too far from each other. You can put them a bit closer, about 1/8 inch apart, almost touching each other but not quite
- You may end up with some extra doughs that don't fit into the shape you are making. Simply bake them on the same tray separately. I'm sure no one minds eating those too
- Repeat with the second dough if you are making two
Second proofing:
- Keep them covered again and let them rise for the second time, about 1 hour at a warm place. Preheat oven to 350 F (180 C) 15 minutes before the end of proofing. My oven uses bottom heat only and no fan
Baking:
- Bake the bread at the middle rack for 15 minutes. If you are baking two trays, put one in the middle and the other one on the lower rack. One tray a bit more to the front and the other one to the back so they are not directly on top of each other, to allow some air flow
- For this rainbow bread, we don't want to brown the bread so, you may want to start watching the bread at about 10 minute-mark and tent the bread with a foil (shiny side up) if they start to get brown. If you bake two trays, rotate the tray front to back and then top to bottom halfway through baking
- Remove from the oven and immediately brush with some butter on top. The butter will melt as you brush it on the warm bread. This will give the bread a soft texture on top instead of being crusty
Cooling:
- Transfer to a cooling rack. You can serve them warm or room temperature


