This post may contain affiliate links. Please read our disclosure policy.
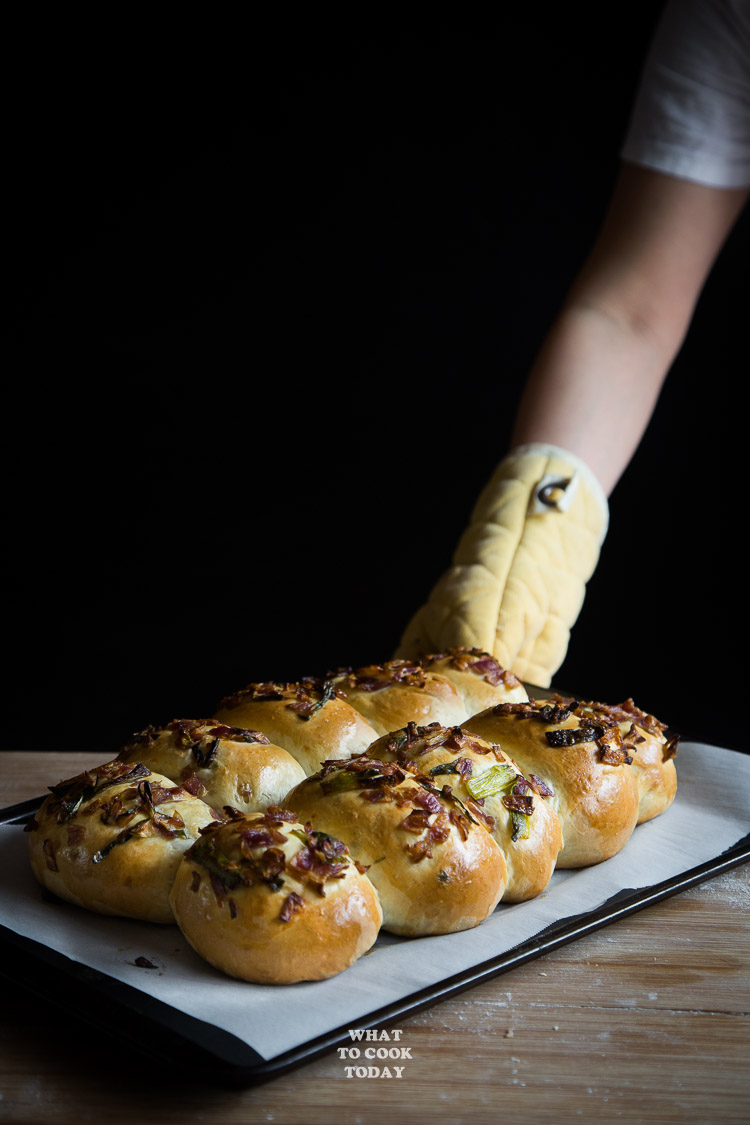
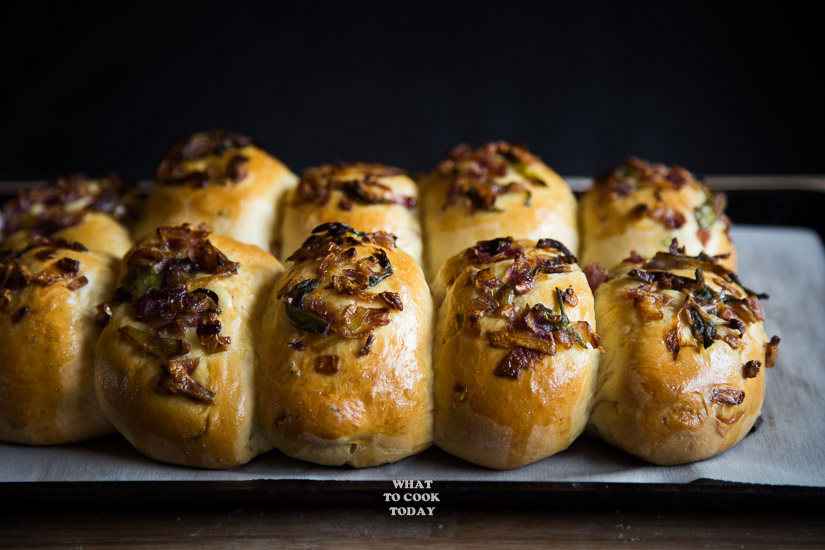
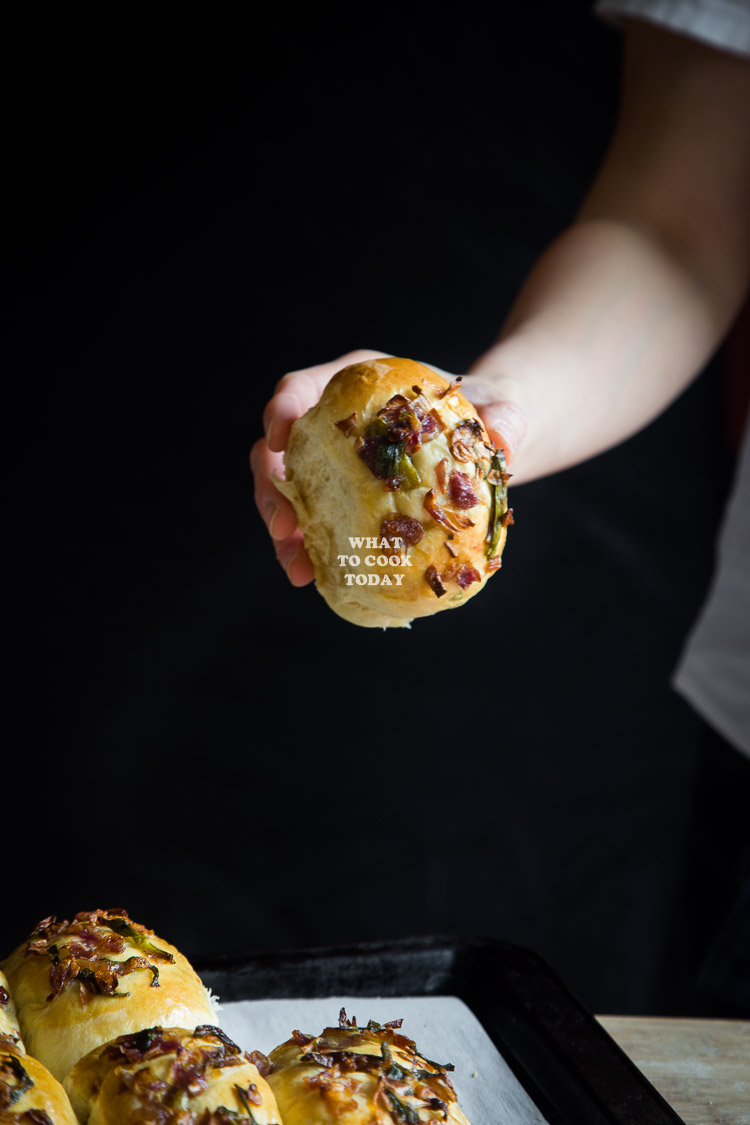
Savory and sweet caramelized green onions and sweet onions are piled on top of soft pillowy buns made with tang zhong method and baked to perfection.

All of the sudden I said this to my husband “Roti bawang..do you remember roti bawang you ate as a kid?” He nodded yes and we both agreed that we haven’t had roti bawang for probably at least 20 years! Roti in Indonesian language means bread, not the type of bread like the Indian flat bread that is called roti, but just like regular bread or buns.

So I asked my mom if she has recipe for roti bawang. She didn’t have anything written down but she roughly told me what she knew. The funny thing is, this roti bawang Medan (Medan is a city I grew up in Indonesia) hasn’t been seen anywhere these days. Even when I googled it, nothing close to the roti bawang I remembered tearing and eating it verociously! I have a very strong memory of this roti bawang because it was one of my most favorite foods as a kid.


It’s funny that I kinda remember the taste but couldn’t quite put my fingers on it until my mom told me what goes in the toppings, which is basically caramelized green onions and regular onions. I think they might have used shallots, but when I have a taste of this roti bawang, it sure brought back the memory of my dad bringing home the whole pack of these roti bawang! I can’t say it’s 100% the same probably, but very close you guys!


The husband said if the rolls are smaller, they would taste better. You can taste the savory and sweet onions better. The buns here are too big and so I suggested to make 14 small rolls instead of 10 as I did


Roti Bawang (Scallion and Onion Baked Milk Buns)-Tang Zhong Method
Ingredients
ROUX STARTER (TANG ZHONG):
- 15 gr bread flour
- 90 ml whole milk
DRY INGREDIENTS:
- 300 gr bread flour
- 5 gr instant yeast
- 5 gr milk powder
WET INGREDIENTS:
- 120 ml whole milk
- 1 egg about 50 gr lightly beaten
INGREDIENT TO ADD LAST TO THE DOUGH:
- 40 gr butter softened
- ½ tsp salt
- 2 Tbsp sugar
EGG WASH:
- 1 egg beaten
- 1 tsp water
TOPPINGS:
- 1 Tbsp cooking oil
- 10 stalks green onions cut into 3-inch pieces
- 2 sweet onions sliced or roughly chopped
- ½ tsp sugar or more to taste
- ¼ tsp salt or more to taste
Instructions
COOKING THE ONION TOPPING:
- Preheat oil in a large skillet. Add in the green onions and purple onions, sprinkle in the salt and sugar. Cook on medium heat until they are softened, this may take about 15-20 minutes or longer. Just until the onions are soft but somewhat still visible as onions and not turn entirely into a mush if you know what I mean. Have a taste and add more salt to your taste if needed. It should be savory with hint of sweetness. Set aside
PREPARE TANG ZHONG:
- Place milk and the bread flour in a small saucepan. Whisk until there is no more lumps. Cook this mixture over medium heat until it is thickened, about 5 minutes or less. Remove from the heat and let it cool down completely
MAKE THE DOUGH:
- Mix all the dry ingredients together in a mixing bowl. Make a well in the center and pour in the wet ingredients and the tang zhong you made earlier. Use a dough hook attachment to knead the dough until all the crumbly dough starts to come together into one mass, it may take about 2-3 minutes for this to happen. Don't be tempeted to add any liquid. You may need to stop halfway and scrap the dough off the hook and the sides of the bowl and knead again several times
- Once it comes into a dough, stop the machine. The dough will not be smooth, don't worry.Cover the dough and let it rest for 20 minutes. This is an important rest that bakers refer to as an autolyse (though in our case it's a short one. Read my post above for detail)
- After the rest, turn on and knead the dough again and knead for 1-2 minutes until it is a bit smoother. Then add the salt and sugar into the dough. Continue to knead until the dough is relatively smooth. You need to stop and scrape the dough off the hook and the bowl several times during this process. I promise it's worth the effort!
- Once you have a smooth dough, turn the machine back on again to knead and gradually add in the softened butter a bit by a bit. The dough will turn into a REAL sticky mess again because of the butter, just keep kneading and stop halfway and scrape the dough off the hook and bowl again and continue to knead until the butter is absorbed by the dough. IT WILL HAPPEN, don't worry! DO NOTbe tempted to add any extra flour. You will get a shiny smooth dough that is very elastic. I promise!
1ST PROOFING:
- Place this dough in a lightly oiled large bowl, cover it with a clean and damp tea cloth or plastic wrap and let it rise at a warm place for about 1 hour. It may not double in size, but it will puff up some for sure.
SHAPING:
- Lightly oil your loaf pan and line your loaf pan with a parchment paper with side overhanging (easier to pull the bread out later). Punch the dough down, separate it into 14 equal pieces. Cover this dough loosely with a plastic wrap and let them rest for 15 minutes. Make sure you don't skip this part of resing the dough before shaping
- Pull and tuck the dough to form a smooth oval shape with the seams tucked underneath. Place the seam side down on a baking sheet lined with parchment paper and repeat with the rest of the dough. Cover with a plastic wrap or a clean kitchen towel
2ND PROOFING:
- Let the dough proof again for another 40 minutes or until they fill up the loaf pan. Brush the top of the dough with egg wash
- Top with the onion toppings on top of each bun
BAKING:
- Preheat oven to 350 Fand pop it into the oven (3rd rack from the top) and let them bake for the next 15-20 minutes depending on the oven, mine took 15 minutes. It will be golden brown on top. Remove from the oven and let them cool down in the pan for about 5 minutes and then transfer to cooling rack to let let them cool down completely
STORING:
- Once they've cooled down completely, wrap it up with plastic wrap and it's good for about 3 days or so (it didn't last that long in our house)
RECOMMEDED TOOLS
Marv's Recipe Notes
If any of you reading this post are from Medan, please tell me if you remember this roti bawang ? or perhaps I have been hallucinating LOL!


12 comments
Hi Marv,
This recipe looks great and would love to try tomorrow.
Would you please advise if you mean to bake these in a loaf pan or a baking sheet as per your recipe and photo respectively.
If it is a loaf pan, what are its measurements?
Many thanks in advance.
arlena
Hi Arlena, I shaped them as in the photos and bake them on a baking sheet. You can bake it in the loaf pan too, more like a loaf of bread if you like, 9 x 5 loaf pan should work. In that case, you don’t need to divide the dough.