This post may contain affiliate links. Please read our disclosure policy.
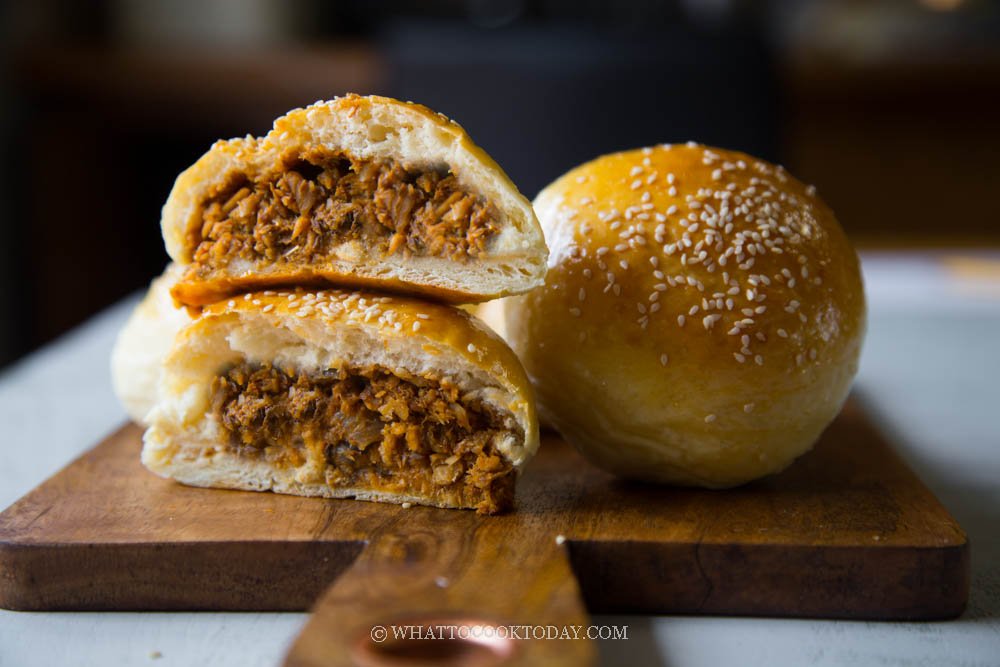
Learn how to make bakery-style soft and fluffy milk buns filled with savory, spicy, and aromatic sardine filling. They are budget-friendly to make and super delicious.
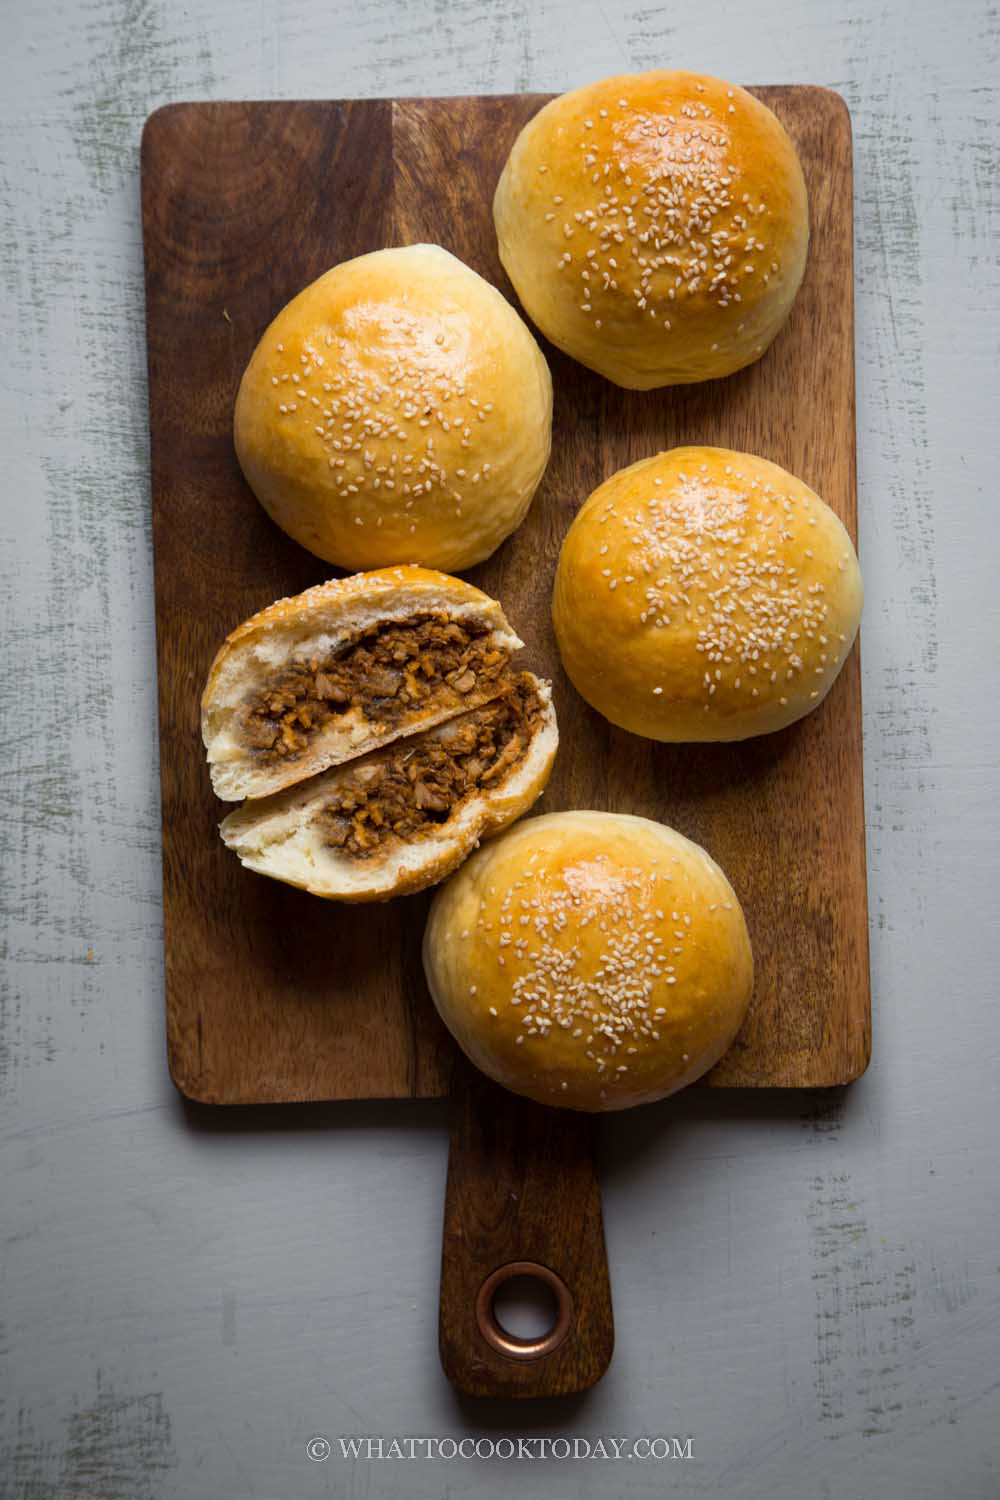
My dad went to a bakery shop almost every day to pick up bread, tea cakes, kue/kuih, and all kind of other snacks/jajanan pasar you can think of. One of the foods that I often asked him to get for me was sardine baked buns. I love them so much. They are slightly spicy, savory, with some hint of sweetness. So good! Neve thought I would know how to make this myself. If it’s not because of my baking addiction, I might not know how 🙂
ECONOMICAL AND TASTY
So, these sardine baked buns are popular in Asia. You will see them displayed on the shelf in almost any bakery shop. The bakery shops may not sell them that cheap. They are actually pretty budget-friendly and not fussy to make. The filling is made with canned sardines in tomato sauce. So the battle is already half-done. We just add a few aromatics and seasonings to spice things up. It doesn’t cost much to make bread, it just takes time!
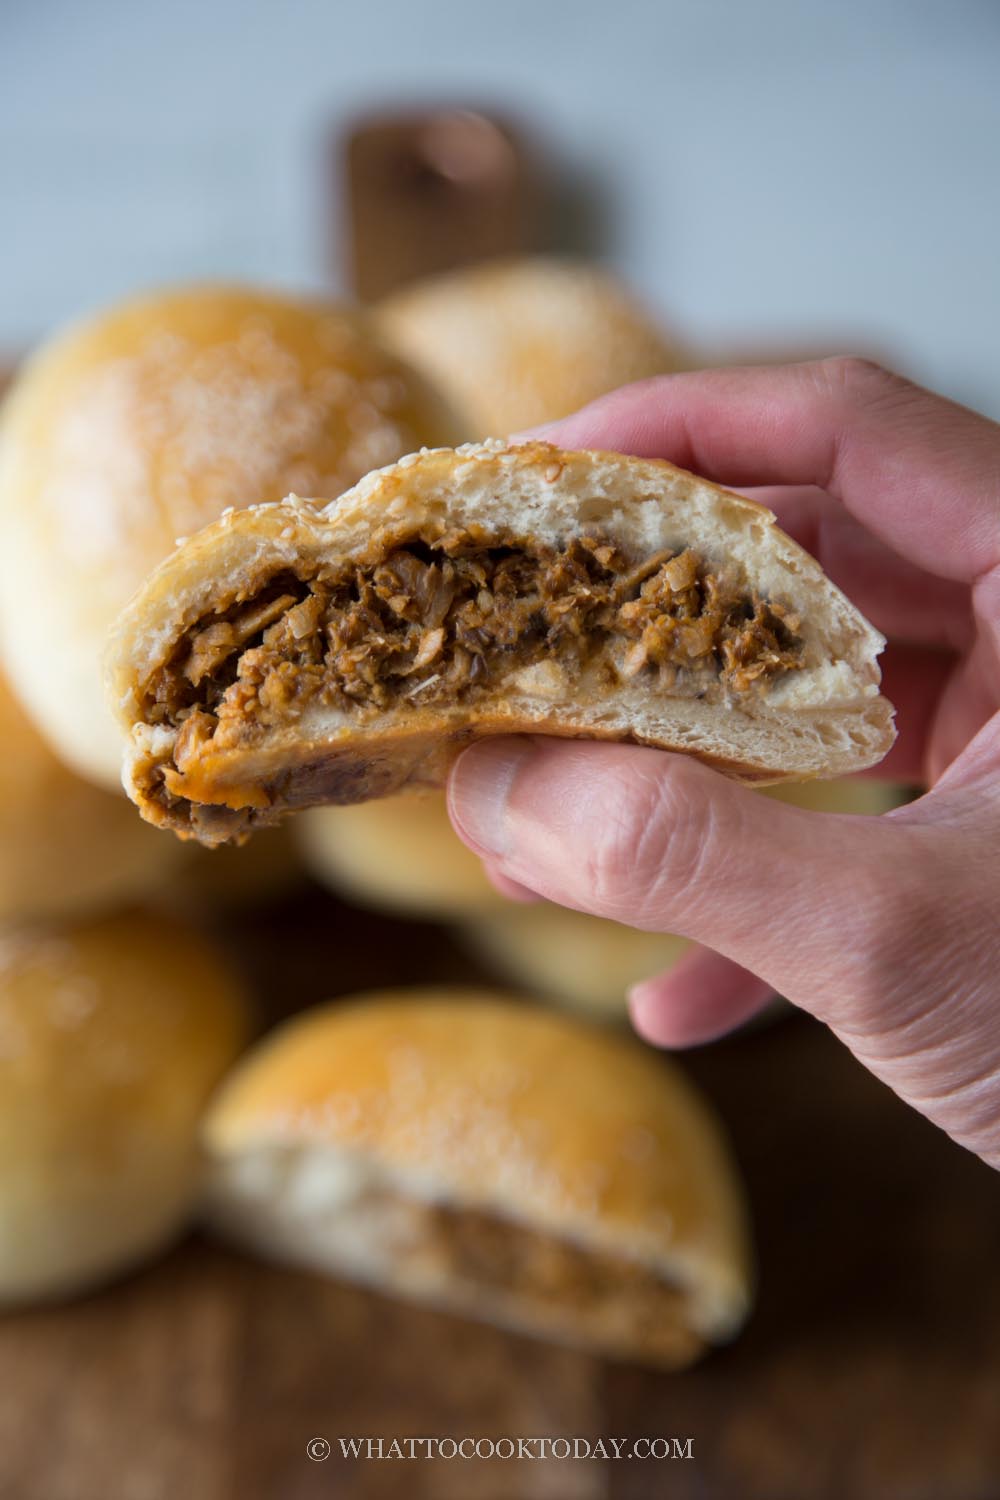
How to make sardine baked milk buns
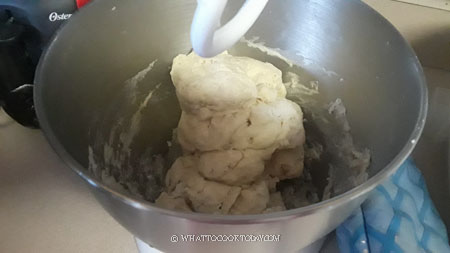
1. Place all ingredients for the dough in a mixing bowl of a stand mixer fitted with a dough hook attachment. Mix on low speed for about 2 minutes, then increase speed by one notch to medium and knead for about 10 minutes. The dough should leave the sides of the bowl. Stop the kneading. The dough will be very soft and just slightly sticky and if you stretch it thin, it won’t break. It has reached a windowpane stage. If not, knead just a bit longer
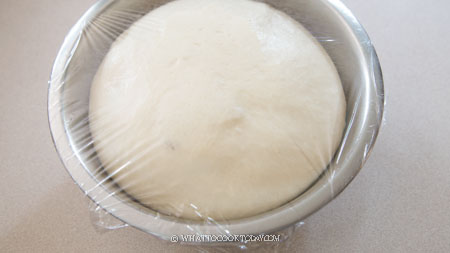
2. Place the dough in an oiled bowl. Cover and let it proof at a warm place until it is doubled in size. It may take 1 to 1 1/2 hours or longer depending on how warm your place is
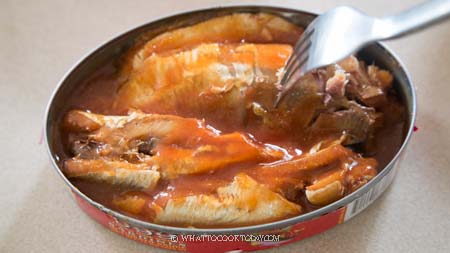
3. Mash the sardines with a fork to break it into little pieces.
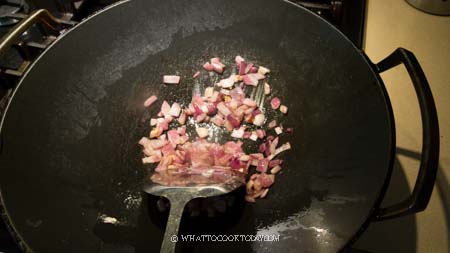
4. Preheat a large skillet with oil. Add onion and saute until aromatic, about 3 minutes.
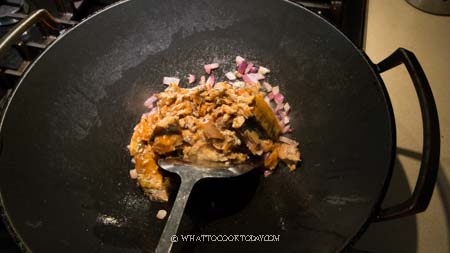
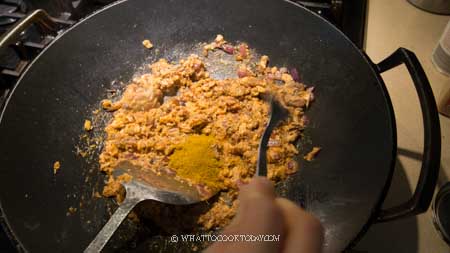
5. Add the sardines along with the sauce, and the rest of the ingredients, except for the lime juice. Continue to stir fry until the filling is somewhat wet but not soupy. Squeeze in the lime juice. Have a taste and adjust seasonings to your preference
6. Once the dough has doubled in size and when you gently press on it, it never bounces back, the dough is done proofing. Lightly dust your work surface with a little bit of flour.
7. Get the dough out and punch the air out on the dough to flatten
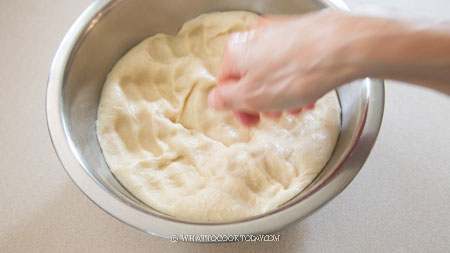
8. Divide the dough into 10 equal pieces. Keep them covered and work with one dough at a time
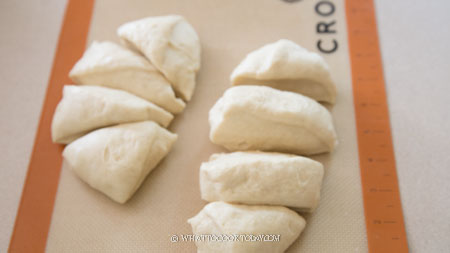
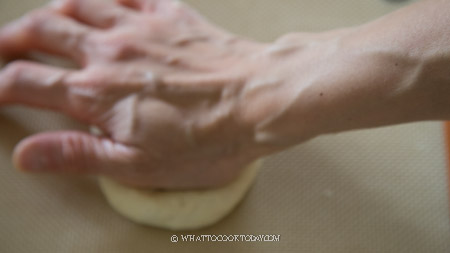
9. Get one dough and flatten into a round circle
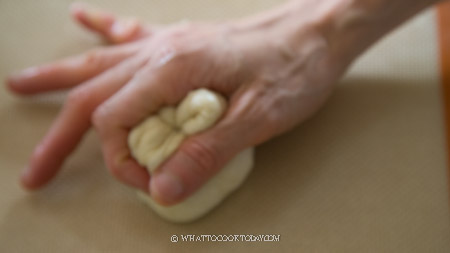
10. Gather the sides and pull until you get a nice round ball
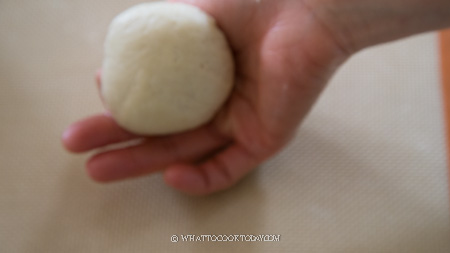
11. Repeat this with the rest of the dough. Cover and let them rest for 10 minutes. This is to relax the gluten so we can shape the dough without much resistance later

12. Work with one dough at a time. Roll one dough out into a circle about 4-5 inches in diameter.
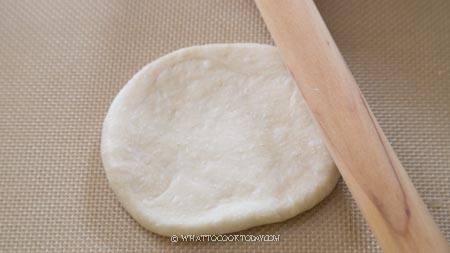
13. Place the filling on top
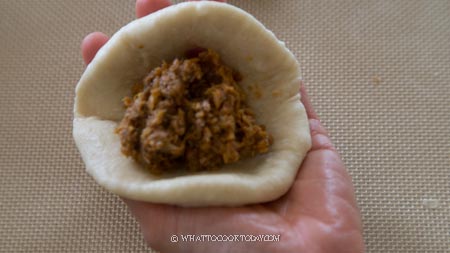
14. Gather the side to enclose and pinch to seal tightly so the filling won’t leak out butter during baking

15. Shape the dough into a round shape and place the seam-side down on a large baking sheet lined with parchment paper, about 2 inches apart. You will need two baking sheets. Cover them with a clean cloth and let them rise again until about double in size. This may take 45 minutes to 1 hour. When you press on the dough gently, it will gradually bounce back
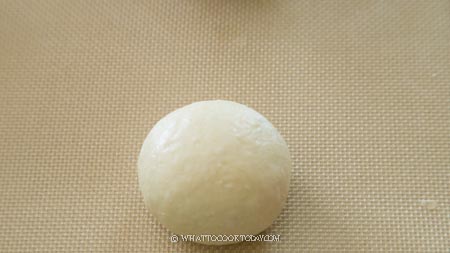
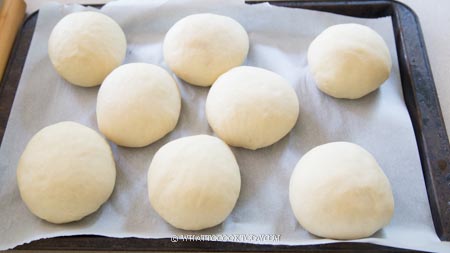
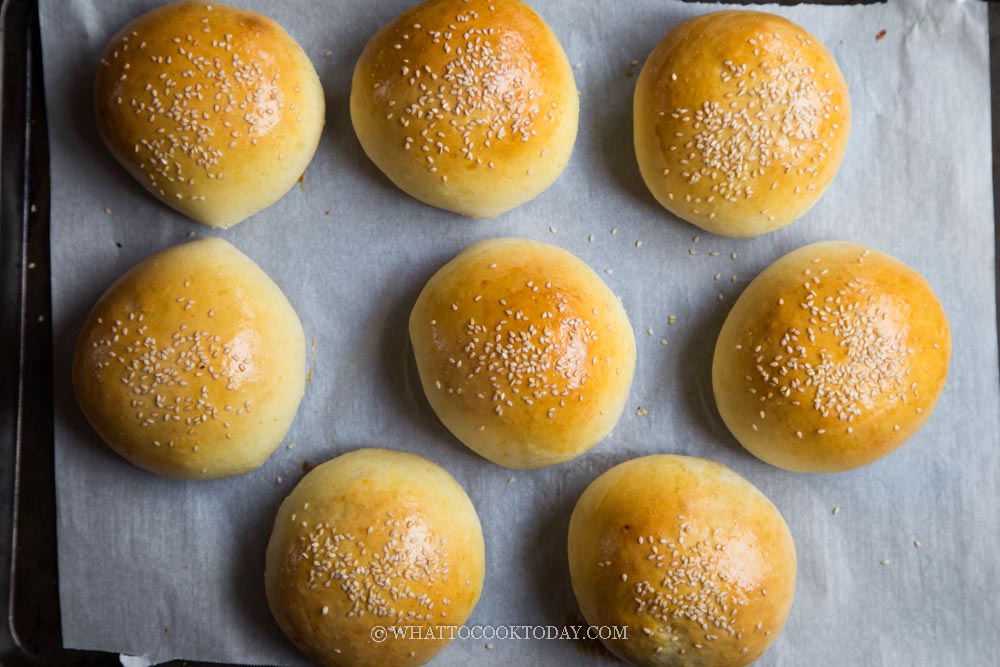
16. 15 minutes before the end of proofing, preheat oven to 350 F (180 C). Brush the top of the buns with leftover egg earlier. Sprinkle with some white sesame seeds.
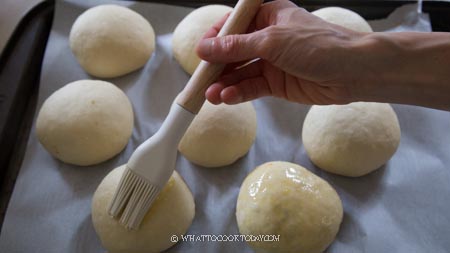
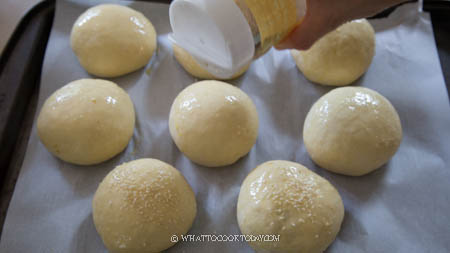
17. Place the baking sheets on the middle rack and bake for 18-20 minutes. If both trays can fit on the same rack, you can do so, if not, place the other one at the bottom rack and then rotate them halfway through baking so they bake evenly
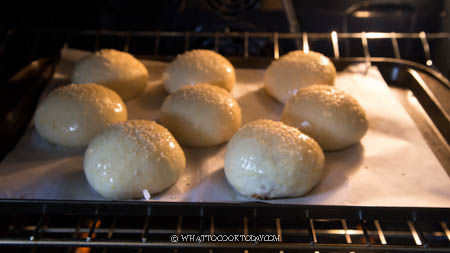
18. Remove from the oven and then transfer to a cooling rack to let them cool down completely
How to store
1. Let the baked buns cool down completely on a cooling rack
2. Individually wrap it with a cling wrap and store in a bread box or cool and dry place. They can be kept this way for 2-3 days if it’s not humid where you are
3. For longer storage, wrap them up in the foil on top of the cling wrap, then put them inside a freezer bag. Transfer to a freezer and they can be kept for up to one month. I won’t keep any further than that as quality starts to deteriorate
4. When ready to serve, simply thaw overnight in the fridge and warm it up for few seconds in the microwave
5. You can also reheat without thawing. Remove the foil and the cling wrap. Wrap them back up loosely in the foil and bake at 300 F for 10 minutes or so or until heated through.

Did you make this sardine baked buns recipe?
I love it when you guys snap a photo and tag to show me what you’ve made 🙂 Simply tag me @WhatToCookToday #WhatToCookToday on Instagram and I’ll be sure to stop by and take a peek for real!
Spicy Sardine Baked Buns
Ingredients
Bread dough:
- 280 gr all-purpose flour plus more for dusting
- 135 ml whole milk
- 6 gr instant yeast
- ½ large egg 58-60 grams with the shell
- 50 gr unsalted butter softened
- ½ tsp salt
- ½ tsp vanilla extract
For sardine filling:
- 423 gr canned sardines in tomato sauce 1 can
- 2 Tbsp cooking oil
- 1 small purple onion peeled and diced
- 1 Tbsp sriracha chili sauce or any of your favorite chili sauce
- 2 tsp curry powder
- 1 tsp sugar
- Juice of 1 lime
- Salt to taste
For garnish:
Instructions
Prepare the dough:
- Beat one egg in a bowl with a fork or whisk. You will only need half of this. Save the other half as an egg wash for the buns later
- Place all ingredients for the dough in a mixing bowl of a stand mixer fitted with a dough hook attachment. Mix on low speed for about 2 minutes, then increase speed by one notch to medium and knead for about 10 minutes. The dough should leave the sides of the bowl. Stop the kneading. The dough will be very soft and just slightly sticky and if you stretch it thin, it won't break. It has reached a windowpane stage. If not, knead just a bit longer
Proofing:
- Place the dough in an oiled bowl. Cover and let it proof at a warm place until it is doubled in size. It may take 1 to 1 1/2 hours or longer depending on how warm your place is
Prepare sardine filling (can be prepared the day before):
- Mash the sardines with a fork to break it into little pieces. Preheat a large skillet with oil. Add onion and saute until aromatic, about 3 minutes. Add the sardines along with the sauce, and the rest of the ingredients, except for the lime juice. Continue to stir fry until the filling is somewhat wet but not soupy. Squeeze in the lime juice. Have a taste and adjust seasonings to your preference
- Turn off the heat and let the filling to cool down completely
Fill and shape:
- Once the dough has doubled in size and when you gently press on it, it never bounces back, the dough is done proofing. Lightly dust your work surface with a little bit of flour. Get the dough out and punch the air out on the dough to flatten. Divide the dough into 10 equal pieces. Keep them covered and work with one dough at a time
- Get one dough and flatten into a round circle. Gather the sides and pull until you get a nice round ball. Repeat this with the rest of the dough. Cover and let them rest for 10 minutes. This is to relax the gluten so we can shape the dough without much resistance later.
- Work with one dough at a time. Roll one dough out into a circle about 4-5 inches in diameter. Place the filling on top and gather the side to enclose and pinch to seal tightly so the filling won't leake out butter during baking. Shape the dough into a round shape and place on a large baking sheet lined with parchment paper, about 2 inches apart. You will need two baking sheets. Cover them with a clean cloth and let them rise again until about double in size. This may take 45 minutes to 1 hour. When you press on the dough gently, it will gradually bounce back
Baking:
- 15 minutes before the end of proofing, preheat oven to 350 F (180 C). My oven setting is conventional oven that uses bottom heat, no fan. If yours have top and bottom heat, you may need to do some adjustment by lowering the temperature by 15-20 degrees. You will know your oven best
- Brush the top of the buns with leftover egg earlier. Sprinkle with some white sesame seeds. Place the baking sheets on the middle rack and bake for 18-20 minutes. If both trays can fit on the same rack, you can do so, if not, place the other one at the bottom rack and then rotate them halfway through baking so they bake evenly
- Remove from the oven and then transfer to a cooling rack to let them cool down completely


4 comments
Do they need to be refridgerated?
Yes, you want to keep the leftovers in the fridge. Wrap them well and put in air-tight container to prevent the buns from drying out. Simply reheat in the microwave for few seconds until warm or in an oven by wrapping them in a foil and reheat at 350 F for 10-15 minutes or until heated through.
Sedap gila Marvellina! thank you. My friends said it was bakery quality! 🙂
wow..I’m glad your friends liked them 🙂 Thank you for the feedback!!