This post may contain affiliate links. Please read our disclosure policy.
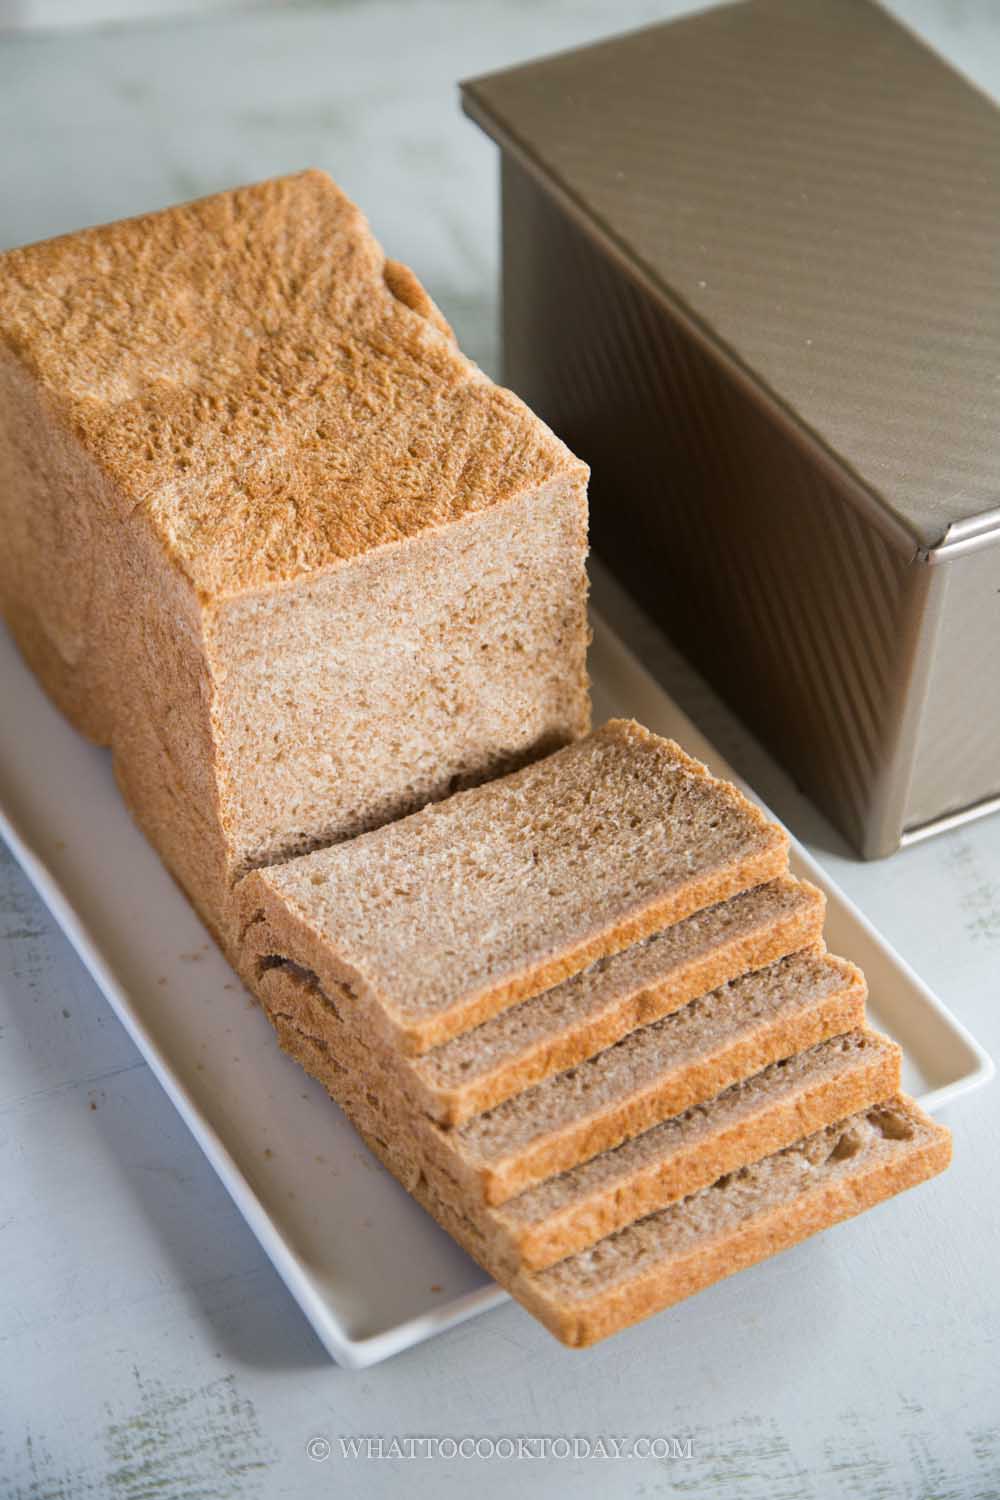
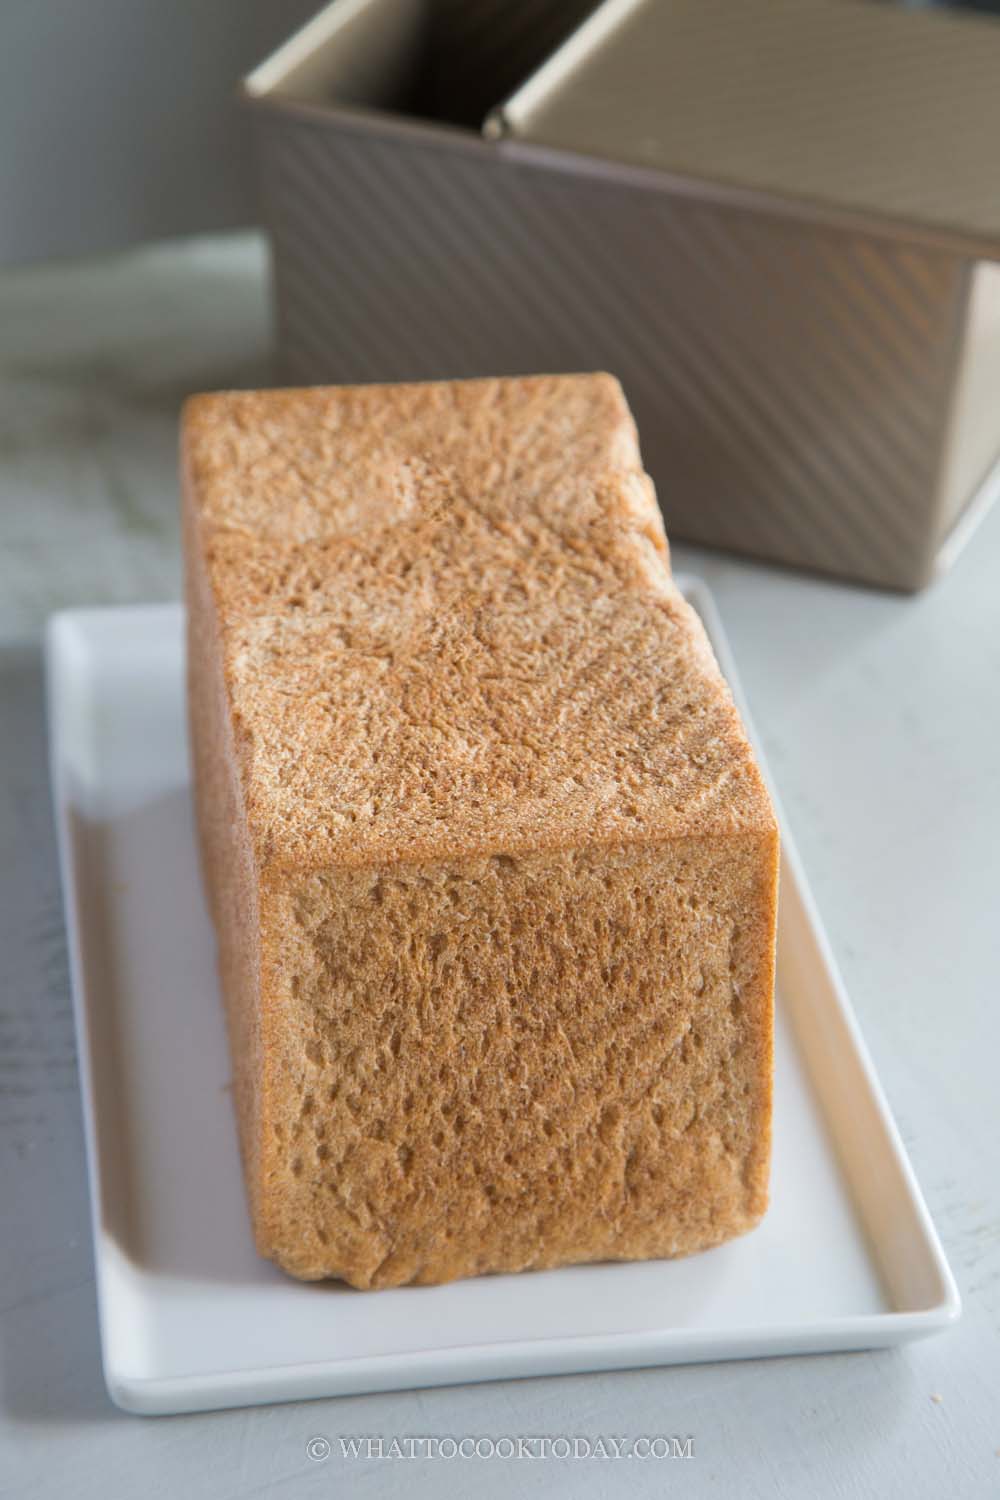
Soft wholemeal bread is baked in a Pullman tin with a lid to give you a straight-sided loaf of bread. It can also be baked without the lid for that classic rounded-top look.
Bread baking is just one of my favorite things these days. I love the smell of bread baking in the oven, especially when it comes to wholemeal or whole wheat bread. They smell extra nutty. This wholemeal bread recipe yields a soft loaf and if you don’t have the Pullman tin, don’t sweat it, you can use your regular loaf pan. The term wholemeal or whole wheat bread means the same thing. Wholemeal is commonly used in Asia and Europe, especially the U.K. Here in the U.S., I never really hear the term wholemeal being used. Whole wheat is the common term here.
What is Pullman bread?
Pullman bread is also known as sandwich bread or pain de mie in French. It is a bread baked in a straight-sided pan and it usually comes with a lid that you can close off just before baking to give you that rectangular or square loaf on all sides instead of the classic rounded-top look (which I like too, to be honest!). According to history, lidded loaf pans were used in Europe in the 18th century. George Pullman uses this pan for efficiency reasons. The bread loaves can be stored flat and don’t consume as much space as the rounded-top loaves hence it became popular and the name Pullman loaf or Pullman tin followed.
What contributes to the softness of this bread
1. A mixture of wholemeal/ whole wheat flour and all-purpose flour
I didn’t use all the wholemeal flour in this recipe. I use about 61% wholemeal flour and about 39% all-purpose flour. If you are interested in using 100% whole wheat flour, check out this Tangzhong 100% whole wheat bread
2. Hydration
The hydration of this bread is about 68%, which is pretty manageable. It gives a very soft and slightly sticky to-the-touch dough to work with.
3. Fat
The butter used in this recipe helps to keep the bread moist
Soft Wholemeal / Whole Wheat Bread (Pain De Mie)
Ingredients
- 270 g wholemeal /whole wheat flour
- 170 g all-purpose flour
- 2 ¼ tsp instant yeast
- 1 ½ tsp salt
- 1 Tbsp sugar
- 300 g water warm. Start with this amount and you may need more if the dough feels dry
- 42 g butter unsalted, melted
Instructions
Size of pan:
- This recipe fits into 9 x 4 x 4 inch small Pullman tin from USA Pan. You can also bake this in 9 x 5 inch loaf pan
- For other pan size adjustment, please see the details in my post below. Photos of the bread loaf were made with a smaller Pullman tin that measures 7.5 x 4 x 4.4 inches.
Prepare the dough:
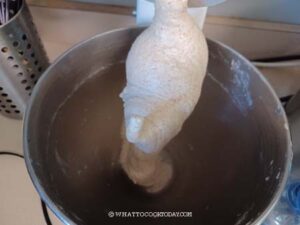
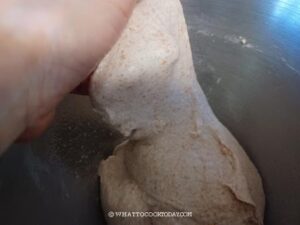
- Put all ingredients in a mixing bowl of a stand mixer with a dough hook attachment. Knead on a low speed (speed 4 on KA) for 5-8 minutes or until the dough is very soft and elastic. The dough is slightly sticky to the touch and that's normal. Don't be tempted to add any flour
- If your dough appears dry, you can add a bit more water, one tablespoon at a time until the dough feels soft and just slightly sticky to the touch. This is one of the keys to soft crumbs. If the dough is stiff, your bread will come out dry and won't stay soft

- If you gently stretch a small amount of the dough thinly, it won't break easily. This shows that the dough has been well-kneaded and has reached windowpane stage
First proofing:
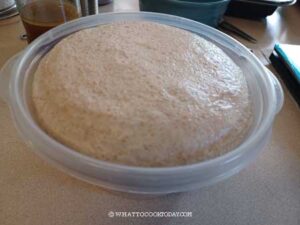
- Oil the bowl lightly so the dough won't stick to the bowl later. Cover with a plastic wrap and put at a warm place. I used my oven bread proof function to proof the dough until doubles in size, about 45 minutes to 1 hour or so. It may take longer if the temperature at your place is cooler
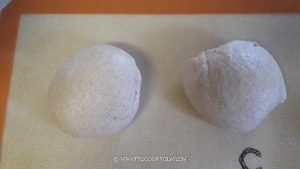
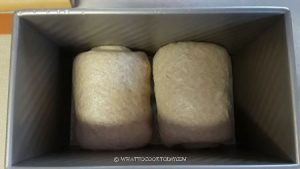
- After first proofing, punch the dough down. Give the dough a few kneads to remove any air bubbles and divide the dough into 2 dough balls. You can also leave it in one piece. Cover with plastic wraps and let them rest for 5 minutes. This is not to proof the dough. It's to relax the dough so we can roll them out without the dough keep pulling back
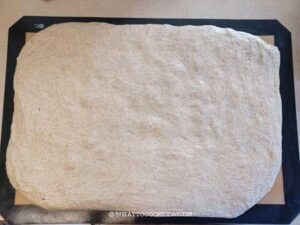
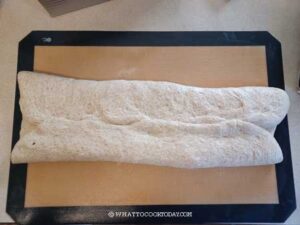
- Brush your loaf pan with some oil on all sides, including the lid (if using). I don't recommend using the non-stick spray as it ruined my previous Pullman tin. It leaves some residue on the pan that I couldn't remove. If you divide the dough into two, get one dough and roll it out into about 8 x 10 inch rectangle.
- If you didn't divide the dough, roll it out into about 12 x 14 rectangle.
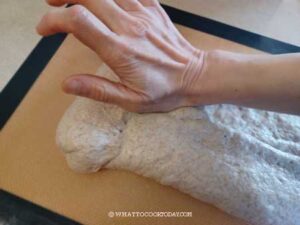
- Fold the two sides to meet in the center.
- Roll it down and pinch to seal the seam with the palm of your hand as you roll.
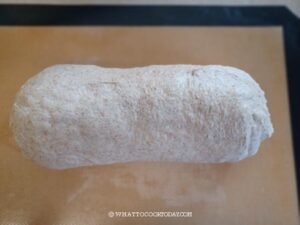
- You have just form a large log
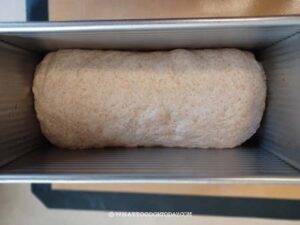
- Put it inside the Pullman tin.Cover with plastic wrap. Don't cover with the lid yet so we can see how much the dough has risen
- Continue with the other dough if you divide into two doughs earlier. Put them inside the tin
Second proofing:
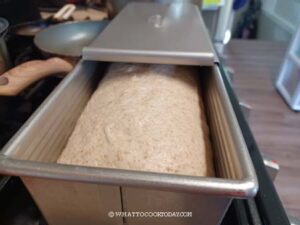
- Put them at a warm place again and let it rises until it reaches about 90% of the height of the tin (about 1/2-inch below the top of the tin). Don't let it reaches beyond the top of the tin as you won't be able to close the lid anymore without ruining the dough. Once it has reached about 90%, close the lid
- If you are not using the lid, proof until the dough is about 1-inch above the rim. When you gently press on the dough it should bounce back very slowly and leave an indentation. This is a sign that the bread is done with this final proofing. The proofing time may range from 30 minutes to 45 minutes or longer, depending on the temperature where you are
- 10 minutes before the end of proofing, preheat the oven to 375 F (190 C) for conventional oven, 350 F (180 C) for convection oven
Baking:
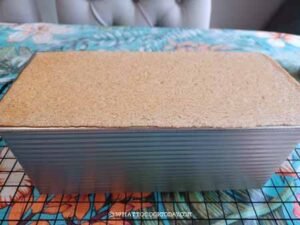
- Bake on the middle rack for 35 minutes with the lid close, or 25-30 minutes without the lid. The internal temperature of the bread should be at least 190 F (88 C) if you use and instant-read thermometer to check the center of the loaf. If not, bake for another 5 minutes and check again
Cooling down:
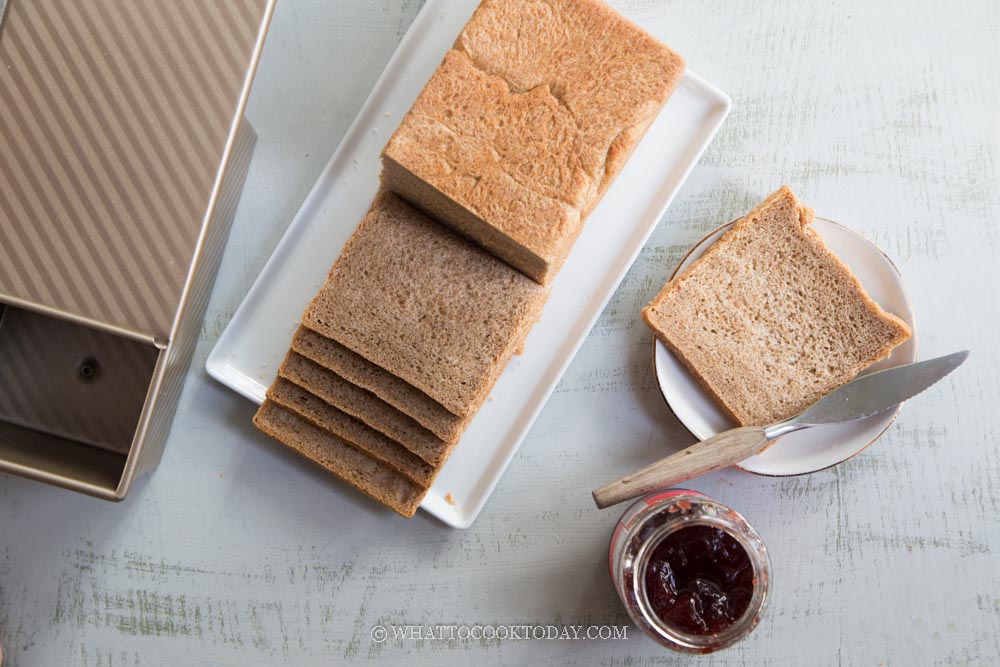
- Remove the bread from the pan onto a cooling rack. It should plop right out from the tin. Let the bread cool down completely for at least 2 hours before slicing
RECOMMEDED TOOLS


*Nutrition facts are just estimates and calculated using online tools*
How to adjust the recipe for different pan sizes
If this is your first time making this recipe with Pullman loaf pan, I suggest baking without the lid first to figure out how the dough fills the pan after baking. The type of flour you use and hydration affect how much the dough rises too. I haven’t personally tried this on the pan I mentioned below because I don’t own all of the pan below. I theoretically calculate the volume of the pan and adjust from there.
1. For 7.5 x 4 x 4.4 inches loaf pan, you can 0.9 x the recipe
2. For 8.5 x 4. 5 x 2.75 inches loaf pan , you can 0.73 x the recipe
3. For 9 x 5 inches loaf pan, follow the recipe as is
4. For large Pullman loaf pan 13 x 4 x 4 inches loaf pan from USA Pan, you can 1.5 x the recipe

How to store Pullman sandwich bread
1. Let the bread cool down completely
2. I like to wrap them in a cling wrap and they can be kept at room temperature for about 4 days if humidity is not an issue. If it’s too humid where you are, 2-3 days is probably the longest you can keep at room temperature
3. For longer storage, I recommend freezing instead of storing it in the fridge. The fridge will dry out the bread. I like to pre-slice the loaf into 4-6 slices and then wrap them together. When I need them, I just took them out from the freezer and they will soften again at room temperature. You can always also wrap them up in the foil and reheat in the oven at 350 F for 5 minutes or so if you don’t have the time to wait. If you are making toast, simply put the frozen bread in the toast
Did you make this soft wholemeal Pullman loaf (Pain de mie) recipe?
I love it when you guys snap a photo and tag to show me what you’ve made 🙂 Simply tag me @WhatToCookToday #WhatToCookToday on Instagram and I’ll be sure to stop by and take a peek for real!


23 comments
Success! My very first pullman and it came out perfectly. Many thanks for such an easy to follow recipe with great directions.
Yay!!! I’m happy to know that!!
I not sure what you mean by 0.9 x the recipe.
I ended up making the same recipe as above and then weigh out 580 g of the dough for the 7.5” pan and then made two buns and 100 g. If you could give me the measurements for the 7.5 inch pen. I would much appreciate it.
I love your baking recipe
Thank you! I’m happy to know that! 🙂 That keeps me motivated to bake some more LOL!