This post may contain affiliate links. Please read our disclosure policy.
If you love milk-based desserts, this is one recipe you can’t miss. They’re fun to make, impressive to serve, and honestly—one of the most delicious buns you’ll ever bake at home.
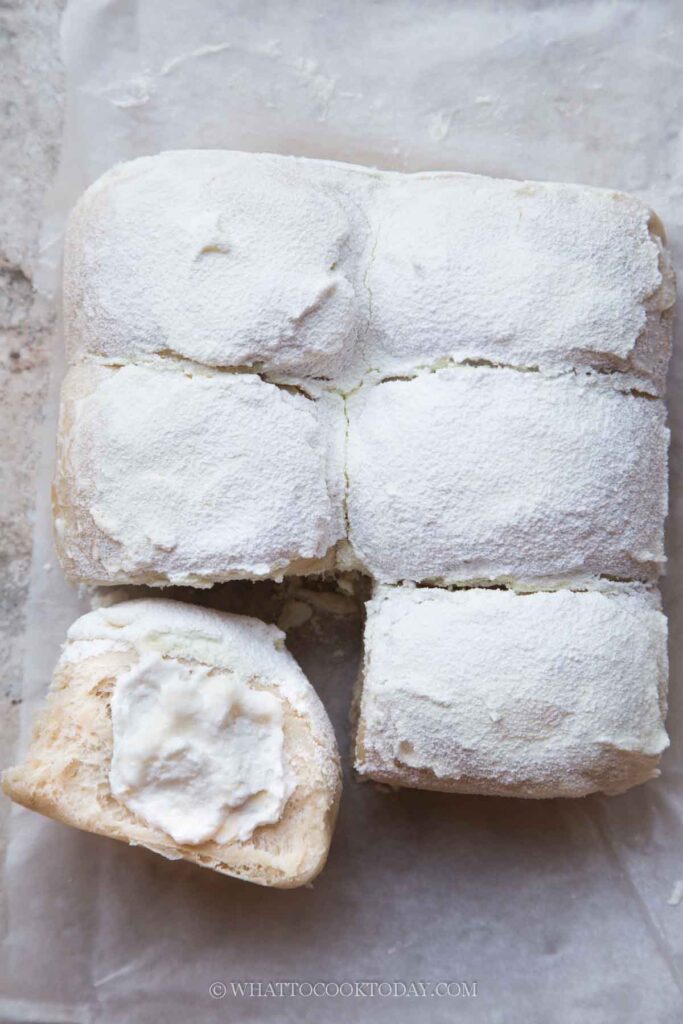
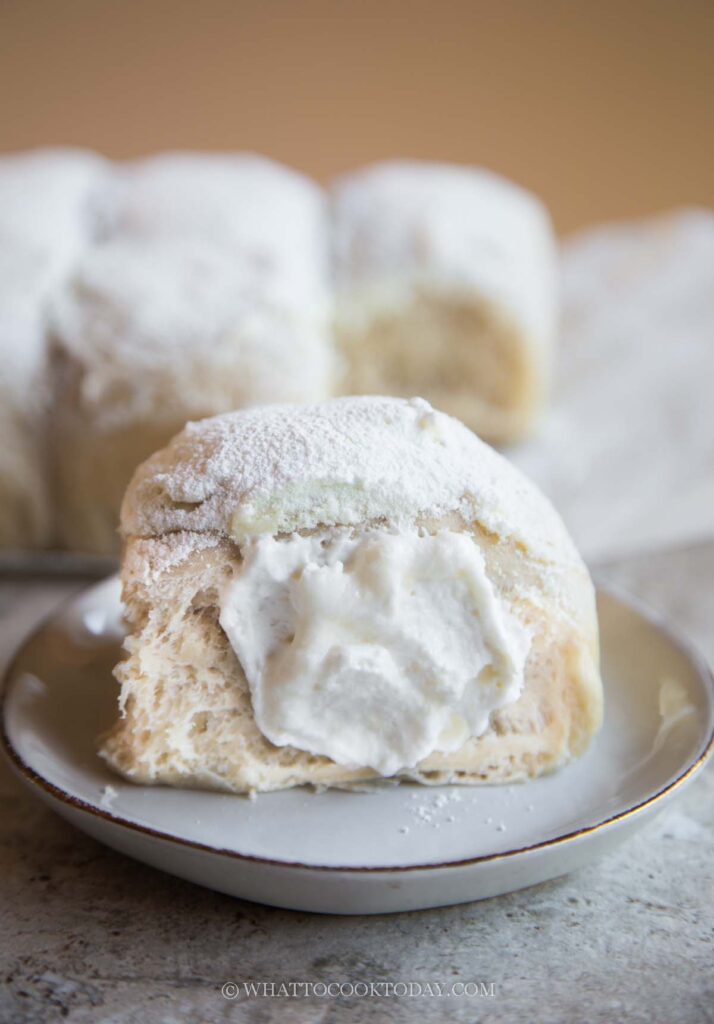
If you’re a fan of anything milky, these Thai milk buns are going to blow your mind. They’re milky to the max—soft, fluffy bread made with milk and milk powder, filled with whipped milky cream, and finished with a buttery topping plus a generous shower of milk powder. Basically, it’s milk in every layer!
What makes them even more irresistible? They’re meant to be served cold, and thanks to the tangzhong method, the bread stays pillowy soft even straight from the fridge. Every bite is creamy, light, and milky-sweet—no wonder these buns went viral in Thailand and across Southeast Asia!
Why You’ll Like This Recipe
- Milky in every way – Milk in the dough, milk in the filling, milk in the topping.
- Super soft bread – Tangzhong keeps the buns fluffy even after refrigeration.
- Cold but never dry – These are designed to be eaten chilled, and they’re still soft.
- Seriously addictive – They’re creamy, milky, and just melt in your mouth.

Ingredients and Substitutions
- Bread flour – Gives the best fluffy texture. You can use all-purpose flour, but the buns may be slightly less airy.
- Instant yeast – Reliable and quick. If using active dry yeast, bloom it in warm milk first.
- Milk powder – Key to the signature milky flavor. I recommend whole-milk powder, but if you can’t find any, you can use non-fat milk powder. It will be less flavorful
- Whole milk – Used in both tangzhong and dough. You can use 2% milk, but avoid skim.
- Egg – Adds structure and richness. Use a medium egg (about 50 g without shell).
- Salt – Balances sweetness and enhances flavor.
- Sugar – Adds sweetness and helps tenderize the dough.
- Unsalted butter (softened) – Makes the dough tender. You can use salted butter, just reduce or omit the added salt.
- Heavy cream – Whips up light and fluffy for the filling.
- Condensed milk – Brings in that signature creamy sweetness. No direct substitute, but you could try evaporated milk + sugar in a pinch.
- Vanilla extract – Optional, but adds a nice aroma to the filling.
- Powdered sugar – Used to add that hint of sweetness in the topping
Frequently Asked Questions
- Can I use all-purpose flour instead of bread flour?
Yes, but the buns may be slightly less fluffy. Bread flour gives the best texture. - Can I make these ahead of time?
Yes! You can bake the buns a day ahead, then fill and top them the next day. - Do they have to be served cold?
No, you can serve it at room temperature. Simply fill up the buns with filling and spread the topping and serve immediately. They cannot be kept at room temperature because of the cream filling. But, trust me, they are so good served cold - Can I freeze them?
Yes, I have tried freezing them after being filled and dusted with topping. I just carefully wrap them in cling wrap and store in a freezer bag. Simply thaw overnight in the fridge or at room temperature just before serving - Is milk powder necessary?
Yes, it’s one of the main stars in this recipe
Tips for Success
- Don’t skip the tangzhong – It’s the secret to soft buns that stay fluffy even after refrigeration.
- Cool the buns completely before filling – Warm buns will melt the cream and topping.
- Use cold whipping cream – It whips faster, holds shape better, and makes a fluffier filling.
- Be generous with milk powder dusting – That final touch is what gives the authentic Thai milk bun look and flavor.
- Chill before serving – These buns taste best after at least 1–2 hours in the fridge.
How to Store Thai Milk Buns
- In the fridge – Store the filled and topped buns in an airtight container for up to 3 days. Thanks to the tangzhong method, they stay soft and fluffy even after refrigeration.
- In the freezer – You can freeze the buns even after they’ve been filled and topped. Wrap each bun individually, then store in an airtight container or freezer bag for up to 1 month. To serve, thaw overnight in the fridge or at room temperature. They will still taste soft, creamy, and delicious.
Thai Milk Buns
Ingredients
Tangzhong
- 30 g bread flour 12.7% protein
- 150 g whole milk
Dough
- 300 g bread flour (12.7% protein content) plus more for dusting
- 5 g instant yeast
- 28 g milk powder
- 100 g whole milk add more as needed
- 50 g egg about 1 large egg
- 7 g salt
- 40 g sugar
- 40 g unsalted butter softened
Filling
- 250 g heavy cream
- 1 tsp cornstarch
- 1 tsp vanilla extract
- 70 g condensed milk
Topping
- 100 g softened salted butter If using unsalted, add a pinch of salt
- 10 g condensed milk
- Generous dusting of milk powder
- Dusting of powdered sugar
Instructions
Prepare tangzhong:
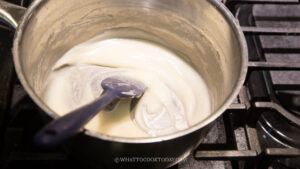
- Place milk and the bread flour in a small saucepan. Whisk until there is no more lumps. Cook this mixture over low-medium heat until it reaches 65 C (149 F) if you have a instant-read digital thermometer. Otherwise, it’s about 1 1/2-2 minutes.

- Remove from the heat and cover with a plastic wrap, touching the tangzhong so the skin won’t form. I highly suggest using this the next day instead of using it on the same day. Store this in the fridge
- If you decide to use it on the same day, let it cool down to lukewarm before mixing with the rest of the ingredients
Make the dough:
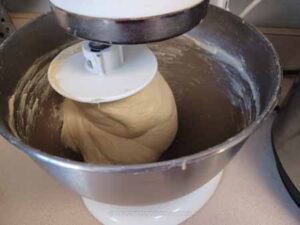
- Add the rest of the ingredients for the dough, except for the butter, into the mixing bowl of a stand mixer fitted with a dough hook attachment. Make a well in the center and pour in the wet ingredients and the tangzhong. Start the machine and knead the dough on speed 2 until the dough starts to come together into one sticky mass, about 3 minutes
- Increase the speed to 4 and continue to knead until the dough is relatively smooth. You need to stop and scrape the dough off the hook and the bowl several times during this process
- Gradually add the butter, one pat at a time. It is a REAL sticky mess again because of the butter, just keep kneading and stop halfway and scrape the dough off the hook and bowl again and continue to knead until the butter is absorbed by the dough. Don’t add any flour. You will get a shiny smooth dough that is very elastic and sticky. It may take 10-15 minutes of kneading with a machine on speed 4.
- The dough will clear the sides of the bowl but still stick to the bottom of the bowl and that's ok.
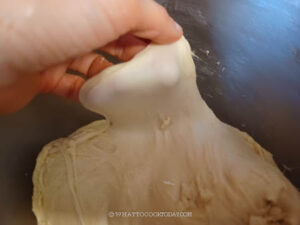
- If you gently stretch a small amount of the dough slowly, it shouldn't break easily. This shows that the dough has good gluten development already and you can stop kneading
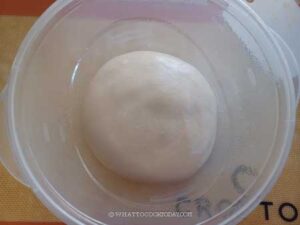
First proofing:
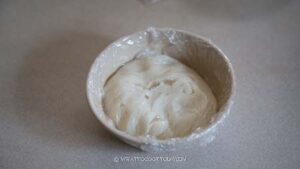
- Place this dough in a lightly oiled large bowl, cover it with a clean and damp tea cloth or plastic wrap and let it rise at a warm place for about 1 hour. The dough will puff up and double in volume.
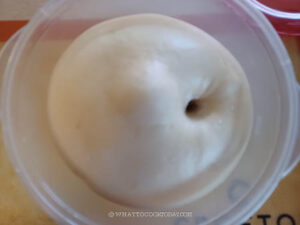
- When you poke your finger into the dough, the indentation stays and the dough won’t deflate
Shaping:
- Lightly oil your pan, I used two 8 x 8 inch pans and line them with a parchment paper overhanging on the sides. You can also use one pan only, about the size of 9 x 13 inches. Deflate the dough and knead a few times to push out all the air. Cover and let it rest for about 5 minutes
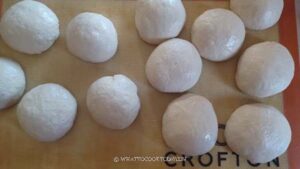
- Divide the dough into 12 equal pieces.
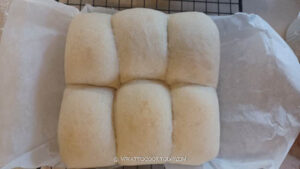
- Round them up into dough balls. Place them inside the pans, 6 doughs each, seam side down.
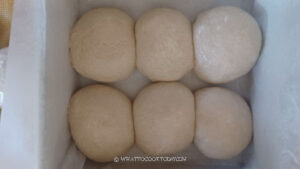
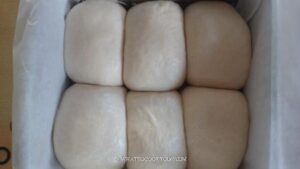
Final proofing:
- Let the shaped dough proof again for another 45 minutes to 1 hour or until they fill up the pan.
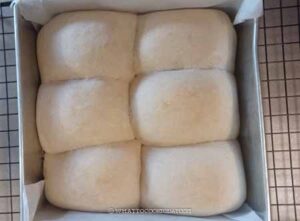
Baking:
- 10 minutes before the end of the final proofing, preheat the oven to 350 F (180 C) for conventional oven, 330 F (165 C) for convection oven. Position the oven rack in the middle of the oven
- Place the baking pan in the positioned rack. Bake for 20-25 minutes or until the top is just lightly golden brown. If you have an instant digital thermometer, it should read at least 190 F (88 C)
- Remove from the oven and let them cool down in the pan placed on a cooling rack for about 1 minute
- Then lift the rolls up by grabbing the parchment paper. Peel off the parchment paper on the sides and let them cool on a cooling rack.
Prepare the filling:
- Make sure the heavy cream is cold. Whip the heavy cream and cornstarch using a whisk attachment until it has soft peak, add vanilla and condensed milk and continue to whip until it is firm. Do not overwhip until it turns grainy and separate. Cover and keep it chill in the fridge until it is ready to be used

Prepare the topping:
- Combine the softened butter with condensed milk until creamy and spreadable in texture
Assembling:
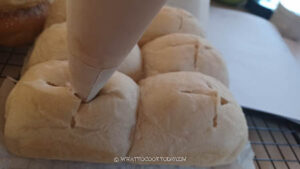
- I put the cooled-down buns back into the pan along with the parchment paper. Use a piping bag fitted with a nozzle. Transfer the cream filling into the piping bag. You can also just use a large sturdy plastic bag and cut one of the corners, large enough, about 1-inch wide
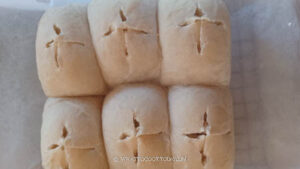
- Use a kitchen shears to cut the top of each bun to create an opening, about 1-inch deep. Use a spoon to kinda push the crumbs to the side, to make room for the filling.
- Insert the piping bag into the bun and gently squeeze the cream out to fill the bun
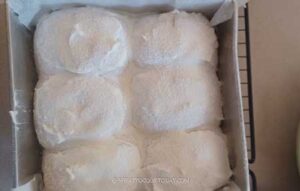
- Use a small offset spatula to spread the topping on top of each bun. Dust generously with powdered sugar. Then dust a final layer of milk powder on top
To serve:
- You can serve immediately or keep them covered in a cling wrap and chilled in the fridge for about an hour to serve them cold
