This post may contain affiliate links. Please read our disclosure policy.
Soft and fluffy chiffon-style Swiss roll is filled with creamy and rich pandan kaya filling. All the tips you need to know to make a perfect basic vanilla Swiss roll that you can fill with whatever fillings you desire.
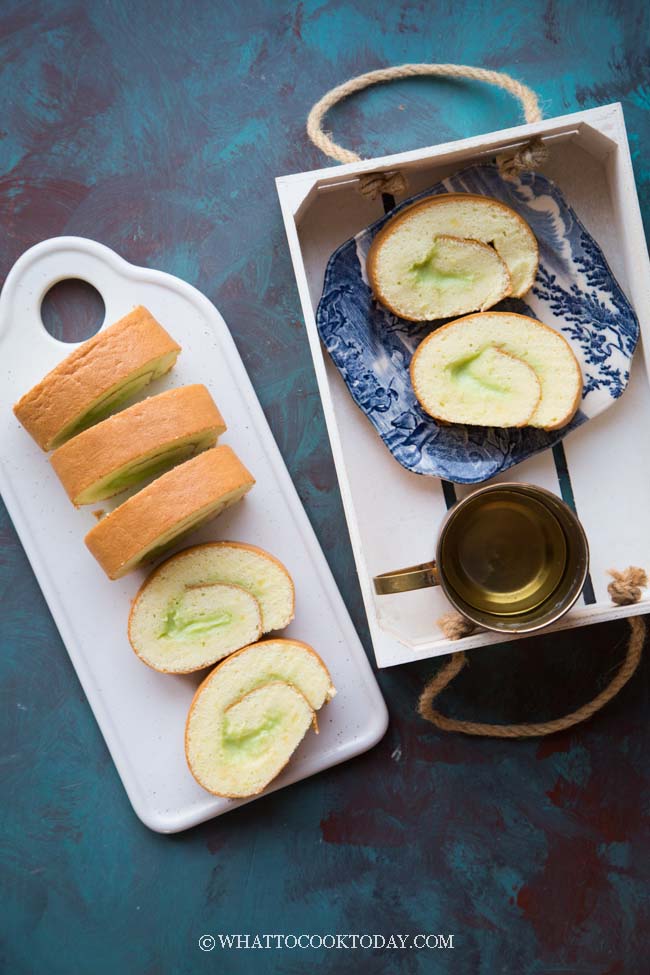
Bolu gulung is the Indonesian language for Swiss roll or sometimes they call it cake roll. At my hometown where I grew up, bolu gulung is a big hit. You see people carry boxes and boxes of bolu gulung purchased from this shop called Bolu Gulung Meranti at the airport. People buy them for friends and family who live overseas as gifts during holiday or even during non-holiday season. I must say though, it’s probably this Bolu Gulung Meranti shop that makes the bolu gulung becomes so popular at our hometown. I brought some for my Singaporean friends before when I lived there. They loved it.
WHY YOU’LL LOVE THIS KAYA SWISS ROLL
1. The cake is so soft and fluffy
I’m a huge fan of homemade chiffon cakes and this Swiss roll has that same soft and fluffy texture
2. Have you tried my 10-minute kaya recipe?
Well, if you haven’t, you should. No more hours of stirring. You will get rich and creamy kaya with this 10-minute kaya recipe.
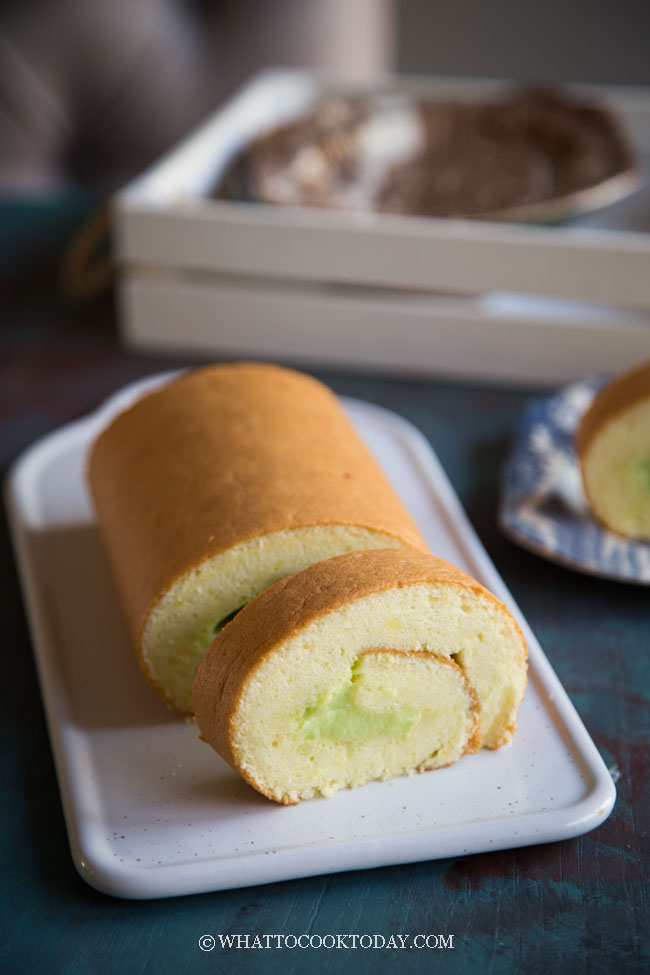
3. No cracks and skin doesn’t peel off
If you follow the instruction exactly, you should be able to reproduce with the same result. I’ve been longing for a nice skin on a Swiss roll that doesn’t peel off. I have made soooo many Swiss rolls and finally able to have a nice golden brown skin on the rolls
HOW TO MAKE PANDAN KAYA SWISS ROLLS SUCCESSFULLY
1. Prepare the cake batter
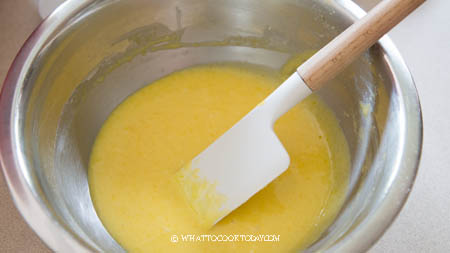
Preheat oven to 350 F (180 C). In a large mixing bowl, whisk egg yolks, oil, sugar, and milk until combined. Sift in the cake flour, and salt. Whisk to mix until combined and no lumps
2. Prepare meringue
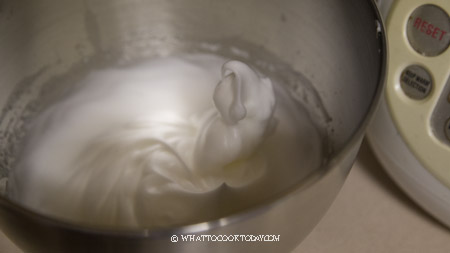
Make sure the egg whites are at room temperature. Place egg whites in a mixing bowl of a stand mixer fitted with a whisk attachment. Whisk until foamy on medium speed and then add cream of tartar or lemon juice/vinegar and whip again for another minute then and 1/3 of the sugar and continue to add sugar until you use it all up. Whip until the egg white develops a medium-soft peak (refer to video if you need to). When you lift the meringue up it will hold up its shape but the tail will bend. Do not whip until stiff peak. The cake will crack when you roll it later
3. Fold meringue into the cake batter
Fold about 1/3 of the meringue into the egg yolk batter and use a rubber spatula or whisk to fold or whisk until mix and continue to fold in the next 1/3 until you use up all the meringue and the batter is smooth . The batter should be a pourable consistency
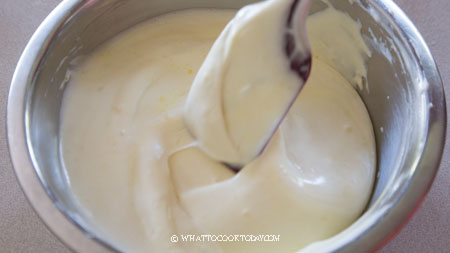
4. Pour batter into the pan
Pour the batter into the pan and use a rubber spatula to help to spread evenly. You can use a dough scraper to help you even out the surface too if necessary
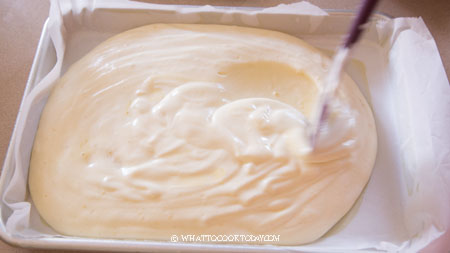
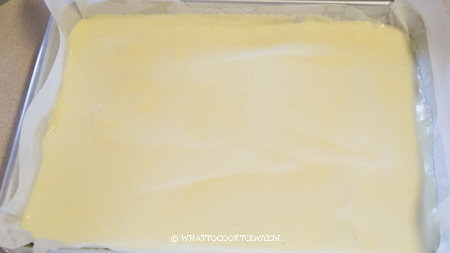
5. Bake
Gently tap the baking sheet on your working surface several times to pop any air bubbles
Bake in a preheated oven at 350 F (180 C) for 30 minutes and then switch to convection mode (fan mode) and bake for another 3-4 minutes or until the top is golden brown and dry to touch. If you don’t have convection mode, bake another 5 minutes and check to make sure the top is golden brown and dry to touch. It is important that the top is dry to touch so this layer won’t peel off when you roll later
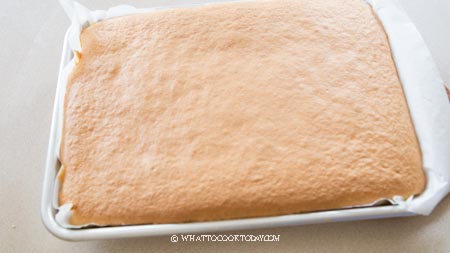
6. Cool down
Remove the cake from the oven and then lift it out from the pan immediately to a cooling rack and peel off the parchment paper from 4 sides. This helps to prevent wrinkles on the surface. Let it cools down like this for 5-6 minutes (I use a timer to actually time it)
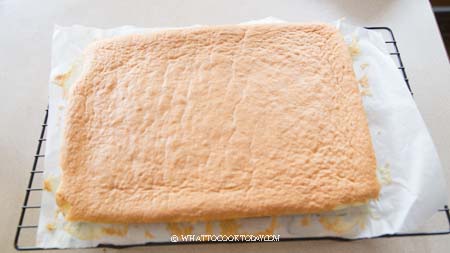
After 5-6 minutes. Place a new piece of parchment paper, larger than the cake, on top of the cake and flip over to the other side. Peel off the parchment paper
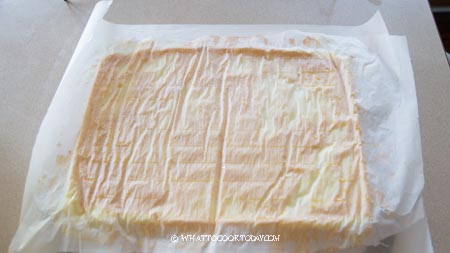
7. Trim off the 4 edges
Use a serrated knife to trim about 1/4-inch of the 4 edges. This makes rolling the cake easier.
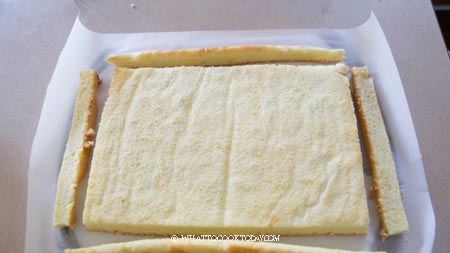
8. Make 4 shallow slits and spread the filling
Use a serrated knife to make 4 shallow slits. about 1 inch apart, taking care not to cut through the cake. This makes rolling the cake easier. Spread the kaya jam on the surface of the cake.
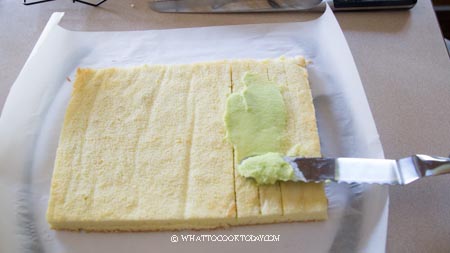
9. Roll up the cake and remove paper immediately
Very gently use one hand to lift the parchment paper up to help you roll the cake up until you reach the other side. Tuck the parchment paper under and use a dough scraper to help you tighten the roll up. Remove the parchment paper immediately
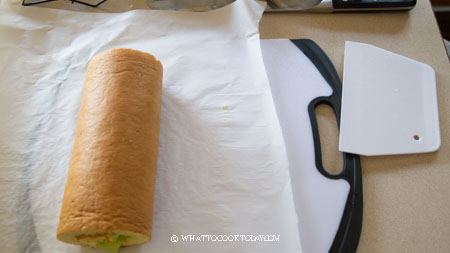
10. Chill in the fridge
Loosely tent with a parchment paper, not touching the surface of the cake. Store in the fridge for at least 1 hour before you plan to cut the cake. I keep it in the fridge like this until the next day and the cake is perfectly moist and the skin is intact
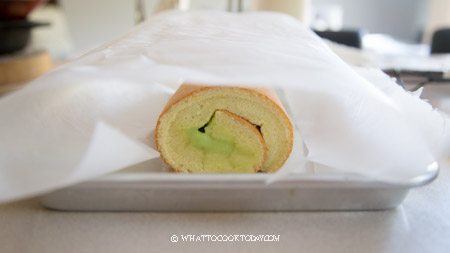
11. Serve
Trim off about 1/4 inch from both ends (my kids are happily eating those trims) and then slice the cake into slices in whatever size you like
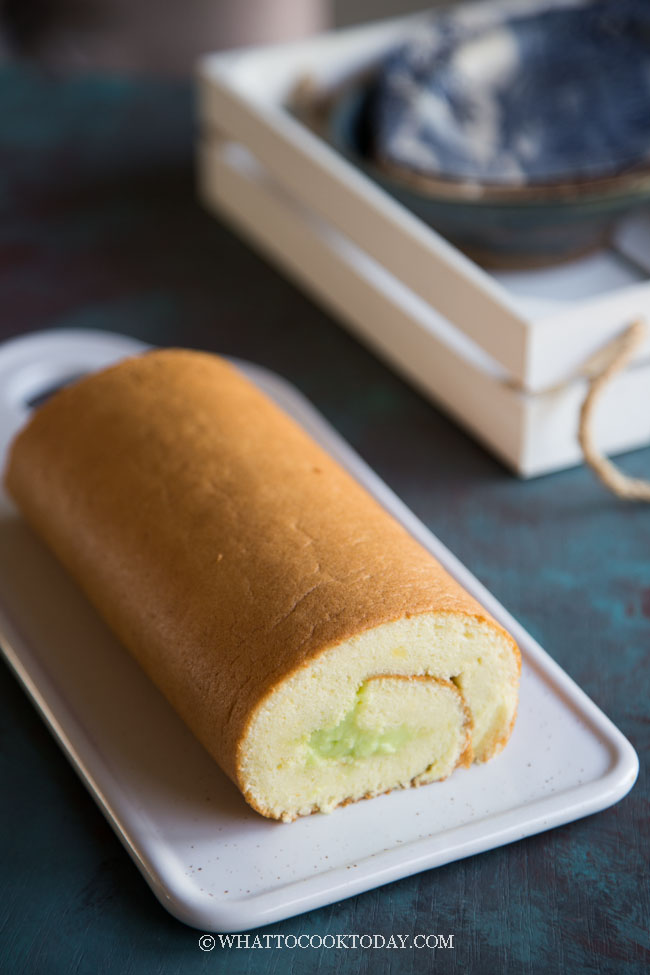
IMPORTANT TIPS TO TAKE NOTE
1. Use the correct size pan
This recipe fits into 9 x 13 x 1 baking sheet. It gives the perfect thickness. If you use a larger pan, the cake will be thinner. Definitely don’t use a smaller pan or you will have an oven disaster
2. I recommend using an aluminum baking sheet like this as it transfers heat so much better
2. Make sure eggs and milk are at room temperature
3. I highly recommend using cake flour instead of all-purpose flour
4. This cake is not overly sweet, I won’t recommend cutting down on sugar as that will affect the meringue
5. Using oil instead of butter keeps this cake soft even after refrigeration. Remember that butter turns solid when it’s chilled and that makes the cake hard
6. Do not beat the egg whites meringue until stiff peak (like in chiffon cake). You want just a medium soft peak. When you lift the meringue up, it holds it shapes and then bend. This is the right consistency
7. The batter after folding in the meringue should be a pourable consistency (watch the video if you are not sure).
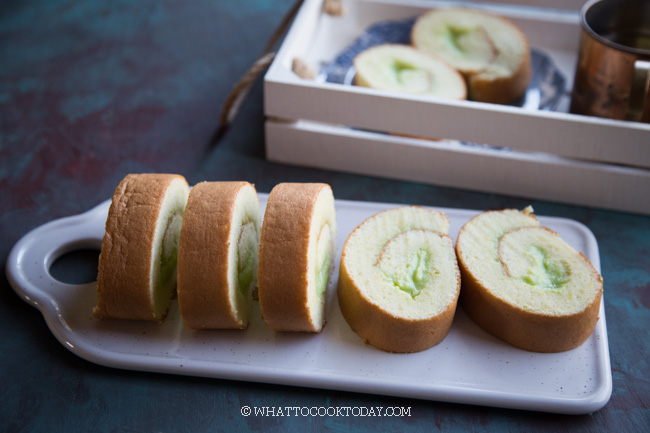
HOW TO STORE PANDAN KAYA SWISS ROLL
Store any leftover in an air-tight container and kept in the fridge. They will stay soft for about 3 days. The longer you keep in the fridge, the drier they will get.

DID YOU MAKE THIS PANDAN KAYA SWISS ROLL RECIPE?
I love it when you guys snap a photo and tag to show me what you’ve made 🙂 Simply tag me @WhatToCookToday #WhatToCookToday on Instagram and I’ll be sure to stop by and take a peek for real!

Pandan Kaya Swiss Roll (Bolu Gulung Kaya)
Ingredients
Cake batter:
- 4 egg yolks room temperature
- 55 gr cooking oil
- 55 gr coconut milk
Dry ingredients:
- 65 gr cake flour
- ¼ tsp salt
Egg white meringue:
- 4 egg whites room temperature
- 90 gr sugar
- ¼ tsp cream of tartar or use 1/2 tsp lemon juice or vinegar
Filling:
- 1 recipe Easy Authentic 10-minute Kaya Jam
Instructions
- Spray the baking pan, 9 x 13 x 1 inch, with non-stick cooking spray or brush some oil and then line with a parchment paper on the bottom and the side
Prepare the cake batter:
- Preheat oven to 350 F (180 C) for a conventional oven. Lower the temperature by 20 degrees for a convection oven. In a large mixing bowl, whisk egg yolks, oil, and milk until combined. Sift in the cake flour, and salt. Whisk to mix until combined and no lumps
Prepare meringue:
- Make sure the egg whites are at room temperature. Place egg whites in a mixing bowl of a stand mixer fitted with a whisk attachment. Whisk until foamy on medium speed and then add cream of tartar or lemon juice/vinegar and whip again for another minute then and 1/3 of the sugar and continue to add sugar until you use it all up. Whip until the egg white develops a medium-soft peak (refer to video if you need to). When you lift the meringue up it will hold up its shape but the tail will bend. Do not whip until stiff peak. The cake will crack when you roll it later
Fold meringue into cake batter:
- Fold about 1/3 of the meringue into the egg yolk batter and use a rubber spatula or whisk to fold or whisk until mix and continue to fold in the next 1/3 until you use up all the meringue and the batter is smooth . The batter should be a pourable consistency
Pour into baking pan (9x13x1 inch):
- Pour the batter into the pan and use a rubber spatula to help to spread evenly. You can use a dough scraper to help you even out the surface too if necessary
Bake:
- Gently tap the baking sheet on your working surface several times to pop any air bubbles
- Bake in a preheated oven for 30 minutes and then switch to convection mode (fan mode) and bake for another 3-4 minutes or until the top is golden brown and dry to touch. If you don't have convection mode, bake another 5 minutes and check to make sure the top is golden brown and dry to touch. It is important that the top is dry to touch so this layer won't peel off when you roll later
Cool down:
- Remove the cake from the oven and then lift it out from the pan immediately to a cooling rack and peel off the parchment paper from 4 sides. This helps to prevent wrinkles on the surface. Let it cools down like this for 5-6 minutes (I use a timer to actually time it)
- After 5-6 minutes. Place a new piece of parchment paper, larger than the cake, on top of the cake and flip over to the other side. Peel off the parchment paper
Trim the 4 edges:
- Use a serrated knife to trim about 1/4-inch of the 4 edges. This makes rolling the cake easier.
Make 4 shallow slits on the cake:
- Use a serrated knife to make 4 shallow slits. about 1 inch apart, taking care not to cut through the cake. This makes rolling the cake easier
Spread the filling:
- Spread the kaya jam on the surface of the cake. You want to spread most of the filling near the side you are going to roll up from and there should be less filling towards the other end because as you roll up, the filling will get push forward and by the time you roll to the other end, it is just a perfect amount of filling
Roll up the cake:
- Very gently use one hand to lift the parchment paper up to help you roll the cake up until you reach the other side. Tuck the parchment paper under and use a dough scraper to help you tighten the roll up
Remove the parchment paper immediately:
- Now, most people will keep it rolled in a parchment paper this way and store it in the fridge to let it chills for 2-3 hours before slicing. I don't want to do that because the skin will peel right off after that (trust me, I've baked more than 10 Swiss rolls to figure this part out lol). Why? because our cake is still very slightly warm when we rolled it and then the fridge is cold and the condensation will form and makes the skin wet
- Instead, remove parchment paper. Very gently place the cake on the serving plate you plan to serve. You can seal both ends with a bit of kaya. This helps to prevent the cake from drying. Loosely tent with a parchment paper, not touching the surface of the cake. Store in the fridge for at least 1 hour before you plan to cut the cake. I keep it in the fridge like this until the next day and the cake is perfectly moist and the skin is intact
Serve:
- Trim off about 1/4 inch from both ends (my kids are happily eating those trims) and then slice the cake into slices in whatever size you like
How to store:
- Keep any leftover in the fridge, covered with wrap for maximum one week


19 comments
Made it the first time and it was successful. I’ve made some modifications to the recipe as I’m making use of my homemade blueberry jam. I halved the recipe and used a 8 by 8 brownie tin. Used milk instead of coconut milk. Thanks to the tip, The skin did not peel off. Thanks again for the wonderful recipe.
I’m glad the recipe worked out for you Lyn! Great idea to make a blueberry version 🙂 It must be yummy!
Hi Marvellina! Can’t wait to try this recipe, but I don’t seem to see how much sugar I would need for the Cake Batter in the ingredient list at the bottom? Did I miss it some where or is it up to how much I want?
Hi Ameres, the sugar is all used for whipping the egg white meringue.