This post may contain affiliate links. Please read our disclosure policy.
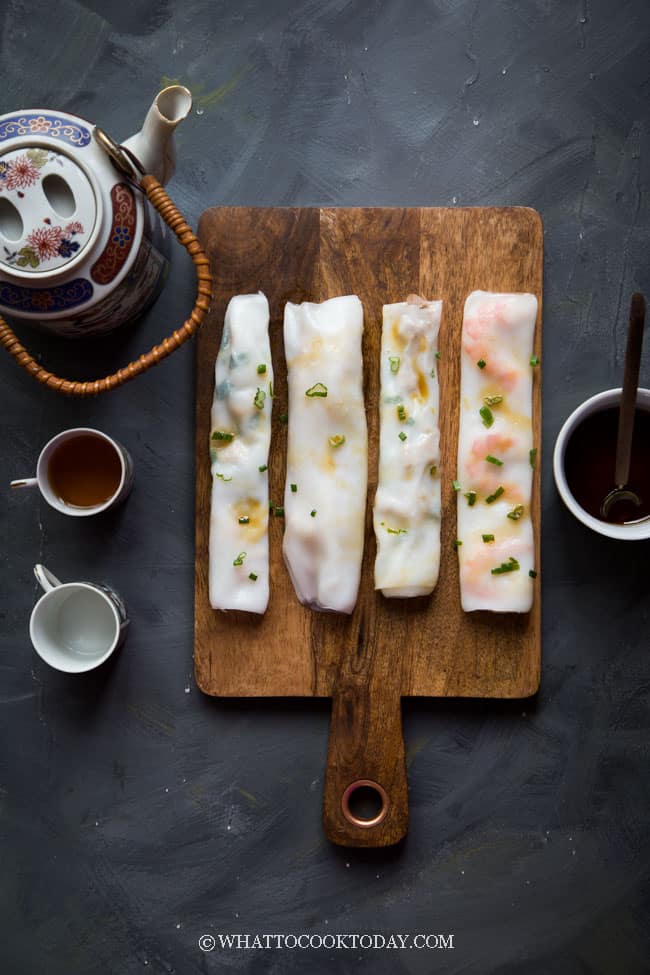
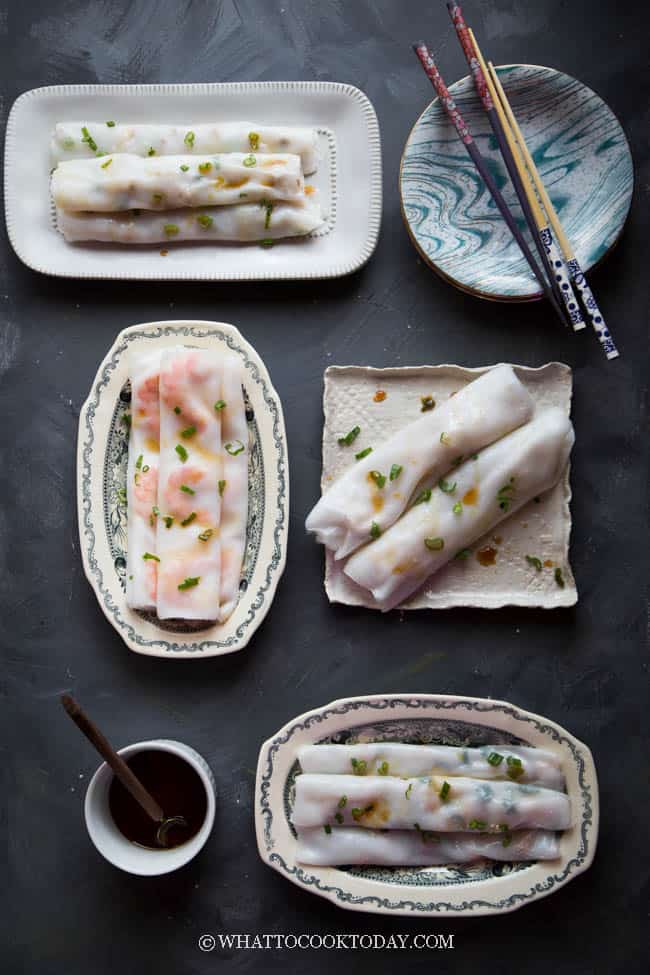
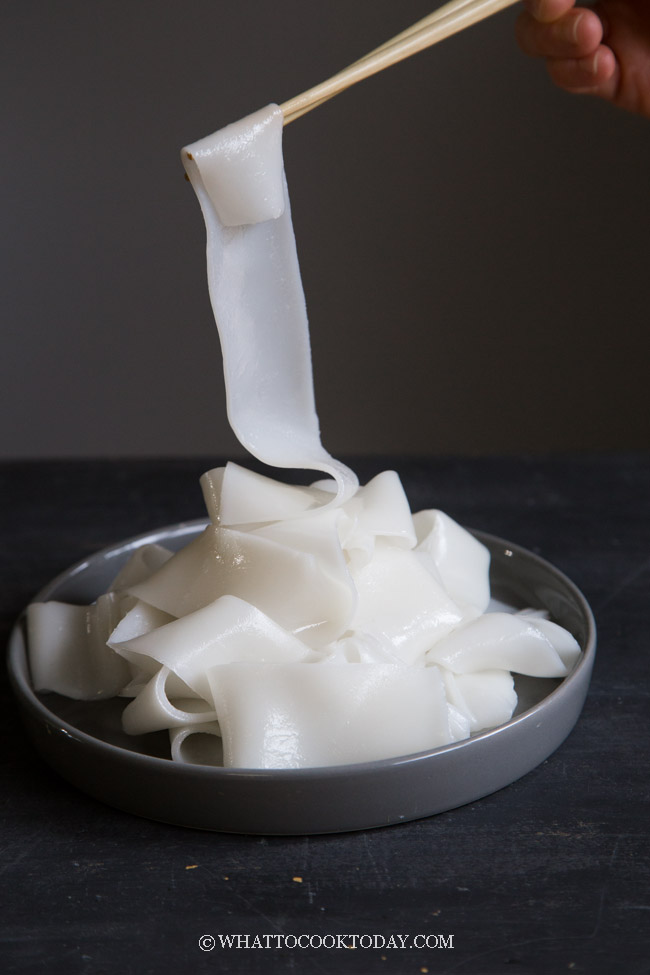
Learn how to make cheung fun easily at home using tools you already have in 5 ways: plain cheung fun, shrimp cheung fun/har cheung, dried shrimp, char siu cheung, and zha leung cheung fun. You will absolutely love the texture of this cheung fun!
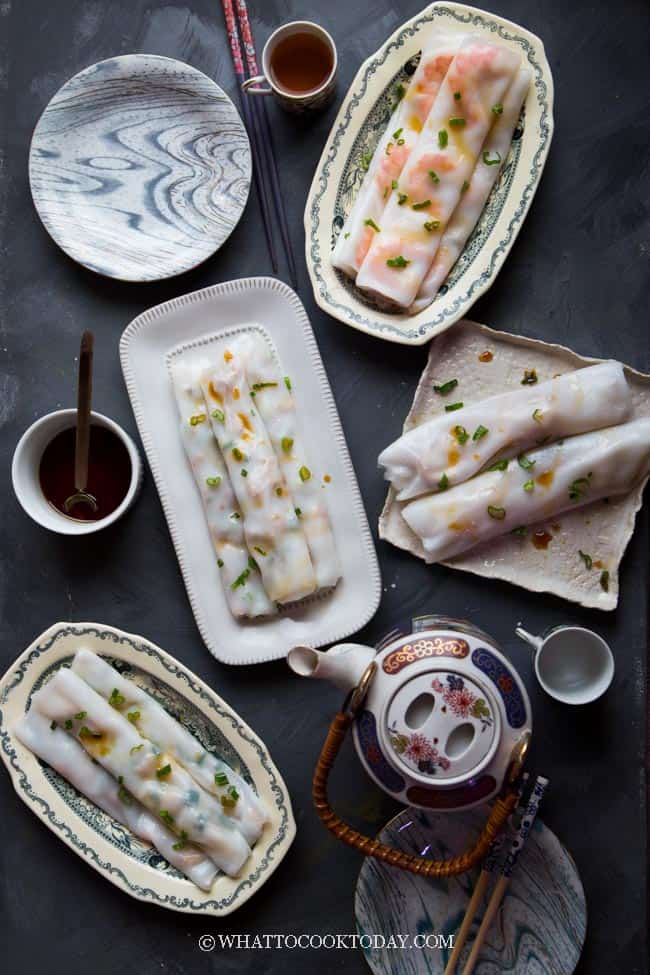
Homemade Cheung Fun (Steamed Rice Noodle Rolls)- 5 Ways
Cheung fun or known as 腸粉 (Chang Fen) is one of those foods that we must order every time we go for a dim sum. Dim sum is the Cantonese term for a type of Chinese dish that involves small individual portions of food, usually served in a small steamer basket or on a small plate. It’s been my obsession trying to get the texture of the cheung fun right and I finally did it! I’ve been feeding the family many rounds of cheung fun from all those experiments and they gave big approvals on this recipe I’m sharing here!
VARIETIES OF CHEUNG FUN I MADE
Plain basic cheung fun
In Indonesia we like to dress plain cheung fun with fried shallots and white sesame seeds

Shrimp cheung fun (har cheung)
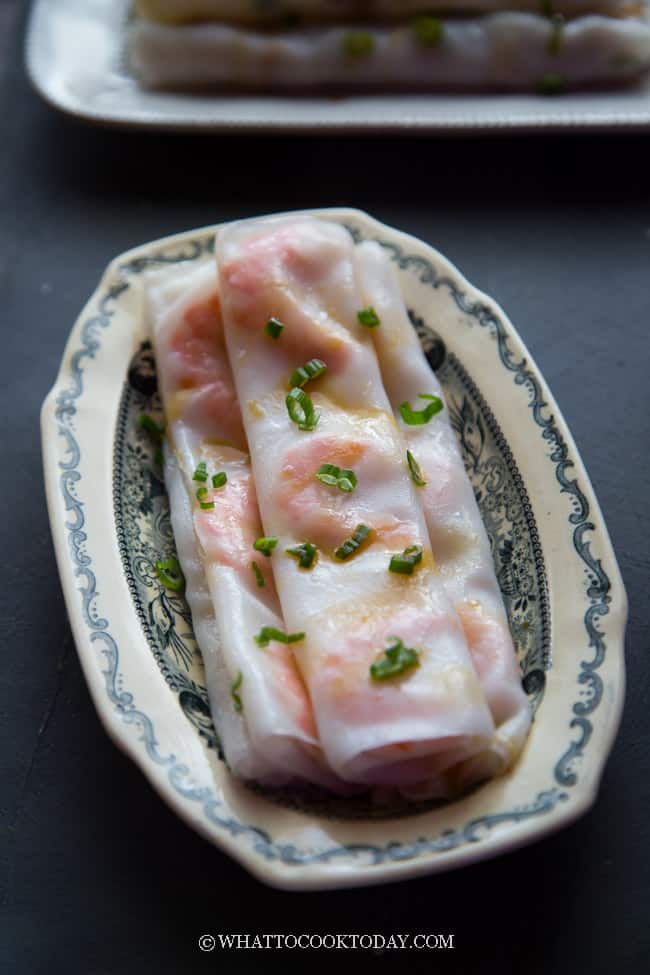
Shrimp cheung fun (Har cheung)
Dried shrimp cheung fun
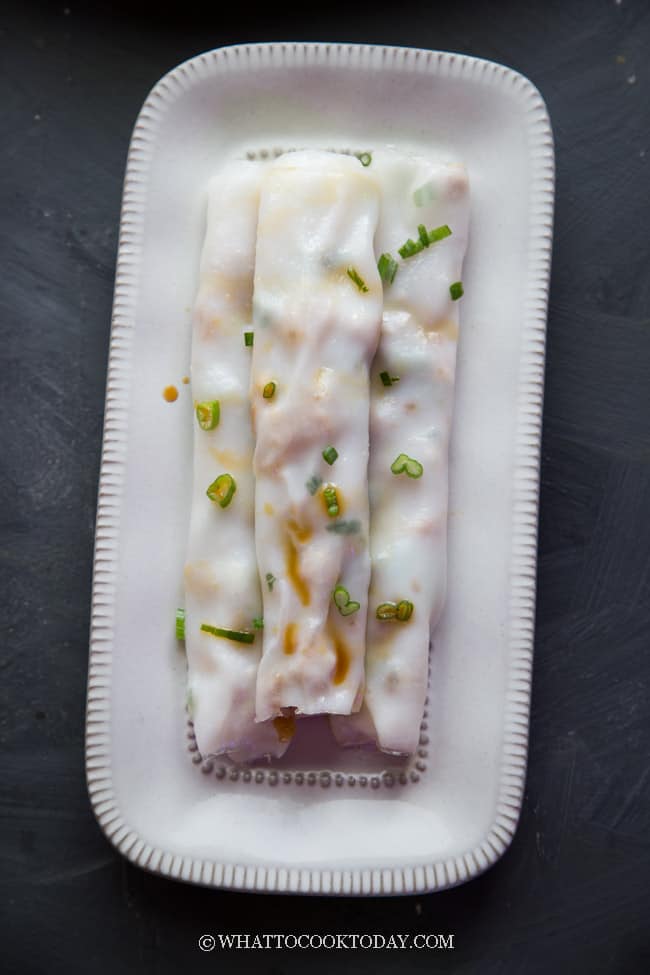
Char siu cheung fun
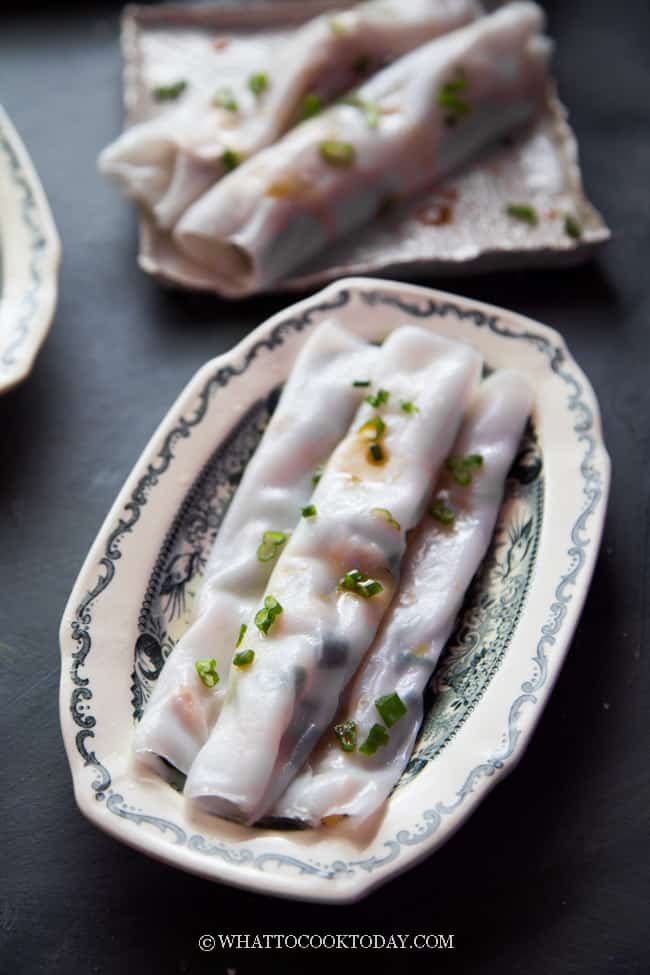
Zha leung cheung fun (You Tiau/Chinese fried crullers cheung fun)
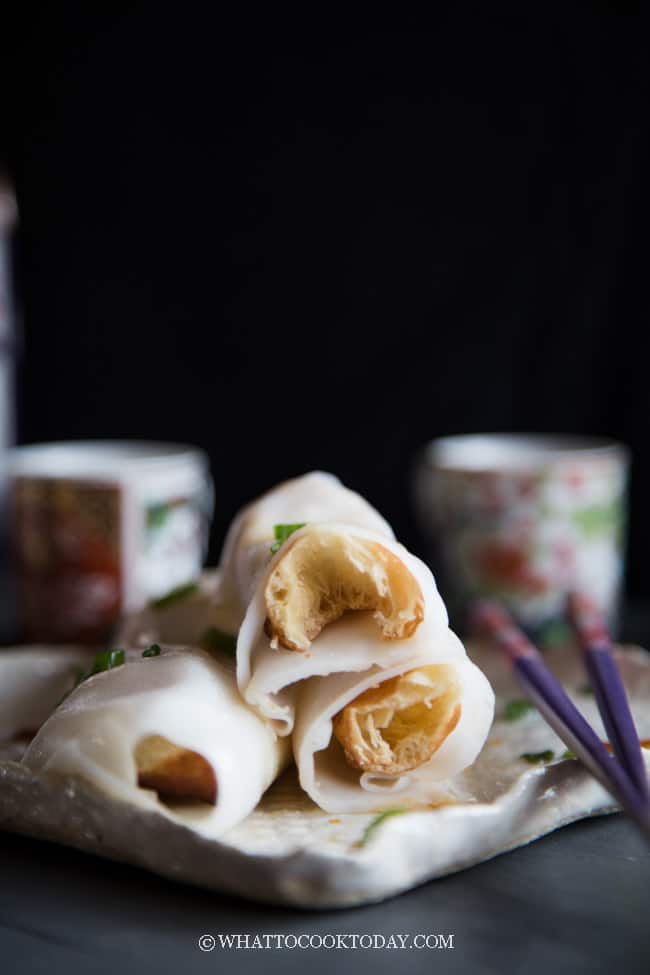
Zha leung cheung fun (Cheung fun with Chinese fried crullers/fried dough)
WHY YOU WILL LIKE THIS CHEUNG FUN RECIPE
1. SOFT AND SMOOTH CHEUNG FUN
I’ve played with different ratio of flour/starches and different combinations of flour/starches and the one I’m sharing here has that soft texture. I added a little bit of tapioca starch and wheat starch (not wheat flour) to the batter as it makes the cheung fun more resilient and doesn’t tear easily. I don’t like too much of tapioca starch in the cheung fun because it makes the cheung fun too chewy and firm. Cheung fun supposed to be soft
2. EASY TO WORK WITH
The batter is easy to work with. The cheung fun is soft and doesn’t tear easily after cooked
3. NO FANCY TOOLS OR EQUIPMENT NEEDED
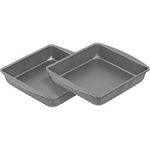
I use a non-stick square baking pan I got from Target for $5 bucks to steam the cheung fun and it works wonderfully. The cheung fun doesn’t stick to the pan and I can steam the next roll right away without having to scrape or clean the pan.
HERE’S HOW I SET UP TO STEAM THE CHEUNG FUN
Traditionally, cheung fun is made by lining a tray with wet cotton steaming cloth. The batter is poured on top of the cloth and then steam. Here’s the easy version using square non-stick cake pan, trivet, wok or large pot that can fit your pan.
1. Place a metal trivet on a large wok and fill it up with water, just barely touching the trivet

2. Make sure the pan you will use to steam the cheung fun can fit into your steamer (whatever it is you use, a pot or a wok). Mine is a 8×8 inch square pan

3. You will need a lid to cover and steam the cheung fun

HERE’S HOW TO MAKE BASIC PLAIN CHEUNG FUN
1. Combine rice flour, wheat starch, tapioca flour, salt, oil, finely chopped green onion (optional),and water in a large mixing bowl
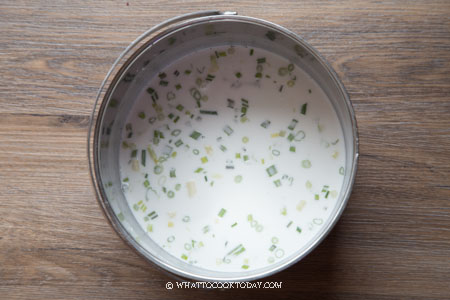
2. Bring the water in the steamer to a rolling boil
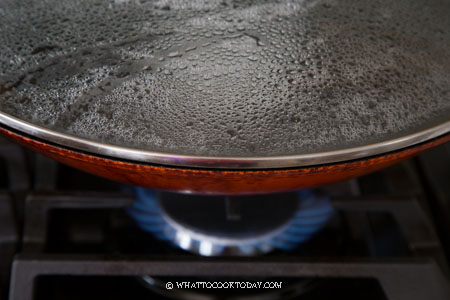
3. Place the empty pan in the steamer, cover with the lid and steam for about 2 minutes
This will give you a better result because the batter won’t be sitting on a “cold” pan for too long

4. Give the batter a good stir EVERY TIME before you ladle it up
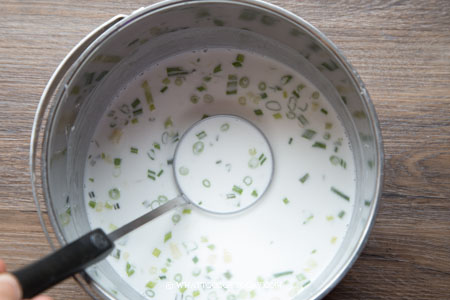
5. Pour the batter on the preheated pan, you’ll need about 3-4 tablespoons or a bit more of batter (or more depending on the size of your pan)

6. The batter may dance around a bit because of the non-stick surface. No worries. Wear a heat-proof kitchen glove and gently swirl the pan to make sure the batter is covering the base of the pan

7. Cover with a lid and steam for 4-5 minutes

8. The cheung fun will turn slightly translucent and bubbly on certain spots. If it doesn’t look right to you, steam a bit longer
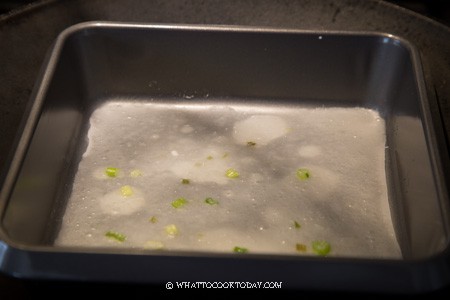
9. Remove from the steamer

10. Cool it down (this is important)
Place the pan on top of a cold tap water you filled up in the kitchen sink. Let it cools down for 2 minutes or longer. If you try to roll the cheung fun while it’s still warm, you will find it sticky and wet

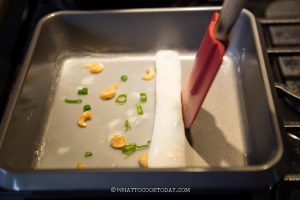
11. After it cools down, use a rubber spatula to gently roll it up or fold it up from one end. I folded the cheung fun in this photo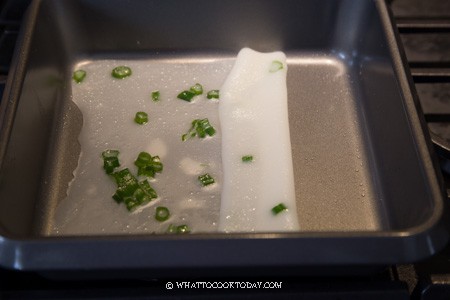


folded cheung fun

rolled-up cheung fun
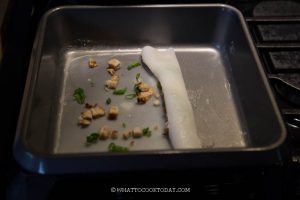
11. Look at how clean the pan is after steaming. Nothing stick to it because I cool the cheung fun down after steaming
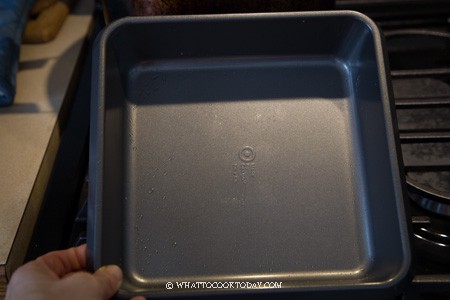
12. Put the empty pan back into the steamer and steam for another 1-2 minute. Repeat this before steaming the rice rolls. Trust me, it’s worth the effort!

13. Repeat the process again and DO NOT FORGET TO GIVE THE BATTER A GOOD STIR EACH TIME
The flour tends to settle at the bottom after a while. If you don’t give it a stir, your cheung fun won’t come out right
SHRIMP CHEUNG FUN (HAR CHEUNG), DRIED SHRIMP CHEUNG FUN, CHAR SIU CHEUNG FUN, ZHA LEUNG CHEUNG FUN
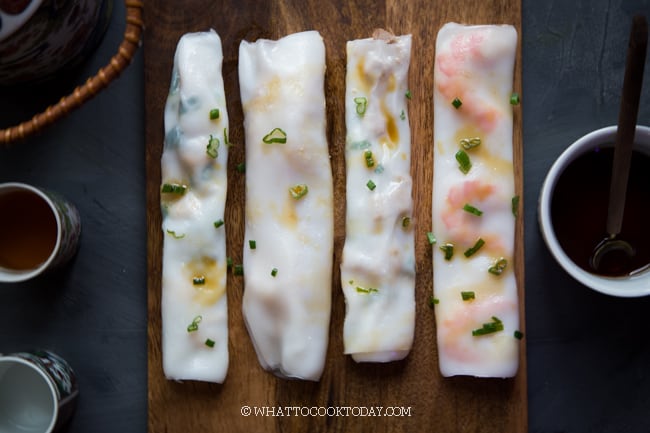
Once you have a good basic recipe for cheung fun, they can be altered by adding filling like shrimp, dried shrimp bits, char siu, Chinese crullers. Some people like to use beef mince too.
COOK TIPS FOR MAKING CHEUNG FUN AT HOME SUCCESSFULLY
1. Making cheung fun is not difficult, but it can be time-consuming. So make sure you do have the time to spare for this project.
2. If you have two of the non-stick pans, that will be great. It will make your workflow faster
3. You most likely need to refill the water in the steamer after steaming few rolls. You can refill the water and make sure to bring it back to a boil again before steaming the cheung fun.
4. Make sure you give the batter a REALLY good stir before ladling it up each time. This is very important or the cheung fun won’t turn out right.
5. Cheung fun needs to be steamed over high heat for 3-5 minutes or they will be sticky and mushy.
TROUBLESHOOTING – WHY STEAMED CHEUNG FUN IS STICKY
Many complaints about the steamed cheung fun is sticky to the pan no matter how long they steam. For the longest time I couldn’t figure this out until I accidentally left the steamed cheung fun on the counter while my kids distracted me with something else. When I went back to roll it up, it was so easy to roll without sticking to the pan. Then I tried this with every roll I steamed and the result was very consistent. When I tried to roll it up right after steaming, the roll was kinda sticky. The key is to let the steamed cheung fun cools down before rolling it. Instead of waiting for it to cool down on its own, here’s what you can do:
1. Fill up your kitchen sink with cold tap water, about 5-8 cm is sufficient. More won’t hurt either
2. After you remove the pan from the steamer, place it directly on the water and let it sit there for about 2 minutes or longer while another one is steaming in the steamer
3. Then roll it up or place the topping you like and roll it up. You’ll be surprised that the sticky issue is no longer an issue 🙂
HOW TO KEEP LEFTOVER CHEUNG FUN
You can store leftover cheung fun in the fridge for up to 3 days max, with an exception on the zha leung cheung fun. The you tiau in there will definitely get soggy and it is best to be consumed the same day they are made. Cheung fun tends to harden after refrigeration. You can simply reheat it by steaming over high heat for 1-2 minute and it will be as good as new again. I do not recommend freezing cheung fun as the texture will deteriorate.
*Recipe was originally published in 2017 and I’ve improved the recipe and process and updated them accordingly on May 23, 2020 by letting the cheung fun to cool down after steaming before rolling to resolve the “sticky” issue that many experienced in the past*
Homemade Cheung Fun (Steamed Rice Noodle Rolls)- 5 Ways
Ingredients
Basic plain cheung fun:
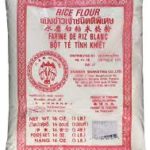
- 120 gr rice flour 1 cup + 2 Tbsp
- 10 gr wheat starch 1 1/2 Tbsp. see notes 1
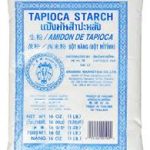
- 10 gr tapioca starch 1 1/2 Tbsp. see notes 2
- ¼ tsp salt
- 15 gr cooking oil 1 Tbsp
- 500 ml water 2 cups
Filling ideas:
- 3 stalks green onion finely chopped
- 15 pieces large shrimp unpeeled, deveined
- 2 Tbsp medium-size dried shrimp + chopped green onion
- 1 Cup Char siu (Chinese bbq pork) + chopped green onion
- 10 pieces You tiau (Chinese fried crullers)
Sauce:
- 2 Tbsp soy sauce
- 2 tsp sugar adjust accordingly to your taste
- 2 tsp sesame oil
- 2 Tbsp water
Instructions
Prepare the sauce:
- Place all ingredients for the sauce in a small saucepan and bring to a boil and cook until the sugar melts. Remove from the heat and let it cool down while you make cheung fun
For basic plain cheung fun:
- Prepare a steamer (big enough to harbor an 8 inches tray). Put a metal trivet on top. Pour water in, not touching the metal trivet. Bring the water to a rolling boil
- Mix all the ingredients for the batter. You can add in chopped green onion here in the batter too. In the video, I sprinkled it on after steaming the cheung fun. The green color is prettier this way, it's up to you. Stir until it is well-mixed and no lumps
- Place the empty pan in the steamer, cover with the lid and steam for about 1-2 minutes. This depends on the thickness of your pan.
- Give the batter a good stir EVERY TIME before you ladle it up and also check water level and see if you need to refill before starting to steam. You cannot refill water when you are in the middle of steaming the cheung fun. Make sure to bring the water back to a boil again
- Pour the batter on the preheated pan, you’ll need about 3-4 Tbsp of batter (or a bit more) for 8-inch square pan (this depends on the size of your pan too)
- The batter may dance around a bit because of the non-stick surface. No worries. Wear a heat-proof kitchen glove and gently swirl the pan to make sure the batter is covering the base of the pan
- Cover with a lid and steam for 3-5 minutes (5 minutes if you have a large pan). You may need to experiment with the timing, but it should be between 3-5 minutes
- The cheung fun will turn slightly translucent and bubbly on certain spots
Fill up kitchen sink with cold tap water:
- While the cheung fun is steaming, fill up your kitchen sink with about 5-8 cm of cold tap water
Cool down the cheung fun (this will resolve the sticky issue):
- Remove the pan from the steamer and place it on top of the water you filled up in the sink and let it cool down there for 2 minutes or so. This step is very important. The roll will be sticky if you try to roll it when it's warm
Roll the cheung fun:
- Use a rubber spatula to gently roll it up or fold it up from one end. I folded the cheung fun in this photo. The roll shouldn't stick to the pan anymore
- This is how it looks like all folded up
- Look at how clean the pan is after steaming. Nothing stick to it. If the batter sticks to your pan, that means you need to steam it longer
- Put the empty pan back into the steamer and steam for another 1 minute. Repeat this before steaming the rice rolls. Trust me, it’s worth the effort!
- Repeat the process again and DO NOT FORGET TO GIVE THE BATTER A GOOD STIR EACH TIME. The flour tends to settle at the bottom after a while. If you don’t give it a stir, your cheung fun won’t come out right
For shrimp cheung fun:
- Prepare the shrimp. Do not peel the shells. Run a kitchen shear along the back of the shrimp. Remove the black vein. Steam the shrimp over high heat for 5 minutes or until pinkish in color. Peel the shells and split the shrimp into half

- Pour the batter on the preheated pan, you’ll need about 1 1/2 cups of batter (this depends on the size of your pan too)
- Cover with a lid and steam for 3-5 minutes. Remove from the pan from the steamer and place on a cold water you fill up in the sink for about 2 minutes. Then arrange the shrimp as shown in the photos and fold over. You can arrange only 3 shrimps (like I did in the video) if you don't want too many shrimps in one roll, it's up to you

For dried shrimp cheung fun:
- Soak dried shrimp in hot water for 5 minutes or until soft.
- Pour the batter on the preheated pan, you’ll need about 3-4 tablespoons (about 50-60 ml) of batter (this depends on the size of your pan too). Steam over high heat for 2 minutes. Sprinkle the dried shrimp and chopped green onion evenly on top. Cover the steamer and steam for another 2 minutes and then remove from the steamer and place in the cold water you filled up in the kitchen sink for 2 minutes. Then roll it up

For ground meat cheung fun:
- Marinate the ground meat (usually pork or beef) in the seasoning of your choice.
- Pour the batter on the preheated pan, you’ll need about 3-4 tablespoons (about 50-60 ml) of batter (this depends on the size of your pan too). Steam over high heat for 2 minutes. Sprinkle about 1 Tbsp of the ground meat and chopped green onion evenly on top. Cover the steamer and steam for another 2 minutes and then remove from the steamer and place in the cold water you filled up in the kitchen sink for 2 minutes. Then roll it up
For char siu cheung fun:
- Pour the batter on the preheated pan, you’ll need about 1 1/2 cups of batter (this depends on the size of your pan too). Steam over high heat for 3-5 minutes. Sprinkle the chopped char siu and chopped green onion and then remove from the steamer and place in the cold water you filled up in the kitchen sink for 2 minutes and roll it up

For zha leung cheung fun:
- Pour the batter on the preheated pan, you’ll need about 1 1/2 cups of batter (this depends on the size of your pan too). Steam over high heat for 3-5 minutes. Remove from the steamer and place in the cold water you filled up in the kitchen sink for 2 minutes. Place one you tiau / Chinese fried dough (I actually split into half, but you can use the whole thing) and then roll up

Keep them warm before serving:
- While you are still steaming the rest of the cheung fun, place each roll on a lightly oiled plate and loosely tent the plate with an aluminum foil and keep them warm in the oven. You can also keep it warm in another steamer on the lowest heat, if you have another one set up
Serving:
- Serve cheung fun with sauce drizzle on top or on the side. Sprinkle with more chopped green onion if you wish
RECOMMEDED TOOLS
Marv's Recipe Notes
- Try not to substitute wheat starch with other starch. The wheat starch really makes the cheung fun texture soft yet resilient. If you absolutely can't find wheat starch, you can substitute with tapioca starch, though not my favorite sub, but the closest.
- I added a little bit of tapioca starch to the batter as it makes the cheung fun more resilient and doesn't tear easily. I don't like too much of tapioca starch in the cheung fun because it makes the cheung fun too chewy and firm. Cheung fun supposed to be soft and you will love the texture of this cheung fun.



115 comments
Hi Marv, I made the cheong fun again, just enjoying too much. That grip thingy is referred as “canning tongs” or “canning jar lifter” … thought you might like to know.
Hi Marv, Thanks a million, finally I made them. So quick and easy, with 2 square bake pans! I didn’t have to touch the hot bake pan, I use a “flat grip holder” (can’t think of a name) to grip the square bake pan two sides to swirl the batter … 1/3 cup of batter is sufficient for one roll. Once again, terima kasih for such easy recipes!!
Yay!!! so glad you made them and they turn out well for you! the process goes much better when you do 2 pans and yes, the grip thing, I’m not sure what they call that LOL! but yes, that helps a lot!! Thank you for your feedback 🙂
What do I do if I don’t have wheat starch? Can I substitute with more tapioca starch?
Hi Christine, yes you can substitute with more tapioca starch. The cheung fun will be a bit chewier in texture.
Hello! I referred to your recipe to make cheung fun the other day. Thank you very much for your advice! I’m trying to recreate the cheung fun I had in California, which was practically falling apart from how tender it was. I made the cheung fun with rice flour, wheat starch, salt, sesame oil, water, green onion, and sugar, dressed with light soy sauce. I felt that the cheung fun had the texture and taste from the California cheung fun, but it took me a long time to make because I used a thick pan for steaming. Next time, I’ll try a plate or non-stick pan.
Could you please tell me more about the starches? Did you try potato starch and if so, how did it impact the result?
Hi Nicole, yes, try a different pan, preferably not too thick so it cooks more evenly and faster. I haven’t tried replacing wheat starch with potato starch yet, but I think it should work too.
Hi Marv,
I made your Cheung Fan on Chinese New Year and they turned out so beautiful and delicious! I tried them before, it never worked, but you described everything so well!! Thank you for that! I made a blog post with them and tagged you!
https://pane-bistecca.com/2021/02/16/homemade-cheung-fun-meat-filled-steamed-rice-noodle-rolls/
Thanks again, now we will have the Cheung Fan more often!
Greets Wilma
I’m so glad it worked out for you 🙂
Wow your recipe is the best and your tips of leaving the mould in cold water really makes the rolling task much easiwe. Thank you
Hi Gigi,
I’m glad you find the tips helpful 🙂