This post may contain affiliate links. Please read our disclosure policy.
Learn how to bake these light-as-air chocolate chiffon cupcakes that do not deflate after baking. They are perfect as is. You can also fill them with cream and decorate them with frosting.

If you have wanted to bake a chiffon cake but don’t own a chiffon tube pan, these chiffon cupcakes can be baked using a muffin pan or sturdy muffin liners that can be used without a muffin pan.
Why you’ll love this recipe
1. Soft fluffy texture
The chiffon cupcakes have an incredibly soft and fluffy texture. They are light as air!!
2. Low in sugar
This chiffon cupcake recipe is low in sugar. So I don’t recommend cutting down on sugar anymore
3. Maintain its shape and do not sink
The recipe yields chiffon cupcakes that do not sink in the middle.
Ingredients and substitutions
1. Cake flour
I highly recommend using cake flour over all-purpose flour.
2. Melted chocolate
You can use milk chocolate, semi-sweet chocolate, or dark chocolate. You can even use Nutella if that’s what is convenient for you
3. Unsweetened cocoa powder
You can use Dutch-processed or regular unsweetened cocoa powder
4. Sugar
I use granulated sugar. You can also use caster sugar
5. Oil
I use neutral-tasting oil like avocado oil. You can use any oil you like
6. Eggs
I use large-size eggs that weigh about 58-60 grams each with its shell
7. Milk
You can use dairy or non-dairy milk
8. Lemon juice
You can also use vinegar or cream of tartar

Chocolate Chiffon Cupcake
Ingredients
For cake batter:
- 40 g egg yolks from 2 large eggs
- 30 g whole milk
- 20 g oil
- 10 g semi-sweet chocolate chips melted
- 24 g cake flour
- 7 g unsweetened cocoa powder
- ⅛ tsp salt
Meringue:
- 60 g egg whites from 2 large eggs
- 30 g sugar
- ½ tsp lemon juice or vinegar or 1/4 tsp cream of tartar
Instructions
Prepare cake batter:
- If you want a non-chocolate version, please see notes for details
- Get the eggs out of the fridge and separate them when they are still cold. They are easier to separate when they are cold.
- Place the egg whites in a clean mixing bowl. I use a stand mixer with a whisk attachment to whip the egg whites. Put the egg yolks in a separate mixing bowl. You will have trouble whipping your meringue if there's a trace of grease in your utensils or bowls
- Let the yolks and the whites come to room temperature, this may take about 30 minutes or so
- Preheat your oven to 250 F (120 C) for a conventional oven. If you have a convection oven, preheat to 230 F (110 C). Place the oven rack 4th from the top (or adjust accordingly, you will know your oven best)
- I use a standard muffin pan that can make 12 muffins. Put the muffin liners inside the pan. If you use sturdy muffin liners, you can use those without the muffin pan. Arrange those cups on top of a baking pan
- Put the chocolate chips in a heat proof bowl or microwave on high for a 5-10 seconds, just until it starts to melt
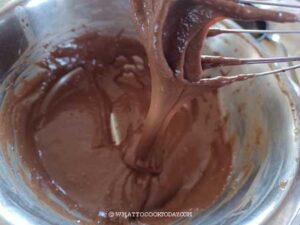
- Place egg yolks, milk, oil, melted chocolate, and cocoa powder in a mixing bowl. Whisk to combine. The batter is thick but flowy

Prepare meringue:
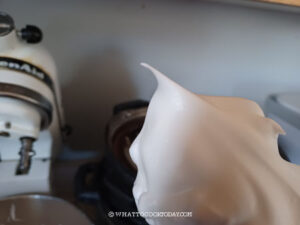
- Beat the egg whites on medium speed until frothy, add cream of tartar or lemon juice/vinegar and whip until it turns whitish and air bubbles are fine. Gradually add the sugar as you beat, in 3 batches. I beat them at medium speed (speed 6 on Kitchen Aid). This will take a bit longer compared to beating at high speed. I used to do higher speed (speed 8), but the meringue is smoother and nicer when I maintain the speed on 6 and much more stable too. I highly recommend stopping several times to check on the consistency and scraping the sides of the bowl to make sure no sugar left on the side of the bowl. Whip until you reach a firm peak but still have a slight bent on the tip. Then lower the speed to 4 and whip for 1 minute to even out large bubbles and stop beating

Fold meringue into the cake batter:
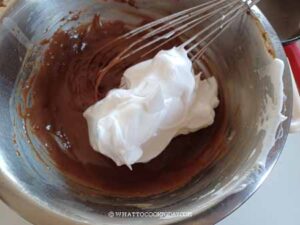
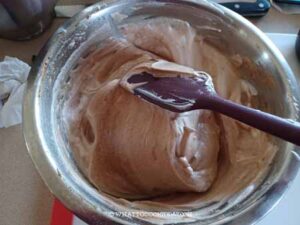
- Gently fold 1/3 of the meringue into the thick batter. Using a whisk, using a cutting motion and fold over to mix. Repeat this motion several rounds. Continue on with the second 1/3 of the meringue again to mix.


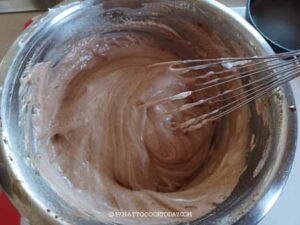
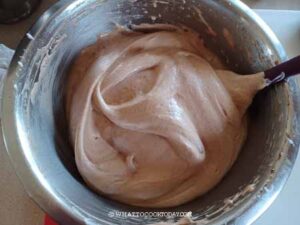
- For the last 1/3 of the meringue, use a rubber spatula instead to ensure you get all the batter at the bottom of the bowl mixed in as well. Use a cut down in the middle and fold over motion to fold gently but quickly. Make sure you don't see any more white meringue.

- The mixture should be fluffy and voluminous.

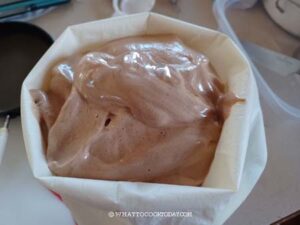
- Transfer the batter into a piping bag.

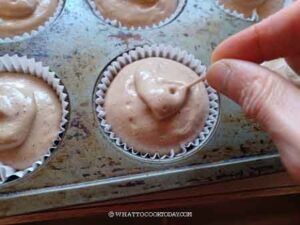
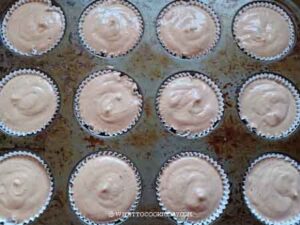
- Fill the muffin cup about 3/4 full. You may get 10-12 cupcakes. Use a toothpick to draw a zigzag on each cupcake to pop large air bubbles. Gently tap the muffin pan on the counter a few times


Baking: (pay attention to the temperature settings)
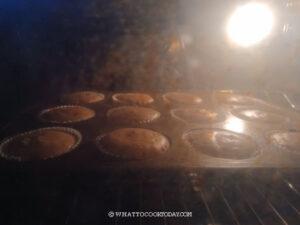
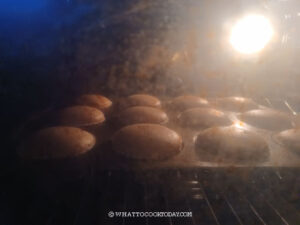
- In order for the chiffon cupcakes not to sink in the middle after they have cooled down and to prevent cracking on top of the cupcakes, we need to start with a low baking temperature and gradually increase. Here are 4 temperature adjustments I did and it worked really well for my conventional oven.Start baking at 250 F (120C) for 20 minutes. Then increase temperature to 270 F (130 C) for 5 minutes. Then increase temperature to 300 F (150 C) for 15 minutes. Then increase temperature to 330 F (165 C) for 5-10 minutes. The total baking time is about 45 – 50 minutes. About 45 minutes for me. For convection oven, lower all temperature setting by 20 F (15 C)


Test for doneness:
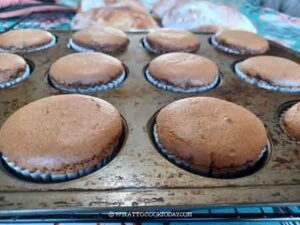
- If you insert a toothpick inside the cake and no crumbs stick to it or very minimal crumbs, it is safe to say that the cake is cooked through. You can also touch the top and if it springs back and dry to touch, it's a good sign that it's cooked through. The top should be golden brown. If the cupcakes aren't baked through yet, add another 5 minutes and check again

- If there are cracks on the surface of the cupcakes, you may have beaten the meringue too stiff and dry and/or your oven maybe a bit too hot. Take notes on what happen and you can try to adjust the temperature next time or move your oven rack down a bit. You know your oven better
Cooling:
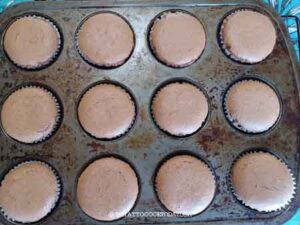
- Remove the muffin pan from the oven and drop it on the counter once. Set the muffin pan on top of the cooling rack and let the chiffon cupcakes cool down in there. You don't need to remove them from the muffin pan yet. If you beat the meringue correctly and the cupcakes are fully baked, they may shrink just a tiny bit, but the center of the cupcake won't sink.Underbaked chiffon cupcakes will sink in the center

To serve:
- The chiffon cupcakes can be filled with cream and decorated with frostings if you like. You can also do a hot stamping on the surface
To do hot stamping:
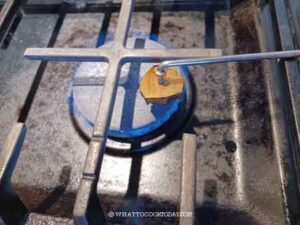
- Preheat the metal hot stamp over medium heat on the stove for about 60-70 seconds

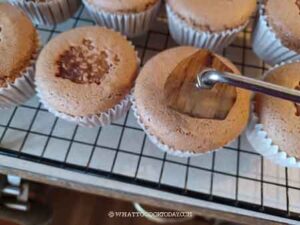
- Gently stamp it on the chiffon cupcakes, gently pushing the stamp down a bit and then pull the stamp away. I can stamp about 2 cupcakes before reheating the metal stamp again. If your metal hot stamp isn't hot enough, the stamp won't be as clear and there is a chance the "skin" on the chiffon cupcakes surface may rip when you pull the stamp away

Storage:
- The chiffon cupcakes can be stored in an air-tight container for about 3 days. I have also kept them frozen. I wrap each one in a cling wrap and put them in a freezer-friendly container or bag. Simply thaw at room temperature before serving or filling it and decorating with frosting
RECOMMEDED TOOLS
Marv’s Recipe Notes
*Nutrition facts are just estimates and calculated using online tools*

Did you make this chocolate chiffon cupcake recipe?
I love it when you guys snap a photo and tag it to show me what you’ve made. Simply tag me @WhatToCookToday #WhatToCookToday on Instagram and I’ll be sure to stop by and take a peek for real!



2 comments
Thank you for the recipe. Will definitely try it out since cupcake versions are kids-friendly and easier to serve during Hari Raya. If we want to make a lemon-vanilla version, could you advise what modifications we need to make to the recipe.
Hi Iris, You can use the recipe for my lemon chiffon cake https://whattocooktoday.com/lemon-chiffon-cake.html But you only need half of the recipe to give you about 10-12 cupcakes (depends on the size of your muffin tin or your baking cups too). You can follow the baking temperature for this chocolate chiffon cupcake.