This post may contain affiliate links. Please read our disclosure policy.
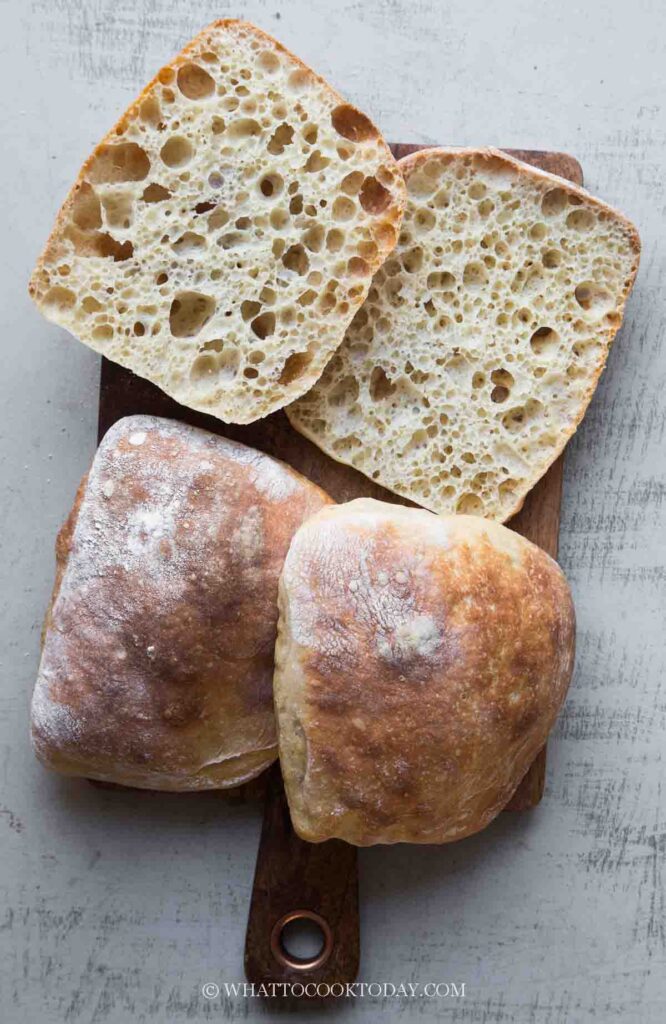
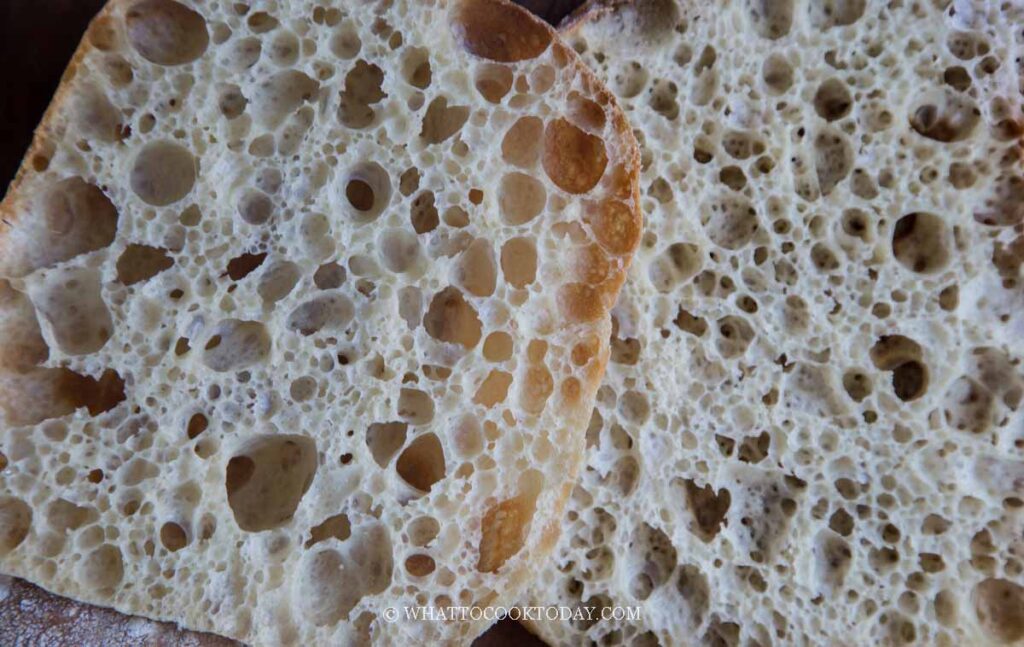
You can make this easy ciabatta that has a rustic look with its thin crisp crust and soft airy crumbs at home without kneading.
What is ciabatta ?
You probably don’t need an introduction from me of what ciabatta bread is. This popular Italian bread that looks like slippers (that what ciabatta means in Italian) is known for its chewy texture and porous crumb. Ciabatta is typically made with just a few simple ingredients, flour, water, yeast, salt, and sometimes a bit of oil is added. This simplicity allows the flavor of the bread to shine through.
Ingredients
Ciabatta only needs 4-5 ingredients to make. You probably have most of the ingredients at your pantry already.
1. Bread flour
I use King Arthur’s bread flour, which has 12.7% protein content. I don’t recommend using all-purpose flour as the protein content can range from 10-12%
2. Instant yeast
I use SAF instant yeast
3. Salt
I use fine sea salt
4. Oil
You can use any oil of your choice. I usually use avocado oil
5. Water
Easy No-Knead Ciabatta
Ingredients
- 350 g bread flour (12.7% protein content) plus more for dusting
- 315 g water
- 7 g fine sea salt
- 3 g instant yeast
- 10 g oil
Instructions
- These are helpful things to have for shaping, transferring the dough, and baking ciabatta bread (or pretty much other artisan bread): baker's couche, baking stone, baker's peel, cast iron pan
Prepare the dough:
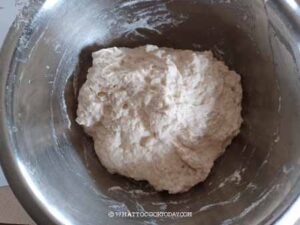
- Combine all the ingredients in a mixing bowl using a sturdy spatula. Don't use your hands. This is a very wet dough. Make sure there is no more visible dry flour. Cover and let it rest for 30 minutes

4 sets of stretch and folds every 30 minutes:
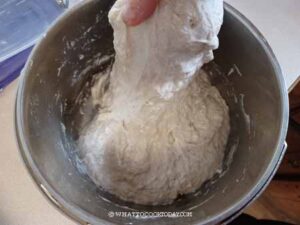
- After the rest, lightly wet your fingers, scoop and grab the edge of the dough from the bottom and gently wiggle it up to stretch it as far as it allows you to (don't force it and tear the dough)

- Then fold over to the center. Repeat this with the next edge. You can probably do about 4-5 stretches and folds for this first round.

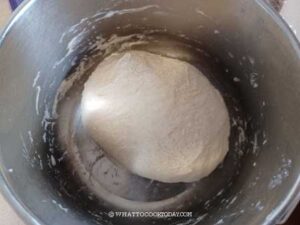
- Round it up into a dough ball with the smooth side up. Cover it back again and rest for another 30 minutes

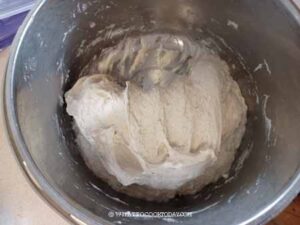
- Perform the second and third set of stretch and fold like you did before. Notice the dough gets stronger now and not as slack. It won't allow you to stretch as far as the first round. You can probably do about 4 stretches and folds each round.
To bake on the same day:
- After the 4th set of stretch and fold, cover and let the dough proof until it doubles in size at a warm place, this may take 30 minutes to 1 hour or longer and then proceed to the shaping step after that
If not baking on the same day:
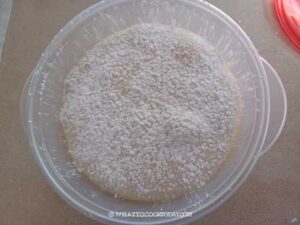
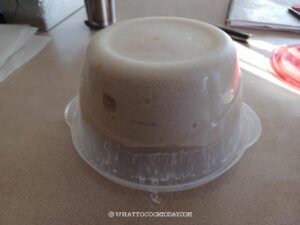
- After the 4th set of stretch and fold, transfer to a lightly oiled container with a tight-fitting lid, to prevent sticking. Put this in the fridge to let it cold ferment for 12-16 hours and then proceed to the shaping step after that
Shaping:
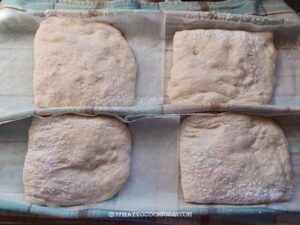
- Prepare a baker's couche or a large stiff linen that can help to support the ciabatta during proofing so the dough won't lose its shape
- Generously flour the couche to prevent sticking
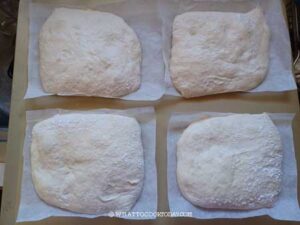
- I also cut four pieces of parchment paper, about 6-7 inches square to put the ciabatta on top
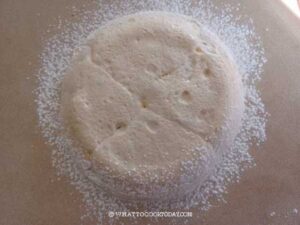
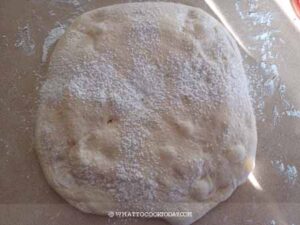
- Dust your work surface with flour. Dust the top of the proofed dough with some flour too.

- Tip the bowl/container upside down to let the dough slowly release and plop down onto the work surface.

- Sprinkle some flour around the edges of the dough

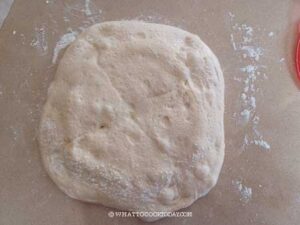
- Gently stretch the dough out a bit to make it more squarish in shape

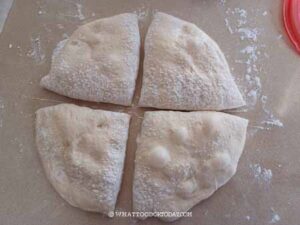
- We will divide the dough into 4 equal sizes. I dust the dough along the axis, the place where I will cut the dough using a bench knife, to prevent sticking.


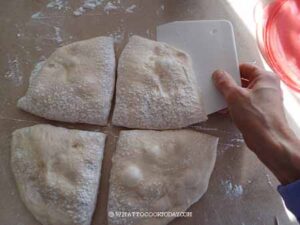
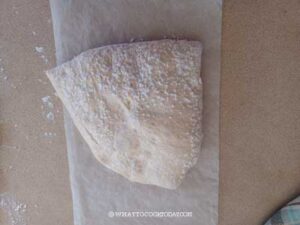
- After cutting use a bench knife to help you shape the dough to make it more square in shape and again, use a bench knife to help you gently scoop the dough and place it on top of a parchment paper you cut earlier, top-side down.


- Repeat this with the rest of the three doughs. Pleat the couche in between dough to support the sides as they proof so they won't spread out and lose its shape

Final proofing:
- Let the dough proof again at a warm place until they are really puffy, about 45 minutes to one hour. This will take longer if your dough has been in the fridge before

Baking with steam:
- UPDATE (read my short post below why I use this safer method): Put a baking stone or baking steel inside the oven's middle rack and a cast iron pan next to it (not on the baking stone/steel). Fill up the cast iron pan with about 2 cups of water (room temperature water is fine). Start preheating the oven with the baking stone and a cast iron pan filled with water inside the oven, to 500 F (260C) for conventional oven, 475 F (250 C) for convection oven for at least 30 minutes.
- If your cast iron pan is too large, you can put in one rack below it, but more to the side, not directly underneath the baking stone/steel so the steam can easily reach the bread during baking
- Carefully slide the proofed ciabatta onto a baking peel. Make sure to protect your arms with oven mittens. Open the oven door and carefully slide the dough onto the baking stone, two at a time. Work quickly, but don't rush and be careful! After all four doughs are in, quickly close the oven door to prevent the steam from escaping too much

- Reduce temperature to 475 F (250 C) and bake with the steam for 15 minutes. For convection oven, reduce by 20 F (15 C). Then carefully remove the cast iron pan and reduce the temperature to 450 F (230 C) for conventional oven. Lower the temperature by 20 F (15 C) for convection oven and bake for another 5 minutes or until the bread is golden brown. The internal temperature should be at least 200 F (93 C)
Cool down:
- Remove from the oven and transfer to a cooling rack to let them cool down completely before slicing
RECOMMEDED TOOLS
*Nutrition facts are just estimates and calculated using online tools*
Do I have to bake with a steam ?
If you ask me, I would say a big YES! Baking with steam gives you the best result. So, I highly recommend it. The steam helps the bread to rise and also gives that thin crispy crust. The part I don’t like about baking with a steam is pouring hot water into the pan, so I modified the process to make it a bit safer. The chance of getting burned is also higher. Some people throw some ice cubes into the hot pan and I’ve seen people shattered their oven glass door because ice cubes drop on the glass door (ouch!). So, instead of pouring hot water into the pan or throwing ice cubes into the hot pan, I preheat the oven with the pan already filled with water. The water gets boiled as the oven is preheating. It also creates steam this way. For this modified method to work really well, you have to use cast iron pan. Because it retains heat very well and generates constant steam throughout the baking time.
I love how open the crumbs are and the crust is perfectly thin and crisp!
Helpful tools to have for baking ciabatta bread
If you bake your bread often, especially artisan bread, these few items may be a good purchase:
1. Baking stone
Some call it Pizza Stone. I like the rectangle shape instead of the round. It has more room for the dough. I don’t buy it for just baking pizza. I use it to bake other artisan bread too
2. Baker’s peel
This is useful when it comes to transferring dough to the baking stone and removing baked bread from the baking stone. Its long handle, minimizes your exposure to the high heat from the oven. Before I have this, I flip my large baking sheet so it becomes rimless and use it to “slide” the dough onto the baking stone. It’s not ideal but it worked okay, but the risk of getting burned is also higher that way. So, I highly recommend getting one
3. Couche
This couche is to support the dough so it won’t lose its shape during proofing. If you don’t want to purchase any, just use and large sturdy linen tea towel. Make sure it’s 100% linen so the dough won’t stick to it
4. Cast iron pan
I strongly suggest using a cast iron pan because it retains heat very well and it generates steam well inside the oven. I used to use my old regular metal loaf pan, but it didn’t work as well compared to cast iron
How to store ciabatta bread
1. Let the bread cool down completely
2. Loosely wrap the bread with a clean and dry kitchen towel or paper bag. Don’t wrap the bread with a cling wrap as it makes the bread soggy
3. Keep it stored at room temperature for 2-3 days in a cool dry place. They are best consumed in 2-3 days
4. For longer storage, wrap them in aluminum foil and put them inside a freezer bag, push all the air out, and seal the bag. I suggest not keeping them frozen for more than one month for the best quality.
How to reheat ciabatta bread
1. If it has been kept frozen, thaw at room temperature (do not refreeze again after that). Mist with a bit of water and then reheat in a preheated oven at 350 F (180 C) for 8-10 minutes
2. If it has been kept at room temperature, mist it with a bit of water and reheat it in a preheated oven at 340 F (180 C) for 5-8 minutes or until heated through
Did you make this easy no-knead ciabatta recipe?
I love it when you guys snap a photo and tag it to show me what you’ve made. Simply tag me @WhatToCookToday #WhatToCookToday on Instagram and I’ll be sure to stop by and take a peek for real!

