This post may contain affiliate links. Please read our disclosure policy.
Christmas cut-out sugar cookies are more than just a dessert — they’re an opportunity to create cherished holiday memories with family and friends. These are easy cut out sugar cookies that are great to be decorated with just sprinkles or frosted with icing.
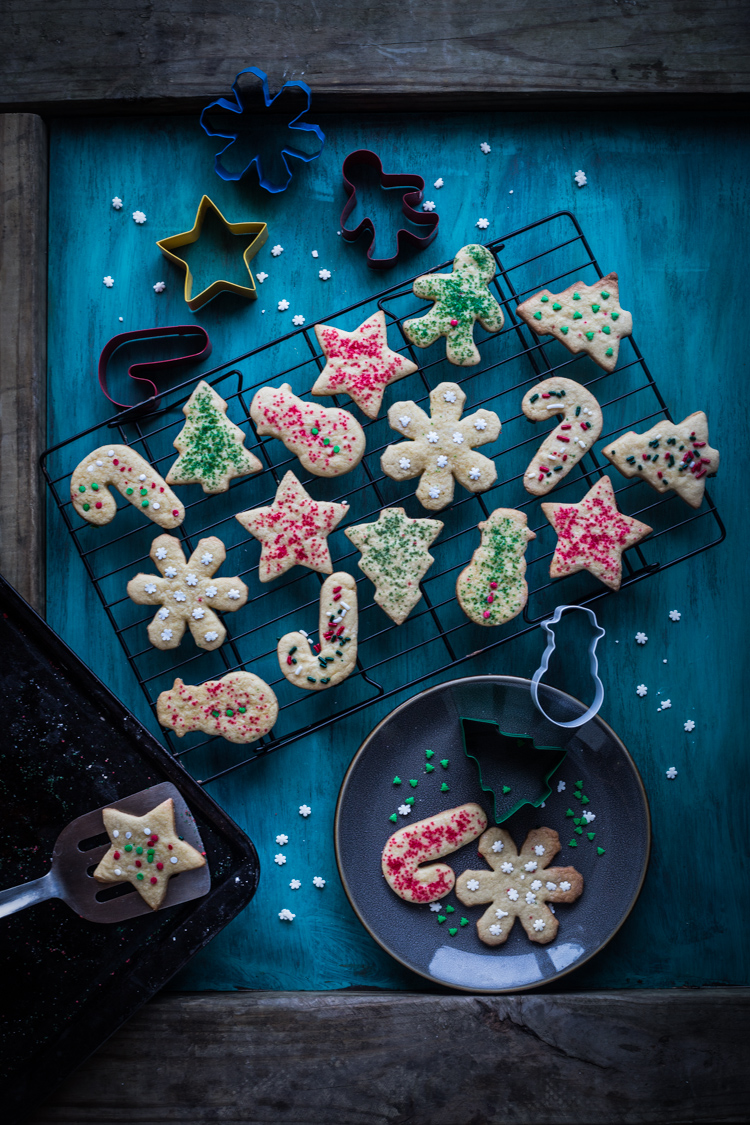
Christmas cut-out sugar cookies are a beloved holiday tradition, combining the joy of baking with the creativity of decorating. Whether you prefer delicately piped royal icing designs or the simplicity of sparkling decorative sugar, these cookies will surely delight everyone. My kids always look forward to this every holiday season. It’s just not the same without it

Ingredients
These simple ingredients come together to create a cookie dough that is easy to work with and sturdy enough to handle intricate shapes and decorations.
Butter: Adds richness and a tender texture.
Sugar: Provides sweetness and structure.
Egg: Helps bind the dough together.
Vanilla Extract: Infuses a warm, cozy flavor.
Lemon Zest: Adds a subtle, bright citrus note that balances the sweetness.
All-Purpose Flour: The backbone of the dough, providing strength for rolling and cutting.
Salt: Enhances the overall flavor.

Christmas Cut Out Sugar Cookies
Ingredients
- 85 g unsalted butter
- 25 g egg
- ½ tsp pure vanilla extract
- 160 g all-purpose flour plus more for dusting
- ⅛ tsp fine sea salt
- 75 g granulated sugar
- ½ Tbsp lemon zest
For decorating:
- sprinkles and nonpareils
Easy icing: (optional)
- 120 g powdered sugar
- 1 Tbsp milk or more as needed
- ¼ tsp vanilla extract
- Gel food coloring
Instructions
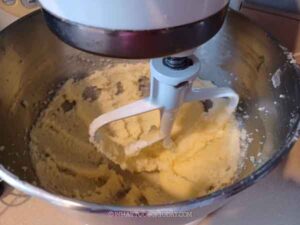
- Softened at room temperature for about 45 minutes before you start making cookies. Whisk the flour and salt in a small bowl. Place the softened butter, sugar,and lemon zest on low speed until the sugar is incorporated. Raise the speed to medium and beat another 2-3 minutes until the color is lighter and fluffy . Cream on high speed until fluffy for about 4 minutes.

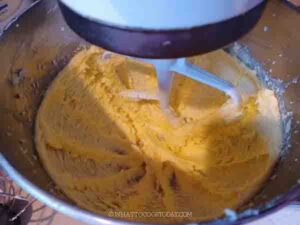
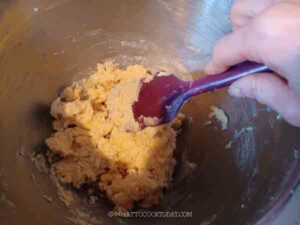
- Add the egg and vanilla and continue beating until just combined.

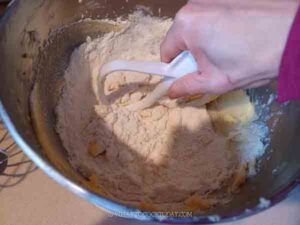
- Reduce the speed to low and gradually add in the flour mixture and beat until just combined


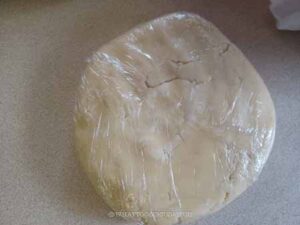
- Transfer the dough to a sheet of plastic wrap and flatten into a thick disc. Wrap them up and refrigerate for at least 2 hours. I left mine overnight in the fridge

When ready to shape and bake:
- When ready to bake the cookies, remove the cookies from the fridge and let it sit at room temperature for about 10 minutes to soften a little bit. Preheat oven to 350 F (180 C) for conventional oven, 330 F (165 C) for convection oven, and position rack in the middle of the oven
- Set the dough on a lightly floured dough mat or a plastic wrap. Lightly flour the dough and your rolling pin. Cover the dough with a plastic wrap to prevent it from cracking when you roll it out. Roll it into about 1/4-inch thick. Use a cookie cutter dipped in flour, to cut it out into different shapes.
- I gather all the cut-out bits here and there and roll it out again and I manage to make few more cookies from that.
- Arrange on ungreased baking sheets, about 1-inch apart. Sprinkle with some decorating sugar and/or nonpareils. Lightly press them on the dough to make sure they adhere to the cookies later. Skip this step if you want to decorate with icing
Bake the cookies:
- I recommend baking one tray at a time. Keep the unbaked tray in the fridge while waiting for the oven. Bake in the oven for about 5 minutes and then rotate the pan and bake another 5 minutes. The cookies should be just lightly golden and the edges just deepened slightly in color.
Cool the cookies:
- Set the cookie sheet on a wire rack and use an offset spatula to lift the cookies onto another cooling rack and let them cool completely
Prepare the icing:
- Combine all the ingredients for icing and stir until smooth and to the consistency that is flowy but not too runny
- Divide into several portions if you plan to color them. Add the gel food coloring and stir to combine
- Transfer to a piping bag or plastic bag, cut off the tip and start icing the cookies. Add sprinkles on top if you want to before the icing hardened
*Nutrition facts are just estimates and calculated using online tools*
Decorating ideas
1. Royal Icing: Create intricate designs by piping outlines, flooding with thin icing, and adding details once the base layer has dried.
2. Decorative Sugar: Sprinkle colored sugar or nonpareils onto the cookies before baking for a simpler approach.
3. Glitter and Gold: For extra glamour, dust with edible glitter or gold leaf.

Tips for Success
1. Use Softened Butter: Ensure the butter is softened but not melted. Softened butter creams better with sugar, leading to a lighter dough.
2. Chill Thoroughly: Cold dough is easier to handle and cuts cleaner shapes. Re-chill scraps before rerolling to avoid overly soft dough.
3. Flour Strategically: Lightly flour your rolling pin and surface to prevent sticking, but avoid over-flouring, which can make the dough dry.
4. Even Thickness: Roll the dough evenly to ensure consistent baking. A rolling pin with adjustable thickness guides can help.
5. Don’t Overbake: Watch for just the edges to turn golden. Overbaking can make the cookies hard rather than tender.
6. Plan Ahead: Allow enough time for chilling, baking, and decorating, especially if you’re using royal icing, which requires time to set.


1 comment
Sugar cookie baking has become a tradition for us as well, we have been baking them together for the past 5 years already, since my son was only 3. 🙂 The time flies by toooo fast, I don’t care much about wrinkles either, but I don’t want my kids to grow up too fast. Merry Christmas!