This post may contain affiliate links. Please read our disclosure policy.
Moist, sticky, and chewy pounded glutinous rice cake is deep-fried and eaten with brown sugar syrup and a sprinkle of roasted soybean flour is a popular Sichuan sweet treat known as hong tang ci ba. The rice can be cooked on the stove or in the pressure cooker.
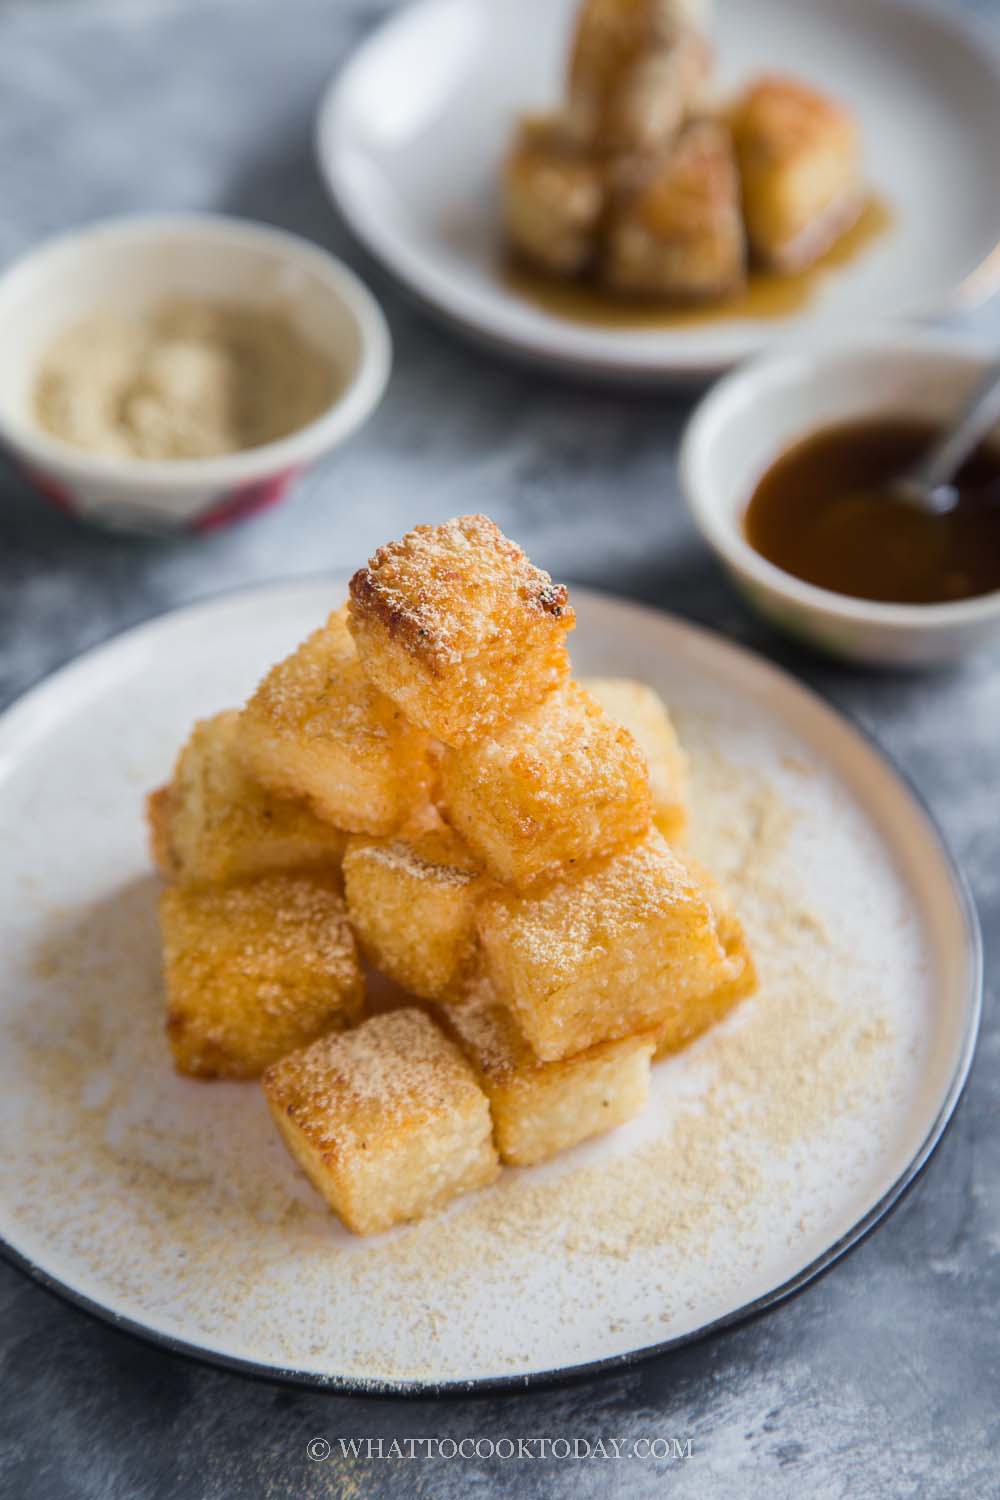
I first learned about fried glutinous rice cake from the Taste of China cookbook by Ken Hom. I was intrigued by the idea of deep-frying the cooked glutinous rice and serving it with sugar. In the cookbook, the fried rice cakes was served by dipping them in white sugar. It was called zong bao in the cookbook. I later learned that there is also a fried glutinous rice cake known as ci ba from the Sichuan province.
What is hong tang ci ba (红糖糍粑)?
Hong tang means brown sugar and ci means sticky and ba means cake. Ci ba is popular in South China, especially in the Sichuan province. They are popular everyday snacks and often seen during a celebration such as the Spring festival (Chinese New Year). The glutinous rice is cooked, pounded, and then molded in a cake pan. The cake is then kept frozen so it is easier to cut into the shapes you want. The rice cakes are deep-fried and served with brown sugar syrup and a sprinkle of roasted soybean flour.
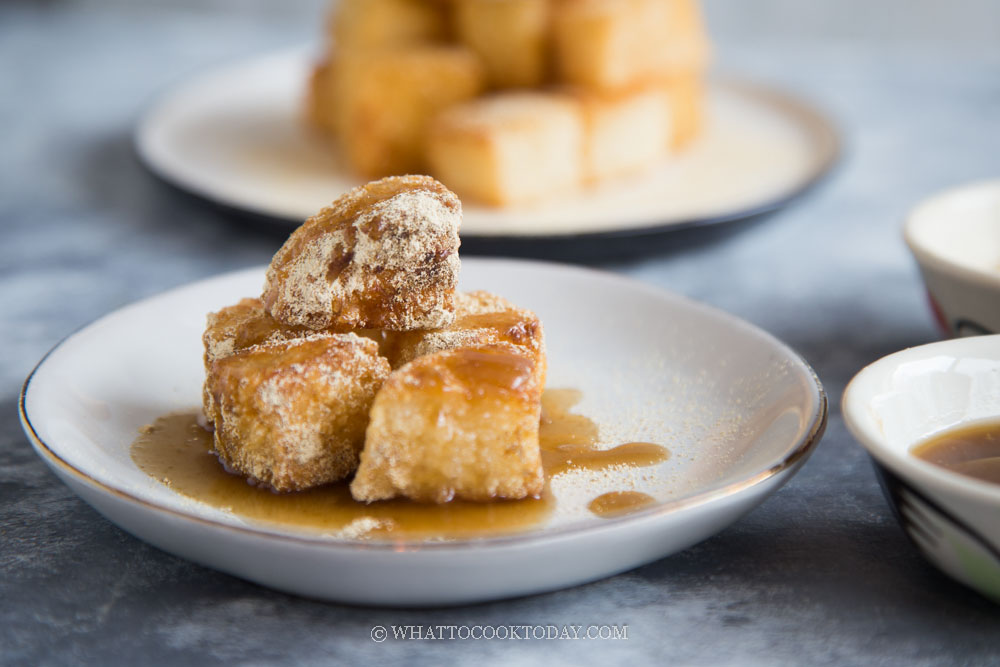
How to make ci ba
The step-by-step photos here were taken when I cooked the rice with a pressure cooker. For the stove-top method, you can refer to the recipe card below.
1. You don’t need to soak the rice. We will cook the rice using the pot-in-pot method. Fill up the inner pot of Instant Pot with 1 cup of water. Put a trivet in there. Put the rice and water inside a container, preferably metal, such as 6-inch round metal cake pan. Make sure the rice is submerged in water
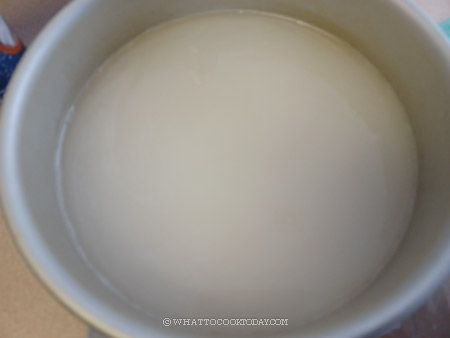
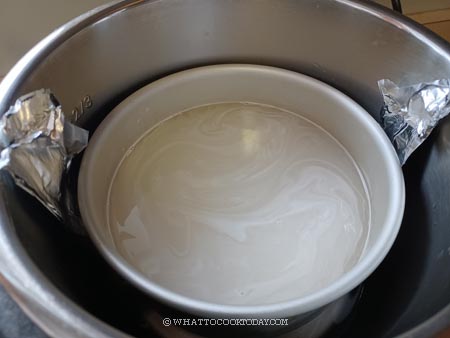
2. Close the lid and turn the steam release valve to sealing. Press “pressure cooker” and make sure it’s on high pressure. Set the timer to 20 minutes and then natural release and proceed to the pounding step
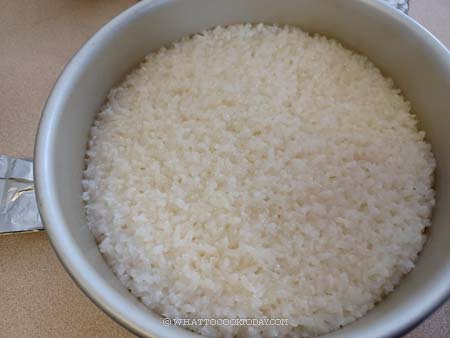
3. Transfer the rice to a large heat-proof mixing bowl, like a stainless steel bowl and use a rolling pin or a pestle if you have one. I wrapped the rolling pin with a cling wrap to manage the “stickiness”. Pound on the rice until it is sort of gooey, but you can still see some bits of the rice grains. I don’t recommend pounding it all the way into a paste consistency because the rice cake will be too soft and doesn’t hold up as well when you fry them. They will fall apart
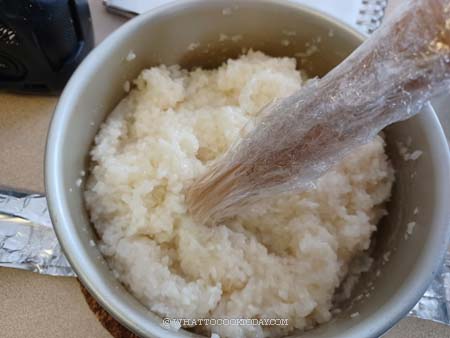
4. Line a square 7 or 8 inch square cake pan with parchment paper
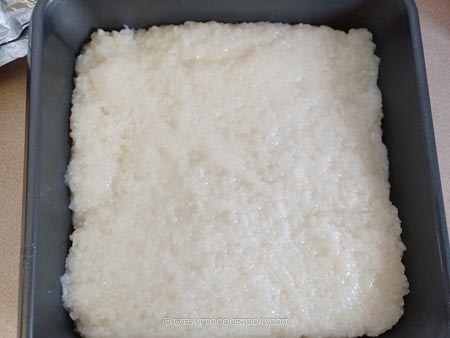
5. Cover the top with another piece of parchment paper and press the rice down to compact and flatten it as much as you can. Keep it covered with parchment paper and keep it chilled in the fridge overnight or in the freezer for at least 4 hours so you can cut it into shapes without much difficulty
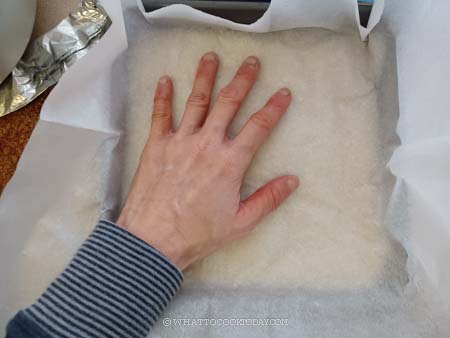
6. Remove the rice cake from the pan by lifting the parchment paper up. Turn the rice onto a chopping board

the rice is firm and doesn’t stick to your fingers after chilling
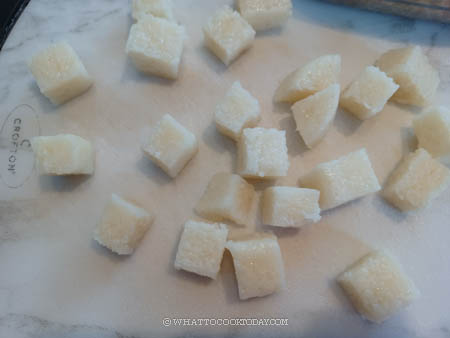
7. Cut into 1-inch cube or strips, it’s up to you. I prefer cubes
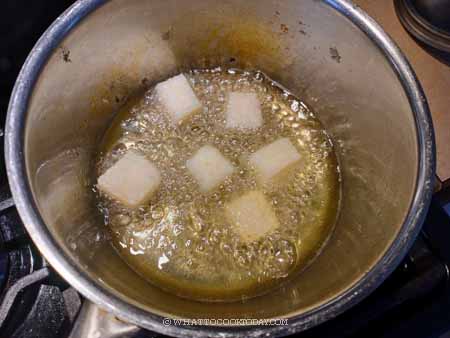
8. Preheat about 2 inches of oil. When you put a skewer into the oil, you’ll see bubbles. The oil is ready. Put the first cube into the oil and let it fry for about 10-15 seconds and then put another one in. Repeat this process and fry in small batches, 4-5 pieces at a time. If you put all of them all at once, they will stick to each other badly. Don’t try to touch them yet during initial frying as they will stick. Let them fry for about 30 seconds or so or until you see a thin crust forms and it won’t be sticky anymore. They will just brown lightly. Remove from the oil to an absorbent paper towel
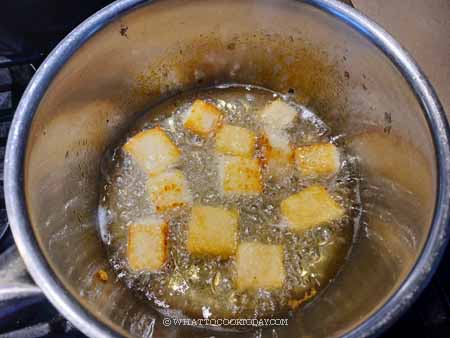
9. Once you are done frying all of them. Bring the oil back to hot. Test with a skewer again. We will fry for the second time. Starting from the first batch you fry earlier. This second round you can fry more as they won’t stick to each other anymore. Fry for another 10-15 seconds. This time they will get more prominent golden brown. Remove to an absorbent paper towel. Frying them twice make them extra crispy and they hold up better too
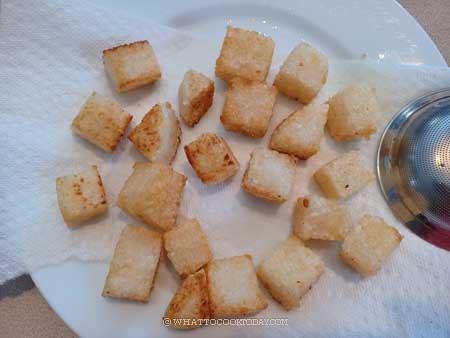
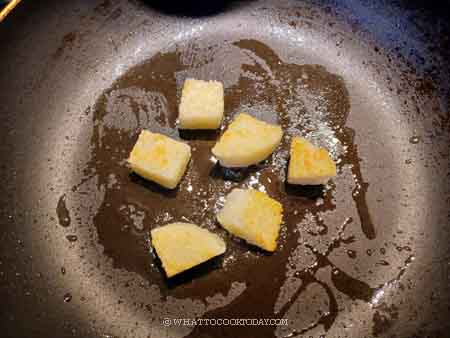
10. If you choose to pan fry: Heat up about 2 Tbsp of oil on a non-stick skillet. Add the rice cake cubes on the pan and pan fry over medium heat until they form crust and lightly golden brown on all 6 sides. Just to let you know that the pan-fried version take a bit longer to cook and the shape and color won’t be as uniform
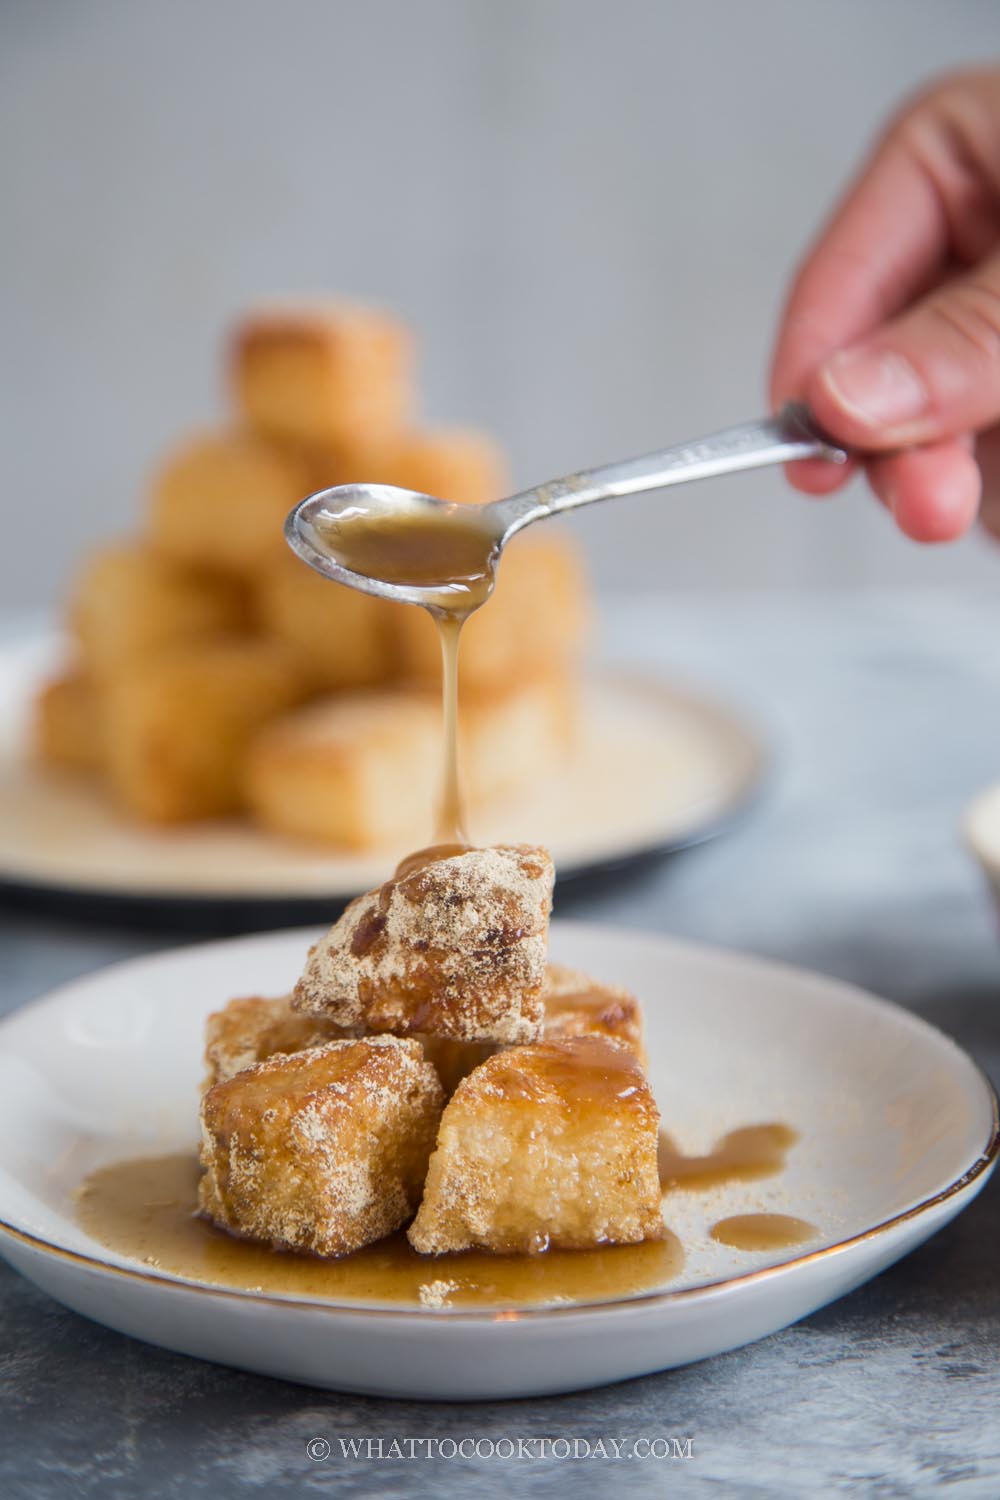
11. Drizzle the rice cake cubes with brown sugar syrup and a sprinkle of roasted soybean flour and serve immediately. Only do this when you are ready to serve as the brown sugar syrup will soften the rice cakes if they are soaked in the syrup for too long
Can you make ci ba with regular rice?
I haven’t tried that myself, but I’m pretty sure you can. I can see it will work with long-grain white rice or sushi rice. I would cook the rice as you normally would, following the instruction on the package and then pound it as called for in the recipe.
Love that contrast of texture in one bite!
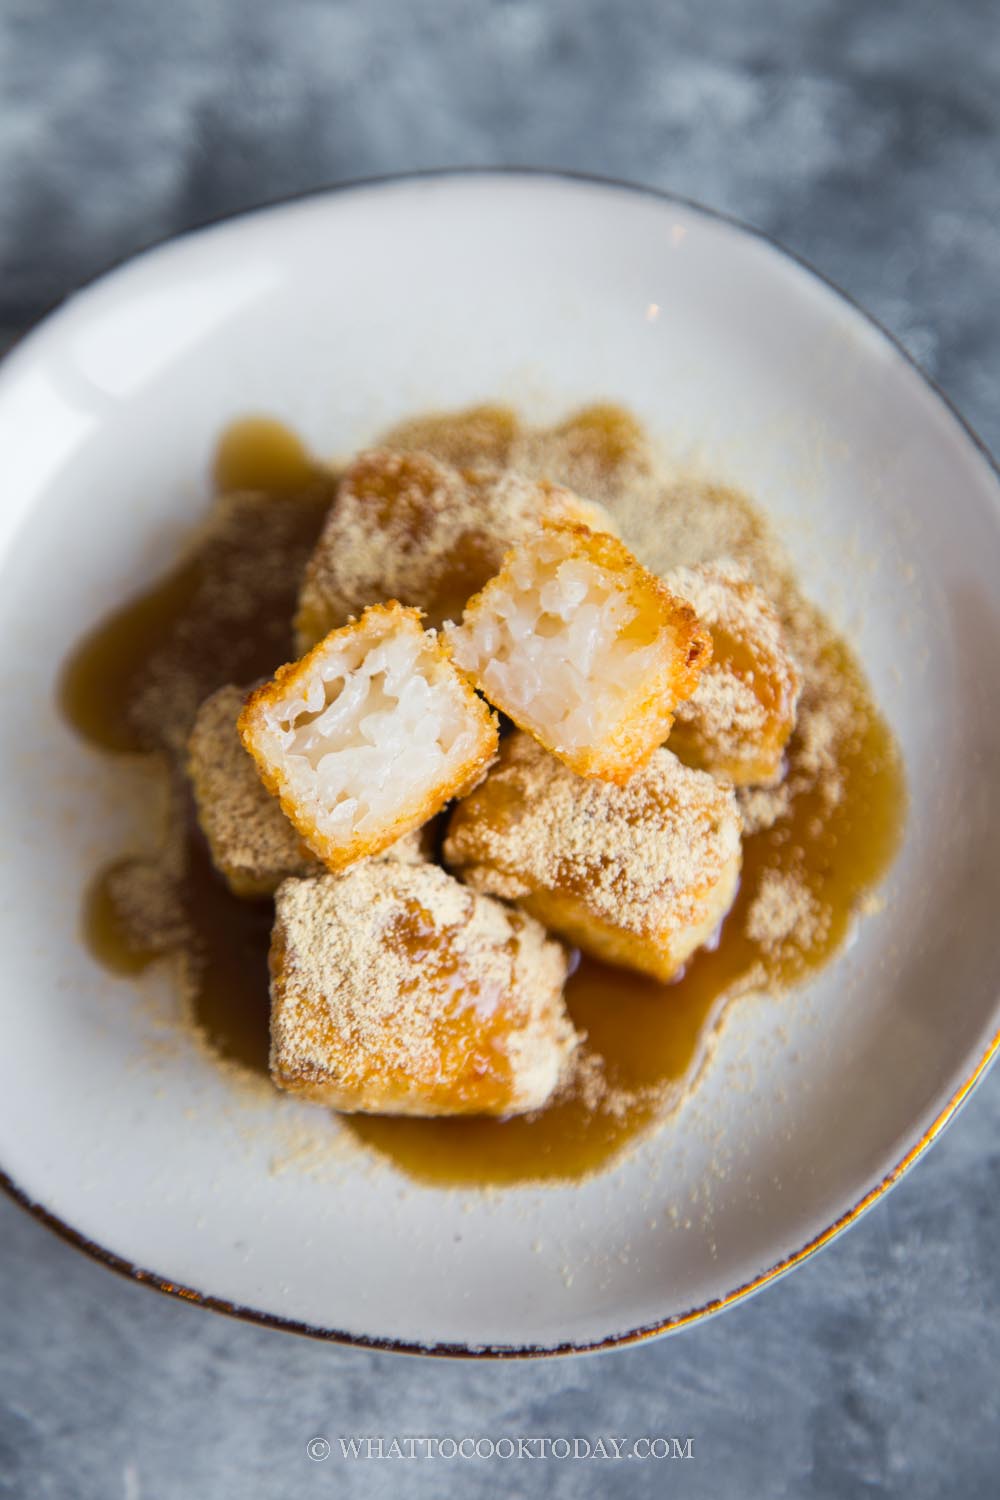
When you first bite into ci ba, it is crusty on the outside but soft and chewy on the inside. Such a great contrast in one bite. The brown sugar syrup and that roasted soybean powder seal the deal. A dessert/snack that doesn’t leave you feeling heavy at all despite being deep-fried and all.
Did you make this hong tang ci ba recipe?
I love it when you guys snap a photo and tag to show me what you’ve made 🙂 Simply tag me @WhatToCookToday #WhatToCookToday on Instagram and I’ll be sure to stop by and take a peek for real!
The recipe was first published in 2011. I have updated the recipe and photos with the version we like better on January 30,2022.
Fried Pounded Glutinous Rice Cake with Brown Sugar Syrup (Hong Tang Ci Ba)
Ingredients
- 250 gr glutinous rice
- 300 gr water if cooking with pressure cooker
- Oil for deep frying
Brown sugar syrup:
- 100 gr brown sugar
- 80 gr water
Serve with:
Instructions
If steaming the rice on the stove:
- In a large bowl, combine the rice with enough cold water to cover it at least by 2 inches. Soak for 4 hours or overnights
- Drain off the soaking water and transfer it into a steaming plate. If you use a bamboo steamer, you don't need a plate. Just line the bottom of the bamboo steamer with a muslin cloth or cheesecloth and scatter the rice on top. Poke a few holes on the rice with your finger so the rice steam evenly. Steam over medium heat for 25-30 minutes or until the rice is cooked through and proceed to the pounding step
If cooking the rice with Instant Pot:
- You don't need to soak the rice. We will cook the rice using the pot-in-pot method. Fill up the inner pot of Instant Pot with 1 cup of water. Put a trivet in there. Put the rice and water inside a container, preferably metal, such as 6-inch round metal cake pan. Make sure the rice is submerged in water
- Close the lid and turn the steam release valve to sealing. Press "pressure cooker" and make sure it's on high pressure. Set the timer to 20 minutes and then natural release and proceed to the pounding step
Pound the rice:
- Transfer the rice to a large heat-proof mixing bowl, like a stainless steel bowl and use a rolling pin or a pestle if you have one, to pound on the rice until it is sort of gooey, but you can still see some bits of the rice grains. I don't recommend pounding it all the way into a paste consistency because the rice cake will be too soft and doesn't hold up as well when you fry them. They will fall apart
Transfer into a pan and chill:
- Line a square 7 or 8 inch square cake pan with parchment paper. Cover the top with another piece of parchment paper and press the rice down to compact and flatten it as much as you can. Keep it covered with a parchment paper and keep it chilled in the fridge overnight or in the freezer for at least 4 hours so you can cut it into shapes without much difficulty
Prepare the brown sugar syrup:
- Put the sugar and water in a saucepan and bring to a boil. Then lower the heat to let it simmer until the syrup is thickened slightly. Remove from the heat. The syrup thickens further when it cools down completely. This can be kept at room temperature for about a week or in the fridge for 2-3 weeks
Cut and deep fry:
- Remove the rice cake from the pan by lifting the parchment paper up. Turn the rice onto a chopping board. Cut into 1-inch cube or strips, it's up to you. I prefer cubes
- Preheat about 2 inches of oil. When you put a skewer into the oil, you'll see bubbles. The oil is ready. Put the first cube into the oil and let it fry for about 10-15 seconds and then put another one in. Repeat this process and fry in small batches, 4-5 pieces at a time. If you put all of them all at once, they will stick to each other badly. Don't try to touch them yet during initial frying as they will stick. Let them fry for about 30 seconds or so or until you see a thin crust forms and it won't be sticky anymore. They will just brown lightly. Remove from the oil to an absorbent paper towel
- Once you are done frying all of them. Bring the oil back to hot. Test with a skewer again. We will fry for the second time. Starting from the first batch you fry earlier. This second round you can fry more as they won't stick to each other anymore. Fry for another 10-15 seconds. This time they will get more prominent golden brown. Remove to an absorbent paper towel. Frying them twice make them extra crispy and they hold up better too
If you choose to pan fry:
- Heat up about 2 Tbsp of oil on a non-stick skillet. Add the rice cake cubes on the pan and pan fry over medium heat until they form crust and lightly golden brown on all 6 sides. Just to let you know that the pan-fried version take a bit longer to cook and the shape and color won't be as uniform
To serve:
- Drizzle the rice cake cubes with brown sugar syrup and a sprinkle of roasted soybean flour and serve immediately. Only do this when you are ready to serve as the brown sugar syrup will soften the rice cakes if they are soaked in the syrup for too long


5 comments
Looks great! All I have is Mesquite Oil to fry in so I made mine with soy sauce, onion and garlic and ate them as a savory dish. But thank you for the steps that you show. I could not have made my version without yours. When I next shop I will purchase Peanut Oil and more Rice so I can try your delicious looking recipe.
Thanks again, have a great day.
PS- I pan fried as my Oil supply was limited. It worked beautifully.
Thank you for stopping by. Great idea to turn it into savory dish. Yes, pan frying will be another great alternative if you don’t want to deep-fry
Hi! Do you think this would be able to be baked, rather than deep-fried? My Mum loves “lor mai”-based things but also needs to watch her health. Thanks!
Hi There,
You know, I’ve never bake this before, so I can’t really tell you how they’ll turn out. But I think you can probably try pan-frying it instead of deep-frying ? I think it will work out really well. The glutinous rice is already cooked, so just need a little browning and to add that extra crispiness and I think you can achieve that with pan-frying. You don’t need that much oil with pan-frying.
nice japanese rice for me