This post may contain affiliate links. Please read our disclosure policy.
Made the best thick and creamy Greek yogurt using Instant Pot using a regular yogurt (if making it for the first time) or using the whey you strained from making Greek yogurt as a starter, with this easy foolproof tutorial. You will have an endless supply of Greek yogurt forever!

MAKING MY OWN GREEK YOGURT SAVE ME LOTS OF MONEY
I go through tubs and tubs of plain Greek yogurt every week. I love Greek yogurt ever since I discovered it. I consume Greek yogurt daily for breakfast, for snacks, in cooking and baking. I am never really a fan of regular yogurt. I think it is too runny for my liking. Eating Greek yogurt is almost like eating Ricotta cheese (which I LOVE so much). It can get pretty pricey especially with how fast I go through them weekly! I think I easily spent about $50 – $60 bucks or probably more, every month just for Greek yogurt! Yikes!
By making my own Greek yogurt, I’m saving quite a bit. Just the cost of a gallon of milk every week and I get about 2 big tubs of Greek yogurt. Sweet eh? I also have so much fun experimenting with different recipes to use up the yogurt whey and also in my beauty and facial care. It’s amazing!
DIFFERENCE BETWEEN REGULAR YOGURT AND GREEK YOGURT
They are pretty much the same thing except that there’s one additional step to Greek yogurt. The yogurt is strained to give you that yellowish cloudy yogurt whey (please don’t throw that away!), which in returns, give you a thick yogurt packed with protein. They whey still contains some active cultures, a bit of protein left, and high in calcium.
WHY YOU WILL LIKE THIS INSTANT POT GREEK YOGURT RECIPE
1. NO OTHER FANCY EQUIPMENT NEEDED
All you need is Instant pot with or without yogurt button and a few other things that you most likely already have at home. If you don’t, they won’t cost you much to get them too.
2. FOOLPROOF
I’ve made Greek yogurt so many times that I’ve lost count and the results had been consistently great and it’s time for me to put it up on the web too 😉
3. CAN BE MADE WITH YOGURT WHEY OR REGULAR YOGURT
The first time I made it, I need to use regular yogurt as a starter, but after that, I have always use the yogurt whey that is so abundant! It’s like I will never run out of Greek yogurt ever again!
4. TASTES SO MUCH BETTER
Homemade Greek yogurt can be adjusted to your preference. The longer you strain, the thicker it is. It also tastes much better than the store-bought Greek yogurt.
WHAT YOU NEED TO MAKE YOUR OWN INSTANT POT GREEK YOGURT AT HOME (NO OTHER SPECIAL EQUIPMENT NEEDED)
1. COW’S MILK
This recipe uses cow’s milk. You can use skim, 1%, 2%, or whole milk to make Greek yogurt. Organic or not. They all work. The only difference is of course in the creaminess. It’s up to you.
2. REGULAR PLAIN GREEK YOGURT WITH LIVE ACTIVE CULTURE (IF MAKING FOR THE FIRST TIME) AS STARTER
Make sure the container of the yogurt mentions that it still has live active cultures. This is usually written on the container of the yogurt. We need those bacterias to culture our homemade yogurt. Make sure it’s plain , not sweetened, and not flavored yogurt. I used plain unsweetened Greek yogurt, since that’s the only yogurt I eat and use.
3. YOGURT WHEY (IF NOT MAKING FOR THE FIRST TIME) AS STARTER
The yellowish cloudy liquid you get from straining the Greek yogurt can be used as a starter (I know! I was thrilled to the max when someone told me they did that!).
4. INSTANT POT
I have 6 quarts Instant Pot duo that has a yogurt button. If you have Instant Pot Lux, you can still make yogurt without the yogurt button
5. THERMOMETER
If you have an instant-read digital thermometer, GREAT! I don’t! I’m still using my regular analog thermometer 🙂 Just to let you know that it works too if you don’t want to get a new one.
6. STRAINER
You can invest in a Greek yogurt strainer, which is not that expensive as a one-time cost. I haven’t and still using a regular metal strainer that I put over a container to collect the yogurt whey.
7. LARGE MIXING BOWL
Just make sure it’s large enough for the strainer to sit on top and deep enough to collect the liquid whey.
8. COFFEE FILTER
Large coffee filter does a wonderful job in filtering the liquid whey out from the Greek yogurt. You can use a large piece of cheesecloth too
Let’s get started, shall we?
HOW TO MAKE INSTANT POT GREEK YOGURT AT HOME (WITH YOGURT FUNCTION)
1. SANITIZE THE INSTANT POT (OPTIONAL)
Simply pour about 4 cups of water into the inner pot. Close the lid and turn the vent to “seal” position. Press “pressure cook” and set the timer to 5 minutes. Release pressure and discard the water
2. HEAT THE MILK (FIRST ROUND)
Pour the milk into the inner pot of instant pot. Close the lid. Vent position doesn’t matter here.

Push the “YOGURT” button and adjust until the screen reads “BOIL“.

When the boiling is ready, the screen will show “YOGT“, roughly about 30-40 minutes

3. MEASURE THE TEMPERATURE
Quickly measure the temperature using the thermometer. It should read 180 F. If it doesn’t, you can press “CANCEL” and then press “SAUTE” button to heat up the milk up to 180 F. Don’t worry, it won’t burn the milk. I’ve done this a dozen time.
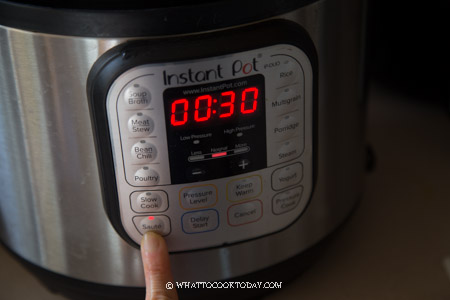
Just be sure you watch closely with the thermometer and “CANCEL” the saute mode once the temperature reaches 180 F. Measure in all different areas to make sure it reaches 180 F. Skim off “skin” on top of the milk if any.

4. COOL IT DOWN TO 105-110 F
Fill up your kitchen sink with cold water.
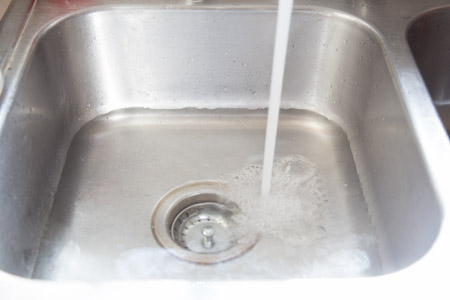
Gently submerge the inner pot into the water. This will cool down the milk pretty quickly. It takes about 6-8 minutes probably. It’s great because you don’t need an ice water bath.
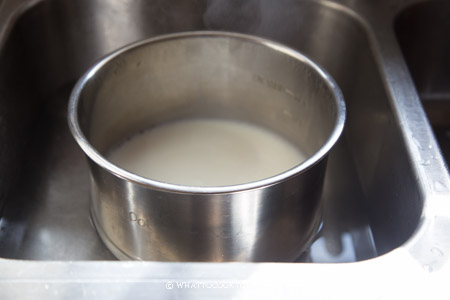
Once it reaches the temperature between 105-110 F, remove the inner pot from the water and use a clean cloth to wipe the bottom and the sides of the pot dry before you put it back into the instant pot cooker.

5. ADD STARTER
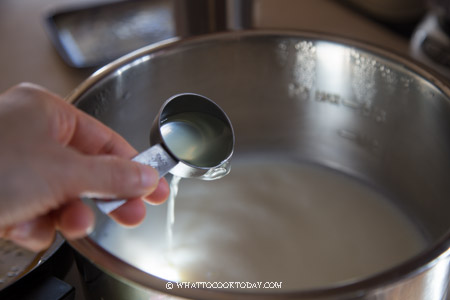
Put 3-4 Tbsp of yogurt or 1 cup of yogurt whey as a starter. Only do either one, not both. Stir to mix thoroughly, especially with yogurt as a starter. I use yogurt whey here in the photo.
6. INCUBATE
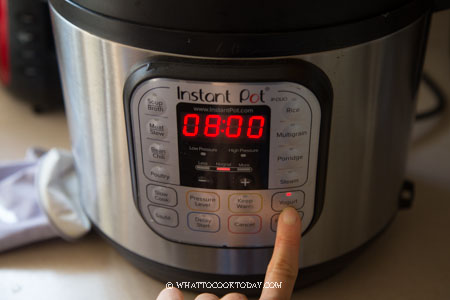
Close the lid. Venting position doesn’t matter here. Push the “YOGURT” button again and adjust until it reads “8:00” for 8 hours of incubation or adjust the time by using the “+/-” button. I usually do 8 hours. The longer you incubate, the sourer the yogurt will be.
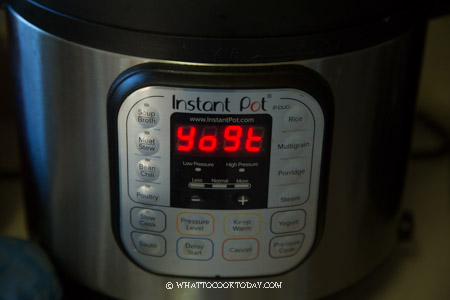
The instant pot will beep again and show “YOGT” when it’s done incubating according to the time you set.
7. STRAIN
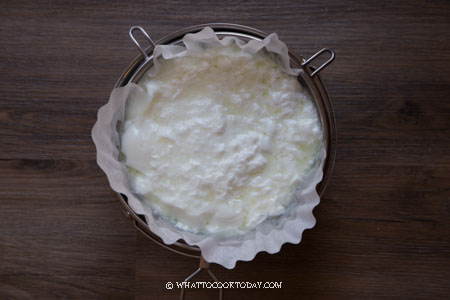
Prepare a large container that can fit a large strainer on top. Line the strainer with about 3 large coffee filter, slightly overlapping as shown in the photo below.


Unlock the lid of Instant pot. The yogurt looks like a soft tofu curd.
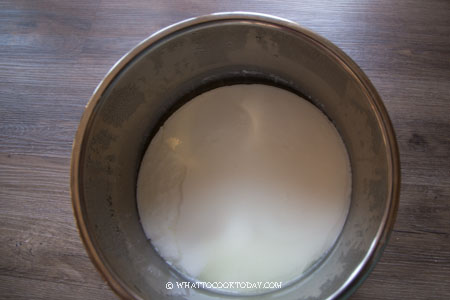
That yellowish liquid is the yogurt whey.
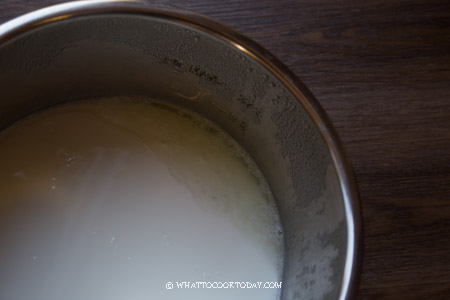
Very gently remove the inner pot out and pour everything through the lined strainer.
8. PUT IN THE REFRIGERATOR
Carefully transfer everything into the fridge and let it strain for a few hours. I usually strain mine for at least 8-12 hours. The longer you strain, the thicker it is. So, it’s up to you to find that consistency you like.

HOW TO MAKE INSTANT POT GREEK YOGURT AT HOME (WITHOUT YOGURT FUNCTION)
Some Instant Pot like the Instant Pot Lux version doesn’t come with the yogurt function. Fret not, you can still make yogurt without the yogurt button.
1. SANITIZE THE INSTANT POT (OPTIONAL)
Simply pour about 4 cups of water into the inner pot. Close the lid and turn the vent to “seal” position. Press “pressure cook” and set the timer to 5 minutes. Release pressure and discard the water
2. HEAT THE MILK (FIRST ROUND)
Pour the milk into the inner pot of instant pot. Push “SAUTE” button and use a spatula to stir the bottom to prevent the milk sugar from getting burns at the bottom of the pot. Heat it up to 180 F and then heat “CANCEL” button
3. COOL IT DOWN TO 105-110 F
Fill up your kitchen sink with cold water and gently submerge the inner pot into the water. This will cool down the milk pretty quickly. It takes about 6-8 minutes probably. It’s great because you don’t need an ice water bath.
4. ADD STARTER
Put 3 Tbsp of yogurt or 1 cup of yogurt whey as a starter. Only do either one, not both. Stir to mix thoroughly, especially with yogurt as a starter.
5. SEAL AND INCUBATE
Wipe the outside of the inner pot dry and then place it back into Instant Pot. Turn the steam valve to close. Wrap a towel around the lid and let it sit for 8 hours. Then you can follow step 7 from above to strain and store yogurt. Simple as that.
IMPORTANT TIPS YOU NEED TO KNOW BEFORE YOU START MAKING GREEK YOGURT
1. ONLY USE PLAIN YOGURT
Don’t use any sweetened or flavored yogurt.
2. YOGURT STARTER NEEDS TO HAVE LIVE ACTIVE CULTURE
This is especially if you buy the yogurt from the store. Make sure it has something like this written on the container “Contain live active cultures” or “Live active cultures” or anything similar. This is very important or you won’t be able to make any yogurt.
HOW TO STORE HOMEMADE GREEK YOGURT
Once it’s done straining, use a clean spoon to scoop the thick Greek yogurt into a tub or container and they can be kept in the refrigerator for up to 2 weeks.
HOW TO STORE YOGURT WHEY
Pour the yogurt whey collected in the container underneath into large glass jars. They can be kept for about 3 weeks to 6 months in the refrigerator or can be kept frozen for months. It is best to use the whey as a starter on a weekly basis if possible. I did find that if I use the whey stored for more than 3 weeks, the Greek yogurt consistency is much runnier
ACID WHEY FROM GREEK YOGURT MAKING
If you just google what you can do with whey, you will be bombarded by the crazy possibilities. Please note that the whey that is produced by making yogurt is called acid whey, simply because of its acidic nature, and that’s what I’m referring to over here in this post.
I’m not going to repeat those similar ways of how people use the leftover whey in their lives. Here’s what I have tried so far and really like them:
WHEY TONER FOR FACE
I used it as a daily toner for my face in the morning and night. I have been using Pixi Glow Glycolic Toner for a while now. They are more at an acidic side and I measured the pH of the leftover whey that I had and it read 4.5, which is pretty similar to the pixi glow tonic, but of course different ingredients content.
Here’s how to use acid whey as a toner:
I pour them into a small clean dish, just a small amount. I don’t use a cotton ball, you are welcome too. I just think the cotton balls soak up all the liquid and left me with nothing. I dip my clean fingers and gently pat it on my face all over. There’s no need to rinse. No, you are not going to smell like whey, I promise. In fact, it has that faint aroma of sweet milk, at least the whey I have. I usually waited for at least 10-15 minutes after applying my toner (of any kind) before proceeding to the next step in my facial routine care. My face is considered a sensitive kind, easily break out with acne (unfortunately!), but I have no issue with this so far. So, proceed with your own risk and do a test first if you are afraid you might have a reaction to it.
WHEY AS A HAIR CONDITIONER
I personally have not tried it as a shampoo or as a hair spray. Some people have and raved about it. Maybe one day I will try. I have tried them as a hair conditioner. I pour about 3-4 Tbsp of whey in a small dish. After shampooing my hair and squeezing out all excess water, you can towel dry too if you prefer, I rub the whey into my scalp and hair strands all over and let it stand for at least 10 minutes, you can do it longer if you have the time. Then I rinse off with water and proceed to hair blowing and styling as usual. I like how my hair feels after. It feels clean and smooth.
WHEY AS A YOGURT STARTER
I pour about 1 cup of liquid whey into the milk that has been cooled down to 115 F. Do not pour it into the milk that is still above 115 F in temperature or you will kill the bacterias. Stir it and proceed to incubation.
WHEY TO MAKE BREAD, BAGELS, COOKIES, PANCAKES, WAFFLES, AND CAKES
I haven’t tried whey in soups and to marinate meats and chickens as many people have, but I have made bread, bagels, pretzels, muffins, biscuits (like buttermilk biscuits), cakes, cookies, pancakes, waffles with whey. I simply replaced the amount of water/milk called for in the recipe. The whey does contribute to tanginess in the final product, so if you can adjust the amount if you don’t want it to be too tangy.
Here are recipes using yogurt whey:
The Best Yogurt Whey Bagels (from leftover yogurt whey)
Easy Guang Bing / Foochow Bagel / Kompia (Oven or Air-Fryer)
Malaysian Roti Jala (Net Pancakes)
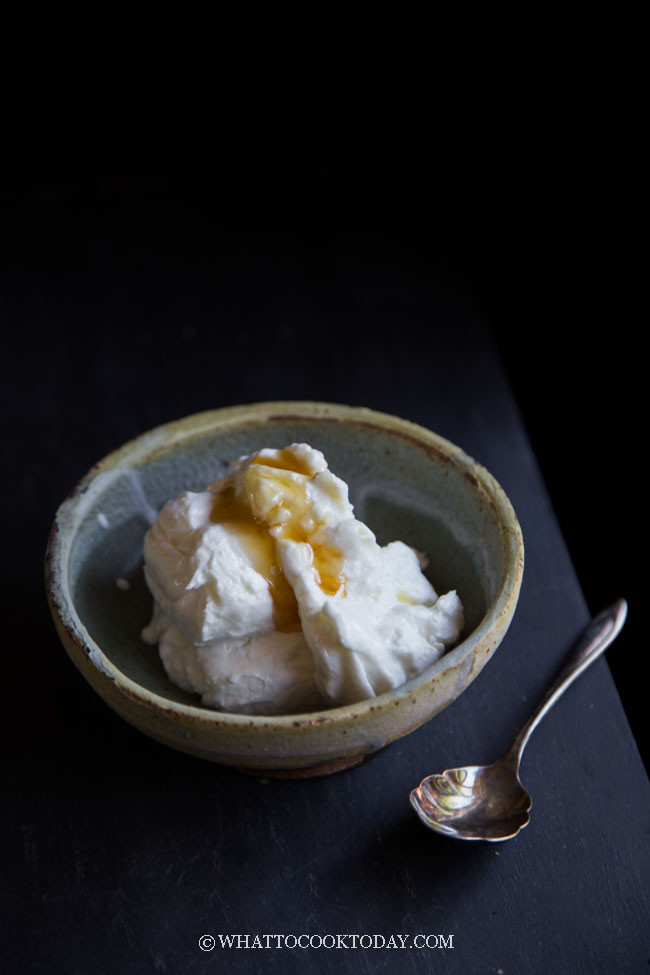
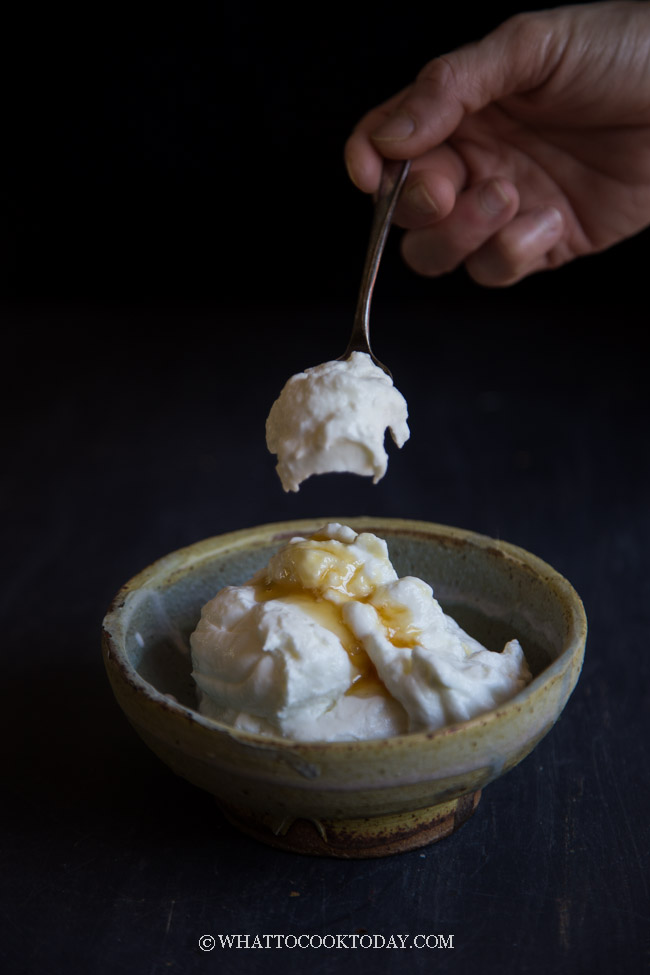
So, are you convinced yet to make your own Greek yogurt? it’s so much more economical AND it tastes so much better for real! Look at how thick this Greek yogurt that was strained for 6 hours, almost like ricotta cheese!
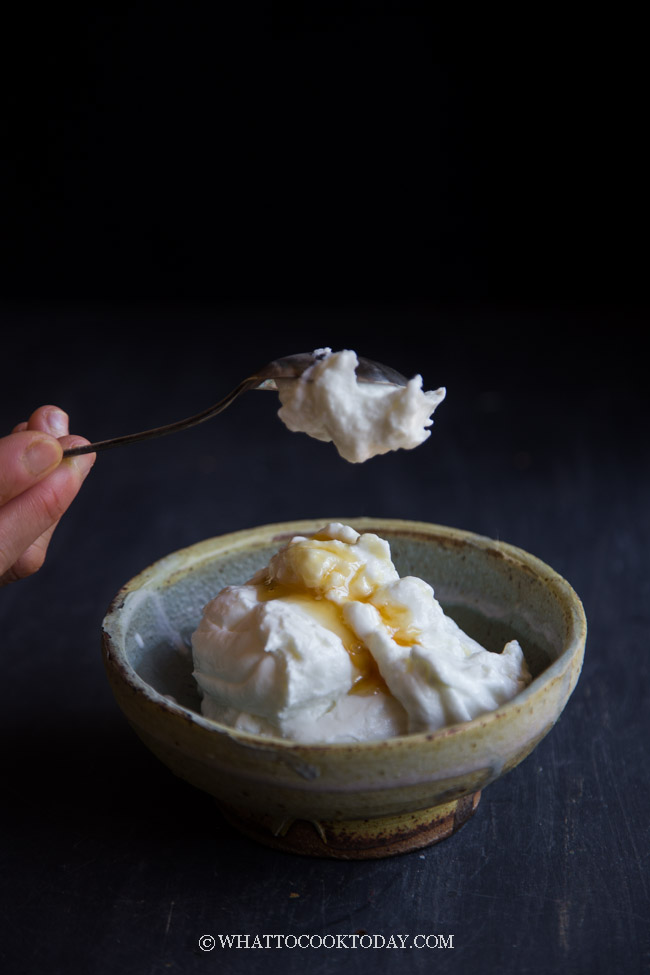
I will never buy Greek yogurt again!!
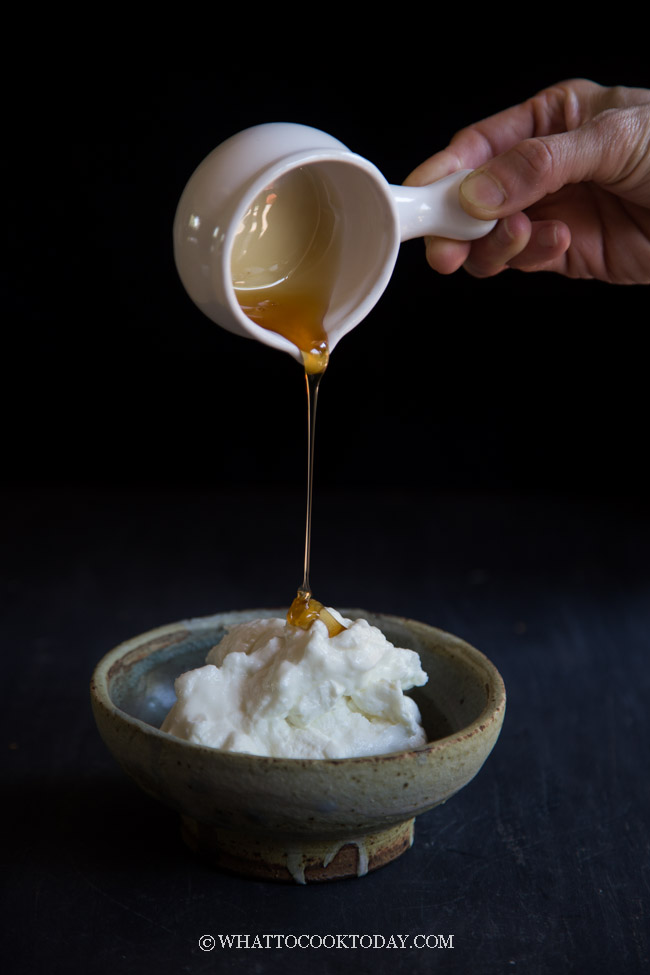
I love eating it plain or with a bit of raw honey! So YUMM!!!
Easy Thick Creamy Instant Pot Greek Yogurt (from yogurt or whey)
Ingredients
- ½ gallon cow's milk I recommend at least 2% for better texture
If making Greek yogurt for the first time:
- ¼ cup plain store-bought Greek yogurt with live active cultures unflavored
If you have leftover yogurt whey:
- 1 cup yogurt whey
Recommended tools:
Instructions
Sanitize Instant Pot (optional):
- I don't always do this, but if I have cooked something with a strong aroma, like curry, I usually sanitize so that my Greek yogurt won't smell like curry 🙂 If you have an extra set of ring seal, that will help to use that
- Simply pour about 4 cups of water into the inner pot. Close the lid and turn the vent to "seal" position. Press "pressure cook" and set the timer to 5 minutes. Release pressure and discard the water
Heat the milk (first round):
- Pour the milk into the inner pot of instant pot. Close the lid. Vent position doesn't matter here. Push the "yogurt" button until the screen reads "boil". It may take somewhere around 30-45 minutes. When it's done, the screen will show "yogt"
Measure the temperature:
- Quickly measure the temperature using the thermometer. It should read 180 F. If it doesn't, you can press "cancel" and then press "saute" button to heat up the milk up to 180 F. Don't worry, it won't burn the milk. I've done this a dozen time. Just be sure you watch closely with the thermometer and "cancel" the saute mode once the temperature reaches 180 F. Measure in all different area to make sure it reaches 180 F. Skim off the "skin" on top of the milk if any
Cool it down to 105-110 F:
- Fill up your kitchen sink with cold water, and gently submerge the inner pot into the water. This will cool down the milk pretty quickly. It takes about 6-8 minutes probably. It's great because you don't need an ice water bath
Add starter:
- Once it reaches the temperature between 105-110 F, remove the inner pot from the water and use a clean cloth to wipe the bottom and the sides of the pot dry before you put it back into the instant pot cooker
- Add the yogurt or the whey as a starter. Only do either one, not both. Stir or whisk to mix thoroughly, especially with yogurt as a starter
Incubate:
- Close the lid. Venting position doesn't matter here. Push the "yogurt" button again and adjust until it reads "8:00" for 8 hours of incubation or adjust the time by using the "+/-" button. I usually do 8 hours. The longer you incubate, the sourer the yogurt will be. The timer will count up (not counting down). Try not to shake or move the instant pot around during incubation
- The instant pot will beep again and show "yogt" when it's done incubating according to the time you set
Strain:
- Prepare a large mixing bowl that can fit a large strainer on top. Line the strainer with about 3 large coffee filter, slightly overlapping as shown in the photo above
- Unlock the lid of Instant pot. Very gently remove the inner pot out and pour everything through the lined strainer
Put in the refrigerator:
- Carefully transfer everything into the fridge and let it strain for a few hours. I usually strain mine for at least 8-12 hours. The longer you strain, the thicker it is. So, it's up to you to find that consistency you like
Store the Greek yogurt:
- Once it's done straining, use a clean spoon to scoop the thick Greek yogurt into a tub or container and they can be kept in the refrigerator for up to 2 weeks
Keep the yogurt whey:
- Pour the yogurt whey collected in the container underneath into large glass jars. They can be kept for about 3 weeks to 6 months in the refrigerator or can be kept frozen for months. It is best to use the whey as a starter on a weekly basis if possible. I did find that if I use the whey stored for more than 2 weeks, the Greek yogurt consistency is much runnier
Tips:
- I do notice that over time, if I keep reusing my batch of homemade Greek yogurt as a starter, the "strength" of the starter does get "weaker". So I usually get a new store-bought plain Greek yogurt after about 4-5 times of making the Greek yogurt using my homemade batch.



22 comments
do NOT boil the milk, use raw milk. Let it sit for 18-24 hrs. Works every time.
Didn’t work well, wife followed recipe and after eight hours there was more liquid than yogurt!
I’m sorry it didn’t work out! Was it warm enough for fermentation? sometimes it may take longer, depending on the starter you use.
Followed the instructions to the letter, using whey as a starter & “cooked” it 8.5 hrs. It did not set up well & once strained only yielded about 2 cups of not very thick somewhat lumpy yoghurt. I added some honey & vanilla extract, stirredwell, & put it in the freezer so it’s not a total loss. Will not use whey as a starter in the future & will go back to cooling in the pot in the fridge for several hours prior to straining.
Sorry the whey method didn’t work out for you. I guess it depends on the whey too. You may need more to get it to set.
This site is a fantastic resource for me.
I am currently living with 2 different yogurt strains, and am presently making 2 separate gallons in the instant pot sequentially (I have 2 copies of the inner pot)
The incubation takes place in a lowe’s tub that holds both gallon containers, and I am using a Sous Vide appliance to keep the water bath to a custom temperature.
Incubation for each is anywhere from 24 hors to 30 or more.
I’m also adding Inulin, seems it may help feed the strains, and also help the beneficial bacteria get past the stomach and reach the deeper gut. (I am not a doctor, so who know what the real truth is)
thanks again for this valuable information. I now have a good benchmark for using the Whey as starter. I’ll probably use it for 6 to 7 times before abandoning, and returning to an original batch that has been frozen in cupcake bakeware, and placed into a zip lock bag to remain frozen. each cupcake size of actual 1’st generation yogurt should be good for about 1/2 gallon of yogurt. I will find out when I dip into them.
For the straining … I have 2 half gallon strainers, but have ordered two gallon sized as well. They fit double stacked in the fridge.