This post may contain affiliate links. Please read our disclosure policy.
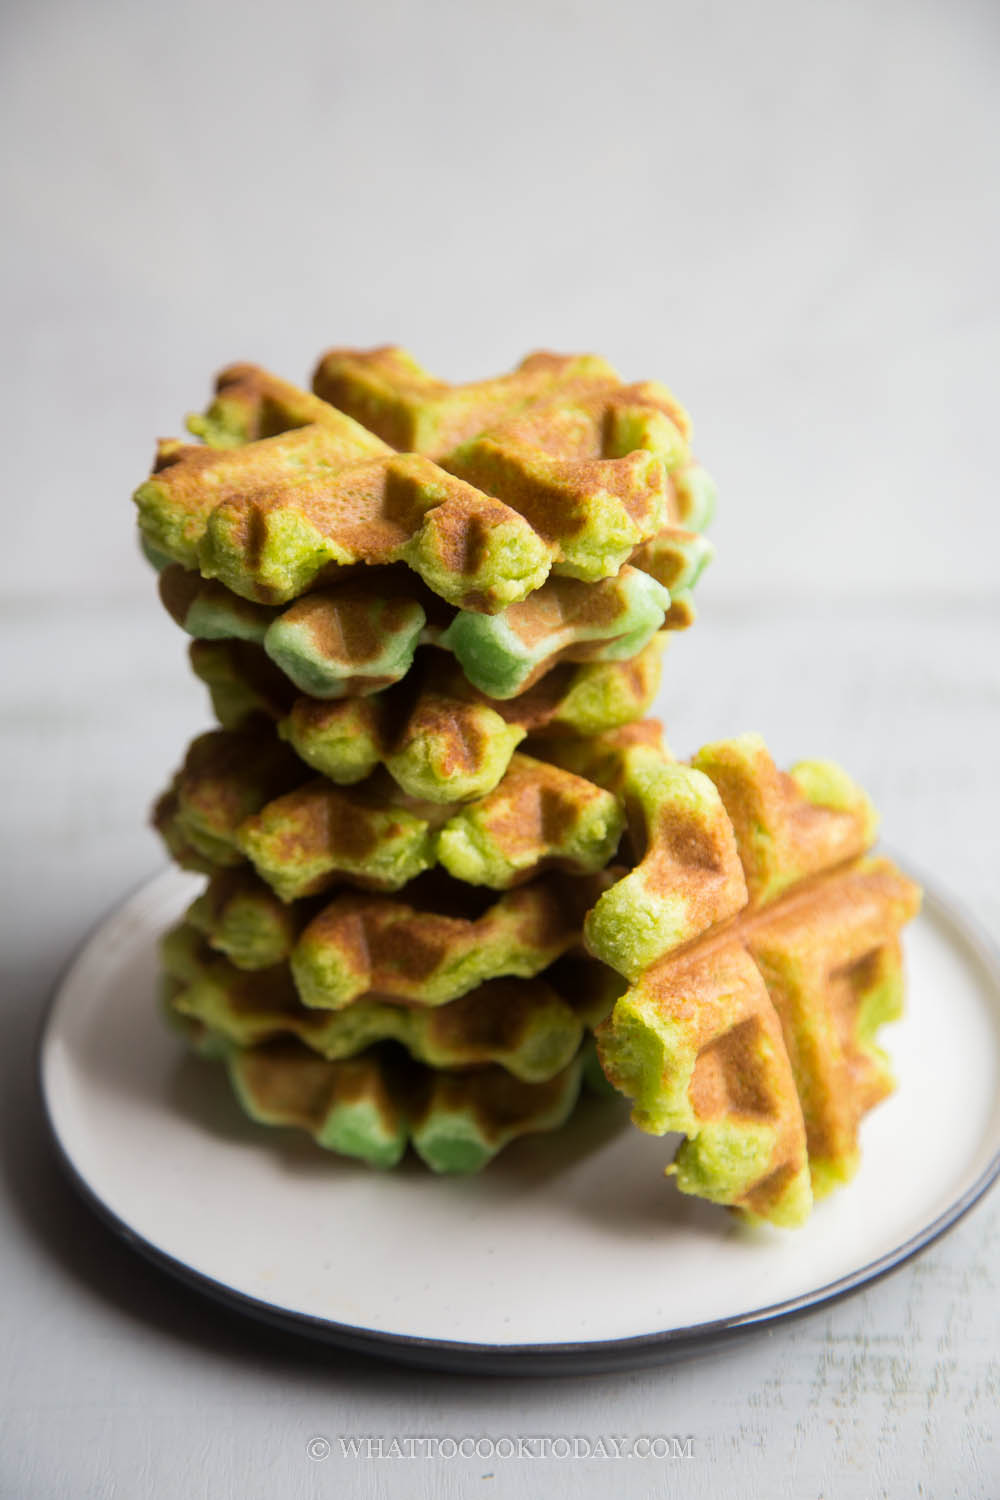
Learn how to make these easy, soft, and chewy gluten-free mochi waffles with pandan flavor (or any flavor you like). The recipe is eggless and dairy-free.

I absolutely love these gluten-free eggless mochi waffles. They are crisp yet chewy. So good on its own too without any syrup. Gluten-free recipes are tough to tackle. Well, for cake and cookies, may not be as tough, it’s a real challenge when it comes to bread and steamed buns or anything that depends heavily on gluten for structure. A while ago I made some sweet red beans mochi waffles, but they aren’t gluten-free. This gluten-free version of mochi waffles are really good. No one can tell that they are gluten-free.
The recipe rundown
Taste: This mochi waffles tastes great on its own or with other sweet or savory toppings of your choice
Texture: Crisp on the outside and chewy inside
Level: Easy. This can be made with just common gluten-free flour
Ingredients
1. Glutinous rice flour
You have to use glutinous rice flour or known as mochiko flour. Regular rice flour will not work.
2. Almond flour or coconut flour
I have tried both and I think the almond flour version is slightly lighter and the coconut flour is a bit denser, just a bit. If I don’t say anything, no one will really notice too.
3. Cornstarch
In most Asian countries, cornstarch and cornflour are used interchangeably. But in the U.S., corn flour and cornstarch are different. Corn flour is made by grinding the whole corn and corn starch only has the starch extracted from the corn. They give a different result
4. Baking powder
Baking powder is almost always needed in gluten-free recipes (almost!). It helps to leaven the batter
5. Coconut milk
Coconut milk adds richness to the waffles, but you can substitute it with other milk of your choice
6. Pandan essence
I like this pandan essence for convenience. You can also omit this or use other flavors of your choice
7. Salt
A small pinch of salt will bring out the overall flavor

How to make eggless gluten-free mochi waffles
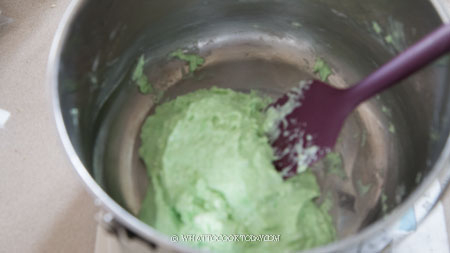
1. Whisk all the dry ingredients in a mixing bowl to combine. Add the wet ingredients and use a spatula to help you mix

2. You will get a thick batter that you can actually scoop

3. Preheat the waffle iron. When it’s ready. Brush with some oil or use a non-stick cooking spray to spray both sides of the iron
Scoop about 1/4 cup of waffle batter onto the preheated iron. The amount is up to you how big or small you want to make it. Close the lid and cook until the waffle maker tells you that it’s ready.

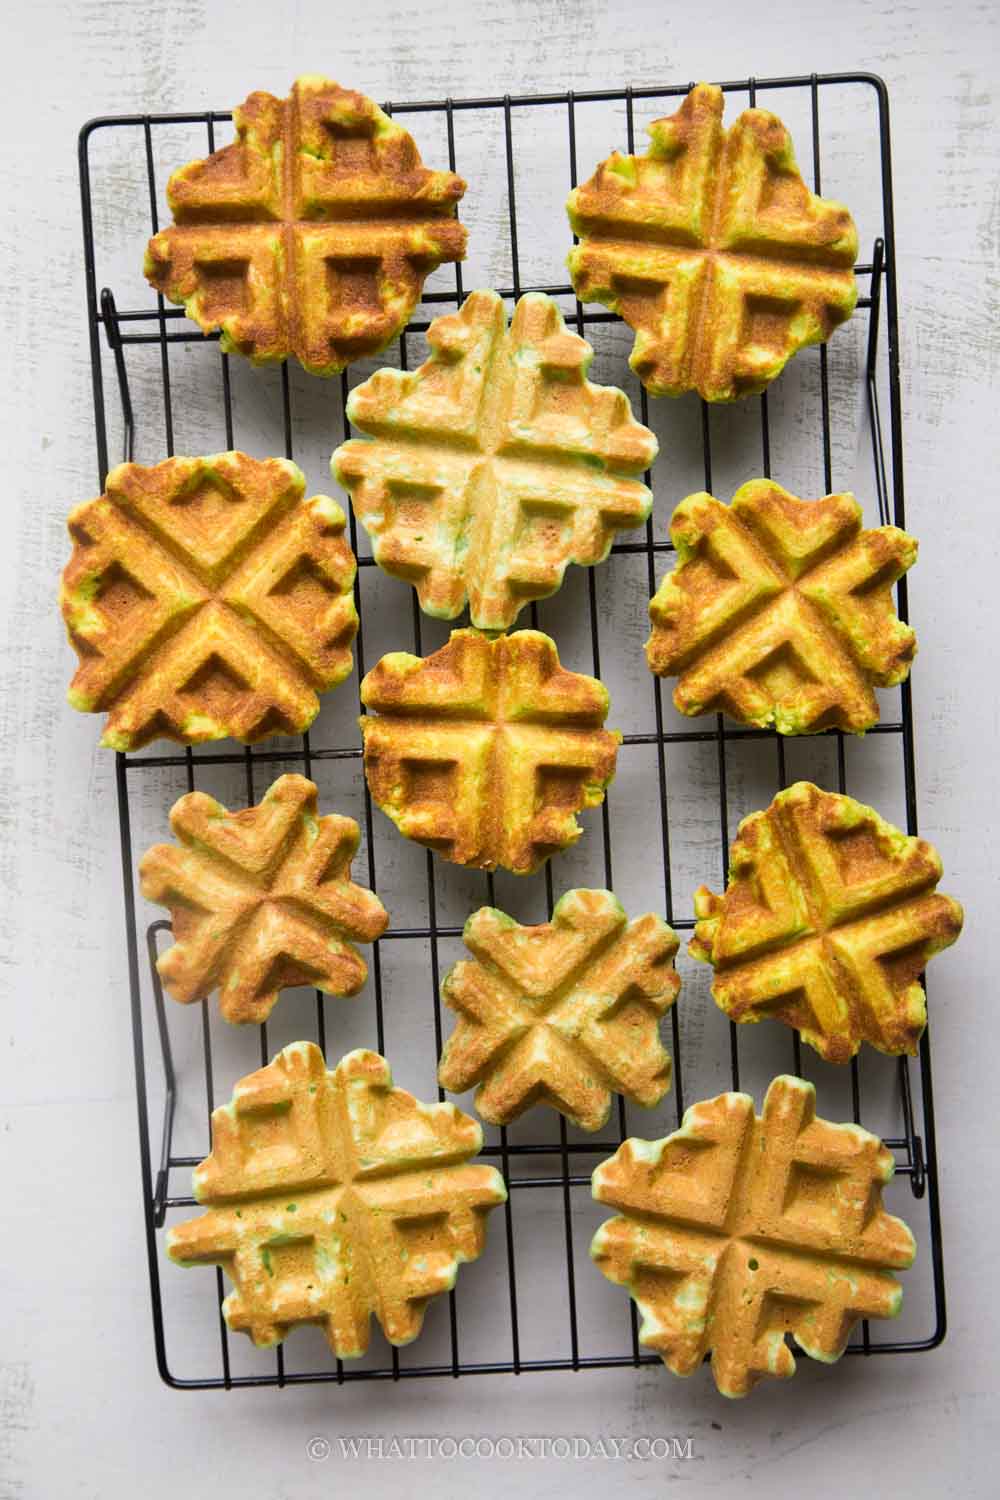
4. The waffle should be golden brown and crisp. Usually, it takes about 4-5 minutes for a crispy waffle. You may need to play with the timing and cook longer to get the texture you like. Serve with some powdered sugar, maple syrup, or whatever toppings you like

How to store gluten-free mochi waffles
These gluten-free mochi waffles can be made ahead and freeze. Here’s how:
1. Let them cool down completely
2. Transfer to a freezer bag, push all the air out and seal. They can be kept for up to one month
3. Simply reheat without thawing in a toaster (some have a frozen button), air fryer, or in a toaster oven at 350 F for 5 minutes or so or until heated through and crisp again on the outside
Did you make this recipe?
I love it when you guys snap a photo and tag to show me what you’ve made 🙂 Simply tag me @WhatToCookToday #WhatToCookToday on Instagram and I’ll be sure to stop by and take a peek for real!

The recipe is adapted from Chef Judy Lai. Thank you for such simple and awesome recipe!
Easy Gluten-Free Eggless Mochi Waffles (Pandan Flavor)
Ingredients
Dry ingredients:
- 100 gr glutinous rice flour don't use regular rice flour
- 30 gr almond flour you can use coconut flour too
- 6 gr cornstarch
- 1 ½ tsp baking powder
- ⅛ tsp salt
Wet ingredients:
- 100 ml coconut milk you will need 155 ml if using coconut flour instead of almond flour
- ½ tsp pandan essence
- 30 gr melted margarine or coconut oil
- 40 gr granulated sugar
Instructions
Prepare the waffles batter:
- Whisk all the dry ingredients in a mixing bowl to combine. Add the wet ingredients and use a spatula to help you mix. You will get a thick batter that you can actually scoop
Cooking:
- Preheat the waffle iron. When it's ready. Brush with some oil or use a non-stick cooking spray to spray both sides of the iron
- Scoop about 1/4 cup of waffle batter onto the preheated iron. The amount is up to you how big or small you want to make it. Close the lid and cook until the waffle maker tells you that it's ready. The waffle should be golden brown and crisp. Usually it takes about 4-5 minutes for a crispy waffle. You may need to play with the timing and cook longer to get the texture you like. The waffles may not appear crispy at first but will crisp up as they cool down
- Put the baked waffles on a cooling rack. These help to keep them crisp so the condensation won't built up making the waffles wet and soggy
- Serve with some powdered sugar, maple syrup, or whatever toppings you like


4 comments
I used coconut cream instead of coconut milk and tripled the pandan. Everyone loves it!
That’s great Sarah!!! I bet the pandan flavor is more intense!
Hi! Is this a good recipe to double and freeze?
Hi Myra, yes you can double the recipe and they freeze well too. I usually let them cool down completely on a cooling rack and then transfer to freezer bag.