This post may contain affiliate links. Please read our disclosure policy.
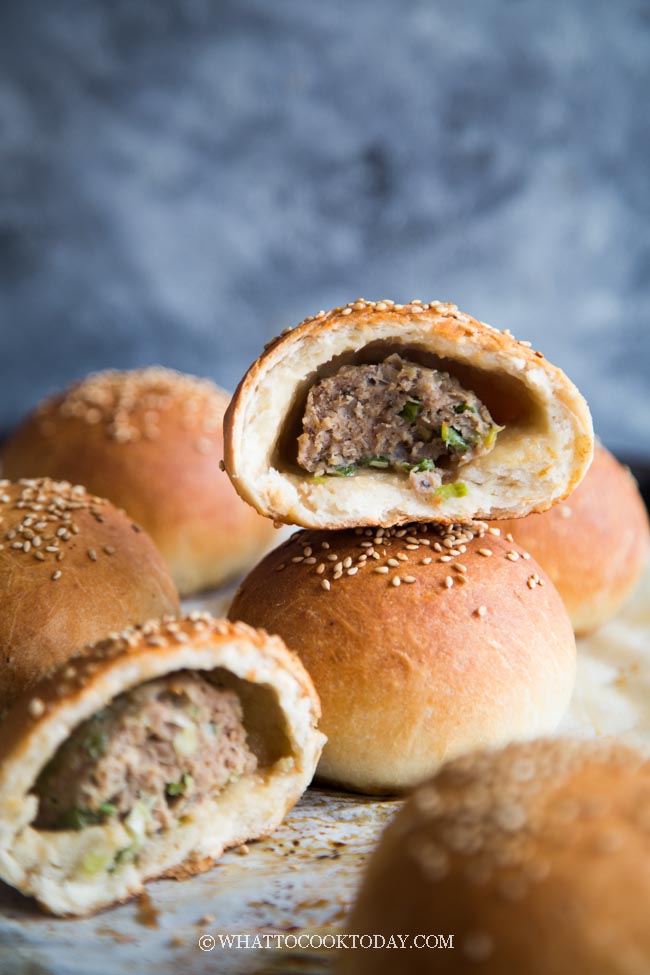
Make this absolutely scrumptious Taiwanese hu jiao bing with a crispy crust and delicious aromatic peppery meat filling.
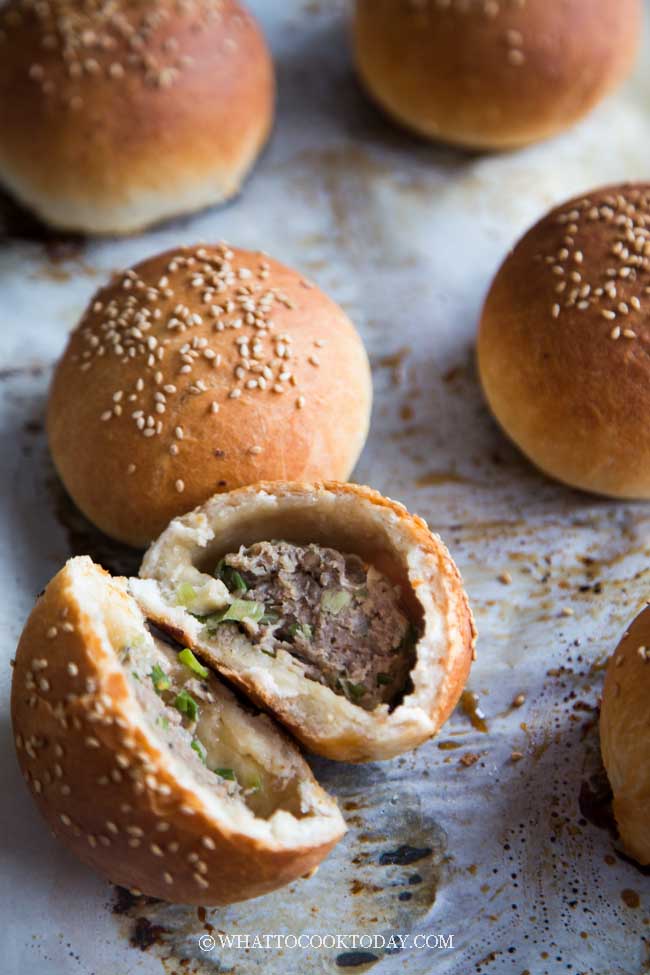
Taiwan is definitely one of my favorite countries to visit. I love..love…the food. The unforgettable moments to me was going to the Shi Lin night market. They sell pretty much everything at the night market. Food was the highlight to me if it’s not obvious already. The famous and gigantic Taiwanese chicken cutlet, the pineapple tarts, the oyster mee sua, the stinky tofu (stinky but I would die happy eating that stinky stuff!), the dou hua (soybean curd), the hu jiao bing…and so much more!!
THIS VERSION OF HU JIAO BING
Traditionally, the hu jiao bing is baked in a deep vase-like oven, but we can bake these at home using regular oven. The traditional hu jiao bing has green onion not mix into the meat filling, instead it is stuffed separately from the meat filling. It’s a bit more difficult to wrap, but it’s not impossible. I choose to combine the chopped green onion into the marinated meat. You can do either way. It’s just as delicious IMHO!
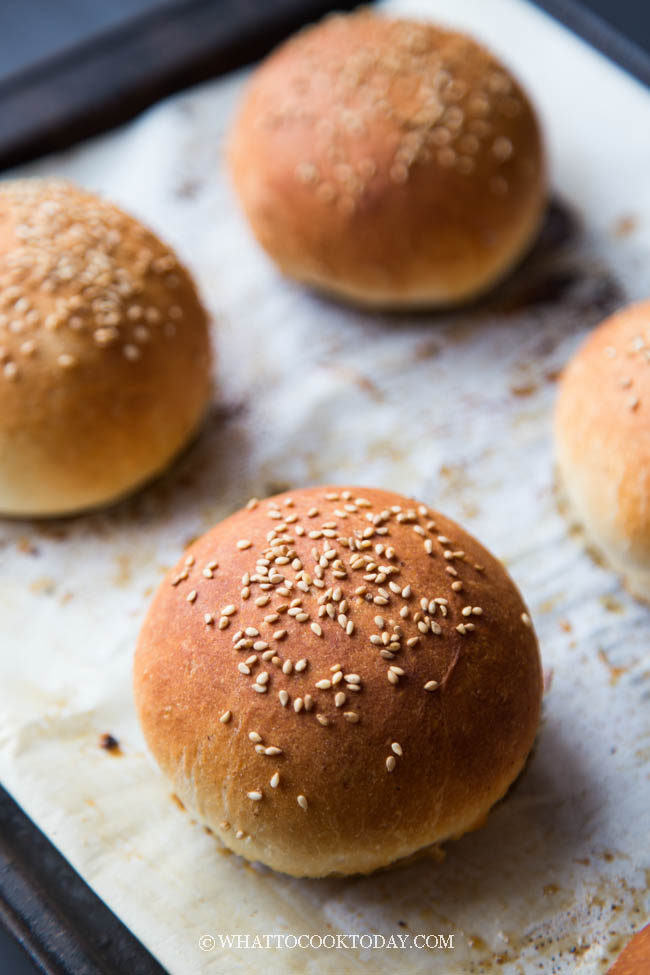
HOW TO EASILY MAKE HU JIAO BING FROM SCRATCH
1. PREPARE THE MEAT FILLING THE DAY BEFORE
Place all the ingredients for the filling, except for green onion in a large mixing bowl.
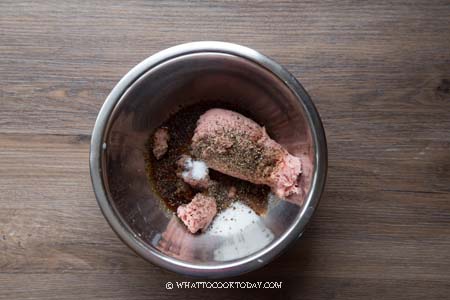
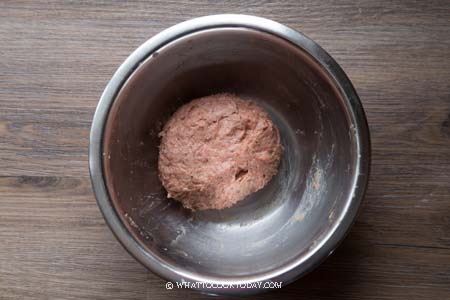
Stir in one direction to mix everything into a paste-like consistency. Cover and let chill in the refrigerator for 8-12 hours
2. PREPARE THE DOUGH
Place flour, sugar, salt, and yeast in a mixing bowl. Whisk to combine.
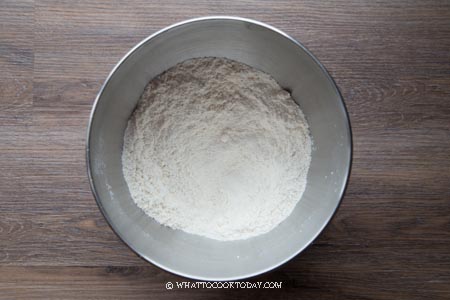
I use a stand mixer with the dough hook attachment to knead the dough. Add lard/coconut oil and gradually add in the warm water until it comes into a dough.
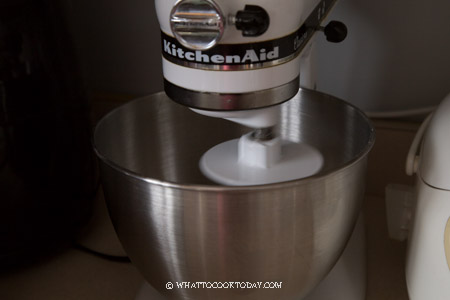
Continue to knead until the dough is smooth and not sticky.
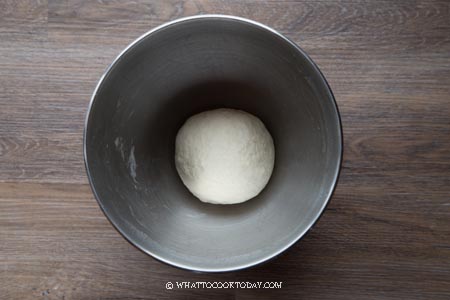
Cover and let rise in a warm place until it’s doubled in size, about 30-45 minutes
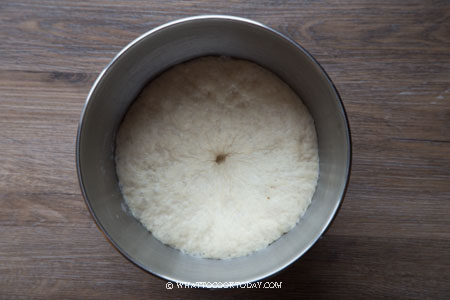
3. WRAPPING
Remove the filling from the fridge and then add the chopped green onion and stir again to combine.
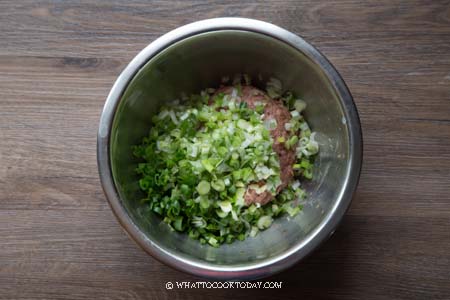
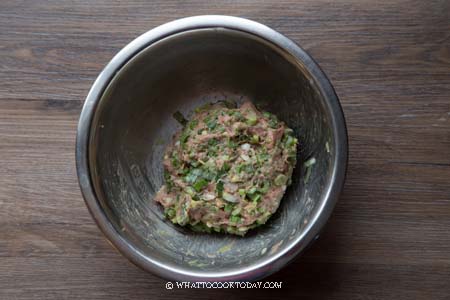
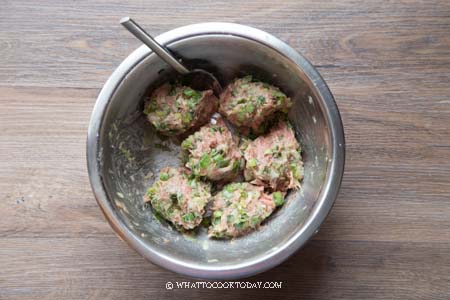
Divide the filling equally into six portions. You can also choose not to combine the chopped green onion into the meat filling like how it’s traditionally done.
Flatten the dough down and punch to push out all air. Divide the dough into 6 equal pieces. Keep the rest covered and work with one dough at a time. Flatten one dough and roll out into a round circle about 6-7 inches in diameter. Scoop one filling and place it on the middle of the dough.
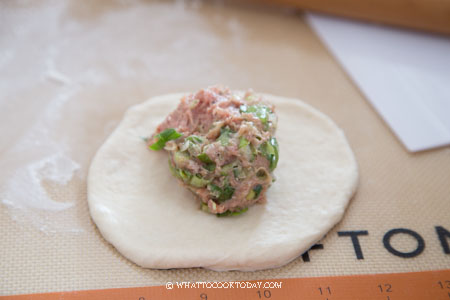
Gather the edge of the dough to pinch and seal.
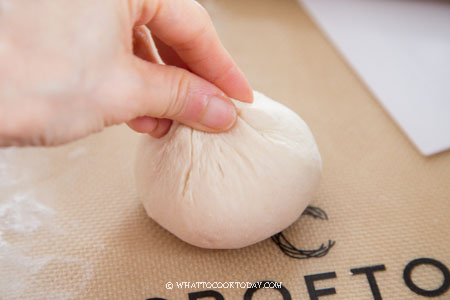
Place the seam side down on a baking sheet lined with a parchment paper
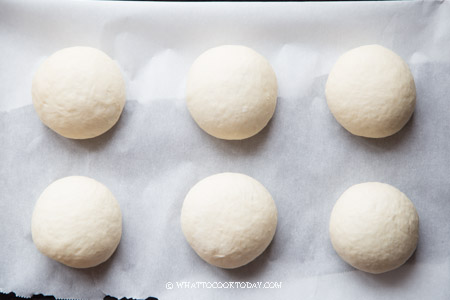
Brush the top surface of the buns with honey + water mixture evenly and then gently pick up the buns and dip the bun into the sesame seeds
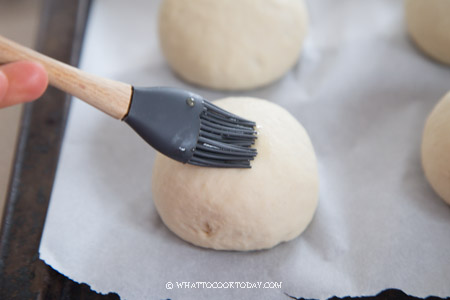
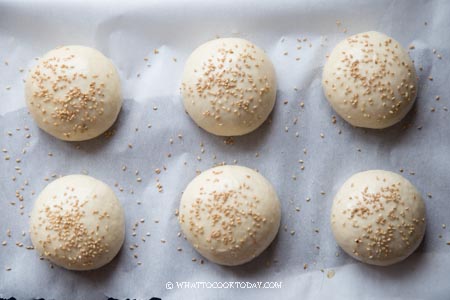
4. BAKING
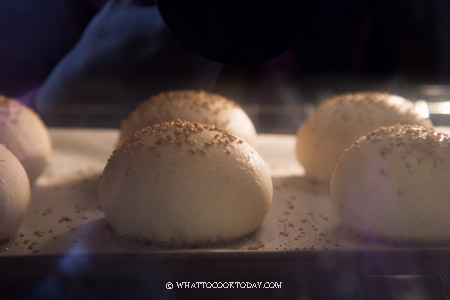
Place in the preheated oven, 3rd rack from the top, and bake for the next 20 minutes or until the buns are golden brown and the meat filling is cooked through inside.
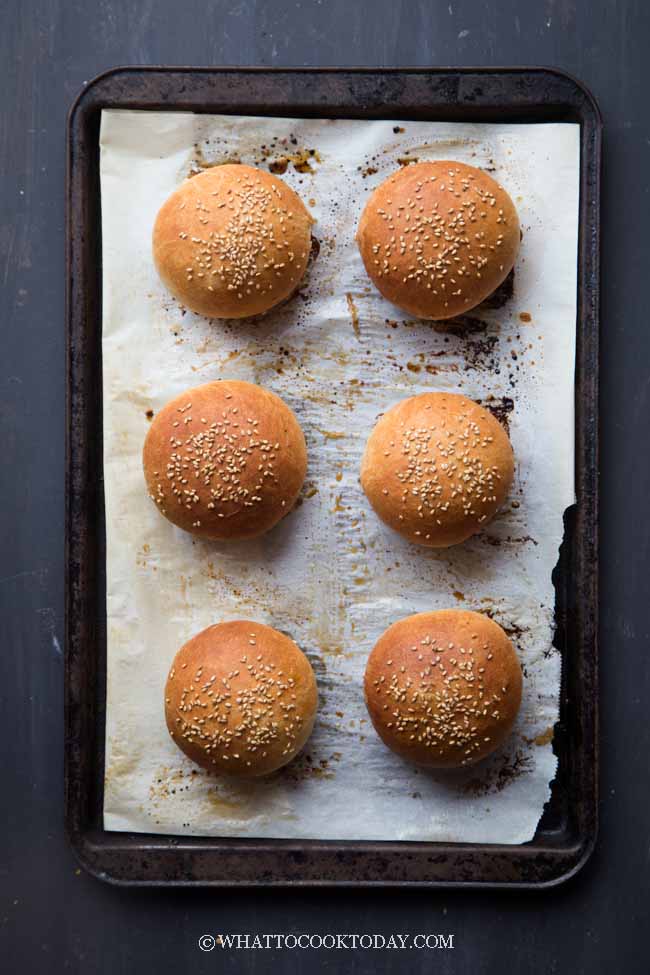
And….TA…DA….hu jiao bing is ready for you to binge!! LOL
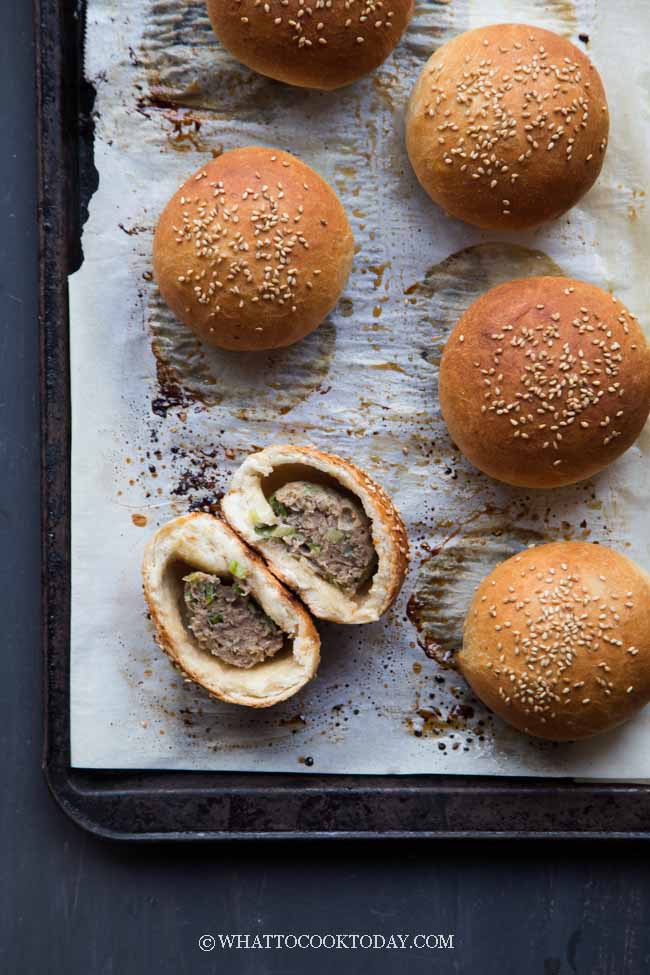
I love to eat them while they are still warm. The crispy crust and the savory peppery meat filling inside are truly heavenly, to say the least.
POSSIBLE VARIATIONS
You can use different meat such as: ground beef, ground chicken, but preferrably with some fat mix in it. I won’t recommend ground turkey as it makes the filling “wetter”.
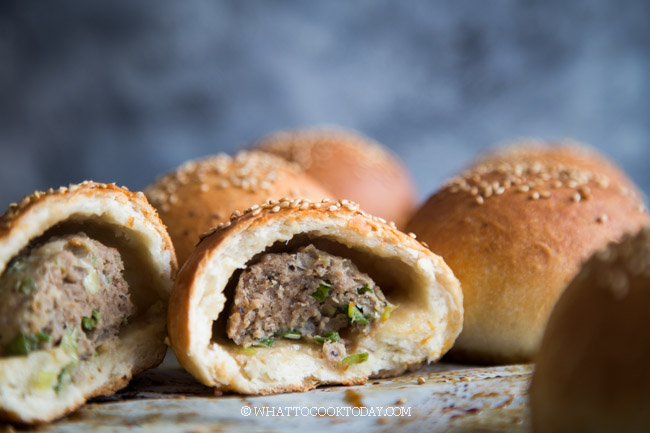
HOW TO STORE HU JIAO BING
You can double or triple the recipe and keep them for whenever you want to eat them. I highly recommend freezing them. Here’s how:
1. Place the baked buns on a baking sheet lined with a parchment paper
2. Place this inside the freezer for about 1 hour. They won’t be completely frozen yet
3. Transfer to a freezer bag (save more space) and they can be kept for up to 3 months
HOW TO REHEAT HU JIAO BING
1. Preheat oven, toaster oven, or air fryer at 350 F
2. Wrap the frozen buns in aluminum foil and bake for 10-15 minutes or until heated through
DID YOU MAKE THIS TAIWANESE HU JIAO BING RECIPE?
I love it when you guys snap a photo and tag to show me what you’ve made 🙂 Simply tag me @WhatToCookToday #WhatToCookToday on Instagram and I’ll be sure to stop by and take a peek for real!
How To Make Hu Jiao Bing (Taiwanese Pepper Meat Buns)
Ingredients
Buns:
- 270 gr bread flour
- 1 tsp instant yeast or active dry yeast
- ½ tsp salt
- 1 Tbsp sugar
- 15 gr lard I used coconut oil (soft solid state)
- 170 ml warm water
Filling:
- 250 gr ground pork (with some fat)
- 1 tsp ground black pepper
- ½ tsp ground white pepper
- ¼ tsp ground Szechuan peppercorns
- ½ tsp salt
- 2 Tbsp soy sauce
- 1 tsp sugar
- 1 tsp sesame oil
- 1 tsp corn starch
- 120 gr green onion about 7 large stalks, finely chopped
Glaze:
- 1 tsp honey + 1 tsp water
Garnish:
- ⅓ cup white sesame seeds
Instructions
Prepare the filling (best to marinate overnight):
- Place all the ingredients for the filling, except for green onion in a large mixing bowl. Stir to mix everything. Cover and let chill in the refrigerator for 8-12 hours
Prepare the dough:
- If you use active dry yeast, dissolve the yeast in 2 Tbsp of water (from the 170 ml warm water) and add a small pinch of sugar. Stir and let it sit for 10 minutes to activate. It will turn foamy. If you use instant yeast, you can skip this step
- Place flour, sugar, salt, and yeast in a mixing bowl. Whisk to combine. I use a stand mixer with the dough hook attachment to knead the dough. Add lard/coconut oil and gradually add in the warm water until it comes into a dough. Continue to knead until the dough is smooth and not sticky. Cover and let rise in a warm place until it's doubled in size, about 30-45 minutes
Wrapping:
- Remove the filling from the fridge and then add the chopped green onion and stir again to combine. Divide the filling equally into six portions. You can also choose not to combine the chopped green onion into the meat filling like how it's traditionally done. Preheat oven to 400 F (204 C)
- Flatten the dough down and punch to push out all air. Divide the dough into 6 equal pieces. Keep the rest covered and work with one dough at a time. Flatten one dough and roll out into a round circle about 6-7 inches in diameter. Scoop one filling and place it on the middle of the dough. Gather the edge of the dough to pinch and seal. Repeat with the rest of the dough and meat filling
- If you didn't combine the green onion in the meat mixture earlier, don't seal the bun just yet, scoop 1/6 of the chopped green onion and stuff on top of the meat filling, gently push it in and then gather the edge of the dough to pinch and seal. It's a bit harder to wrap this way, but that's how it's traditionally done. Continue with the rest of the dough and meat filling
- Place the wrapped buns, seam side down on a baking sheet lined with a parchment paper. Brush the top surface of the buns with honey + water mixture evenly and then gently pick up the buns and dip the bun into the sesame seeds
Baking:
- Place in the preheated oven, 3rd rack from the top, and bake for the next 20 minutes or until the buns are golden brown and the meat filling is cooked through inside
- Remove from the oven and then transfer to a cooling rack. Serve warm
RECOMMEDED TOOLS
YOU PROBABLY WILL LIKE THESE TOO
Po Lo Bao / Bo Lo Bao (Hong Kong Pineapple buns)
Amazingly Soft Chicken Potato Curry Milk Buns (Tang Zhong Method)
Pumpkin Nai Wong Bao (Custard Milk Buns) -Tang Zhong Method
Roti Bawang (Scallion and Onion Baked Milk Buns)-Tang Zhong Method


24 comments
These were really good, thanks! Just one question, are the reheating instructions from frozen or is it better to defrost them first? 🙂
I’m glad you like. The reheating instructions are for frozen. If you choose to defrost them, you can reheat them in a shorter period of time, probably 8-10 minutes or less may be sufficient. I hope this helps
Thanks – I did find that the meat inside was still icy cold in the centre after cooking them in the oven for about 14 minutes, so I might try defrosting them going forward
ah I see. Thank you for your feedback. You can cook it longer or yes, defrosting them will speed up reheating time too!
Hi! Can’t wait to try this recipe! Quick question: would I be able to substitute the instant yeast for active dry yeast, or would you not recommend that? Thanks so much!
Hello, yes you can definitely use active dry yeast. I have included the small step if you use active dry yeast in the recipe card. I hope that helps. Please let me know if anything is unclear! I hope the recipe works out for you 🙂
Hi! I’m planning to make this recipe, but don’t have easy access to lard or coconut oil that’s in soft solid state. Can I use liquefied coconut oil instead? Or is there any substitute for this? Thanks so much! 🙂
Hello! Yes, you can use any oil of your choice too. You can also use shortening if you have some.
OMG I love pork buns! Would it be safe to say that the bun recipe is a “mother recipe”? Can I put anything in the bun? PS I love the black sesame seeds! They add contrast to the presentation!
Hi Matthew,
Yes, it can be a “mother recipe”. You can steam it or bake it like in this recipe. Thank you for stopping by 🙂
Thanks for the recipe, looks simple and good! Can I use liquid coconut oil; that’s all I have.
Hi Ai Lin, I think it should be okay to use liquid coconut oil, you can use the same amount. I hope it turns out good for you 🙂