This post may contain affiliate links. Please read our disclosure policy.
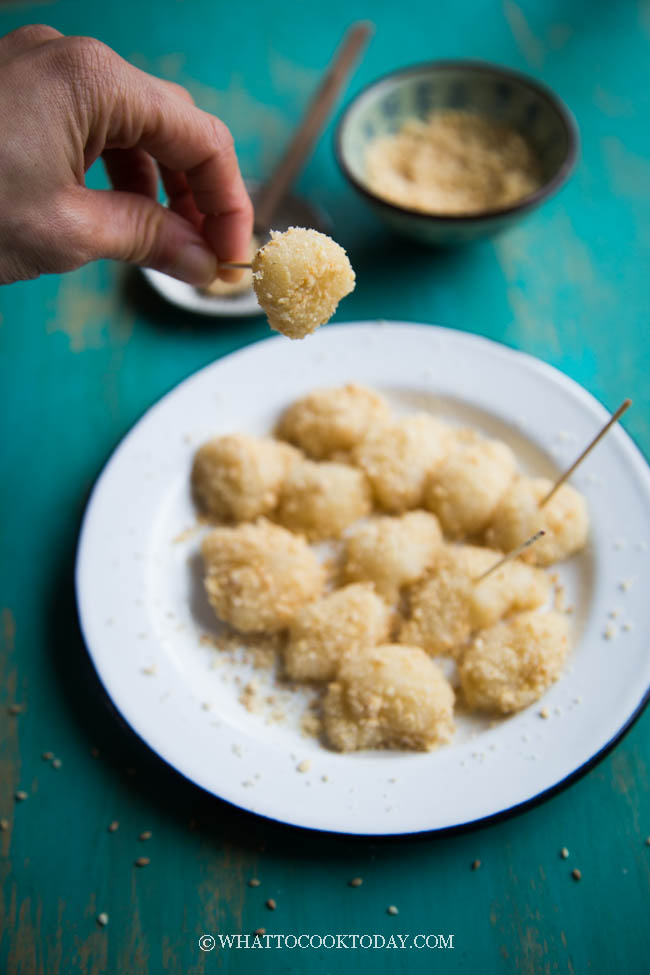
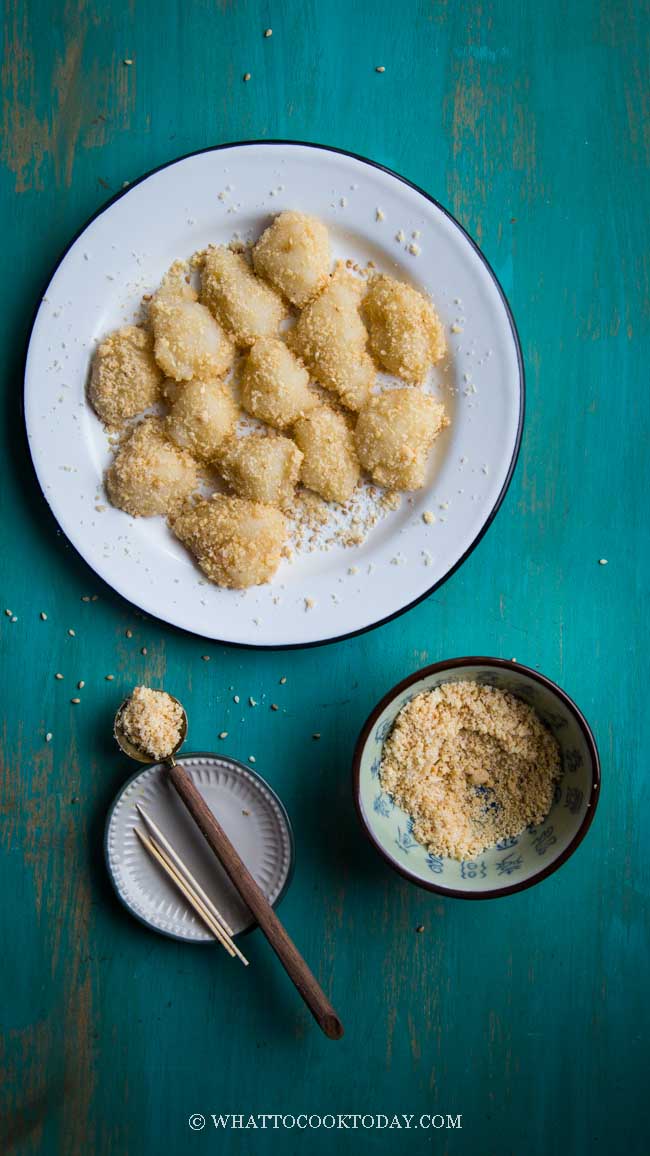
Soft and slightly chewy muar chee is coated with peanut powder, sugar, and sesame seeds topping is a popular snack from kids to adults and now you can easily make this peanut mochi at home. All the tips you need to know.
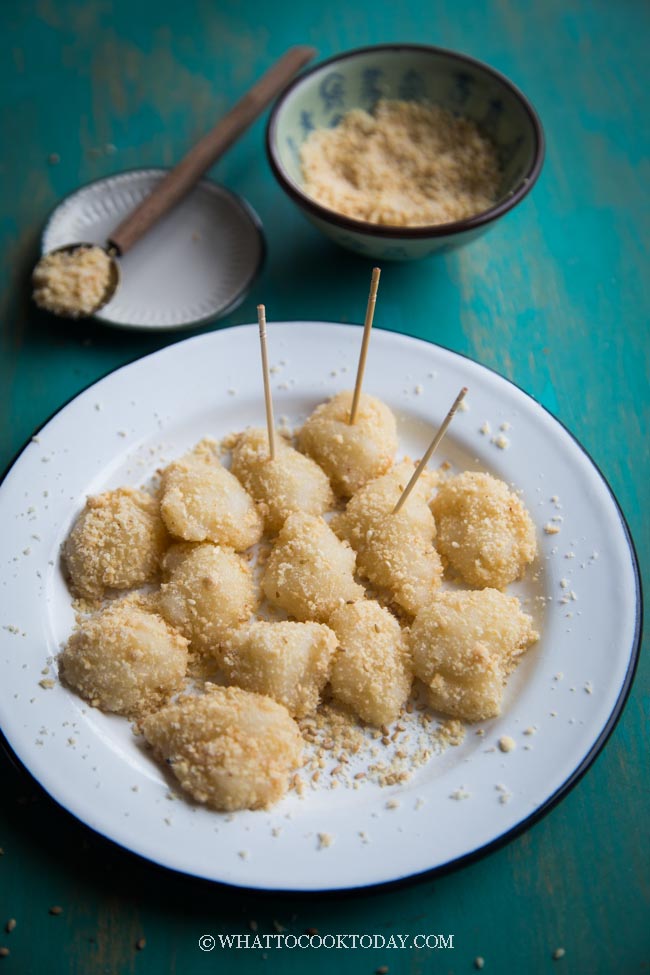
The sight and thought of muah chee bring back so much memories for me as a kid. I remember eating this as a kid with a toothpick. It’s not uncommon to eat a snack sell by a street vendor like this with a toothpick. Muah chee or sometimes you’ll see it spelled as muar chee is a popular snack (to me it’s a dessert) in Southeast Asia countries such as Indonesia, Malaysia, and Singapore. It is very similar to Japanese mochi. Muah chee is even easier to make without having to shape it into any shape at all. Glutinous rice flour is cooked into dough-like and then coated with peanut powder, sugar and sesame seeds topping. My daughter can easily down the entire plate on her own ha..ha..!
WHAT MAKES GOOD MUAH CHEE
1. TEXTURE
The texture must be soft, yet slightly chewy, and springy
2. SHALLOT OIL
Authentic muah chee has shallot oil added to the dough to give that extra aroma. It’s not a total deal-breaker if you don’t have shallot oil. Many times I have made muah chee without it and no one seems to complain. But, if you are after an authentic muah chee, definitely use shallot oil
3. RIGHT AMOUNT OF SWEETNESS
Like many Asian desserts and cakes, muah chee is not supposed to be overly sweet. The ratio of peanut powder to sugar that I found best is 2:1. This is personal, you can adjust to your taste
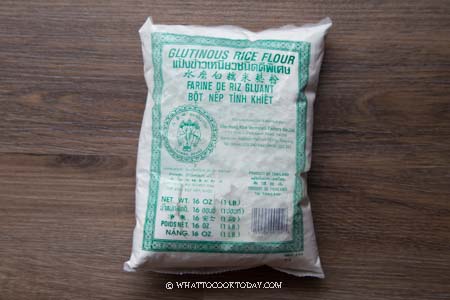
SPECIAL INGREDIENT
Muah chee is made with glutinous rice flour or known as sticky rice flour or sweet rice flour or mochiko flour. Please do not substitute with other kinds of rice flour. Regular rice flour will NOT give the same texture and result. There’s no substitution for glutinous rice flour.
Easy Muah Chee / Peanut Mochi (Steamer, Stove-top, Microwave)
Ingredients
Muah chee dough:
- 120 gr glutinous rice flour 1 cup + 1 Tbsp, or mochiko flour/sticky rice flour
- 1 tsp sugar
- Tiny pinch of salt
- 1 tbsp cooking oil
- 175 ml water 3/4 cup
Toppings:
- 1 recipe peanut powder
- 50 gr granulated sugar 1/4 cup
- 30 gr toasted white sesame seeds 3 Tbsp + 1 tsp
Instructions
Prepare the peanut powder + sugar topping:
- Toast the white sesame seeds on a dry pan until lightly golden brown. Do the same with the peanuts. I bought a roasted peanuts, so I don't need to toast the peanuts on the pan anymore
- Make sure the roasted peanuts and sesame seeds have cooled down completely before blending them
- Mix the sugar and sesame seeds with the peanut powder. Set aside
Steaming method:
- Prepare the steamer with some water and bring the water to a rolling boil. Place all ingredients for muah chee dough in a large heat-proof bowl until it is smooth. Place inside the steamer and let it steam for the next 20 minutes. Remove from the steamer after that and quickly stir with a spoon. Stirring will improve the texture of the dough. Let the dough cools down for 10 minutes. Proceed to coat with topping step below
Cooking in the pan method:
- In a large non-stick pan, add all ingredients for the muah chee dough. Use a rubber spatula to mix until it is smooth
- Turn on the heat on low to medium and start stirring until the mixture is thickened. The mixture is still pasty and you can't really gather it into a dough yet. Keep stirring and pressing the dough and cook it until it started to turn into ball of dough and slightly translucent. The whole process of cooking is probably about 15 minutes or so. Remove the pan from the heat and let it cool down for about 10 minutes. Proceed to coat with topping step below
Cooking in microwave:
- Place the glutinous rice flour, water, and cooking oil in a large heat-proof bowl (preferably glass) until it is smooth. Cook on high in the microwave for about 3-4 minutes. Remove from the microwave and stir the dough. This will improve the texture of the dough. Let it cool down for 10 minutes. Proceed to coat with topping step below
Coat with topping:
- Use a spoon to scoop up a small piece of the muah chee dough. It is sticky, but don't worry, it will not be after you coat them in the topping, or use a paper towel dip in some cooking oil and wipe it on your kitchen shears and pick up the dough with a chopstick and cut the dough into smaller pieces
- Coat them in the peanut powder topping all over and serve immediately. Only coat with topping the amount you want to serve. The longer it sits, the sugar will make the muah chee "wet"
RECOMMEDED TOOLS


HOW TO EASILY MAKE MUAH CHEE FROM SCRATCH
In this step-by-step instructions, I’m sharing how I make the mochi dough with a steamer, which is a more common method.
1. PREPARE PEANUT POWDER TOPPING
Use a blender, not a food processor. A blender will do a better job turning the peanuts into powder. My food processor isn’t able to grind anything into a powder consistency. It can only finely ground or chopped (as shown in the photo below)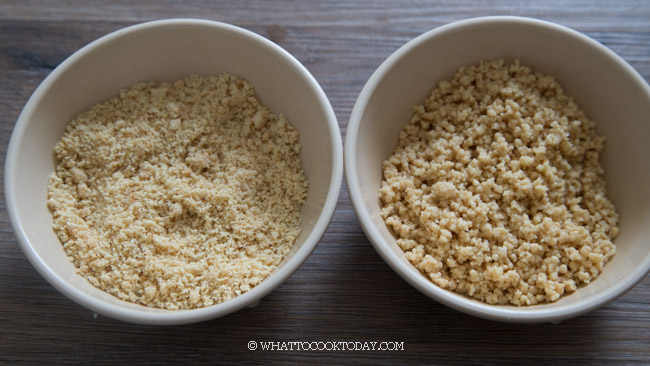
Mix peanut powder with the sugar and sesame seeds (if using)
2. PREPARE MUAH CHEE DOUGH
Prepare the steamer with some water and bring the water to a rolling boil. Place all ingredients for muah chee dough in a large heat-proof bowl and stir until it is smooth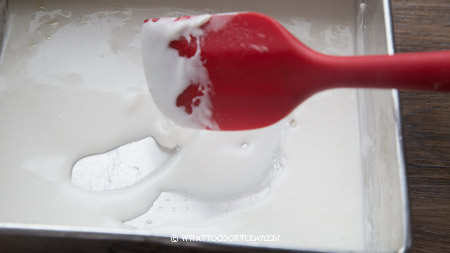
Place inside the steamer and let it steam for the next 20 minutes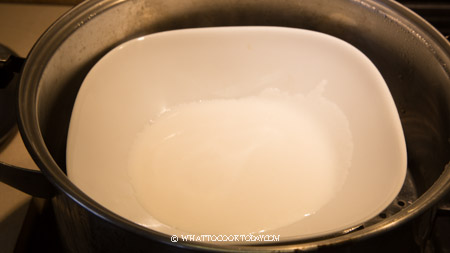
The dough will turn translucent white after steaming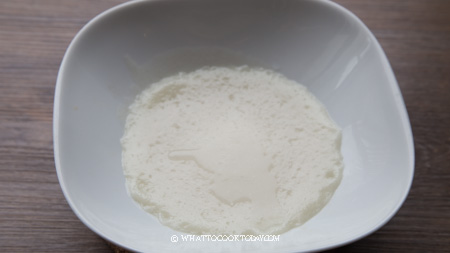
Remove from the steamer after that and quickly stir with a spoon. Stirring will improve the texture of the dough. Let the dough cool down for 10 minutes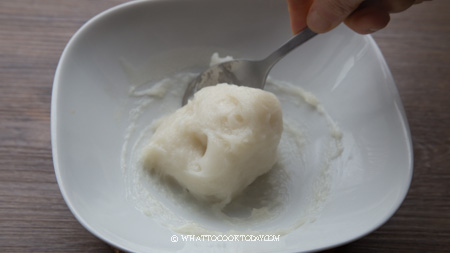
2. COAT WITH THE TOPPING
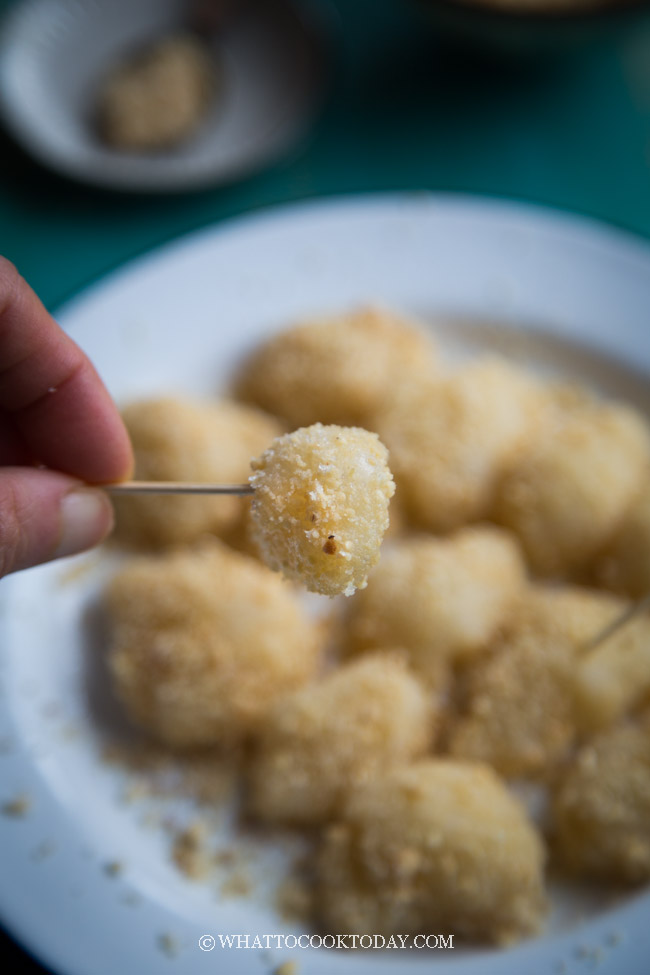
Use a spoon to scoop up a small piece of the muah chee dough. It is sticky, but don’t worry, it will not be after you coat them in the topping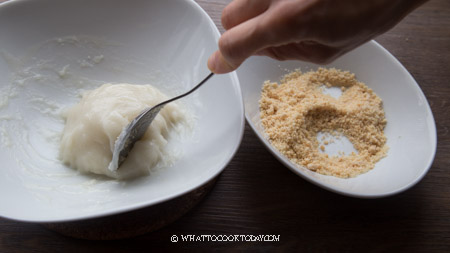
Toss them in the peanut powder, sesame seeds, and sugar mixture and coat the piece all around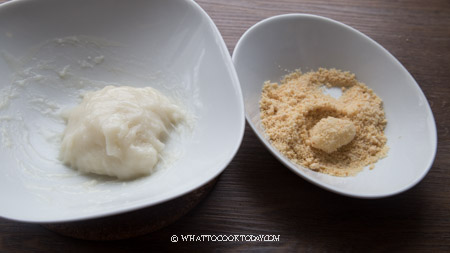
3. SERVE
It is highly recommended to serve this immediately after you prepare it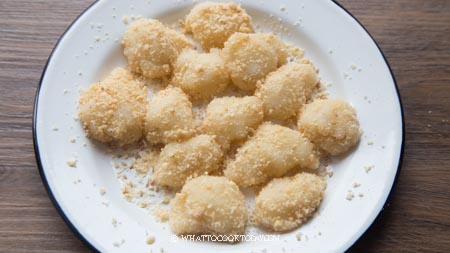
TIPS YOU NEED TO KNOW
1. USE ROASTED PEANUTS AND TOASTED SESAME SEEDS
You can save some steps at home by purchasing already roasted peanuts and toasted white sesame seeds
1. STIR
If you cook the dough by steaming or microwave, make sure the stir the dough after it’s cooked. Stirring it improves the texture of the dough
2. COOL THE DOUGH DOWN
I used to coat the still-hot muah chee dough immediately with the peanut powder topping and that makes the muah chee turns really wet almost immediately. Let the dough cools down for about 10 minutes and then cut or scoop the dough into smaller pieces and then roll them in the peanut powder and sugar mixture
3. ONLY PREPARE AS MUCH AS YOU WANT TO EAT
Only coat muah chee dough in the peanut powder topping when you want to eat them. The longer they sit, the “wetter” they become.

I’ve never imagined that I would make my own muah chee. This was something I could easily buy if I were in Indonesia. It’s really easy to make though and you can have your dessert or snack in no time. Simplicity at its best!!
HOW TO STORE AND REHEAT LEFTOVER MUAH CHEE
Only uncoated muah chee dough (meaning you haven’t coated it with a peanut topping) leftovers can be kept in the fridge. Here’s how:
1. Cover the uncoated muah chee dough with a cling wrap and store them in the fridge. They can be kept for up to a week this way
2. Store the peanut powder and sesame topping in an air-tight container. Only add sugar to the mixture when you want to serve muah chee
3. Refrigerated muah chee will harden. Simply reheat with a moist heat like in the steamer and they will soften again. Wait 10 minutes and then coat with the peanut powder topping

10 comments
So simple. My whole family has this recipe. I used to think it’s cumbersome with streaming etc and then washing up is a sticky mess. But I use everything plastic from the bowl down to the pastry cutter and nothing ever sticks. Plastic (not rubber) gloves is a must. Idiot proof microwave method. Thank you for sharing.
I’m glad you figure out to deal with the sticky mess 🙂 Thank you for sharing too!
Recipe says 120 g mochiko or 1/2 cup. Which one is it? Please advise!
Go with 120 grams or 4.2 oz. I’ve fixed the cup measurement, but I don’t really like cup measurement as it is not that accurate.
The mochi turned out great! Tq for your recipe, def a keeper ♥️♥️♥️♥️
Hi Janice, I’m glad you like it 🙂 Cheers!
This recipe is awesome! So simple it worked on my 1st attempt. I used the microwave method n it came out nice n chewy. The whole process from weighing ingredients to finish took less 10min. 1 observation though… instead of cutting n rolling the balls piece by piece, it is much faster to take out a big chunk n cut it while it is placed in the coating… cutting n rolling at the same time. Coating d tools with some oil also helps with the sticking
Hi Gen,
I’m glad the recipe worked out great for you 🙂 I love the idea of saving some time by cutting and rolling at the same time too. I think those sellers do the same thing too 🙂 Thanks for the tips!
Have you tried making the dough in advanced, steam it, then only toss with peanut when it’s ready to be served?
I’m thinking of making it a day ahead.
I haven’t made it in advance, but you can certainly make it a day ahead. Let the dough cool down completely and then cover with plastic wrap. You should be able to keep it at room temperature too and then toss with peanut and sugar right before serving as you said. It should work!