This post may contain affiliate links. Please read our disclosure policy.
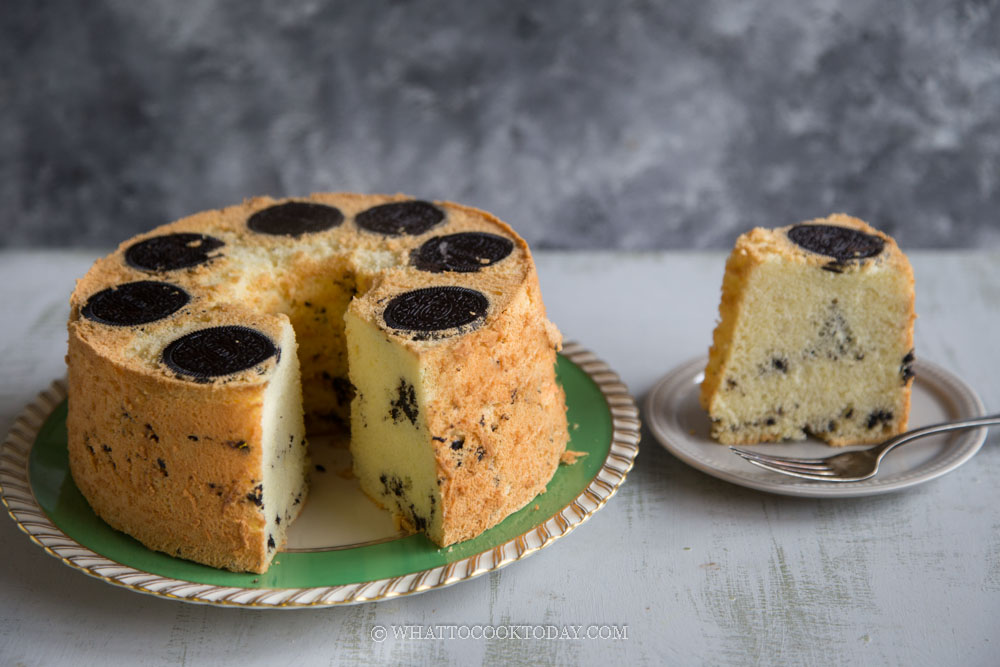
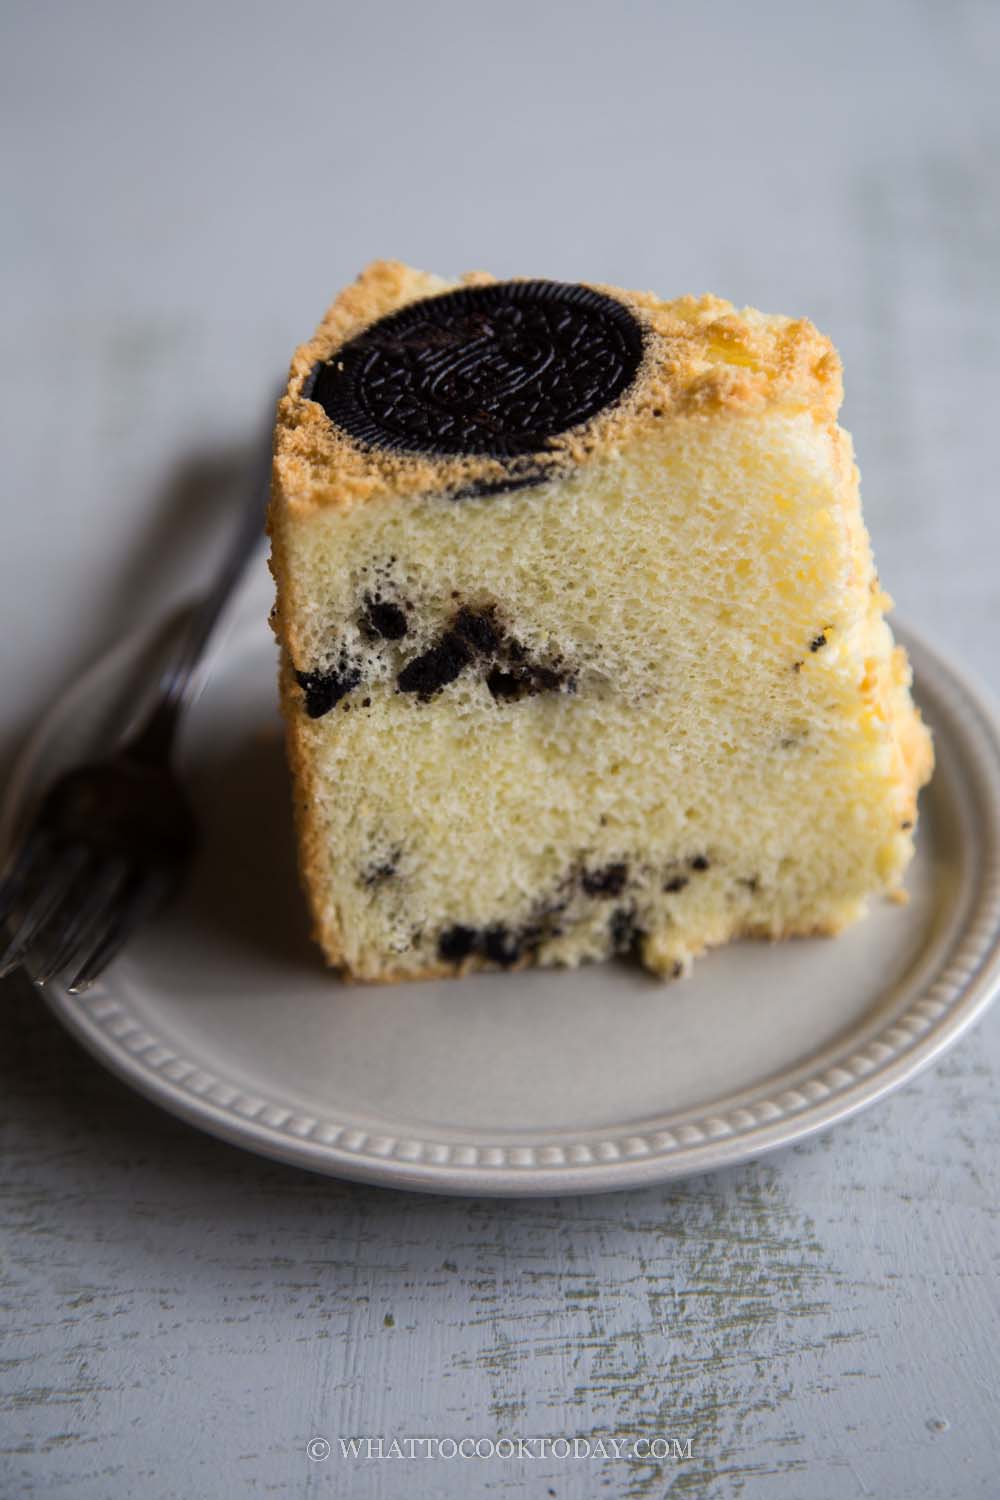
Oreo is popular cookies from kids to adults and it’s a very versatile ingredients for baking and desserts. This Oreo chiffon cake is so soft, air, and light as a cloud. Biting into bits and pieces of Oreo inside and on top of the cake is truly the best part.

I can’t think of anybody I know that doesn’t like Oreo (other than my mom-but she doesn’t like anything sweet to begin with, so that doesn’t count LOL!). My kids don’t get to eat them as often as they wish 🙂 BUT, I do get them every now and then. I use them more in baking than for my kids’ enjoyment, though what I baked eventually go into their tummy too. So..back to Oreo chiffon cake! Yes, another reason why I love chiffon cake. It’s like a blank cake canvas and you can paint whatever you want, in this case the flavor, the color, the topping, etc!
Do I need to scrape that cream filling off the Oreo?
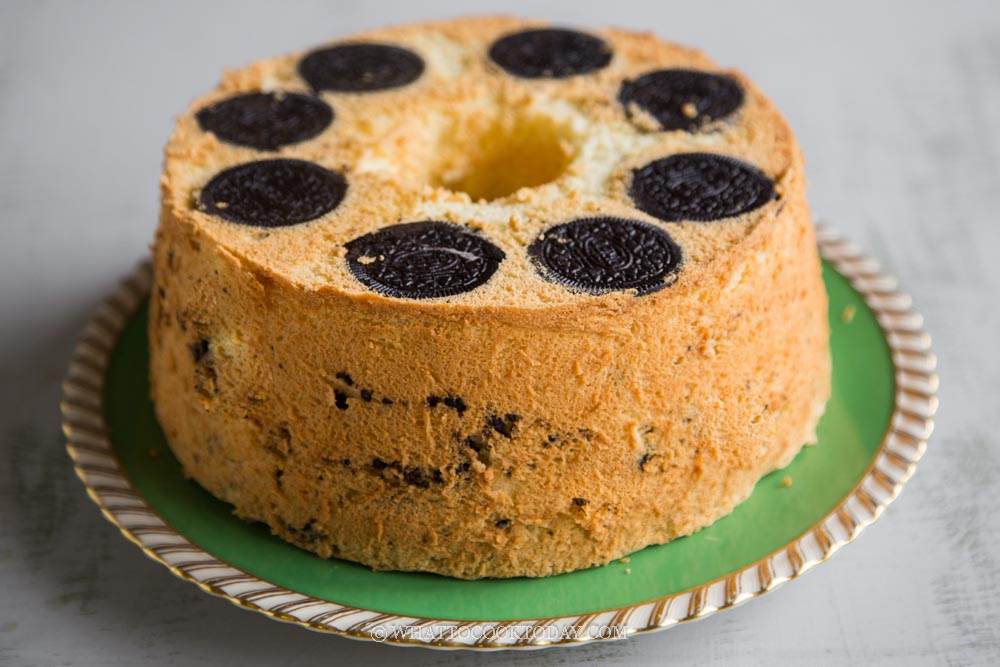
I’ve tried not to scrape them off on two different occasion, because I love Oreo for its combination of cookies and cream, but the Oreo pieces ended up sinking to the bottom of the cake (which will become the top after you invert it), even after I tossed them lightly in a flour coating. Not a big deal I guess if you don’t mind that. So for the third attempt, I decided to scrape off the filling (and use it in buttercream frosting for other use) and crush the cookies so they are more evenly distributed throughout the cake. But, Fret not, you get a whole piece of Oreo on top of the cake 😉 It’s fair enough right?
How to make Oreo chiffon cake
1. Scrape off the cream from the Oreo cookies and get 60 grams of the cookies. Put the cookies inside a zipper bag, push all the air out and use rolling pin to crush them into small pieces. Don’t crush into a powder though. You can also use a food processor and pulse them a few times to roughly chop them into small pieces

2. Arrange 8 pieces of Oreo cookies at the bottom of the chiffon tube pan

3. Whisk the egg yolks, sugar and cooking oil, and milk

4. Sift in the cake flour, and salt into the batter
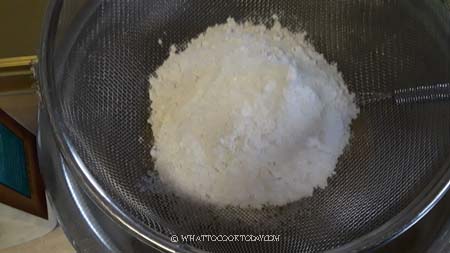
5. Whisk with a whisk using a zig zag motion to mix into a smooth batter. Set aside
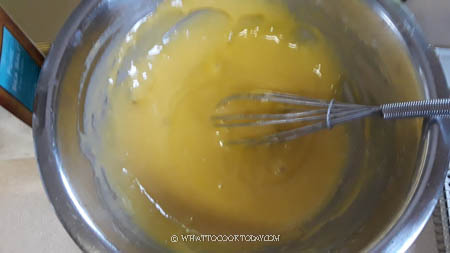
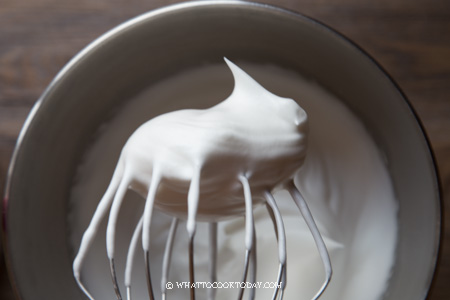
6. Beat the egg whites on medium speed until frothy, add cream of tartar or lemon juice/vinegar and whip until it turns whitish and air bubbles are fine. Gradually add the sugar as you beat, in 3 batches. I beat them at medium speed (speed 6 on Kitchen Aid). This will take a bit longer compared to beating at high speed. I used to do higher speed (speed 8), but the meringue is smoother and nicer when I maintain the speed on 6. I highly recommend stopping several times to check on the consistency and scraping the sides of the bowl to make sure no sugar left on the side of the bowl. Whip until you reach a stiff peak but still have a slight bent on the tip. Then lower the speed to 4 and whip for 1 minute to even out large bubbles and stop beating
7. Gently fold 1/3 of the meringue into the thick batter. Using a whisk, using a cutting motion and fold over to mix. Repeat this motion several rounds. Continue on with the second 1/3 of the meringue again to mix. For the last 1/3 of the meringue, use a rubber spatula instead to ensure you get all the batter at the bottom of the bowl mixed in as well. Use a cut down in the middle and fold over motion to fold gently but quickly. Make sure you don’t see any more white meringue. The mixture should be fluffy and voluminous
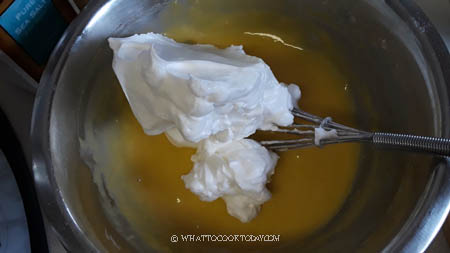

8. Very gently scatter the crushed Oreo cookies on the batter and use a spatula to gently swipe down and fold over to combine them. Don’t overmix it. Pour the batter into an UNGREASED chiffon cake pan. Use a rubber spatula to smooth the surface. Gently drop the cake pan from about 10 cm height on the counter 2-3 times. Bang the tube pan on the counter 4-5 times to pop any large bubbles
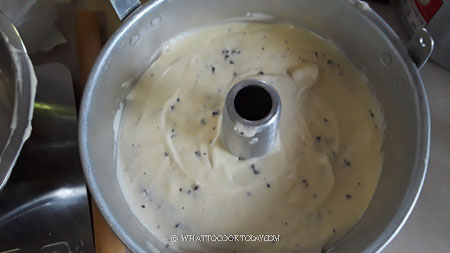
9. Pop into the oven and let it bake for 50-55 minutes or until the surface is dry to touch and springs back when you gently press on it. A cake tester inserted into near center of the cake should come out clean
10. Once out of the oven, drop the cake pan from about 10 cm height on the counter several times to release hot air and to prevent shrinkage. Then carefully invert the pan upside down immediately
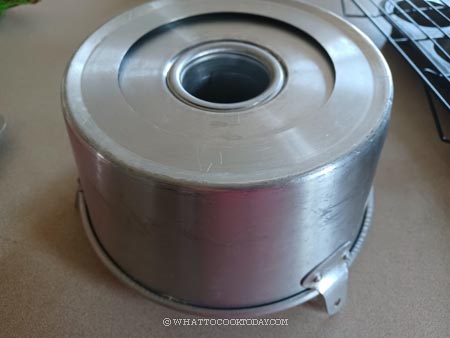
11. Once it’s cool down completely, use a spatula knife to run through the edge and the outer center of the tube to help release the cake. Gently push the base to lift the cake out. Use the knife again to run through the base of the pan and then carefully release the cake
How to store Oreo chiffon cake at room temperature
1. Let the cake cools down completely
2. You can put inside a cake container if you have one or cover with a cling wrap
3. Chiffon cake without any frosting, which I usually don’t do any frosting, can be stored at room temperature for about 3 days. I would avoid the fridge if possible. They tend to dry cake out. For longer storage, check out the tips below on how to freeze chiffon cake
How to freeze chiffon cake?
Contrary to the believe that chiffon cake or any sponge cake is so fragile that it won’t freeze well, I find that the opposite. I bake so much and I freeze my chiffon cakes and sponge cakes all the time. It’s so much better than keeping them in the fridge, which will dry them out. Here’s how:
1. Let the cake cools down completely
2. If uncut, wrap the whole cake in a cling wrap, 2 layers would be best and then wrap with a foil on the outside. If you have a box for it, put it inside, if not don’t worry about it. Put it on a spot where it won’t get squish while it’s still not completely frozen
3. If cut into slices, wrap 2-3 slices together with a cling wrap then the foil and put inside a freezer bag, push all the air out and seal
4. When ready to serve, thaw at room temperature and they are ready to be consumed. Try not to freeze for more than one month
Did you make this recipe?
I love it when you guys snap a photo and tag to show me what you’ve made 🙂 Simply tag me @WhatToCookToday #WhatToCookToday on Instagram and I’ll be sure to stop by and take a peek for real!
Soft Fluffy Oreo Chiffon Cake
Ingredients
Please use digital kitchen scale to weigh ingredients (cups measuring is not recommended):
Yolk batter:
- 5 egg yolks (room temperature) from 58-60 grams egg with its shell
- 40 gr granulated sugar
- ¼ tsp salt
- 75 ml cooking oil
- 60 ml whole milk (room temperature)
- 120 gr cake flour
- 60 gr OREO Cookies without the cream, crushed
Meringue:
- 5 egg whites (room temperature) from 58-60 grams egg with its shell
- 1 tsp lemon juice
- 80 gr granulated sugar
Decoration:
- 8 pieces OREO Cookies whole piece with the cream
Instructions
Things to prepare before you work on the recipe:
- Scrape off the cream from the Oreo cookies and get 60 grams of the cookies. Put the cookies inside a zipper bag, push all the air out and use rolling pin to crush them into small pieces. Don't crush into a powder though. You can also use a food processor and pulse them a few times to roughly chop them into small pieces
- Before you start making the recipe, make sure eggs and milk are at room temperature
- Make sure your chiffon cake pan does not have a non-stick coating or your cake will not rise. The cake needs to cling to the side of the pan to rise tall
- Arrange 8 pieces of Oreo cookies at the bottom of the chiffon tube pan
Prepare the yolk batter:
- Preheat your oven to 330 F (165 C). If you have a convection oven, I suggest lowering the temperature by 20 F (15 C)
- Separate the egg yolks from the white. The meringue whips better at room temperature. In a separate bowl, whisk the egg yolks, sugar and cooking oil, and milk. Sift in the cake flour, and salt into the batter. Whisk with a whisk using a zig zag motion to mix into a smooth batter. Set aside
Prepare the meringue:
- Beat the egg whites on medium speed until frothy, add cream of tartar or lemon juice/vinegar and whip until it turns whitish and air bubbles are fine. Gradually add the sugar as you beat, in 3 batches. I beat them at medium speed (speed 6 on Kitchen Aid). This will take a bit longer compared to beating at high speed. I used to do higher speed (speed 8), but the meringue is smoother and nicer when I maintain the speed on 6. I highly recommend stopping several times to check on the consistency and scraping the sides of the bowl to make sure no sugar left on the side of the bowl. Whip until you reach a stiff peak but still have a slight bent on the tip. Then lower the speed to 4 and whip for 1 minute to even out large bubbles and stop beating
Fold meringue into the yolk batter:
- Gently fold 1/3 of the meringue into the thick batter. Using a whisk, using a cutting motion and fold over to mix. Repeat this motion several rounds. Continue on with the second 1/3 of the meringue again to mix. For the last 1/3 of the meringue, use a rubber spatula instead to ensure you get all the batter at the bottom of the bowl mixed in as well. Use a cut down in the middle and fold over motion to fold gently but quickly. Make sure you don't see any more white meringue. The mixture should be fluffy and voluminous
- Very gently scatter the crushed Oreo cookies on the batter and use a spatula to gently swipe down and fold over to combine them. Don't overmix it
- Pour the batter into an UNGREASED chiffon cake pan. Use a rubber spatula to smooth the surface. Gently drop the cake pan from about 10 cm height on the counter 2-3 times. Bang the tube pan on the counter 4-5 times to pop any large bubbles
Baking:
- Pop into the oven and let it bake for 50-55 minutes or until the surface is dry to touch and springs back when you gently press on it. A cake tester inserted into near center of the cake should come out clean
- NOTES on baking time: Please note that the baking time is just for reference. Your oven may bake faster or slower and the type of oven you use may be different than mine
Test for doneness:
- I know this is weird to say, but it's actually "safer" to overbake chiffon cake than under baking. Under baking tends to cause the cake to collapse. Usually if you insert a skewer inside the cake and no crumbs stick to it or very minimal crumbs, it is safe to say that the cake is cooked through. You can also touch the top and if it springs back, it's a good sign that it's cooked through. I like to have some golden brown on top. I don't know if you notice, but when the cake has a golden brown color on top, it's actually more flavorful too than when the cake is pale in color
- Don't be alarm if your cake has some cracks on top. What you are looking at will become the bottom of your cake. I know many people mind it a lot and make a big fuss when the top of the chiffon cake cracks, but actually it's not a flaw.
Invert to cool down immediately:
- Once out of the oven, drop the cake pan from about 10 cm height on the counter several times to release hot air and to prevent shrinkage. Then carefully invert the pan upside down immediately. Your chiffon pan may have the little stands for you to invert, but I find it not high enough. I use a glass jar and set the inverted pan on top of the jar and let it cool down completely. Please don't be tempted to remove from the pan if it's still warm. It takes about one to two hours to cool down completely
- Once it's cool down completely, use a spatula knife to run through the edge and the outer center of the tube to help release the cake. Gently push the base to lift the cake out. Use the knife again to run through the base of the pan and then carefully release the cake


2 comments
My family love this cake and I regularly bake it for birthdays and special holidays.
Hi Lesley, I couldn’t be happier to know that 🙂 Thank you so much for your feedback!!