This post may contain affiliate links. Please read our disclosure policy.
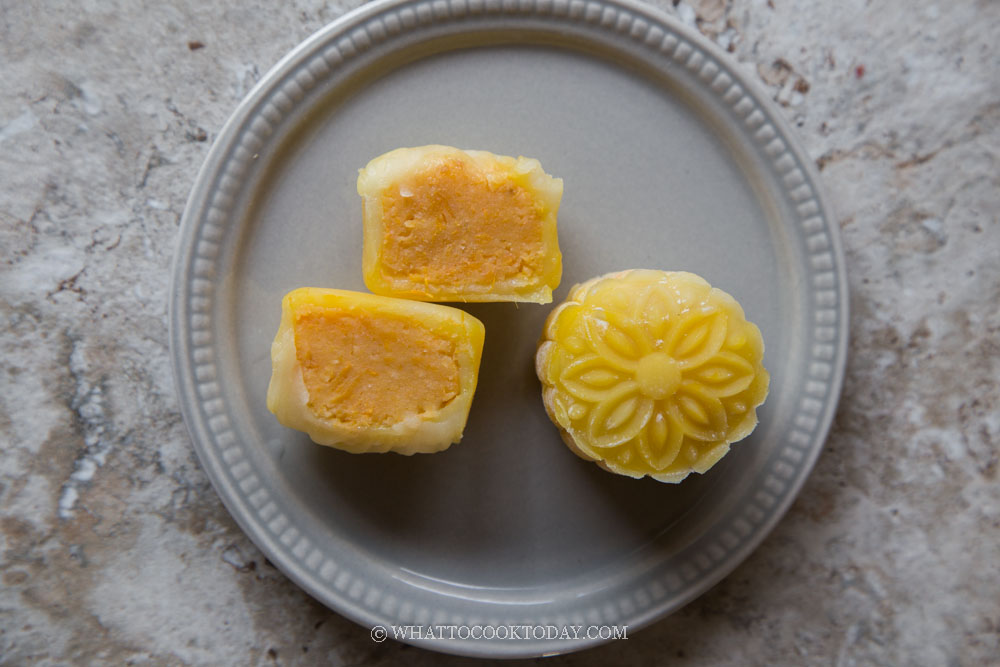
Learn how to make no-bake soft and chewy snow skin mooncake with creamy and sweet pumpkin filling. The snow skin mooncakes stay soft for days even after refrigeration.
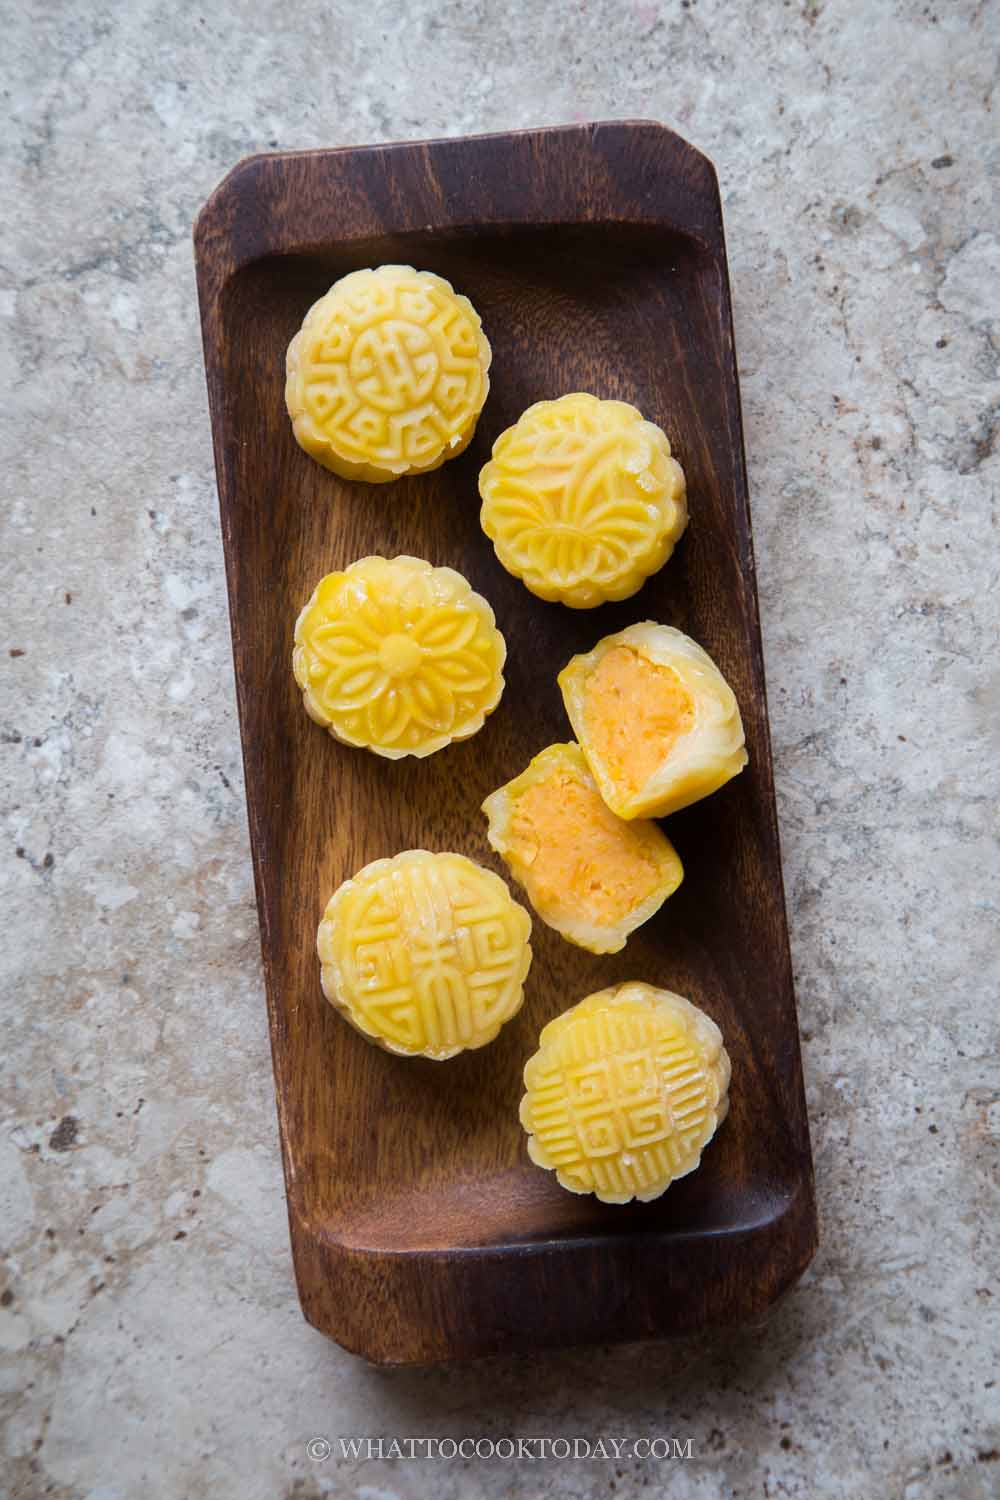
If you are wondering what else you can do with the stash of your mashed pumpkin or pumpkin puree, you should try this easy pumpkin snow skin mooncake. Snow skin mooncake is usually a no-bake sweets. The snow skin has the characteristic of being mochi like: soft, chewy, and stretchy. I enjoy making snow skin mooncake because it is easy and the variations for the filling is really limitless.
Why you’ll like this recipe
1. The snow skin dough is easy to work with
2. The snow skin mooncake stays soft for days in the refrigerator
3. The filling has the right amount of sweetness
How to make no-bake pumpkin snow skin mooncake
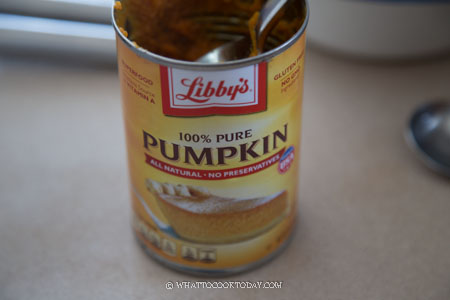
1. I use a canned pumpkin puree. If you use fresh pumpkin, peel and cut the sweet potatoes into cubes and steam for about 10 minutes or until fork tender.
2. Put the pumpkin along with other ingredients for the filling into a blender and blend until smooth. Transfer to a non-stick pan or saucepan and cook over medium-low heat and keep stirring until the mixture is no longer sticky, absorbs the oil and leave the sides of the pan
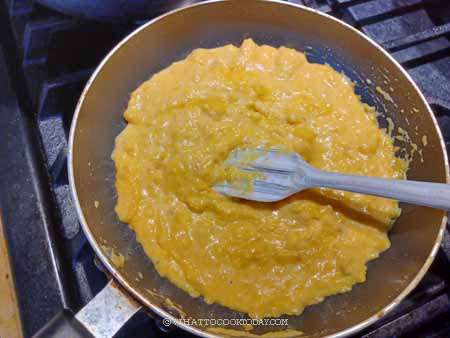
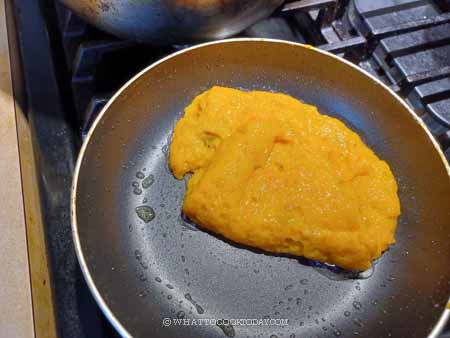
3. Transfer to a clean bowl. Cover with a plastic wrap touching the paste surface to prevent a skin from forming and chill in the fridge for at least 2 hours

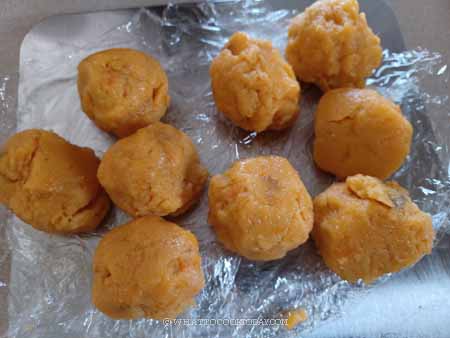
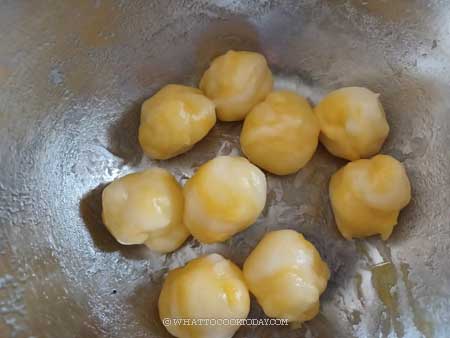
4. After at least 2 hours, the paste should be firm and portion out into 25 grams and roll into round balls. Cover and keep them chill in the fridge again until when you are ready to use them
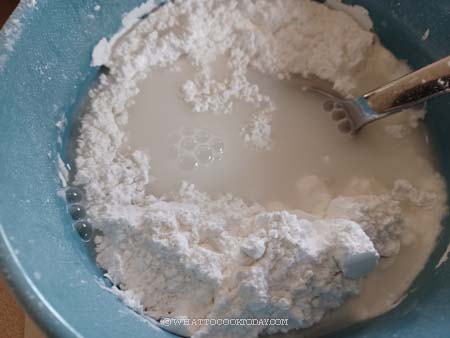
5. Combine all the ingredients for snow skin dough in a heat-proof mixing bowl. Strain the dough if necessary to get rid of any lumps.
6. Place this batter in the steamer and steam over high heat for 15 minutes. Wrap the lid of the steamer with a cloth to prevent condensation drips onto the dough. If you stick a knife in the middle of the dough, it will come out clean, though the top of the dough may appear a bit watery at first
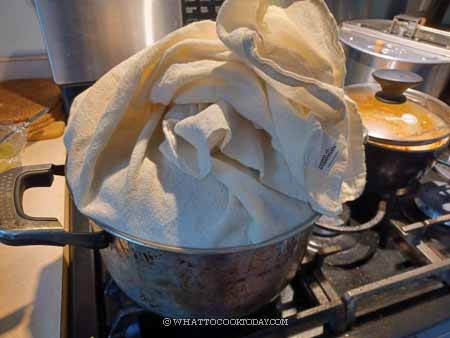
7. Use a spoon to stir the dough while it’s still hot to form a large mass of dough
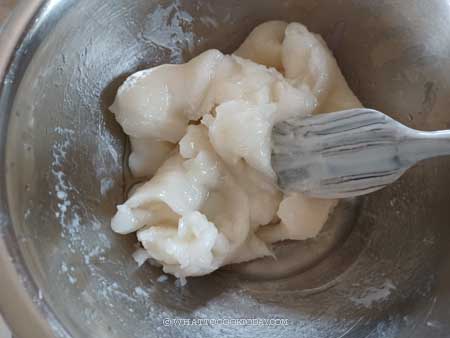
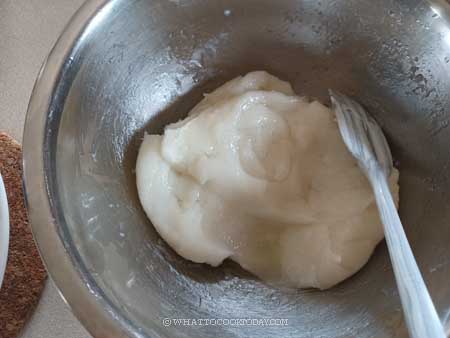
8. Cover with a cloth for about 10-15 minutes so it’s not too hot for your hands to knead. Don’t use a plastic wrap as condensation will form and drip into the dough, making it wet
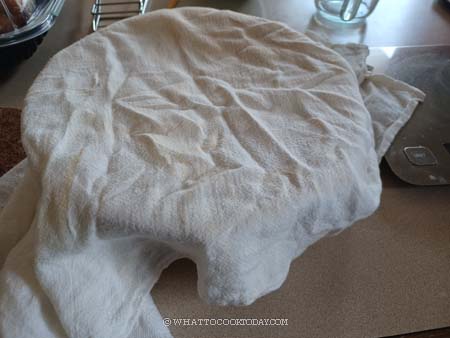
9. When it’s cool enough to handle, oil your palm lightly and knead the dough a few times to form a smooth non-sticky dough. The dough is very elastic and stretchy
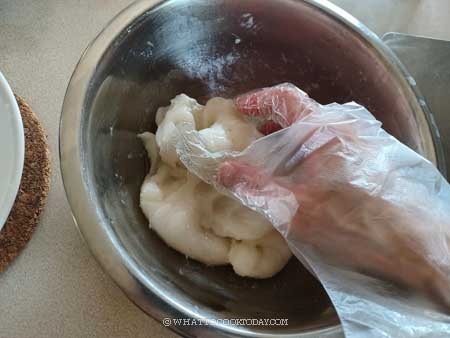
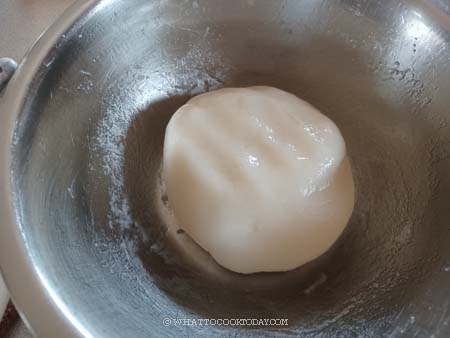
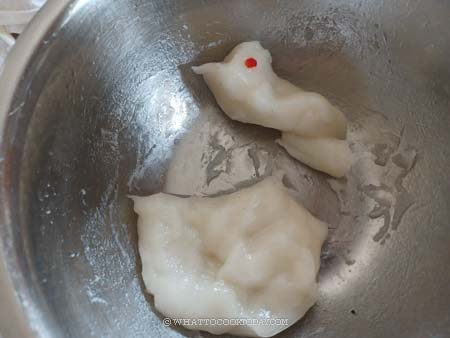
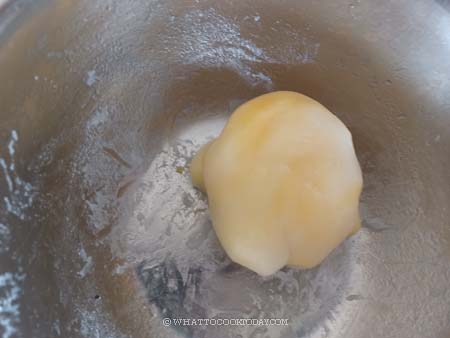
10. I pinch of about 1/4 of the dough and color it yellow with a gel food coloring. This is optional. I want to create a “marble” effect (but apparently, not very obvious LOL). Then combine both the yellow and white dough again

11. Since I used 50-gram mould, I portioned the dough into a 25-gram piece. Keep them covered and work with one dough at a time
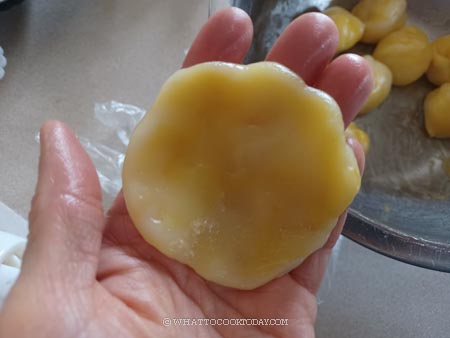
12. Flatten the dough and roll out into about 4 inches round
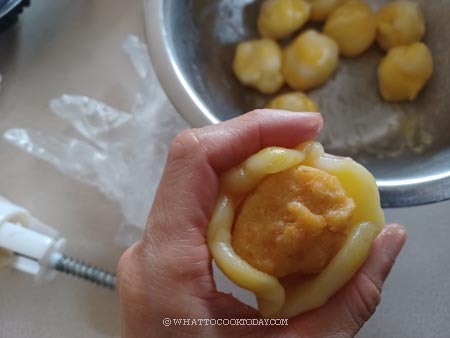
13. Place the filling in the middle and wrap around it
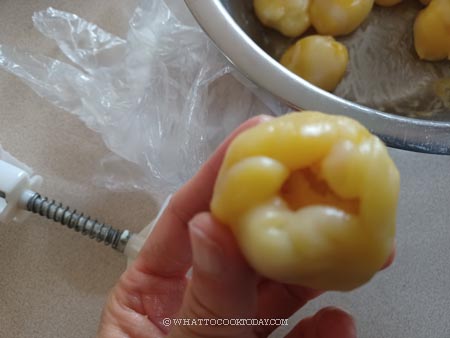
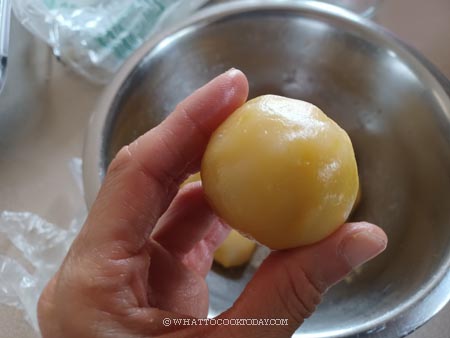
14. Dust the dough with cooked glutinous flour you prepared earlier. Dust off excess flour
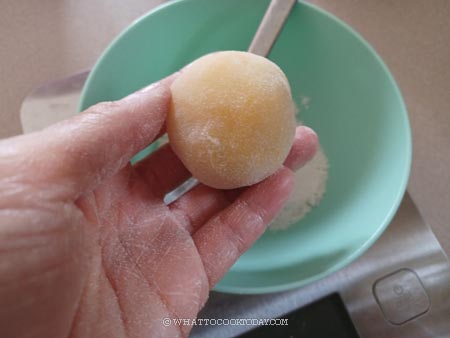
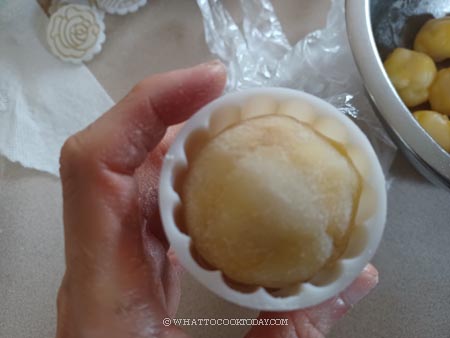
15. Place this into the mould cavity and press to imprint the pattern on the dough. Repeat with the rest of the dough and filling

16. Keep them in an air-tight container and store them in the fridge for about a week. They stay soft for about 5 days and may started to get a bit harder the longer you keep them in the fridge as the fridge can dry them out. Freezing them will prolong their shelf-life
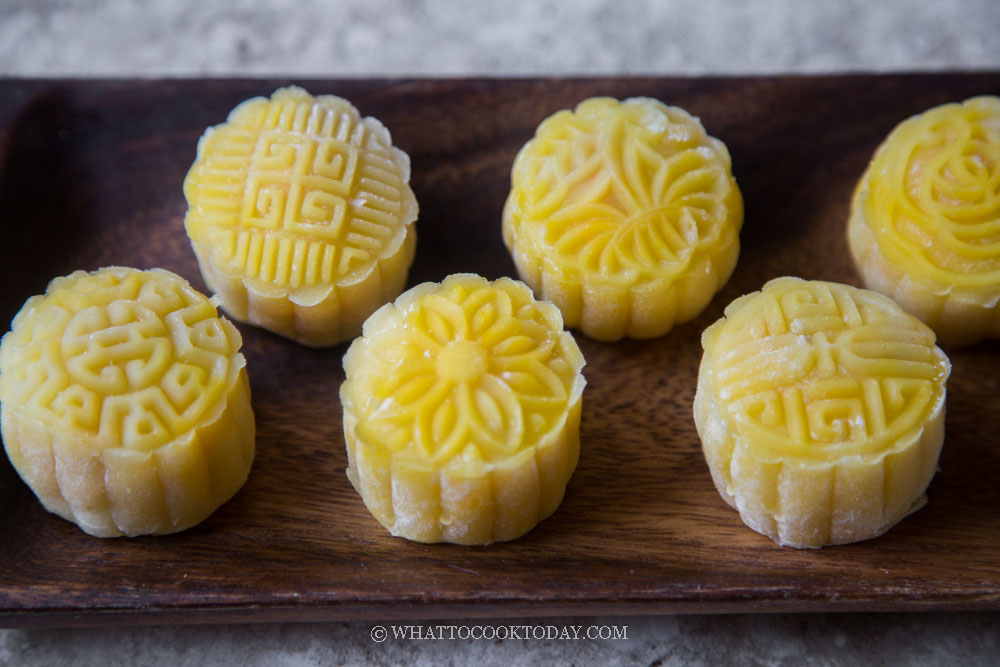
What if I don’t have a mooncake mould/press?
You can simply roll them into balls like mochi or flatten them slightly to look more like a thick pancake
Did you make this pumpkin snow skin mooncake recipe?
I love it when you guys snap a photo and tag to show me what you’ve made 🙂 Simply tag me @WhatToCookToday #WhatToCookToday on Instagram and I’ll be sure to stop by and take a peek for real!
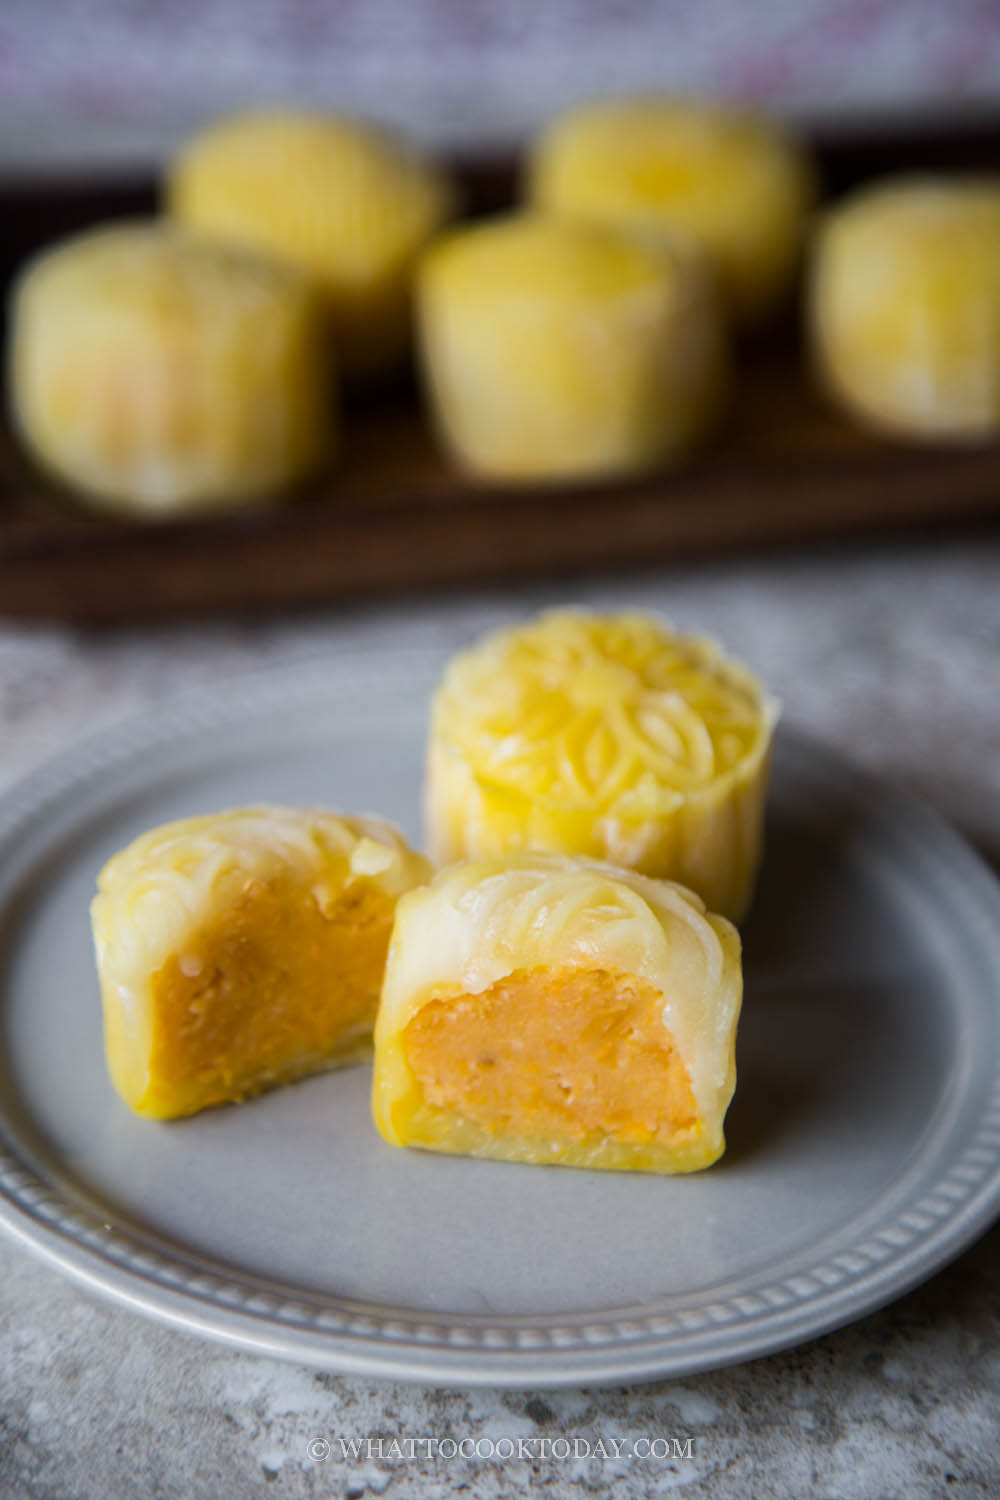
Easy Pumpkin Snow Skin Mooncake
Ingredients
Snow skin dough:
- 50 g glutinous rice flour sweet rice flour/mochiko flour
- 40 g rice flour
- 20 g wheat starch not wheat flour, or sub with cornstarch
- 40 g icing sugar
- 180 g water
- 20 g cooking oil
- yellow food coloring optional
Pumpkin filling:
- 150 g mashed pumpkin/puree
- 70 g water
- 50 g condensed milk
- 20 g coconut oil
- 55 g coconut cream
- 20 g cornstarch
- ⅛ tsp salt
For dusting:
- 30 g glutinous rice flour sweet rice flour/mochiko flour
Instructions
- Place 30 gr of glutinous rice flour on a dry non-stick pan over medium heat. Stir fry for about 15 minutes or until the flour started to smell slightly nutty/toasted. Let it cool down completely. Store in an air-tight container at room temperature and they can be kept for weeks or even months
Prepare sweet pumpkin paste filling:
- I use a canned pumpkin puree. If you use fresh pumpkin, peel and cut the sweet potatoes into cubes and steam for about 10 minutes or until fork tender. Put this into a blender along with the rest of the ingredients for the paste and blend until smooth
- Transfer to a non-stick pan or saucepan and cook over medium-low heat and keep stirring until the mixture is no longer sticky, absorbs the oil and leave the sides of the pan
- Transfer to a clean bowl. Cover with a plastic wrap touching the paste surface to prevent a skin from forming and chill in the fridge for at least 2 hours
- After at least 2 hours, the paste should be firm and portion out into 25 grams and roll into round balls. Cover and keep them chill in the fridge again until when you are ready to use them
Prepare the dough:
- Combine all the ingredients in a heat-proof mixing bowl. Strain the batter if necessary to get rid of any lumps
- Place this batter in the steamer and steam over high heat for 15 minutes. Wrap the lid of the steamer with a cloth to prevent condensation drips onto the dough. If you stick a knife in the middle of the dough, it will come out clean, though the top of the dough may appear a bit watery at first. Use a spoon to stir the steamed mochi while it’s still hot to form a large mass of dough
- Cover with a cloth for about 10-15 minutes so it's not too hot for your hands to knead. Don't use a plastic wrap as condensation will form and drip into the dough, making it wet
- When it's cool enough to handle, oil your palm lightly and knead the dough a few times to form a smooth non-sticky dough. The dough is very elastic and stretchy
- You can also use your stand mixer with a dough hook attachment to knead the dough until it's smooth and elastic
- I pinch of about 1/4 of the dough and color it yellow with a gel food coloring. This is optional. I want to create a "marble" effect (but apparently, not very obvious LOL). Then combine both the yellow and white dough again
Shaping and moulding:
- Since I used 50-gram mould, I portioned the dough into a 25-gram piece. Keep them covered and work with one dough at a time. Flatten the dough and roll out into about 4 inches round. Place the filling in the middle and wrap around it
- Dust the dough with cooked glutinous flour you prepared earlier. Dust off excess flour. Place this into the mould cavity and press to imprint the pattern on the dough. Repeat with the rest of the dough and filling
How to store snow skin mooncake in the refrigerator:
- Transfer the snow skin mooncakes to an air-tight container and keep chill in the refrigerator for 3-4 days
- For longer storage, freeze them. Snow skin mooncake freezes well. I put them on a baking tray lined with wax of parchment paper, not touching each other and then put it in the freezer for about one hour. They won't harden completely, but won't stick to each other. Transfer to a freezer bag or container. They can be kept this way for up to 2 months. When ready to serve, thaw at room temperature and they are ready to be served


