This post may contain affiliate links. Please read our disclosure policy.
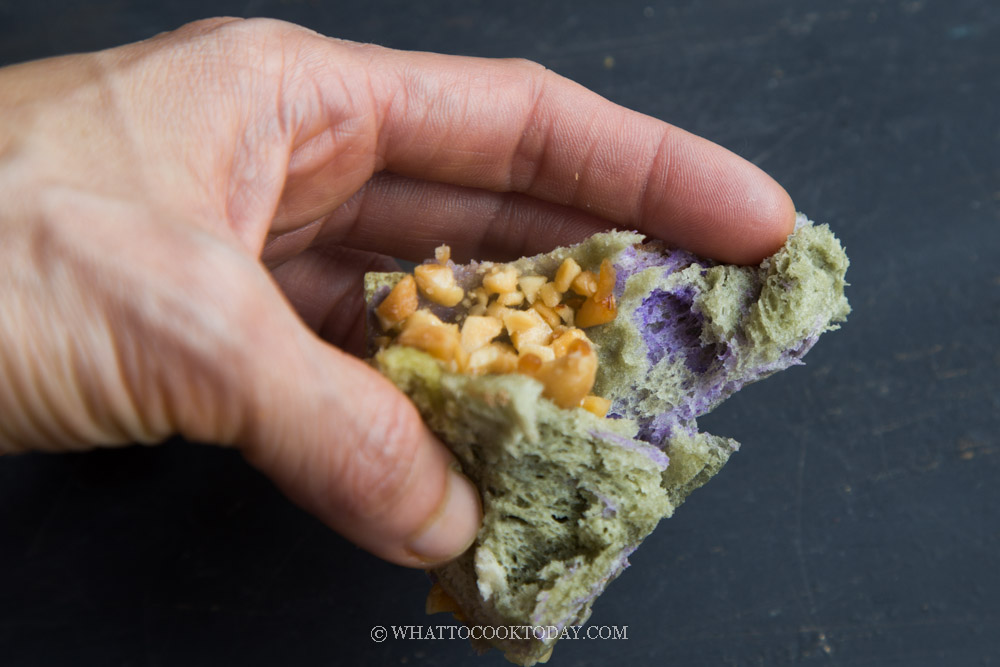
Learn how to make these old-school Chinese soft and fluffy peanut steamed buns. The steamed buns are soft and fluffy with a no-fuss and rustic peanut and sugar filling.

I have almost forgotten about these peanut steamed buns that I remember eating when I was a kid. I was chit-chatting with my mom and she asked me if I remember these peanut steamed buns. It hit me immediately that I haven’t had this for oh gosh…who knows how long. I love anything nuts or tree nuts and so I immediately whip this up the next day 🙂 I actually want to do a camo/camouflage color steamed buns, which has been trending for a while, but I don’t think it really resembles camouflage LOL!
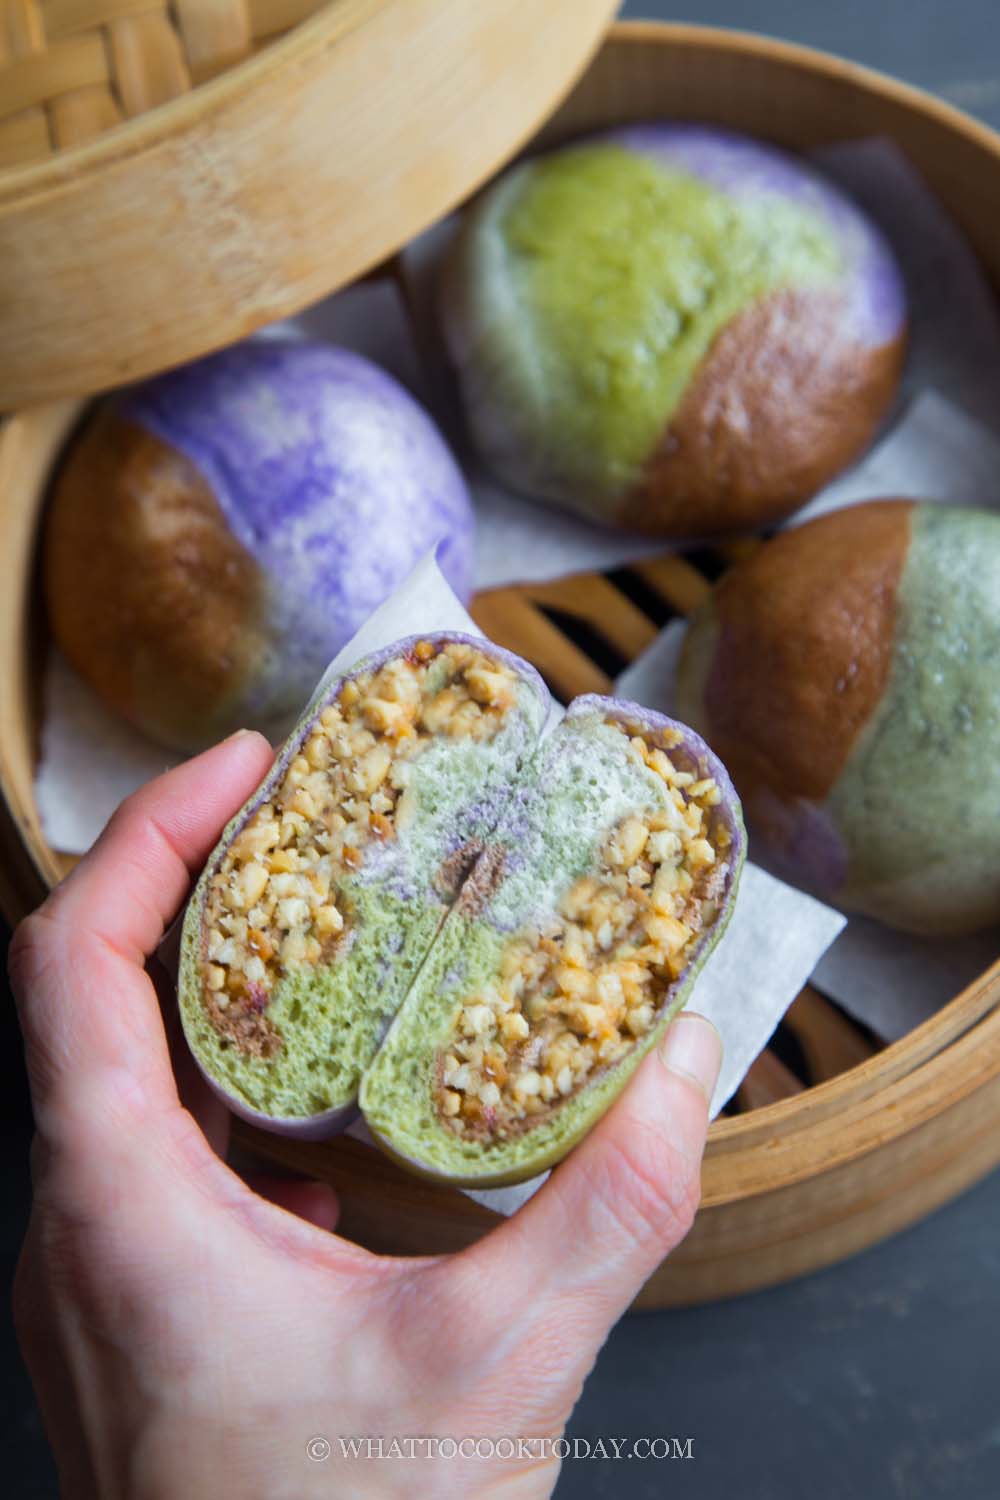
How to make peanut sugar steamed buns
1. I have the step-by-step on how to prepare the basic steamed bun dough in this post, so I won’t repeat this again over here
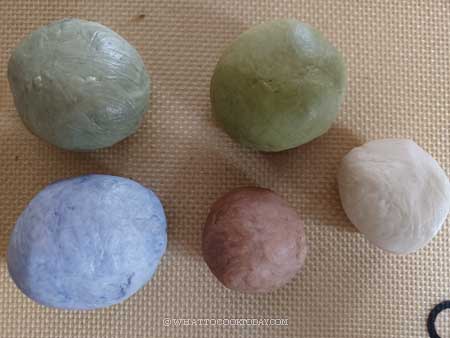
2. Once you have the dough and you want to color the dough like I did, divide the dough into 4 roughly equal size (or not the same size is fine too, there’s no hard and fast rule here).
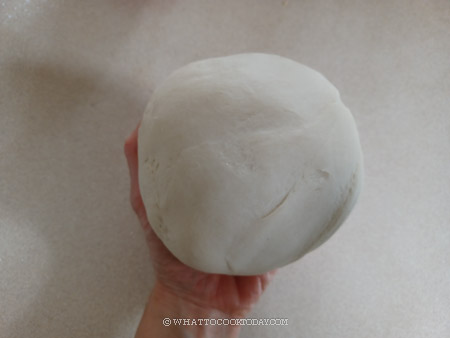
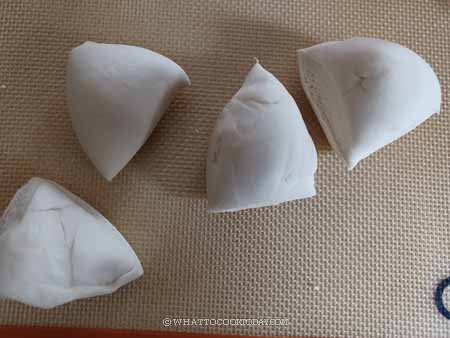
3. I use food gel and also powder like matcha powder and cocoa powder to color the dough. Knead the color into the dough

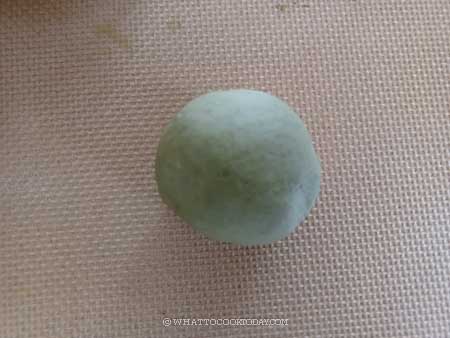
4. Roll each dough ball into a rope and just merge them together into one thicker rope
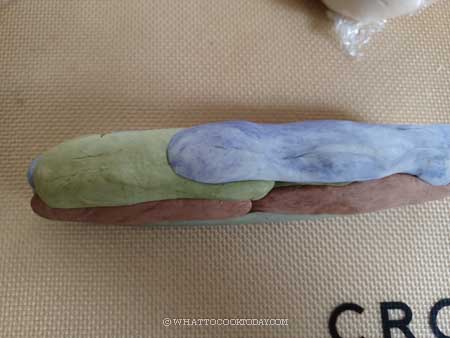
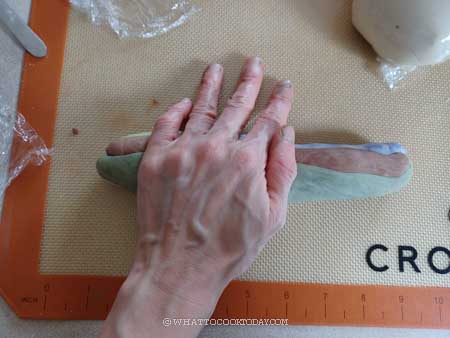
5. Roll it back and forth to really merge them together. Use a dough scraper to divide into 12 equal pieces and roll and tuck into round balls. Keep them covered

6. Take the first dough ball and flatten it slightly. Use a rolling pin to roll into a circle, about 4 inches in diameter
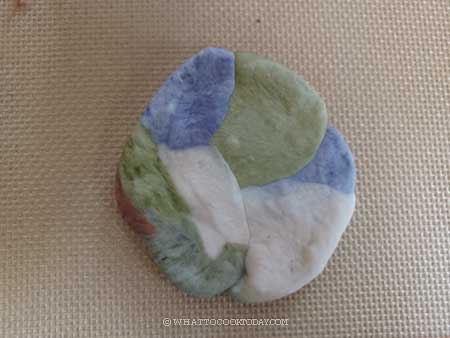
7. Scoop a heaping tablespoon of the peanut mixture and put it in the middle of the dough.

8. Gather the edge of the dough to the center and pinch and twist to seal the dough
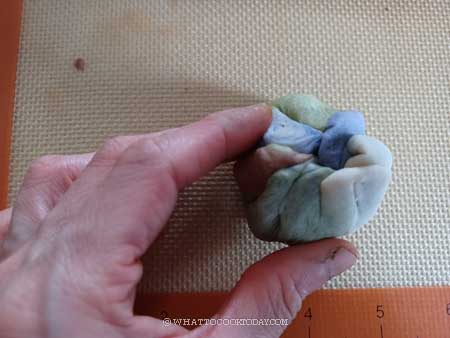

9. Put this on top of a piece of parchment paper, seam side down. Put this on top of a baking sheet and cover them with a cloth. Repeat with the rest of the dough and filling

10. Let the dough rise at room temperature or at a warm place. If it’s winter where you are, you can use your oven “bread proof” function to let them proof in there, or simply turn on your oven to the lowest temperature and then turn off and after 15 minutes, place the shaped buns in there to let them proof. They won’t necessarily double in size, but at least puff up to about 50% of the original size. This may take about 1 hour or longer at a warm temperature. Don’t go by the time however
11. Please note that I use the largest burner on my stove. Different sizes of burners will produce different amount of heat, so use your largest burner. Bring the water in your steamer to a boil. Wrap the lid of your steamer with a kitchen towel to prevent moisture dripping back on the steamed buns as this will create “burn” spots
LOWER THE HEAT TO MEDIUM. Place the buns in there, leaving about 1-inch space in between. Cover with a lid but leaving it about 1/4-inch gap for some steam to escape

12. Steam on medium heat for 8 minutes. As long as you steam them like this, the buns will not wrinkle and collapse later when you take them out from the steamer

13. After steaming, turn off the heat. DO NOT OPEN THE LID of the steamer. Let the buns sit there for 1 minute. The buns will not sink or wrinkle due to the sudden change in temperature. Immediately remove the buns to a wire rack to let them cool down. This is to ensure the bottom of the steamed buns will not be wet and soggy
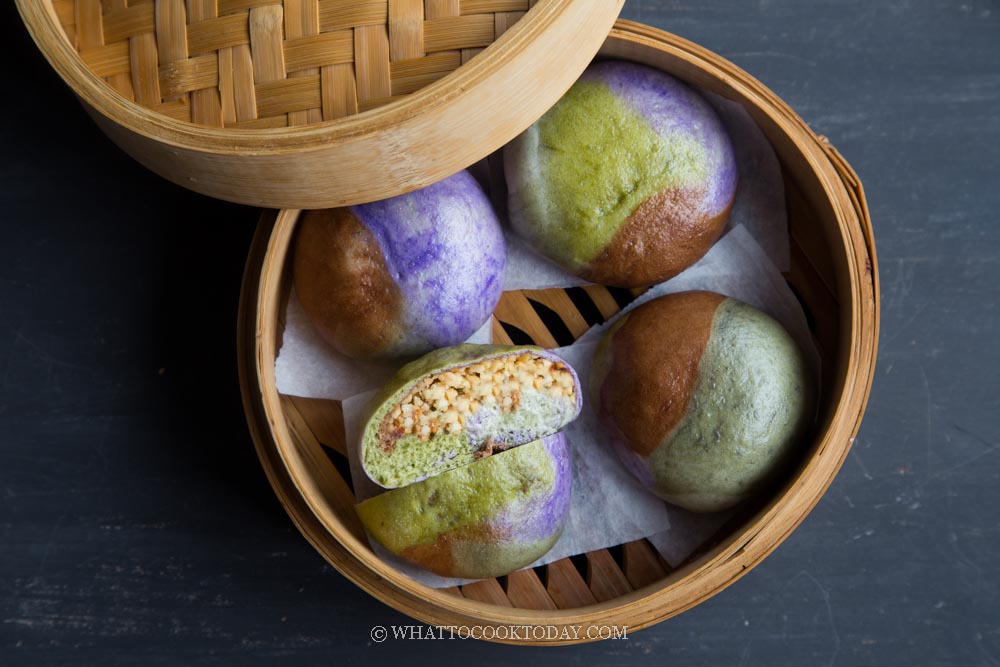
You can also make these peanut steamed buns without any color of course.

Did you make this peanut sugar steamed buns recipe?
I love it when you guys snap a photo and tag to show me what you’ve made 🙂 Simply tag me @WhatToCookToday #WhatToCookToday on Instagram and I’ll be sure to stop by and take a peek for real!
Peanut Sugar Steamed Buns (花生包)
Ingredients
For the dough:
- 180 gr all-purpose flour plus more for dusting
- 180 gr cake flour
- 4 gr Instant yeast
- 30 gr sugar
- 1 Tbsp cooking oil
- ½ tsp salt
- 180 ml cold soy milk plus more as needed, see notes
For the filling:
- 130 gr chopped peanuts
- 60 gr granulated sugar
- Tiny pinch of salt
Instructions
Prepare the filling:
- I use dry-roasted peanuts. I put them in a food processor to roughly chop them. You don't want to ground it finely. I like to have some texture. Remove from the food processor and mix with sugar and salt and stir to combine and set aside
Prepare the dough by machine:
- Place the flour, instant yeast, sugar, salt, and oil in a mixing bowl. If you are using a stand mixer, use a dough hook attachment. Add cold milk or room temperature water. Start with 180 ml of liquid and add more until you can form a dough. I would rather you start with the lowest amount of liquid and add more teaspoon by teaspoon until the dough comes together
- Continue to knead at low speed (speed 2 on KA) for 12-15 minutes (updated for the best result) or until the dough is smooth, silky and elastic. When you stretch the dough thinly, it won't break. Proceed to coloring the dough if you like to
Prepare the dough by hands:
- Place the flour, instant yeast, sugar, salt, and oil in a mixing bowl. Start with 180 ml f liquid. Mix until you get a rough dough (it's not going to be smooth yet). Cover and rest it for 15 minutes
- Then go back and knead it. You'll be surprised by how easier it is to knead it now. Knead until the dough is smooth and pliable. The kneading motion is like washing a cloth by hands. At any point during kneading, you can always stop and rest the dough if you find it hard to knead and so much resistant. This is to relax the gluten. Then go back to knead again and you'll be surprised by the difference it makes by just resting the dough before kneading again. It's easier for you too. You want the dough that is smooth, silky, and elastic. Just to warn you that it's going to take some time to knead by hands
If you want to color the dough:
- Divide the dough into 4 smaller doughs, roughly about the same size. I use food gel to color the dough. You can also use powder. Knead the color into the dough
Rest the dough (to relax the gluten):
- Cover and rest the doughs for 15 minutes. This is to relax the gluten for easier shaping and rolling the dough
Fill and shape:
- Roll each dough ball into a rope and just merge them together into one thicker rope and roll it back and forth to really merge them together. Use a dough scraper to divide into 12 equal pieces and roll and tuck into round balls. Keep them covered
- Take the first dough ball and flatten it slightly. Use a rolling pin to roll into a circle, about 4 inches in diameter. Scoop a heaping tablespoon of the peanut mixture and put it in the middle of the dough. Gather the edge of the dough to the center and pinch and twist to seal the dough. Put this on top of a piece of parchment paper, seam side down. Put this on top of a baking sheet and cover them with a cloth. Repeat with the rest of the dough and filling
Proofing:
- Let the dough rise at room temperature or at a warm place. If it's winter where you are, you can use your oven "bread proof" function to let them proof in there, or simply turn on your oven to the lowest temperature and then turn off and after 15 minutes, place the shaped buns in there to let them proof. They won't necessarily double in size, but at least puff up to about 50% of the original size. This may take about 1 hour or longer at a warm temperature. Don't go by the time however
- They will be about 50% bigger than their original size AND when you lift them up, they should feel significantly lighter. If not, let them proof a bit longer. They may not visually look bigger. Use a finger test too. When you gently push on the dough, it will leave an indentation but it will spring back slowly. This dough is perfectly proofed. If it springs back right away, it needs to be proofed a bit longer. If it never springs back, then you have over-proofed the dough. Loosely cover them with plastic wrap and put the over-proofed buns in the fridge to slow down the proofing while waiting for the steamer
Steaming:
- Please note that I use the largest burner on my stove. Different sizes of burners will produce different amount of heat, so use your largest burner. Bring the water in your steamer to a boil. Wrap the lid of your steamer with a kitchen towel to prevent moisture dripping back on the steamed buns as this will create "burn" spots
- LOWER THE HEAT TO MEDIUM. Place the buns in there, leaving about 1-inch space in between. Cover with a lid but leaving it about 1/4-inch gap for some steam to escape. Steam on medium heat for 8 minutes. As long as you steam them like this, the buns will not wrinkle and collapse later when you take them out from the steamer
- After steaming, turn off the heat. DO NOT OPEN THE LID of the steamer. Let the buns sit there for 1 minute. The buns will not sink or wrinkle due to the sudden change in temperature
Cooling:
- Immediately remove the buns to a wire rack to let them cool down. This is to ensure the bottom of the steamed buns will not be wet and soggy
Serving:
- The steamed buns are best served warm. They may harden slightly after they have cooled down completely and this is normal because we do not have any preservatives and/or additives added like the commercial ones. A simple reheating in a microwave for a few seconds or in the steamer for 5 minutes will make the buns as good as new


