This post may contain affiliate links. Please read our disclosure policy.
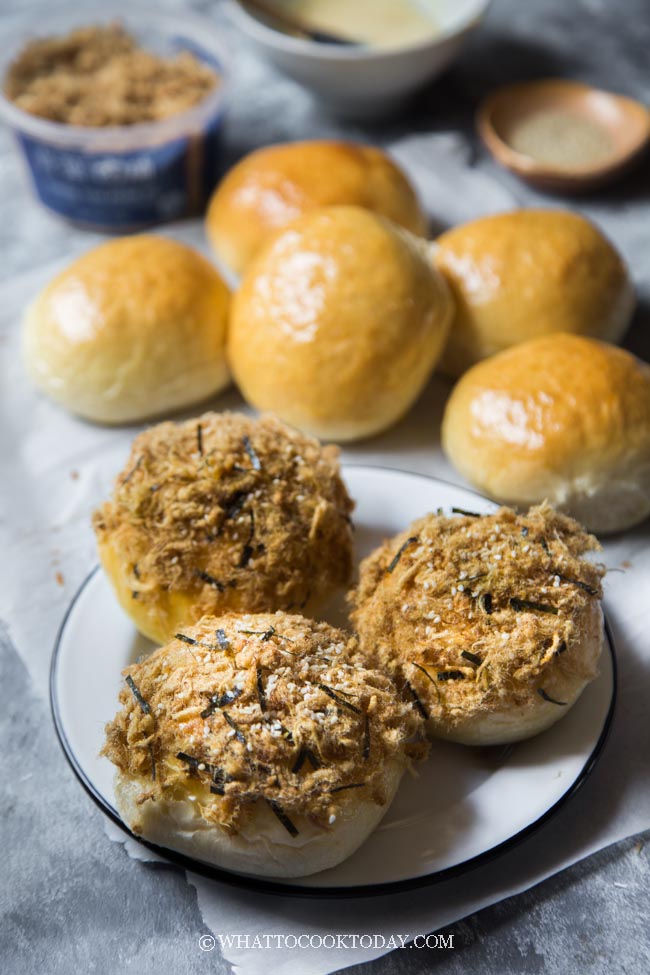
Learn how to easily make this Asian bakery-style pork floss buns using tang zhong and autolyse method to make the softest fluffiest buns you will ever have.
ASIAN-BAKERY STYLE PORK FLOSS BUNS
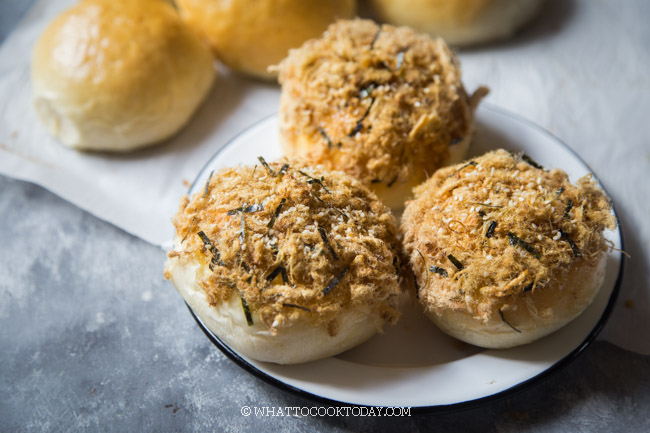
March is a bittersweet month for me. It’s my late dad’s birthday and also the month he left us for a better place! So, I tend to think more about him during this time. How can I not when it involves bread and cakes (kue), which were two of his most favorite foods. Dad used to bring us to a bakery shop to choose whatever buns, kue, or Asian pastries we liked. Pork floss buns were always my favorite. In case you are wondering, what in the world is pork floss or meat floss, I talked about it in this Easy Mini Crispy Pork Floss Rolls post and I also used it in this Super Easy Baked Nian Gao Puff Pastry. These super soft pork floss buns are made using my Soft and Fluffy Hokkaido Milk Bread (Tang Zhong and Autolyse Method), which yield incredibly soft buns. No joke! The baked buns are then brushed with a concoction of kewpie mayo and condensed milk, and then topped with pork floss, roasted seaweed, and sesame seeds mixture! OMG! Something that sounds so foreign to you perhaps, is highly popular where I grew up and across Asia actually!
THE TOPPINGS ARE SERIOUSLY THE BOMB!
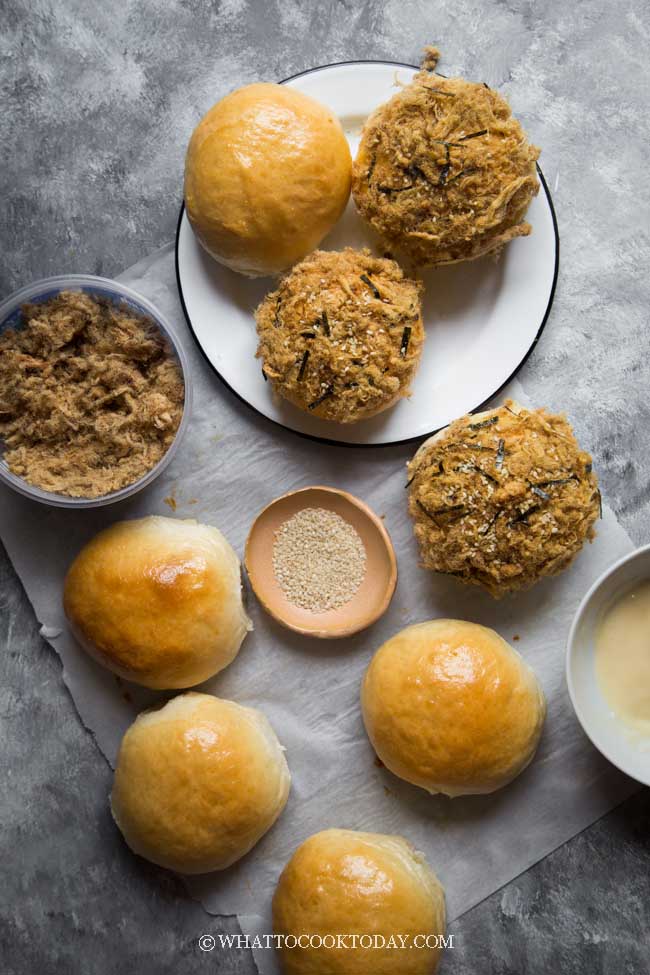
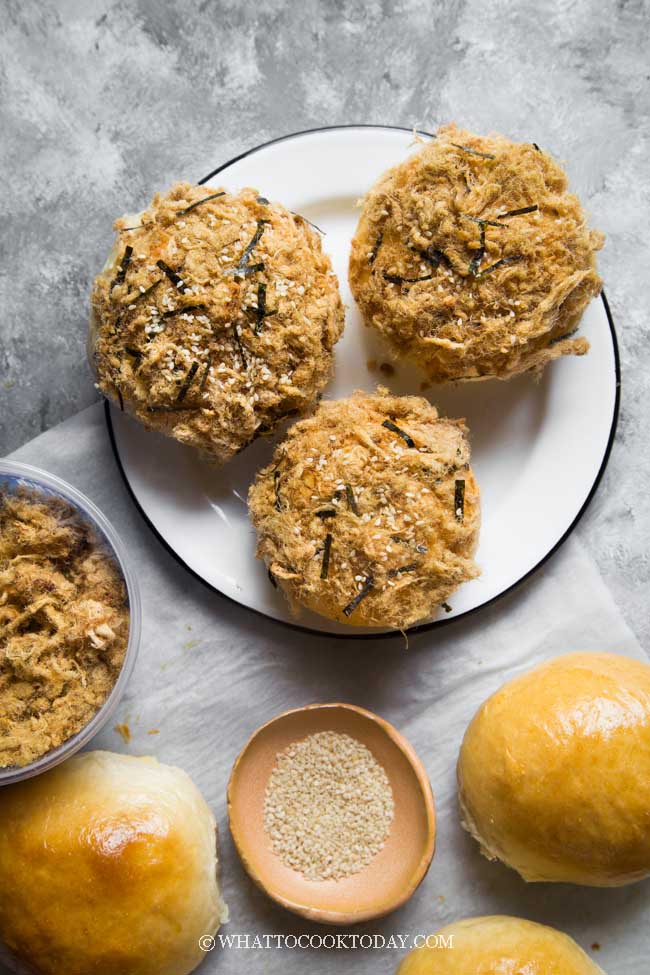
When you mix kewpie mayo (Japanese-style mayo), condensed milk, pork floss, roasted seaweed strips, and white sesame seeds, the result is AMAZING! as weird as it sounds, every single thing in this topping works together to give you that savory, sweet, umami, nutty sensation! Ohhh…the best!
HOW TO MAKE SOFT FLUFFY PORK/MEAT FLOSS BUNS
1. START WITH MAKING THE DOUGH
I won’t elaborate on how to make the dough using tangzhong method again in this post because I have written pretty detailed instructions in this How To Make Soft and Fluffy Hokkaido Milk Bread post. I used the exact same recipe with these buns.
2. AFTER FIRST PROOFING – SHAPING
The dough has doubled up in size after about 1 hour at a warm place. I used “bread proof” function in my oven
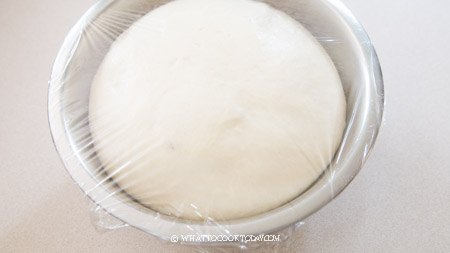
Punch the dough down
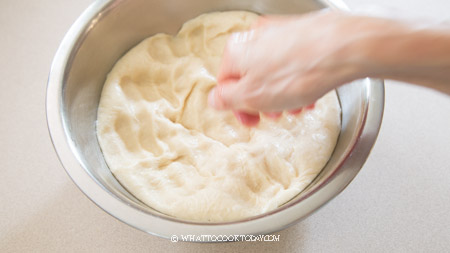
Knead it a few times with hands to push out air and reshape into a large dough
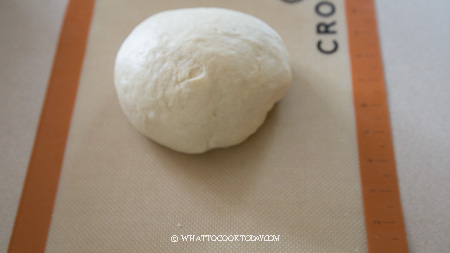
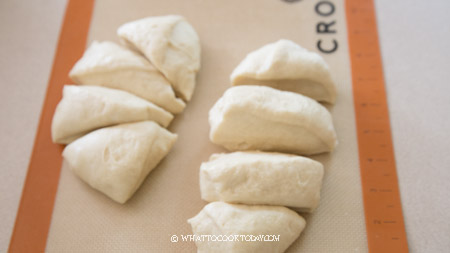
Divide into 8 large doughs
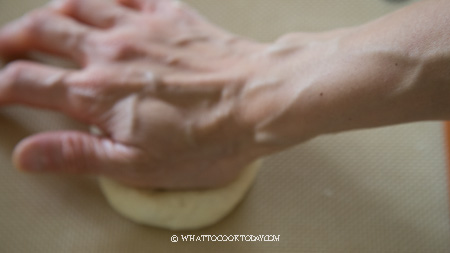
Slightly flatten with your palm
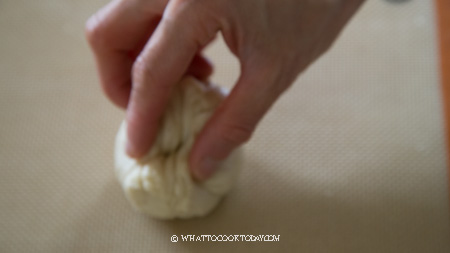
Pull and tuck the dough to form a smooth round ball or slightly oval (it’s up to you) with the seams tucked underneath
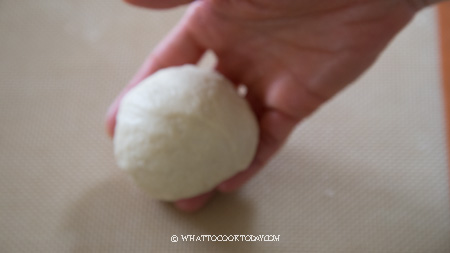
Place the seam side down on a baking pan lined with parchment paper and repeat with the rest of the dough. Cover with a plastic wrap or a clean kitchen towel
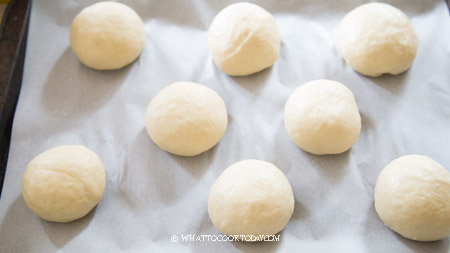
3. SECOND PROOFING
Let the mini dough proof again for another 40 minutes or until they puff up again to about 50% or more of their original size. Brush the top of the dough with egg wash
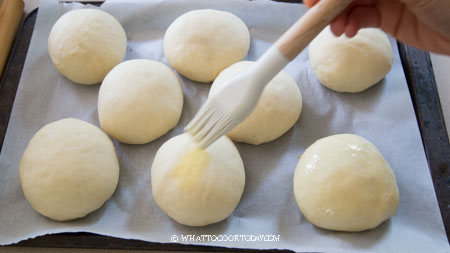
4. BAKING
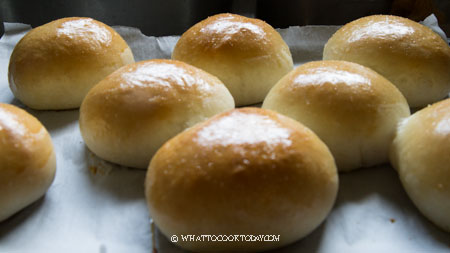
Preheat oven to 350 F (177C) and pop it into the oven (3rd rack from the top) and let it bake for the next 20-30 minutes depending on the oven, mine took 20 minutes. It will be golden brown on top.
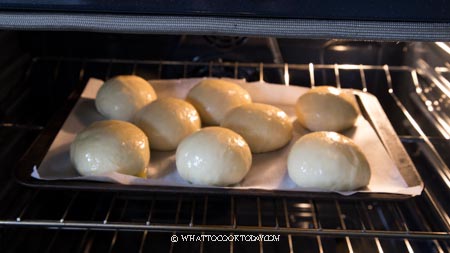
5. COOLING DOWN
Remove from the oven and let them cool down in the pan for about 5 minutes
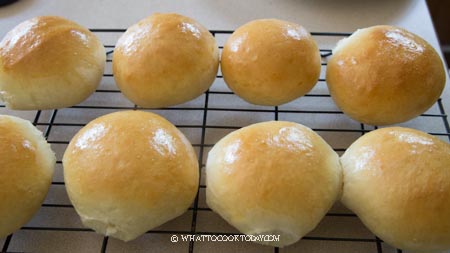
Transfer to a cooling rack to let them cool down completely
6. PREPARE TOPPING
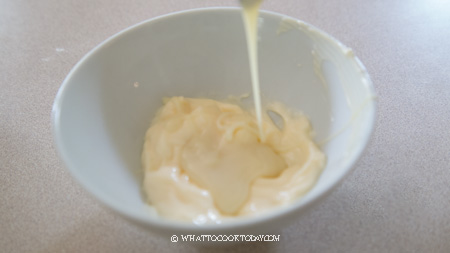
Mix kewpie mayo and condensed milk together in a bowl
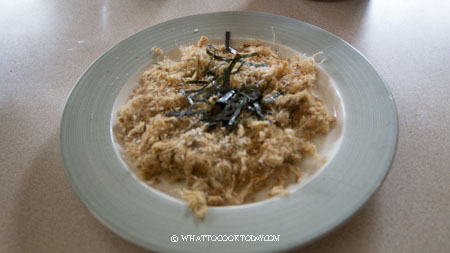
Mix the pork/meat floss with some white toasted sesame seeds and some strips of roasted seaweed
7. DRESS THE BUNS
Brush the mayo mixture on top of the baked buns
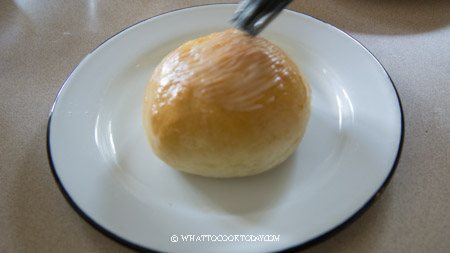
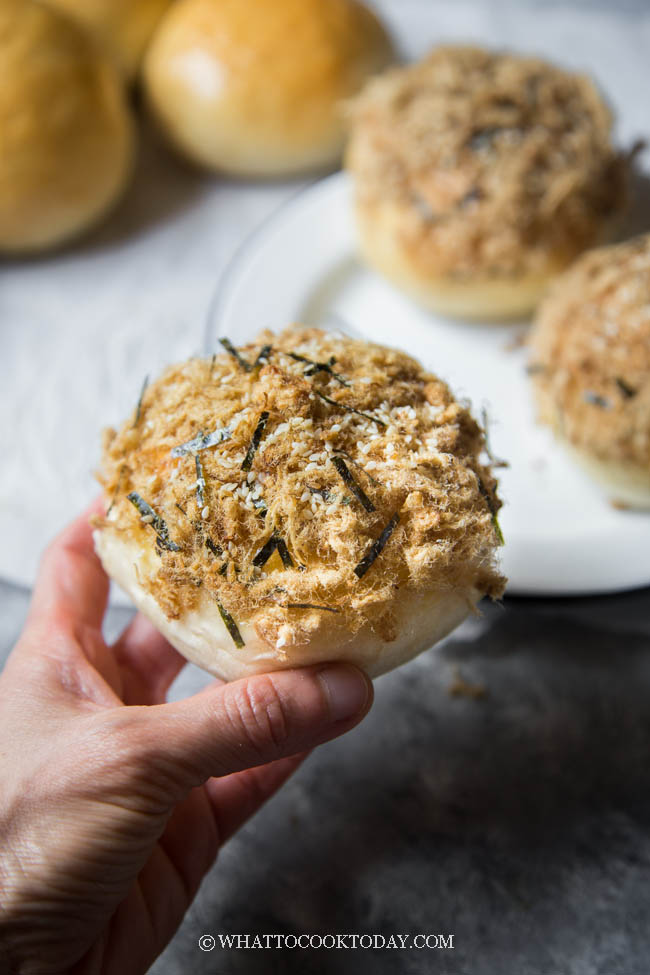
Then gently press the bun into the pork floss mixture.
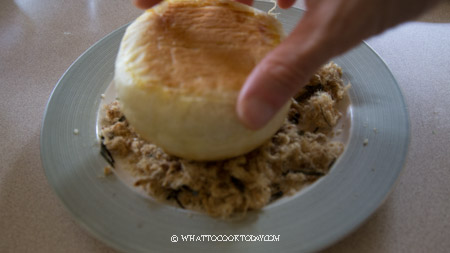
Yup, you just made yourself pork floss buns 🙂
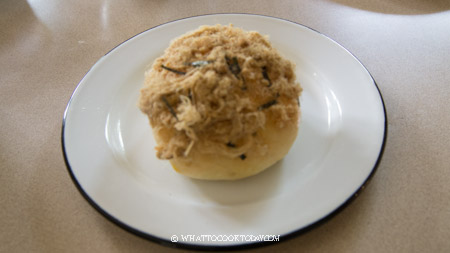
It ain’t so bad, isn’t it ? 🙂 These pork floss buns were gone in like 2 days! The kids love them. My kids are suckers for kewpie mayo, anything condensed milk, and pork floss. So these pork floss buns just fit the bills 😉
USEFUL YOU NEED TO KNOW
1. Only dress the buns with toppings after they cool down
2. Only dress the number of buns you intend to serve on the same day
For example, if you plan to serve 5 buns right away, dress 5. I highly recommend not to dress all of them and keep for the next day. They will not taste good anymore and toppings will get soggy too
HOW TO STORE TANGZHONG MILK BUNS
1. Let them cool down completely
2. I individually wrap them up with a cling plastic wrap
3. Put them inside a zipper bag
4. Store at room temperature for about 3 days
5. For longer storage, put the individually wrapped buns inside a freezer bag. Push out all air and seal the bag. They are best eaten within one month for the best result
HOW TO REHEAT FROZEN TANGZHONG MILK BUNS
1. Remove the plastic wrap from the buns. Thaw them overnight in the fridge or thaw them on the counter for about 2 hours
2. Loosely wrap the buns in aluminum foil and reheat in oven or toaster oven or air fryer at 350F for about 10-15 minutes to warm up. Then you can dress them with the topping as mentioned above
3. If you need it quickly, you can reheat them in a frozen state. Remove the plastic wrap from the buns. Loosely wrap the buns in aluminum foil and place on a baking sheet and bake in a preheated oven for 20-25 minutes or until heated through
DID YOU MAKE THIS SOFT TANGZHONG PORK/MEAT FLOSS BUNS RECIPE?
I love it when you guys snap a photo and tag to show me what you’ve made 🙂 Simply tag me @WhatToCookToday #WhatToCookToday on Instagram and I’ll be sure to stop by and take a peek for real!
Super Soft Meat/Pork Floss Milk Buns (Tang Zhong Method)
Ingredients
ROUX STARTER (TANG ZHONG):
- 15 g bread flour
- 90 ml whole milk
DRY INGREDIENTS:
- 300 g bread flour
- 5 g instant yeast
- 5 g milk powder
WET INGREDIENTS:
- 120 ml whole milk see notes
- 1 large egg lightly beaten
INGREDIENT TO ADD LAST TO THE DOUGH:
- 40 g unsalted butter softened
- ½ tsp salt
- 2 Tbsp sugar
EGG WASH:
- 1 egg beaten
- 1 tsp water
TOPPINGS:
- 6 Tbsp kewpie mayo or you can use regular mayo too
- 2 Tbsp condensed milk
- ½ cup pork floss or other meat floss of your choice
- 2 Tbsp Sesame seeds
- 1 small sheet roasted seaweed cut into strips
Instructions
PREPARE TANG ZHONG: (prepare one day before)
- Place milk and the bread flour in a small saucepan. Whisk until there is no more lumps. Cook this mixture over low-medium heat until it reaches 65 C (149 F). Remove from the heat and cover with a plastic wrap, touching the tangzhong so the skin won't form. I highly suggest using this the next day instead of using it on the same day. Store this in the fridge
MAKE THE DOUGH:
- Mix all the dry ingredients together in a mixing bowl. Make a well in the center and pour in the wet ingredients and the tang zhong you made earlier. Use a dough hook attachment to knead the dough until all the crumbly dough starts to come together into one mass, it may take about 2-3 minutes for this to happen. Don't be tempted to add any liquid. You may need to stop halfway and scrap the dough off the hook and the sides of the bowl and knead again several times
- Once it comes into a dough, stop the machine. The dough will not be smooth, don't worry.Cover the dough and let it rest for 20 minutes. This is an important rest that bakers refer to as an autolyse (though in our case it's a short one. Read my post above for detail)
- After the rest, turn on and knead the dough again and knead for 1-2 minutes until it is a bit smoother. Then add the salt and sugar into the dough. Continue to knead until the dough is relatively smooth. You need to stop and scrape the dough off the hook and the bowl several times during this process. I promise it's worth the effort!
- Once you have a smooth dough, turn the machine back on again to knead and gradually add in the softened butter a bit by a bit. The dough will turn into a REAL sticky mess again because of the butter, just keep kneading and stop halfway and scrape the dough off the hook and bowl again and continue to knead until the butter is absorbed by the dough. IT WILL HAPPEN, don't worry! DO NOTbe tempted to add any extra flour. You will get a shiny smooth dough that is very elastic. I promise!
1ST PROOFING:
- Place this dough in a lightly oiled large bowl, cover it with a clean and damp tea cloth or plastic wrap and let it rise at a warm place for about 1 hour. It may not double in size, but it will puff up some for sure.
SHAPING:
- Punch the dough down, divide into 8 large balls
- Pull and tuck the dough to form a smooth round ball or slightly oval (it's up to you) with the seams tucked underneath. Place the seam side down on a baking pan lined with parchment paper and repeat with the rest of the dough. Cover with a plastic wrap or a clean kitchen towel
2ND PROOFING:
- Let the doughs proof again for another 45 minutes to 1 hour (depending on temperature) or until they puff up again to about 50% or more of their original size. The dough should feel really light and when you gently push on the dough, it bounces back very slowly and left and indentation. This is a sign that the dough is done proofing. If it bounces back immediately, proof a bit longer. Brush the top of the dough with egg wash
BAKING:
- Preheat oven to 350 F (180 C) and pop it into the oven (3rd rack from the top) for conventional oven, for convection oven, lower the temperature by 20 F or 15 C, and let them bake for the next 20-30 minutes depending on the oven, mine took 20 minutes. If you make the buns smaller, you may need a shorter time. It will be golden brown on top. Remove from the oven and let it cool down in the pan for about 5 minutes and then let them cool completely on a cooling rack
PREPARE TOPPING:
- Mix kewpie mayo and condensed milk in a bowl. Stir to mix. Yes, that's all you need to do. On another bowl, combine the pork floss, sesame seeds, and roasted seaweed strips
DRESS WITH TOPPING:
- Once the buns have cooled down, brush the top of the bun with the mayo sauce mixture you make above. If you plan to serve 5 buns, then dress 5 of them. Don't dress all of them ahead of time and keep for the next day or so as things will get soggy
- Gently press the bun (the side with the mayo sauce) into the floss mixture. Repeat with the next buns and serve


31 comments
So soft n good!! Tks for the recipe. We all loved the buns very much. Saved me a lot of money
I’m happy that you like it Karen! It does save some money being able to make your own and not to mention homemade is way better! 🙂