This post may contain affiliate links. Please read our disclosure policy.
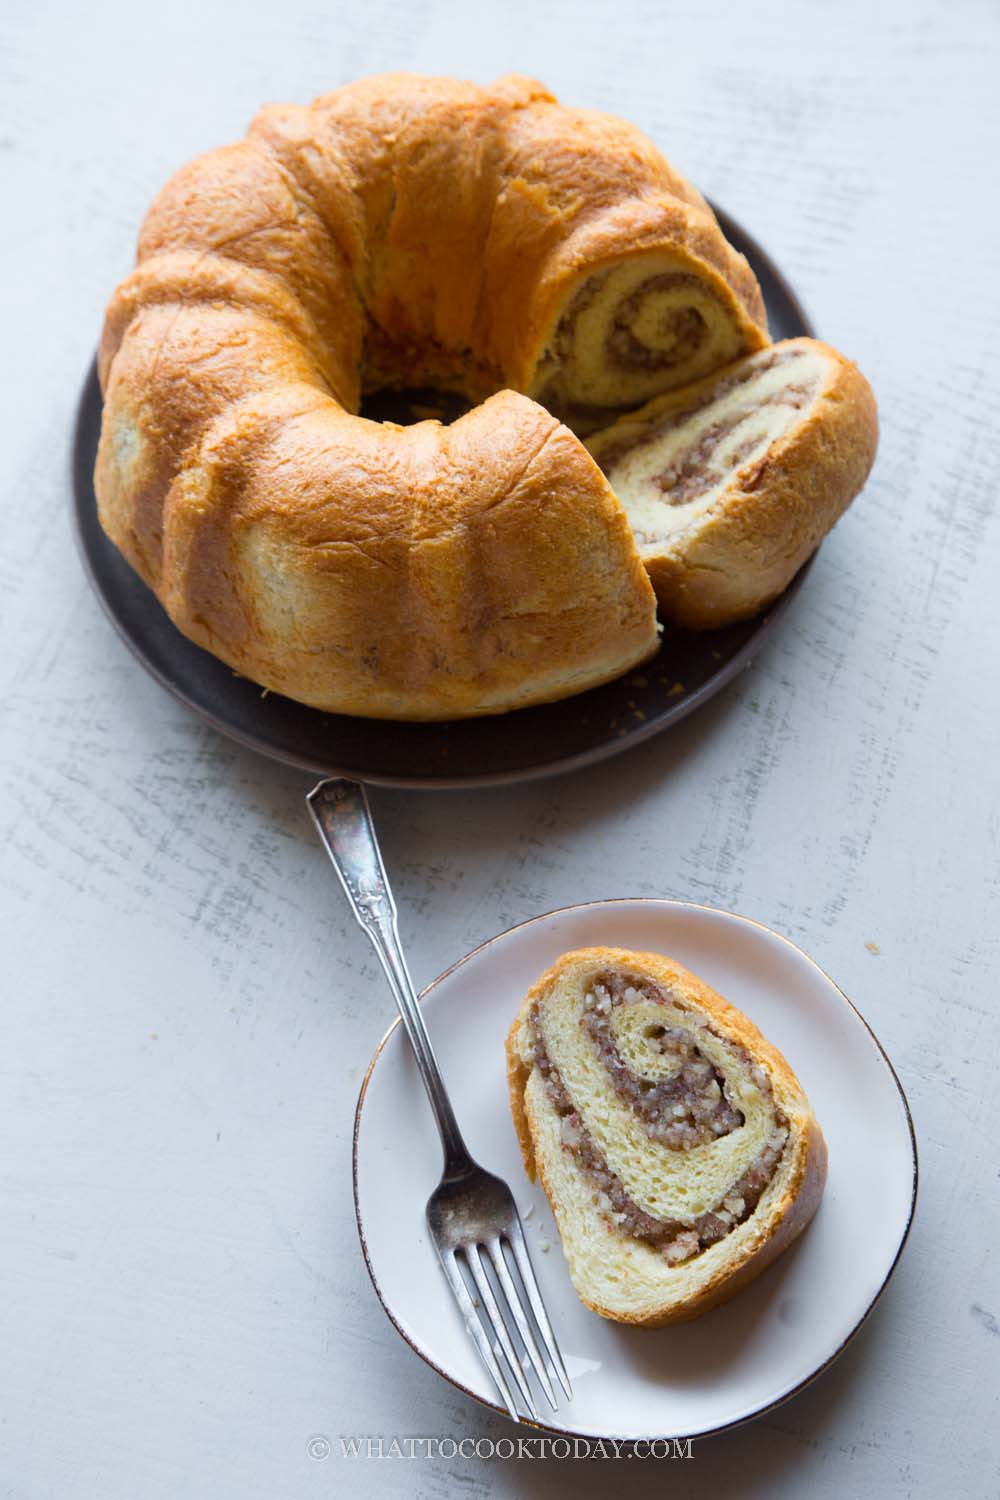
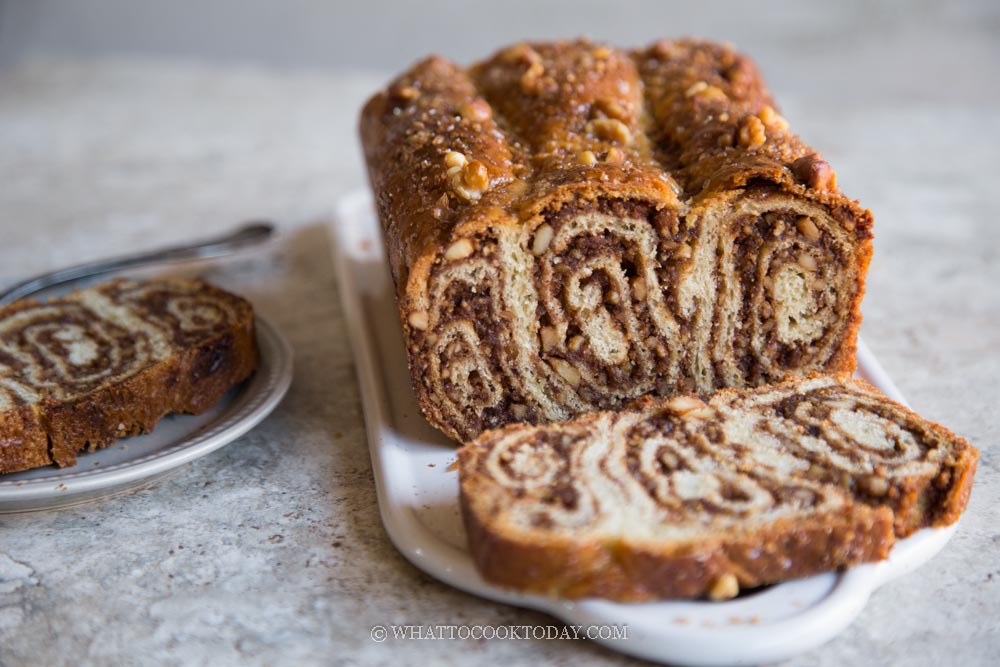
Learn how to make this traditional Slovenian festive sweet yeasted roll stuffed with walnut and aromatic spices in the filling that is often served during Easter and Christmas. You can bake it in a loaf pan or in a Bundt pan.
The first time I tried potica (Poh-teet-sah) was at Costco when they offered sampling before Christmas. I fell in love with it after that. I love anything that is stuffed with nuts, to begin with, so potica sits well with me 😉

What is potica?
Potica is a yeasted sweet bread stuffed with sweet walnut fillings and then rolled up to form those beautiful layers when you cut the bread. The bread is usually is a ring shape baked in a special mold called potičnik made with ceramic, which looks like a bundt pan. Of course, nowadays you will see people bake potica in a regular bread loaf pan too.
Potica or povitica
From what I’ve read, potica is what the Slovenian calls it and povitica is the Croatian version. Some said that they are similar but not the same. They are slightly different in terms of the spices used in the filling? I’m not so sure myself. But all I know is whether you give me potica or povitica, I will welcome them with open arms for sure!
Tips for success
1. I highly recommend to rest the dough overnight after first proofing for one hour. It makes the dough softer with better flavor too
2. Ground the nuts as fine as possible, close to a powder consistency if you can and the consistency of the filling should be thick but moist (not soupy) after mixing with other ingredients
3. If you pan has dark color, very close to black, you want to watch out on the baking time. Check on the bread at about 10 minutes early to see if it is done. If you overbake the bread, it will be dry and crumbly
Potica Troubleshooting Guide
- Top layer separates from filling after baking
- Cause: Dough not sticking to filling, or filling too wet.
- Fix: Brush rolled dough with beaten egg white before spreading filling, and make sure filling is spread thin and even.
- Large gaps or hollow spaces inside
- Cause: Air pockets trapped when rolling, or dough rolled too loosely.
- Fix: Roll dough snugly (not overly tight), smooth out filling, and prick the roll with a toothpick to let steam escape.
- Filling leaks out of the roll
- Cause: Overfilling or not sealing edges properly.
- Fix: Leave ½ inch border when spreading filling, pinch seams well, and place seam-side down in the pan.
- Filling oozes or bubbles out during baking
- Cause: Oven too hot or filling is too runny.
- Fix: Lower baking temp to 325–350°F (160–175°C), and thicken filling with ground nuts, breadcrumbs, or graham crumbs.
- Roll bursts open while baking
- Cause: Too much tension in the roll or not enough venting.
- Fix: Roll gently but firmly, avoid overstuffing, and dock with a toothpick before baking.
- Bread texture is too dry or crumbly
- Cause: Overbaking
- Fix: Check for doneness earlier, tent with foil if browning too fast
- Bread texture is gummy or underbaked in the center
- Cause: Oven temp too low, roll too thick, or not baked long enough.
- Fix: Bake at the recommended temp, test with a skewer, and extend bake time if needed (cover with foil if browning too quickly). Every oven is different, so you may need to adjust based on your oven
How To Make Potica (Slovenian Walnut Rolls)
Ingredients
For the dough:
- 270 g all-purpose flour plus more as needed
- ½ tsp salt
- 2 tsp instant yeast
- 60 g butter melted
- 30 g sugar
- 100 g whole milk start with this amount
- 50 g egg from 1 large egg
For the filling:
- 225 gr roasted walnuts or you can use pecans or mixture of both
- ½ tsp salt
- 1 tsp ground cinnamon
- 85 gr honey
- 60 gr light brown sugar
- 2 Tbsp butter unsalted, melted
- 1 tsp vanilla extract
- 50 g egg separate the yolk from the white
- 2 tsp cocoa powder optional (I didn't use)
- milk if needed
- 1 egg white beaten, for brushing the dough
For brushing the loaf:
- 1 large egg
- 1 Tbsp water
- pinch of salt
For topping (if baking in the loaf pan):
- 40 gr turbinado sugar
Instructions
Prepare the filling:
- Toast the walnuts on a dry non-stick pan over medium-low heat until they smell nutty and nice, about 5 minutes. Let it cool down completely when you prepare other things
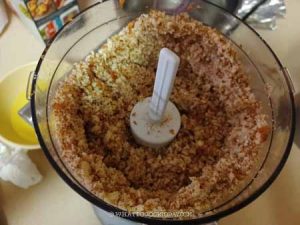
- Put the toasted walnuts in a food processor and pulse several times until they are in fine pieces, almost like coarse flour consistency. Don't overwork it so it won't turn into walnut butter
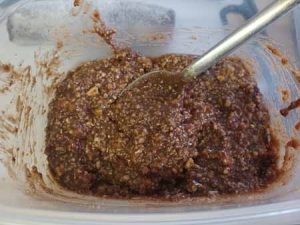
- Separate the egg yolk from the white. Add the egg yolk and the rest of the ingredients to the walnut. Stir to combine evenly. Use a fork and beat the egg white vigorously until they are foamy. Fold the egg white into the walnut mixture. It should be thick but moist enough for you to spread on the dough later. Cover and set aside
Prepare the dough:
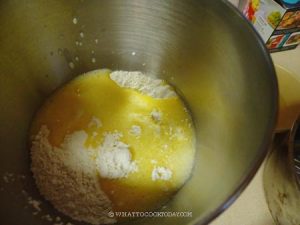
- Put all the ingredients for the dough in a mixing bowl of a stand mixer fitted with a hood attachment. I usually use the hook to stir the ingredients a bit to combine so when I start the machine, the dry ingredients won't "fly" all over
- Start with the lowest speed for about 2-3 minutes to get a rough shaggy dough and then increase the speed to 4 (on KA) and knead for 8-10 minutes. You need to stop the machine several times to scrape the dough from the side of the bowl so everything is kneaded properly. Knead the until dough is smooth and elastic. It should be sticky too the touch but won't stick to your fingers.
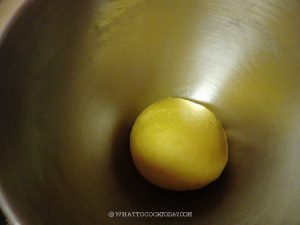
First proofing:
- Lightly oil the bowl. Cover the dough and let it rise at a warm place for about one hour or until it doubles in volume. This may take 1 hour or longer, depending on the temperature
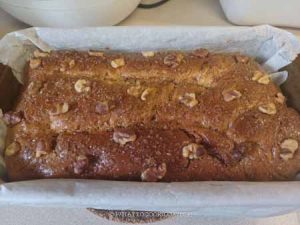
To bake in loaf pan:
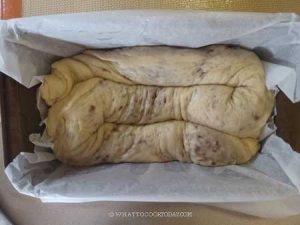
- Grease a 9 x 5 inch loaf pan and the line the pan with a parchment paper. You can crisscross with parchment paper
- Lightly dust your work surface with a bit of flour. Turn the dough out onto the working surface. Use a rolling pin to gently roll the dough out (while deflating some air bubbles at the same time) into about 18 x 24 inch rectangles, with the long side near you. The dough will be quite thin, about 1/8 inch in thickness is ideal
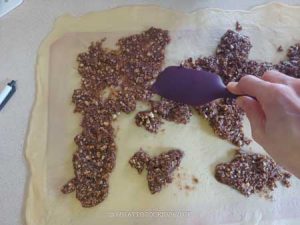
- Pro tips: Beat another egg white in a bowl to loosen. Brush rolled dough with beaten egg white before spreading filling. This is to prevent the filling from separating from the filling after baking
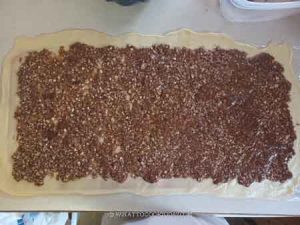
- Very gently and carefully spread the filling on the surface of the dough leaving about 1/2 inch along the borders. The filling should be easily spread without tearing the dough. If it's too thick, add 1 tablespoon of milk (or more as needed) to the walnut filling to thin it out a bit and try to spread again.
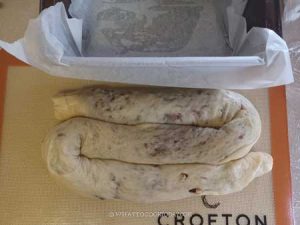
- Carefully roll the dough up, starting from the side near you, moving along the length of the dough. Tuck it in as you roll so it will be a tight log and you won't end up with the filling and the dough "separating" when you cut into the bread later after baking. The seam side should be facing down. Pinch the seams together with your fingers to seal


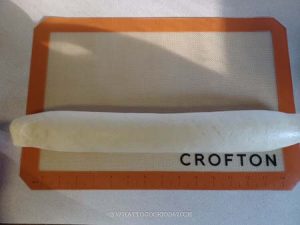
- Gently roll the dough back and forth in the middle part of the log, then move to the left and do the same and move to the right and do the same.This is to lengthen the log a little bit, so it is about 3 times the length of your baking pan. Pinch the dough on both ends to seal.
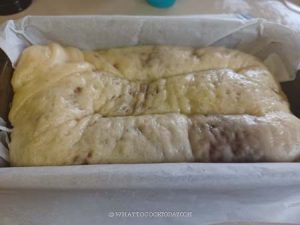
- Shape the log into a "Z" shape and carefully lift the dough up and put it inside the pan. The dough shouldn't be stacking on top of each other. It should be a "Z" shape inside the pan too
If baking in a Bundt pan:
- This recipe will fit into 8 x 2 3/4-inch Bundt pan (6 cups/1.4 litre). Generously butter the pan, especially the nook and cranny parts and then dust with flour. Tapping out any excess flour. You can also use a non-stick spray with flour such as Baker's Joy.
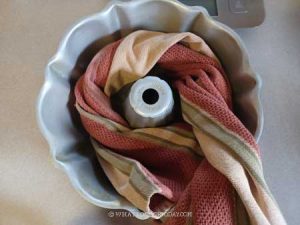
- Helpful tips: Use a clean kitchen towel and roll it into a log and place this inside your bundt pan, pretending that this is the dough you are going to bake. This helps to "measure" how long you need to roll the dough out so the dough fit nicely into the bundt pan without being too long
- Use a rolling pin to gently roll the dough out (while deflating some air bubbles at the same time) into the length as long as the towel you use to measure the Bundt pan, you can roll it slightly longer than the towel, with the long side near you
- Very gently and carefully spread the filling on the surface of the dough leaving about 1/2 inch along the borders. The filling should be easily spread without tearing the dough. If it's too thick, add 1 tablespoon of milk (or more as needed) to the walnut filling to thin it out a bit and try to spread again.
- Carefully roll the dough up, starting from the side near you, moving along the length of the dough. Tuck it in as you roll so it will be a tight log and you won't end up with "holes" when you cut into the bread later after baking. The seam side should be facing down. Pinch the seams together with your fingers to seal
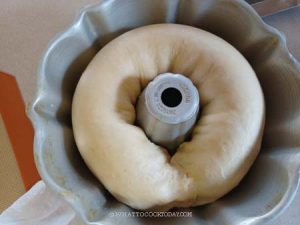
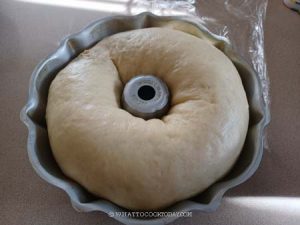
- Lift the dough up and gently place this inside the Bundt pan, pinching the two ends to seal it together the best you can
Second proofing:
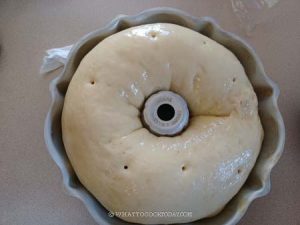
- Cover the shaped dough and put in a warm place to let the dough rise again until it doubles the size again, about an hour or so, depending on the temperature where you are
Baking:
- Beat the egg with water to make an egg wash
- 10 minutes before the end of second proofing, preheat oven to 350 F (180 C). This is for conventional oven with bottom heat only. If you use convection oven, you may want to lower temperature by 20 F/15 C
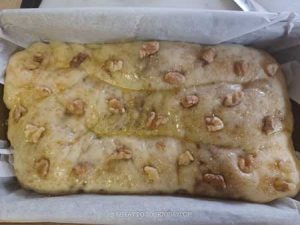
- Brush the surface of the dough with egg wash. if you bake in a bundt pan, poke a few holes on top to help release some hot air.
- If you bake in a loaf pan, sprinkle with some turbinado sugar (or regular sugar) and some chopped walnuts and/or pecans (totally optional_
- Place the pan at the middle rack and bake for 15 minutes. Lower the temperature to 300 F (150 C) for conventional oven, without opening the oven door, and bake for another 45 minutes or until the internal temperature of the bread is 190 F ( 88 C)Lower the temperature by 20 F/15 C for convection oven
- Remove from the oven and let the bread cool down in the pan on a cooling rack for about 15 minutes and then remove from the pan and let it cool down completely on a cooling rack
Serve the next day:
- The bread tastes even better the next day when the flavor has fully developed
How to store:
- Once the bread has cooled down completely, wrap it up with a cling wrap and keep inside an air-tight container and it can be kept at room temperature for about 3 days
- For longer storage, keep them in the freezer. Wrap it well with a cling wrap and then put inside a freezer bag, push all the air out and seal. Keep in the freezer for about one month. Simply thaw at room temperature before serving


*Nutrition facts are just estimates and calculated using online tools*

14 comments
Good sub for old polish recipe that was lost
Hi Carol, I’m glad you find it good enough for a traditional Polish recipe 🙂