This post may contain affiliate links. Please read our disclosure policy.
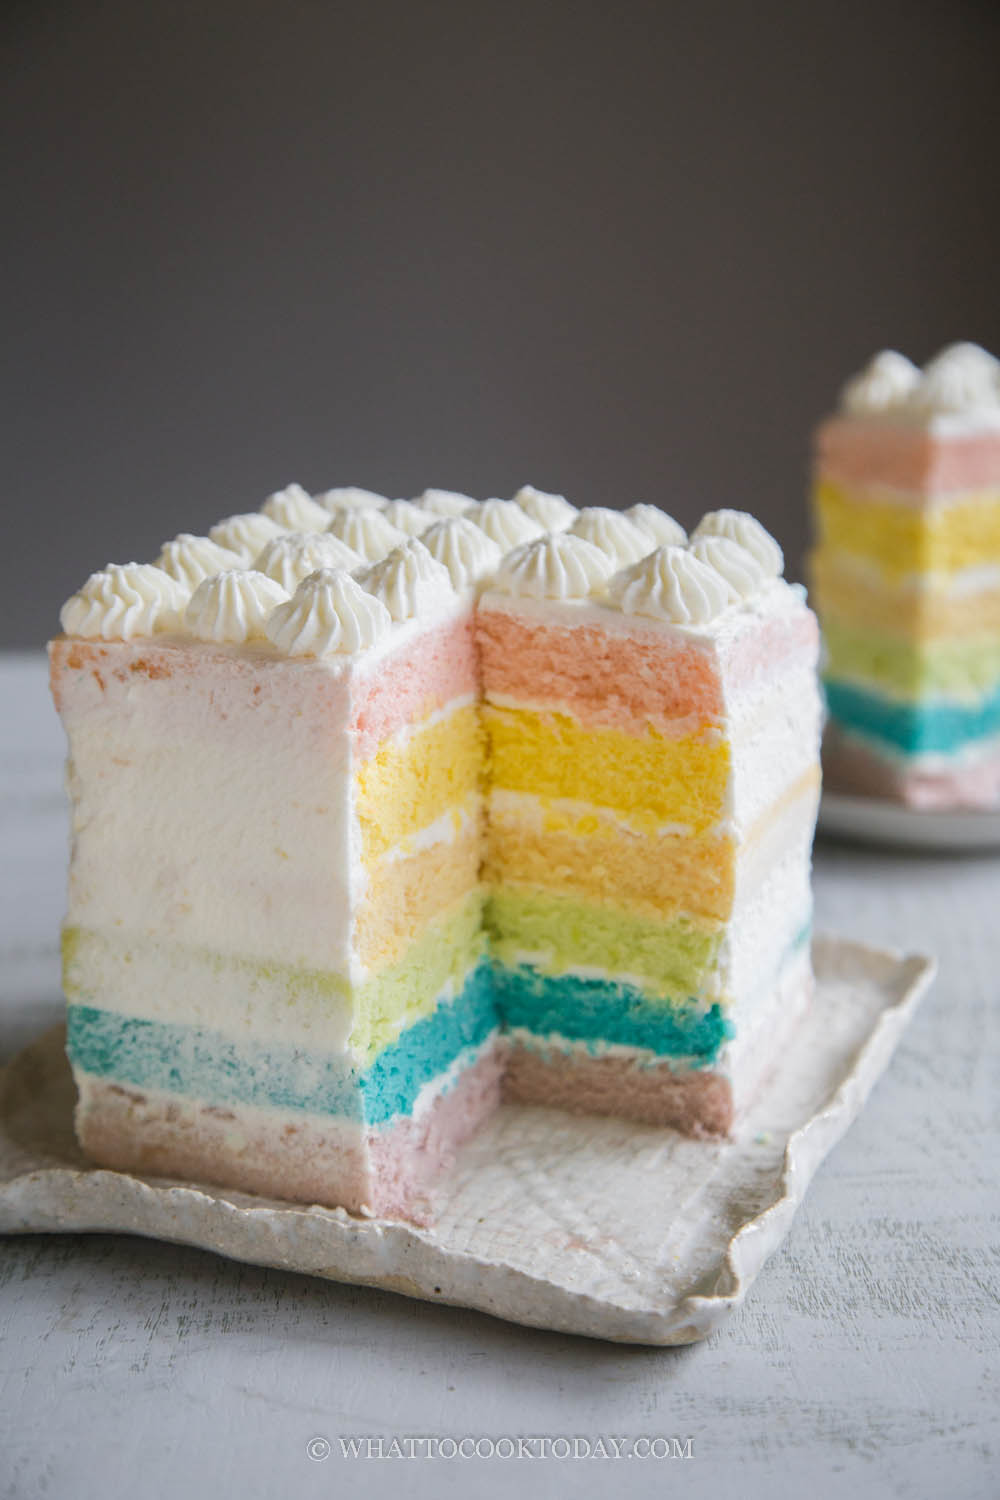
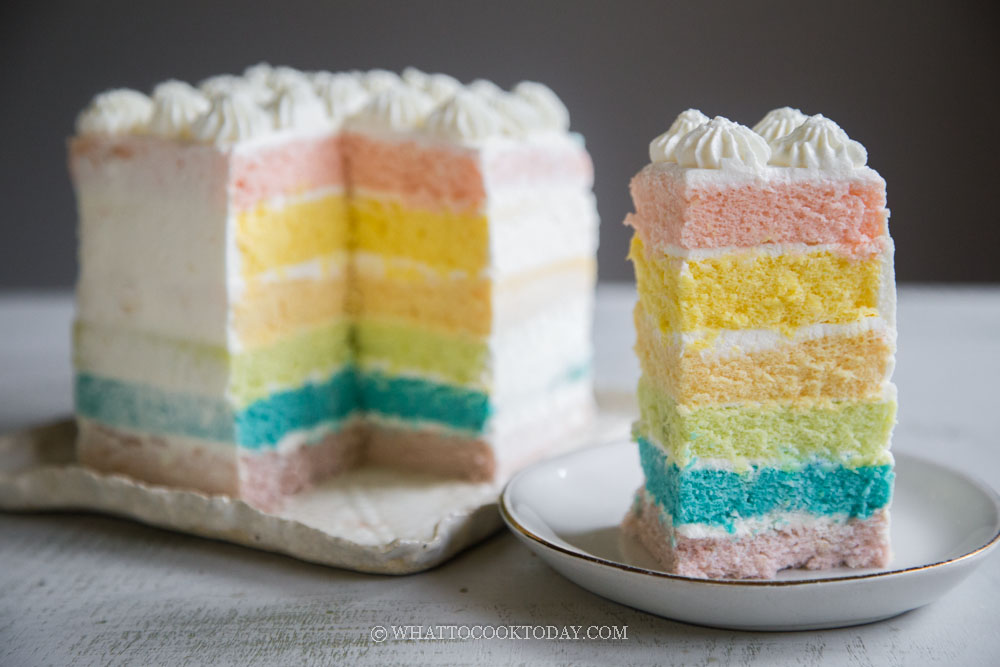
Layers of soft fluffy sponge cake are frosted with light homemade whipped cream frosting is easier to make than you think. The sponge cakes are made using egg separation method similar to making chiffon cake.
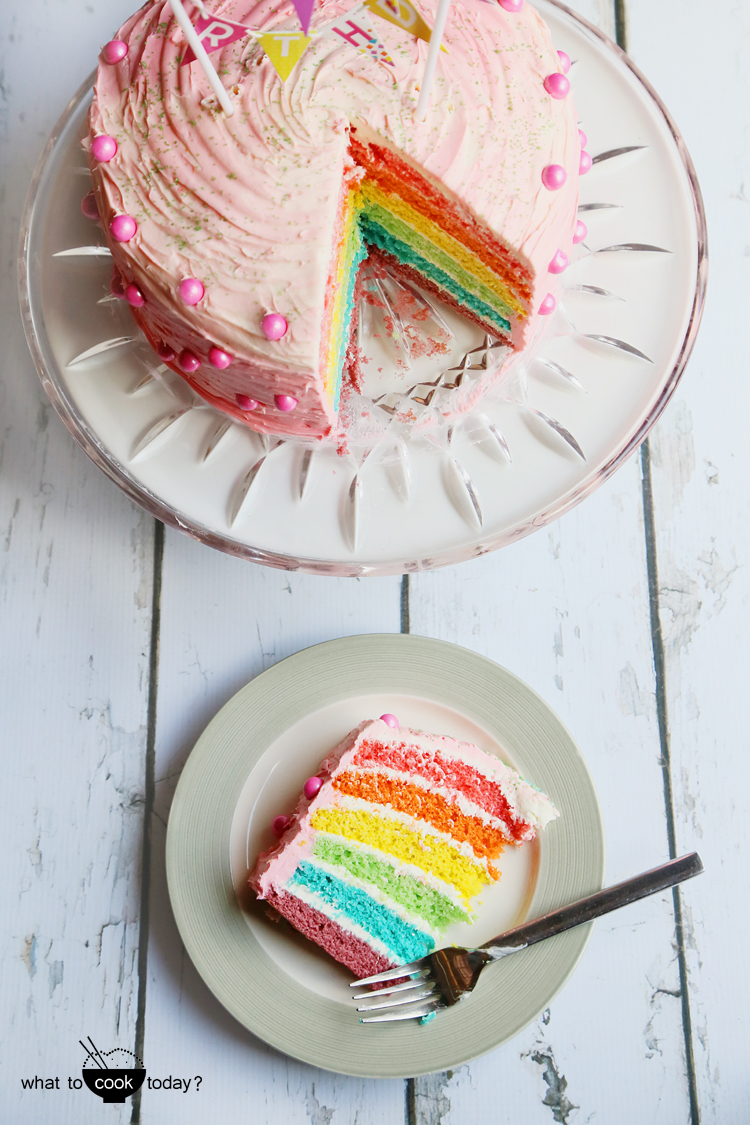
Baking a rainbow cake had been on my list for a while. Few years back I make a rainbow cake for my daughter’s birthday. Back then, I had no clue or any experience with baking cakes of any kind. But I jumped on the wagon and did it. It wasn’t a sponge cake using egg separation method. It’s using a whole-egg method. The photo below was the rainbow cake I made 6 years ago and frosted with cream cheese frosting.
Now, six years later and I have more experiences when it comes to baking sponge cake using chiffon method, by separating egg whites from the yolks, I’m happy to say that I love the soft fluffy sponge cake version much better. I have always loved chiffon cake anyways 🙂
The game plan
Baking a 6-layer rainbow cake using a chiffon method can be a bit of extra work and overwhelming if you don’t plan properly
1. You need AT LEAST two (2) baking pans in the same sizes (round or square) to make the workflow smoother and less overwhelming
2. I recommend baking the cake one day before the event
You don’t want to frost warm cakes. So baking the cake the day before works well here. Read my recipe instructions carefully if you only have two pans or three pans
3. I weighed out each portion of the batter so each layer of the cake will have roughly the same thickness
4. To create pastel color, you want to go easy on the food gel. Food gel is more concentrated. If you want vivid intense colors, then definitely use a bit more
How to make rainbow sponge cake using chiffon method (egg-separation method)
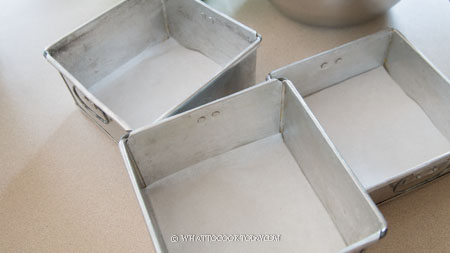
1. You need at least 2 round or square cake pans of the same size for easier work flow. If you have three, that’s even better. It helps to speed things up. Preheat oven to 350 F (180 C). My oven is conventional with bottom heat only. If you have a convection oven, I suggest lowering the temperature by 20 F (15 C). Line the bottom of the pans with parchment paper
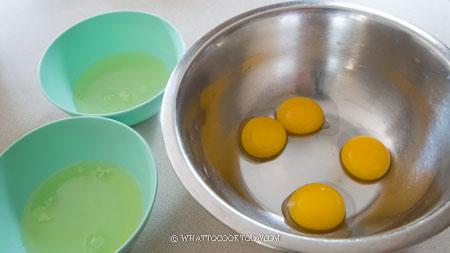
2. Separate the eggs when they are still cold, they are easier to separate. Put two egg whites in one bowl and another two in a different bowl. Make sure the bowls are grease-free. Let them come to a room temperature
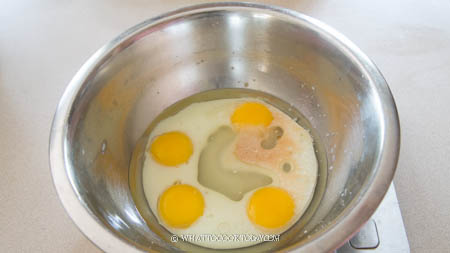
3. Mix cake flour and salt and whisk to combine. In a large mixing bowl, combine egg yolks, sugar, oil, milk, and vanilla extract. Whisk to combine
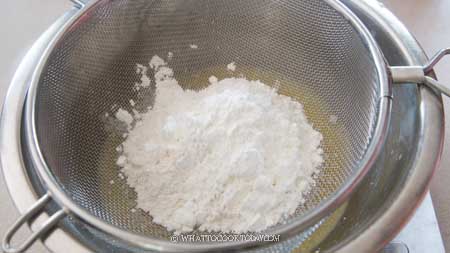
4. Sift in cake flour and salt
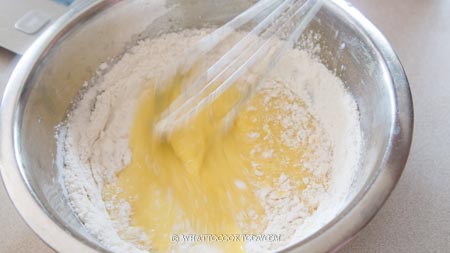
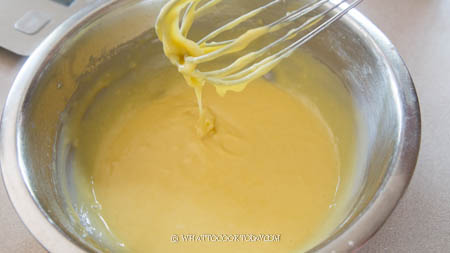
5. Use a zig zag motion to combine everything. The yolk batter should be thick but flowy
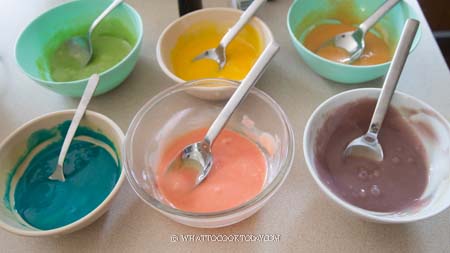
6. Divide the batter into 6 different medium to large size bowl. When I weighed, it’s about 56-60 grams each portion. Depending on how intense or soft the color you want, add the food gel coloring on each batter. I did purple, blue, orange, yellow, green, and pink/red
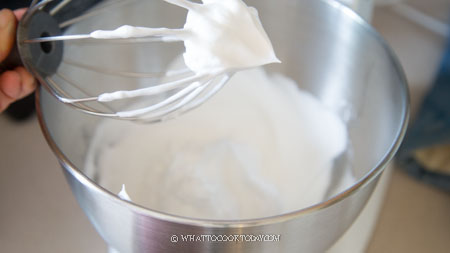
7. Pour the first portion of egg whites in a mixing bowl of a stand mixer fitted with a whisk attachment or you can use a hand mixer too. Whip the egg whites until foamy, about 1 minute over medium speed (speed 4) and then add the acid and whip for another minute. Add 1/3 of the sugar and beat on higher speed (speed 6) for one minute then add another 1/3 until you run out of sugar. Whip the meringue until stiff peak. Stop halfway to check the consistency so you don’t overwhip the meringue. When you lift up the batter with the whisk, it should stand up firmly with just a tiny bent on the tip. Stop beating. If you beat further, it will break and turn foamy
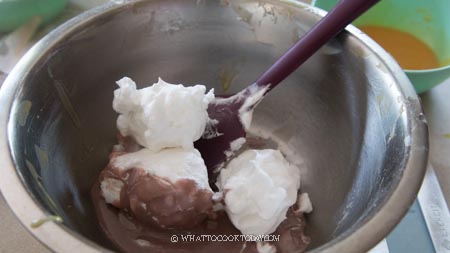
8. Get about 1/3 of the meringue (about 35 grams) and put into one of the yolk batter and start folding the meringue with the batter using a swipe down and fold over motion until the two are combined and increase in volume. You shouldn’t see any more white meringue.
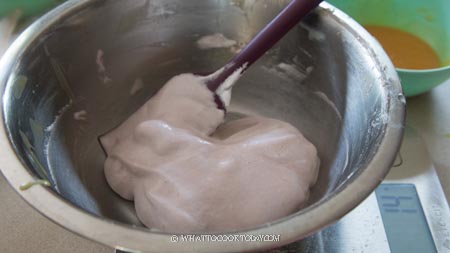
9. Pour this into one of the prepared cake pan. Tap on the counter a few times to pop large bubbles. epeat with the next 1/3 of the meringue and put into another yolk batter and continue folding to combine meringue and the yolk batter and pour into the another prepared cake pan. Do the same with the last 1/3
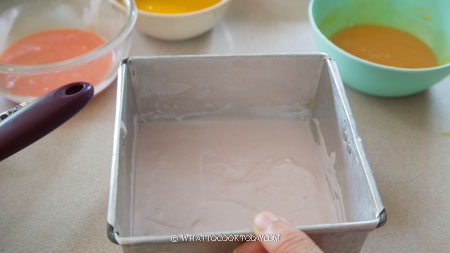
10. Now you have three cake pans filled with cake batter. Put them in the oven, on the middle rack, side by side and bake for 15 minutes or until a cake tester inserted comes out clean and the top is no longer sticky when you touch it. Repeat this process again for another 3 cakes
11. Let all 6 cakes cool down completely before you decorate them. You can wrap them up with plastic wrap after they have cooled down completely and keep at room temperature until the next day to decorate them
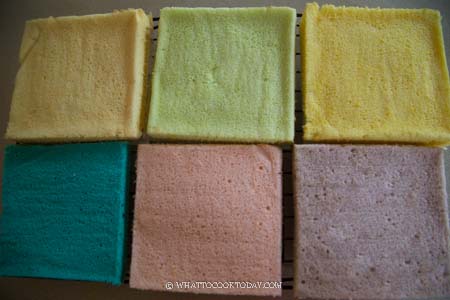
12. I used stabilized whipped cream frosting. It’s my favorite because the whipped cream is very stable and won’t weep. Mix the gelatin with water to let it soften for 5 minutes. Melt in the microwave for 5 minutes. If it’s still not melted, microwave for another 3-4 seconds. The gelatin will be clear when it melts.
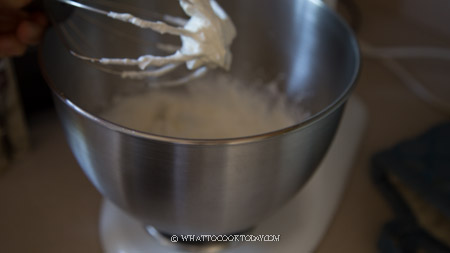
Pour the heavy cream, icing sugar, and vanilla extract into a mixing bowl. Start whipping at medium speed until it reaches a very soft peak that barely holds its shape at all. Drizzle in the gelatin and continue whipping over medium speed until it is firm and can hold its shape but not overly firm that it turns grainy and chunky. You have gone too far. This has to be used immediately before the gelatin sets
13. Make a simple syrup by mixing sugar with hot water to melt the sugar. The simple syrup will keep the cake moist. This is optional if you don’t want to do it. I did it.
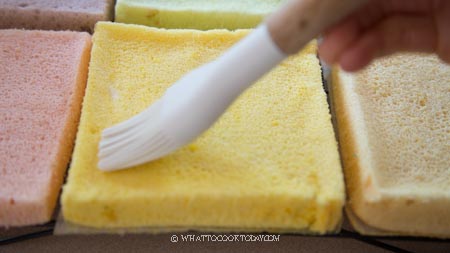
14. The order of the cake should start with purple, blue, green, orange, yellow, pink/red. Dab a small amount of frosting in the middle of the cake stand, cake base, serving plate of whatever you use. So place the purple cake (bottom side facing up). Brush with simple syrup. Apply a thin layer of frosting. Try to spread it out evenly to the edge with offset spatula. Place the blue layer and then repeat all the way until you get to the top layer, red.
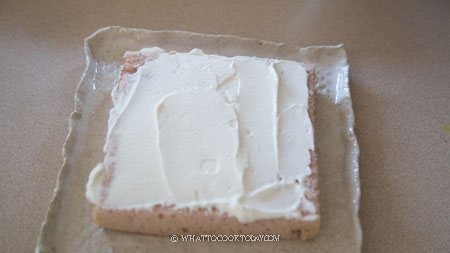


15. Now get ready to frost the side. Apply a thin layer of frosting all around the sides, we call this crumb coat. This is to seal off any loose crumbs. You will still see the cake, it’s okay, we’re not done yet.

16.Place the whole cake inside the fridge for about 30 minutes. This will help to set the crumb coat. Remove from the refrigerator and then generously coat the rest of the cake, starting with the sides and then the top. Use your offset spatula or scraper to smooth out the frosting as evenly as you can. If you want to add any decoration to the cake, this is the time to do it. Place the cake back into the refrigerator for at least 30 minutes, to let the frosting set before you cut it. It will have nice more defined layers

How to freeze the frosted rainbow cake
1. To freeze the whole frosted cake: once the cake is frosted, I put it in the freezer for about an hour to let the whipped cream frosting really set. Then I wrap the whole thing tightly in two layers of cling wrap then cover with aluminum foil and put it inside a cake box or container. They can be kept like this for about 3 months max. When ready to serve, pull it out from the freezer and unwrap the foil and cling wrap and thaw at room temperature for about 2 hours or so
2. To freeze sliced frosted cake:
Lightly and gently wrap them with a cling wrap and then a layer of foil. Then I put it on a baking tray to let them freeze for about one hour and then transfer to a zipper bag, push all the air out and seal the bag. They can be kept like this for no more than one month for the best result. When ready to serve, simply remove the foil and the plastic wrap and let it sit at room temperature to soften


So, what do you think? 🙂 It may seem like a lot of work (and lots of bowls too), but you won’t regret it when you cut the cake to reveal the pretty pastel rainbow colors on the inside.
Did you make this rainbow sponge cake recipe?
I love it when you guys snap a photo and tag to show me what you’ve made 🙂 Simply tag me @WhatToCookToday #WhatToCookToday on Instagram and I’ll be sure to stop by and take a peek for real!
How To Make Soft Fluffy Rainbow Sponge Cake (Chiffon Method)
Ingredients
Yolk batter batter:
- 120 gr cake flour
- ⅛ tsp salt
- 100 g egg yolks (room temperature) 4 large egg yolks, from 60-62 grams egg with a shell
- 50 gr granulate sugar
- 65 gr cooking oil
- 80 ml whole milk
- 1 tsp vanilla extract
Meringue:
- 120 g egg whites (room temperature) 4 large egg whites, from 60-62 grams egg with a shell
- 60 gr granulated sugar
- 1 tsp lemon juice or vinegar
Food coloring (I use gel type)
- Red, yellow, blue/teal, green yellow, blue, green
- Orange: yellow + red
- Purple: red + blue
Simple syrup:
- 1 Tbsp granulated sugar
- 2 Tbsp hot water
Choose one of the following frosting:
Stabilized whipped cream (using cornstarch):
- 480 ml heavy cream
- 1 Tbsp cornstarch
- 1 tsp vanilla extract
- 60 g icing sugar
Stabilized whipped cream (using gelatin):
- 6 g gelatin powder
- 2 Tbsp water
- 480 ml heavy cream
- 60 g icing sugar
- 1 tsp vanilla extract
Instructions
- You need at least 2 round or square cake pans of the same size for easier work flow. If you have three, that's even better. It helps to speed things up.
- Preheat oven to 350 F (180 C). My oven is conventional with bottom heat only. If you have a convection oven, I suggest lowering the temperature by 25 F (15 C). Line the bottom of the pan with parchment paper
If you have three pans (which is my scenario):
- I have three square pans of the same size and that's what I used. If you use three pans, you can bake the cake 3 trays at a time and only two rounds of baking and you will whip the egg whites twice separately because the meringue can't sit on the counter waiting for the cake to bake
- Separate the eggs when they are still cold, they are easier to separate. Put two egg whites in one bowl and another two in a different bowl. Make sure the bowls are grease-free. Let them come to a room temperature
If you only have two cake pans:
- You will bake the cake 2 trays at a time and three rounds of baking and you will whip the egg whites three times separately because the meringue can't sit on the counter waiting for the cake to bake
- Separate the eggs when they are still cold, they are easier to separate. Measure the total weight of the egg whites and then, whisk it a bit so you they are easier to divide. Divide into 3 different bowls. Make sure the bowls are grease-free. Let them come to a room temperature
Prepare the yolk batter:
- Mix cake flour and salt and whisk to combine. In a large mixing bowl, combine egg yolks, sugar, oil, milk, and vanilla extract. Whisk to combine. Sift in cake flour and salt. Use a zig zag motion to combine everything. The yolk batter should be thick but flowy
- Divide the batter into 6 different medium to large size bowl. When I weighed, it's about 56-60 grams each portion. Depending on how intense or soft the color you want, add the food gel coloring on each batter. I did purple, blue, orange, yellow, green, and pink/red
Prepare the meringue:
- Pour the first portion of egg whites in a mixing bowl of a stand mixer fitted with a whisk attachment or you can use a hand mixer too. Whip the egg whites until foamy, about 1 minute over medium speed (speed 4) and then add the acid and whip for another minute. Add 1/3 of the sugar and beat on higher speed (speed 6) for one minute then add another 1/3 until you run out of sugar. Whip the meringue until stiff peak. Stop halfway to check the consistency so you don't overwhip the meringue. When you lift up the batter with the whisk, it should stand up firmly with just a tiny bent on the tip. Stop beating. If you beat further, it will break and turn foamy
Combine meringue and cake batter:
- Get about 1/3 of the meringue (about 35 grams) and put into one of the yolk batter and start folding the meringue with the batter using a swipe down and fold over motion until the two are combined and increase in volume. You shouldn't see any more white meringue. Pour this into one of the prepared cake pan. Tap on the counter a few times to pop large bubbles
- Repeat with the next 1/3 of the meringue and put into another yolk batter and continue folding to combine meringue and the yolk batter and pour into the another prepared cake pan. Do the same with the last 1/3
Bake the first three cakes:
- Now you have three cake pans filled with cake batter. Put them in the oven, in the middle rack, side by side and bake for 15 minutes or until a cake tester inserted comes out clean and the top is no longer sticky when you touch it
- When they are done baking, remove from the oven and drop the cake pan on the counter a few times to prevent shrinkage. Let them cool down in the pan for 5 minutes and then remove from the cake pan and place the cake on cooling rack to cool down completely
- Clean these three pans and line with parchment paper again to get ready to bake the next three cakes
Repeat the process again for another three cakes:
- Pour the second portion of egg whites in a mixing bowl of a stand mixer fitted with a whisk attachment or you can use a hand mixer and repeat the process again. If you only have two pans, then you will repeat this process one more time later
- Combine the meringue with the yolk batter again following the steps I mentioned above. Pour into the cake pans and bake these last three side by side at 350 F (180 C) for 15 minutes
Cooling down:
- Let all 6 cakes cooled down completely before you decorate them. You can wrap them up with a plastic wrap after they have cooled down completely and keep at room temperature until the next day to decorate them
- You can also freeze them for up to one month and simply thaw at room temperature and decorate them. I've done that before and they turned out well. Freezing them is better than keeping them in the fridge, which will dry out the cake
If you choose stabilized whipped cream using cornstarch:
- Chill your mixing bowl and whisk attachment in the fridge for 15 minutes. The cream whip better when everything is cold. Make sure the heavy cream has been chilled in the fridge too
- Pour the heavy cream, icing sugar, and vanilla extract into a mixing bowl. Start whipping at medium speed until it reaches a firm peak, meaning it holds its shape, but don't overwhip until the mixture turn grainy
- This can be store in an air-tight container for about 2-3 days. The whipped cream may not last as long at room temperature compared to the one stabilized with gelatin and cream cheese frosting, but it should be good for about 2-3 hours at room temperature
If you choose stabilized whipped cream using gelatin (must be used immediately)
- Please take note: The whipped cream frosting need to be used immediately before the gelatin sets
- Mix the gelatin with water to let it soften for 5 minutes. Melt in the microwave for 5 minutes. If it's still not melted, microwave for another 3-4 seconds. The gelatin will be clear when it melts. You can also put the bowl with the gelatin in a warm water to let the gelatin melts
- Chill your mixing bowl and whisk attachment in the fridge for 15 minutes. The cream whip better when everything is cold. Make sure the heavy cream has been chilled in the fridge too
- Pour the heavy cream, icing sugar, and vanilla extract into a mixing bowl. Start whipping at medium speed until it reaches a very soft peak that barely holds its shape at all. Drizzle in the gelatin and continue whipping over medium speed until it is firm and can hold its shape but not overly firm that it turns grainy and chunky. You have gone too far. This has to be used immediately before the gelatin sets
Assembling the cake:
- Make a simple syrup by mixing sugar with hot water to melt the sugar. The simple syrup will keep the cake moist. This is optional if you don't want to do it. I did it
- The order of the cake should start with purple, blue, green, orange, yellow, pink/red. Dab a small amount of frosting in the middle of the cake stand, cake base, serving plate of whatever you use. So place the purple cake (bottom side facing up). Brush with simple syrup. Apply a thin layer of frosting. Try to spread it out evenly to the edge with offset spatula. Place the blue layer and then repeat all the way until you get to the top layer, red.
- Now get ready to frost the side. Apply a thin layer of frosting all around the sides, we call this crumb coat. This is to seal off any loose crumbs. You will still see the cake, it's okay, we're not done yet. Place the whole cake inside the fridge for about 30 minutes. This will help to set the crumb coat. Remove from the refrigerator and then generously coat the rest of the cake, starting with the sides and then the top. Use your offset spatula or scraper to smooth out the frosting as evenly as you can. If you want to add any decoration to the cake, this is the time to do it. Place the cake back into the refrigerator for at least 30 minutes, to let the frosting set before you cut it. It will have a nice more defined layers




29 comments
Hi I’m a bit confused, is the 60 grams of sugar for the meringue meant to be divided for each batch of meringue? As in 30 grams in each batch? Thanks
Hi, I know it can be confusing. Yes, the total 60 grams of sugar is to be divided. Assuming you are baking with 3 cake pans, then you need to bake 2 rounds (to get 6 layers). So you divide egg whites from 4 eggs into 2 portions. so yes, 30 grams for each portion. I hope that helps to clarify!
Hi can i use american buttercream to fill and frost this cake?
Hi Laksh,
The American buttercream is most likely to heavy for chiffon-type cake. I’m afraid the cake may not hold. It’s more suitable with whipped-cream base frosting. Which reminds me, I should take down the creamcheese buttercream frosting because it’s not suitable for chiffon type cake. If you use genoise sponge, then it’s okay to use American buttercream.
Thank you so much! Im gonna try baking this weekend using 2 x 8″ round pans. When im baking the 1st out of 3 rounds, do i place the remaing 4 bowls of batter in the fridge and then bring them to room temp just before baking? How long do you reckon i should bake for at 165 degrees celcius?
You don’t need to put the batter in the fridge, but make sure you whip the meringue separately three times so they won’t deflate while waiting for the oven. Leave the egg whites at room temperature too because they whip better at room temperature
Are you using convection oven (top and bottom heat)? If so yes you bake at 165 Celcius for 15 minutes or until a cake tester inserted into the center comes out clean and the surface of the cake is dry and bouncy when you gently press on it. The baking time may differ slightly with each oven, so just monitor and test the cake for doneness
Got it all, thank you!!
Sorry last q! At what total height do i need to start adding dowels for support for this cake? And how many do you suggest if need to…i plan to use straws
This is not a heavy cake and it’s not overly tall like tiered cake. I’m not sure if doweling chiffon cake is a good idea because of its soft airy texture. I personally don’t think you need to.
I baked this yesterday for my daughter’s birthday and it’s really good. Soft, moist and sooo pretty. We love the look and taste good too but I personally feel that can add 1 more teaspoon of vanilla to make it more fragrant. Also, I reduced the sugar from 50gm to 20gm for the batter as we prefer less sweet. Overall it’s lovely.
Hi Peggy, I’m so happy to read that it turned out great for you and the birthday girl! Thank you for your feedbacks! and happy belated birthday to your girl 🙂
Hello Marvellina, since I have cream of tartar in my pantry, can I use cream of tartar in place of lemon juice/vinegar? if it is ok, will it be 1:1 substitution, so it will be 1tsp cream of tartar? Thank you.
Hi Rose, yes you can replace it in 1:1.
My little one wants a rainbow cake for her birthday, and I found out I have only 2 round pans and 2 square pans, and they are all in 8.5 inches. How to adjust your recipe to work with 8.5 inches pans? and are the adjustment to be done to both wet and dry ingredients? What about the eggs? how many eggs? I am so sorry for all the questions. I like your recipes and your instruction is so clear. I really hope I can make it. Thank you.
Hi Rose, yes, the adjustment need to be done on both wet and dry ingredients. I haven’t tried this myself, but theoretically, if you use 8.5 inch square pans, you can multiply the recipe by 1.75. If you use 8.5 inch round pan, you can multiply the ingredients by 1.25. I have converted the recipe to use weight of the eggs instead, which is more accurate and easier for people to adjust. The baking time shouldn’t be too far off. You can try adding 5-8 minute extras and test the cake for doneness. I hope this helps
Further question Marvellina. I read your blog mentioning about using gelatin to stabilize the whip cream frosting. But I don’t see gelatin in the recipe. Is gelatin still needed in this recipe? Can I use neutral flavor agar-agar instead? I am not a big fan of gelatin, but I will use it if it is a key ingredient for the frosting. And how much gelatin? Thank you.
Hi Rose, the amount is in the recipe and in the instruction as well. I’ve also added another method of stabilized whipped cream using cornstarch. This is the easiest of all. It doesn’t last as long at room temperature compared to the one with gelatin and cream cheese method, but should be good for 2-3 hours at room temperature if the cake needs to be out for that long at room temperature
I made your rainbow cake with 8.5 inches round pans. It tasted delicious, was moist, and pretty. Thank you so much for your recipe. I used 6 eggs, so it is like 1.5 more eggs than your recipe for 7 inches round. And I adjusted all the other wet and dry ingredient by 1.5. However the cake layer height was only 1/4 inches. I wonder what I should do differently in the future to have a thicker layer. Will I need to add more eggs, or should I add all the ingredients to 1.75? Thank you again for your recipe. This was my first time baking layers cake 🙂
Hi Rose, I’m glad the recipe worked out well for you except that it was short. IN this case, yes, 1.75 definitely will fit better and give you thicker layer.