This post may contain affiliate links. Please read our disclosure policy.
This moist and tender roasted chestnut apple cake is the perfect cozy Fall bake, with a beautifully rustic apple topping and rich chestnut flavor.
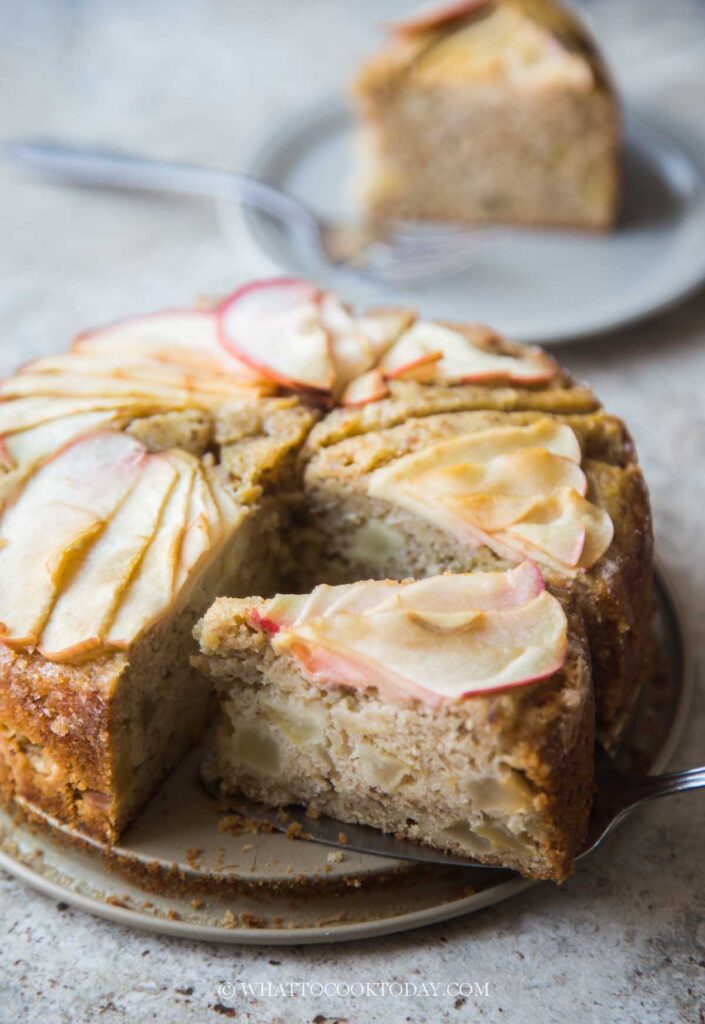
This roasted chestnut apple cake is one of my favorite things to bake in the Fall. It has everything I love about this time of year: lots of apples, roasted chestnuts, cozy baking, and a cake that makes the kitchen smell absolutely amazing.
This is also the perfect time to make this cake because apples are everywhere, and Costco (not sponsored) usually carries those convenient shelled roasted chestnuts around the end of the year. Roasted chestnuts are one of those seasonal ingredients I get excited about seeing at the store. And honestly, the fact that they’re already roasted and shelled is a huge bonus because I don’t have to do all that work myself!
I love chestnuts, but preparing fresh chestnuts from scratch can be a real project. You have to score them, roast them, peel them while they’re still warm, and somehow deal with all those little pieces of shell and skin. So when I can grab a package of already roasted and shelled chestnuts, I’m all for it.
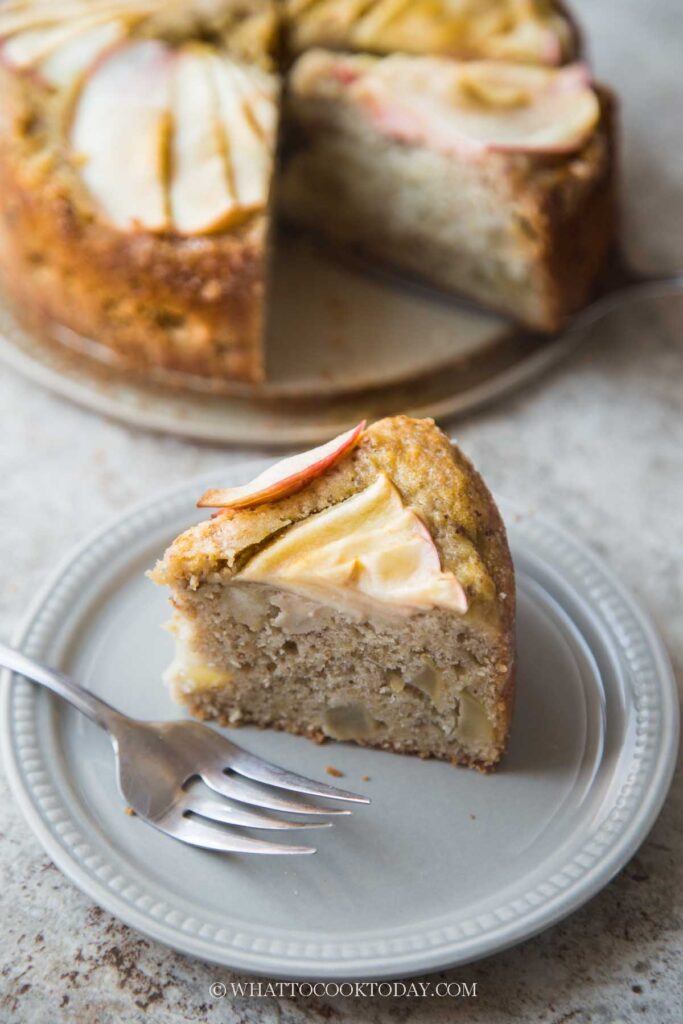
The chestnuts give this cake a lovely, slightly nutty and earthy flavor, while the apples keep the cake moist. The combination works surprisingly well. The cake isn’t overly sweet, and the apples on top soften and slightly caramelize as the cake bakes.
This recipe is adapted from Claire Saffitz’s Dessert Person, which is a cookbook I highly recommend if you enjoy baking. Her original recipe uses pears, but I had plenty of apples on hand and decided to give them a try instead. I’m glad I did because apples work beautifully here. And because it’s almost the end of the year, which means all the seasonal baking ingredients start showing up in stores, I think this is a very good excuse to bake a cake.
Why you’ll like this cake
- The first thing you’ll notice is the texture. The cake is very moist and tender, with little bits of chestnut throughout. The sour cream helps keep the crumb soft, while the roasted chestnuts add a subtle richness and depth of flavor.
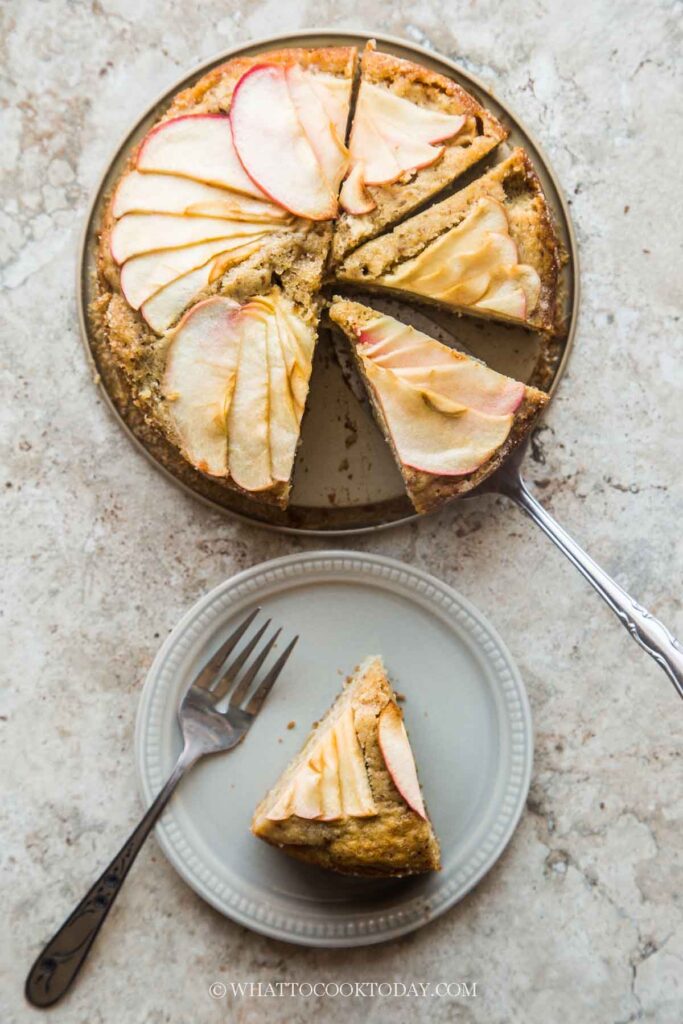
- The sliced apples on top make it look pretty without requiring any fancy decorating. Just arrange the slices over the batter, sprinkle them with sugar, and let the oven do the rest.
- I also like this cake even more the next day. The chestnut and apple flavors seem to settle in and become more pronounced after the cake has had time to rest.
A few things to know before you start
- Use shelled roasted chestnuts if you can find them. This is my biggest shortcut for this recipe. I usually find them at Costco during the holiday season. Make sure they are roasted and shelled before weighing out the 300 grams. If you only have raw chestnuts, you’ll need to cook and peel them first.
- You can leave the apples unpeeled. I actually prefer to leave the skin on. It saves time, adds a little color, and the apple skin softens nicely during baking. Use about 600 grams of apples, or roughly 3 large apples.
- You’ll need both diced and sliced apples. Finely dice one apple and fold it into the batter. Thinly slice the remaining two apples for arranging on top of the cake. The diced apples add moisture and apple flavor throughout the cake, while the sliced apples make the top look beautiful.
- A 10-inch springform pan works best. You can also use a 10-inch ovenproof skillet that’s at least 2 inches deep. Butter the bottom and sides generously, then dust the pan with sugar. The sugar sticks to the butter and gives the outside of the cake a lovely sweet crust as it bakes.
- Don’t worry if you have a few leftover apple slices. Depending on the size of your apples and how thinly you slice them, you may not need every single slice for the top. If that happens, consider it a little snack for the baker. 🙂
- Don’t rush the cooling time. The cake needs to cool completely in the pan, which can take 2 to 3 hours or even longer. I know it’s tempting to cut into it sooner, but the cake is quite delicate when it’s warm. It also tastes even better after it has rested.
- I actually prefer this cake the next day. If you have the patience, make it a day ahead. The flavors develop nicely overnight, and the chestnut flavor becomes more noticeable.
How to serve roasted chestnut apple cake
I love this cake simply sliced and served at room temperature. It doesn’t really need frosting or a glaze. The apples and chestnuts already give it plenty of flavor. That said, a spoonful of softly whipped cream or crème fraîche alongside a slice is really nice, especially if you’re serving it for dessert. And don’t forget that this cake is even better the following day. That’s one of the reasons I think it’s a great make-ahead dessert for a Fall dinner or holiday gathering.
Frequently Asked Questions
- Can I use pears instead of apples?
Absolutely. In fact, the original recipe that inspired this cake uses pears. Pears would be lovely here if that’s what you have available. I happened to have an abundance of apples, so that’s what I used, and I think they work just as well. - Can I use raw chestnuts?
You can, but it will add quite a bit of extra work. The shortcut I really recommend for this recipe is using packaged roasted and shelled chestnuts. Since the chestnuts are incorporated directly into the batter, having them already cooked and peeled makes this cake much easier to put together. - Do I need to peel the apples?
No. I actually leave the apples unpeeled. The skin softens as the cake bakes, and I like the little bit of color it adds to the cake. It also saves you the extra step of peeling three apples. - Can I use a different size pan?
This recipe is written for a 10-inch springform pan or a 10-inch ovenproof skillet that’s at least 2 inches deep. Don’t bake in smaller size pan because the batter is too much for smaller pan. You may need to half the recipe if you want to make smaller cake and use 7-inch springform pan or 7-inch round cake pan - Can I make this cake ahead of time?
Yes, and I actually prefer it that way. The cake is delicious on the day it’s baked, but I think the flavor develops even more overnight. The chestnut flavor becomes a little more noticeable, too. - How should I store the cake?
Once completely cooled, cover the cake and store it at room temperature for a day or two. For longer storage, I recommend freezing (see next question below) - Can I freeze the cake?
Yes, let the cake cool down completely. Then slice into serving slices and tightly wrap with cling wrap and put inside a freezer bag, push all the air out, and seal. When ready to serve, thaw overnight in the fridge or few hours at room temperature. You can also reheat at 325 F for 5 minutes if you prefer it slightly warm
My Fall baking excuse
This is one of those recipes that makes me want to buy every seasonal ingredient I see at the grocery store. Apples? Definitely need those. Roasted chestnuts at Costco? Into the cart. And then, of course, I have to do something with them. That’s how baking season works, right?
I especially love that this cake doesn’t require much decorating. The apple slices on top do all the work, and the chestnuts give the cake something a little different from the usual apple cake.
If you love roasted chestnuts as much as I do, I think you’ll really enjoy this one. It’s moist, flavorful, not overly sweet, and very much feels like Fall in cake form.
Roasted Chestnut Apple Cake
Ingredients
- 600 g apples about 3 large-size apples
- 173 g all-purpose flour
- 2 tsp baking powder
- ¼ tsp baking soda
- ½ tsp salt
- 300 g shelled roasted chestnuts
- 2 tsp vanilla extract
- 150 g sugar plus more for dusting
- 142 g unsalted butter softened, plus more for coating the pan
- 100 g eggs 2 large-size eggs, room temperature
- 120 g sour cream room temperature
- 28 g dark rum
Topping:
- 30 g sugar
Instructions
- This recipe is for 10-inch springform pan or 10-inch oven-proof skillet with at least 2 inches of height to prevent overflowing during baking. You can half the recipe and bake in 7-inch springform pan or 7-inch oven-proof skillet or round pan.
- 30 minutes to 1 hour before you start to work on this recipe, take the butter, eggs, and sour cream out of the fridge to let the butter softened and let the eggs and sour cream come to a room temperature
- Preheat the oven to 350 F (180 C) for conventional oven. Please lower the temperature by 20 F (15 C) if using a convection oven
- Butter the bottom and the sides of the pan or skillet. Dust with about 2 Tbsp (or more as needed) of sugar all over. The sugar should stick to the butter. Tap out any excess sugar

- If you use a round baking pan, I recommend butter the bottom and then line the with parchment paper for easier removal. You can skip the sugar dusting. Then butter the sides and dust with sugar and tap out excess sugar
Prepare the apple:
- I leave the apple unpeeled. Core all the apples. Finely dice one of the apple.
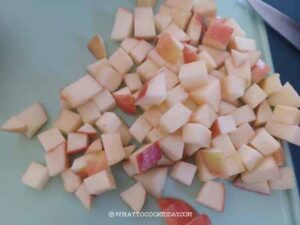
- Thinly slice the rest of the two apples. We will use the sliced apples for the top of the cake
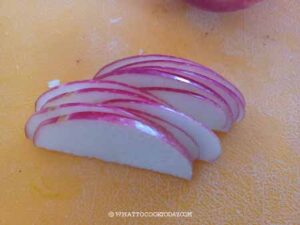
Prepare the cake batter:
- Combine all-purpose flour, baking powder, baking soda, and salt
- In a stand mixer fitted with a paddle attachment, combine roasted chestnuts, vanilla extract, and sugar. Beat on low for about 1 minute. This will break down the chestnut into smaller pieces.

- Add the softened butter and continue to beat on medium-high until the butter is light and fluffy, this takes about 4-5 minutes. Scrape the side of the bowl
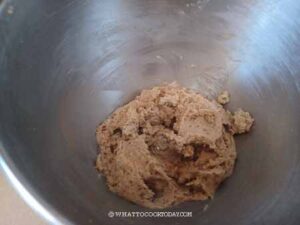
- Add egg, one at a time

- Beat until combined before adding another one. Beat until light and smooth

- Add 1/2 of the flour mixture and then beat on a low speed to combine

- Add sour cream and rum and beat until almost combined. Then add the rest of the flour and beat until the batter is smooth and well combined
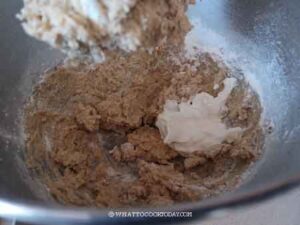
- Use a flexible spatula to scrape the side of the bowl and also fold the mixture several times to make sure everything is well-mixed.

- Add the diced apple pieces and gently fold them in
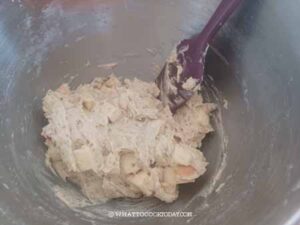
- Scrape the batter into the prepared pan/skillet. Smooth the top with spatula.
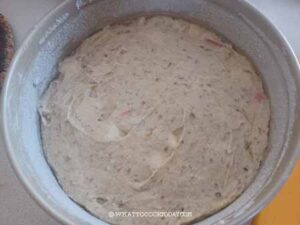
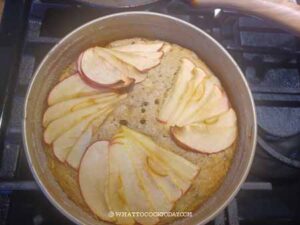
- Use about 5 to 6 apple slices, spread them out like a fan, and place them on top of the batter. Repeat with the rest of the apple slices. It's okay to overlap slightly. You may or you may not have leftover apple slices. If you do, well, it's your snack then 🙂
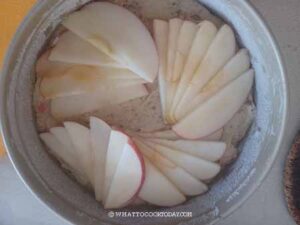
- Sprinkle 30 grams of sugar evenly on top of the batter and apple slices
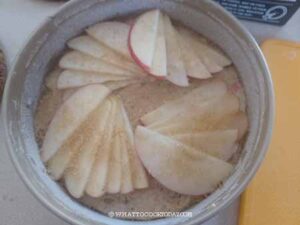
Bake the cake:
- Place the pan/skillet in the center of the oven and bake for 50-60 minutes or until the edges are golden brown and the cake is springy to the touch. If you insert a cake tester into the center of the cake, it should come out with a bit of sticky crumb is fine, but it shouldn't be wet
Cool down:
- Let the cake cool down completely in the pan, which may take 2-3 hours or longer.
Serve:
- I like to serve the cake the day after because I feel like the flavor has developed even more. If you use a springform pan, loosen the side of the cake with an offset spatula and then remove the outer ring. Cut into desired sizes and serve as is or with a bit of whipped cream or cream fraiche