This post may contain affiliate links. Please read our disclosure policy.
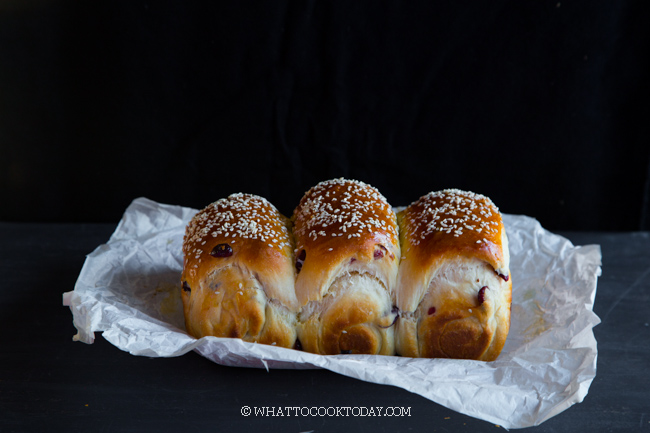
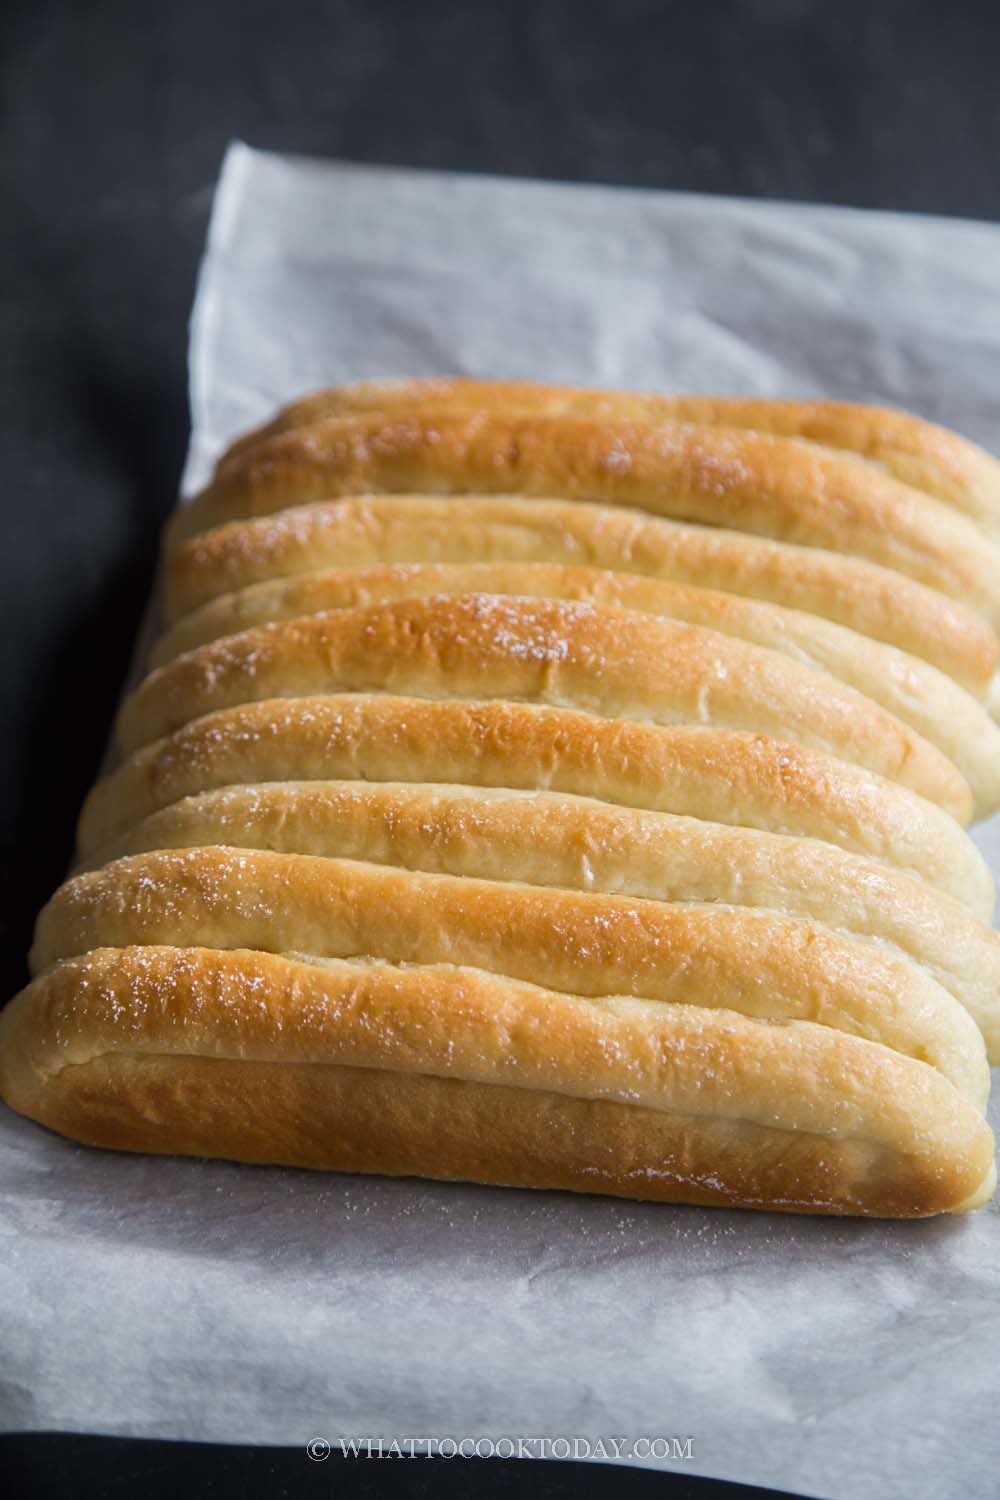
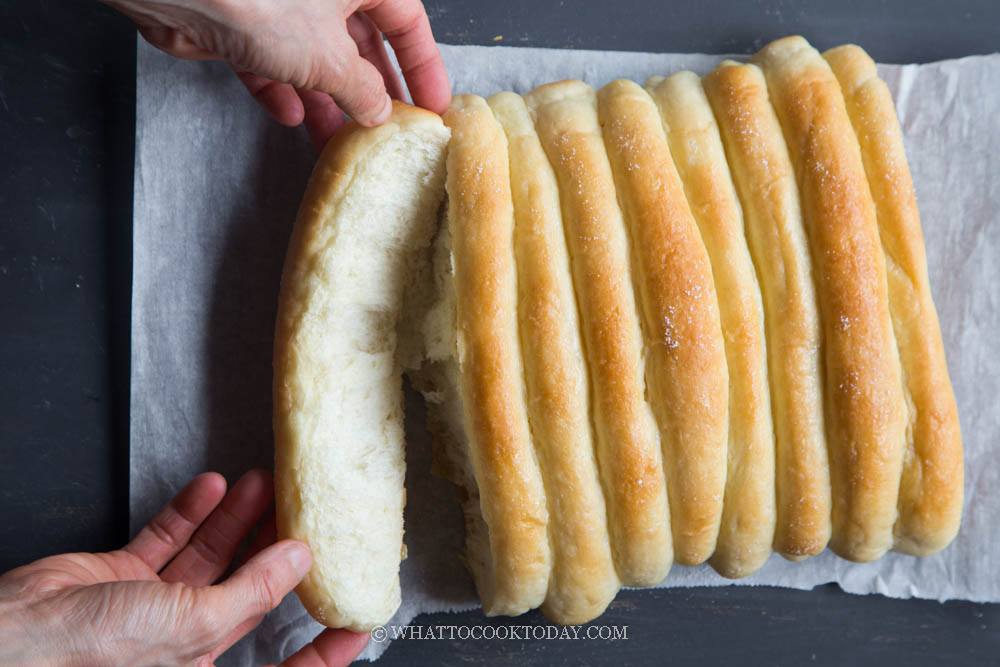
Learn how to make this pillow-soft and fluffy butter bread made famous by Windsor Bakery in Taiwan. Its has a soft buttery texture on the inside with a slightly sweet coating of icing sugar on top.

If you need to add another ultra-soft bread to your recipe archives, let it be this Windsor bread. I started making this sometimes last year and the family loved it so much and I have been making it pretty often. It is truly so soft that my kids keep saying that “It’s like my soft pillow” (I guess that’s how the pillow-soft description comes about LOL!)
What is Windsor bread?
This Windsor bread was a talk (or perhaps still is) in social media like Facebook and also got so popular on YouTube. I first knew about this from Olady Bakes. The bread was made popular by a baker shop named Windsor in Taiwan and since then, many have tried to DIY at home (including myself). The soft butter bread is known for its ultra-soft inside out and the close-knit crumbs. It also has a signature long shape with a sweet sugar coating on top. So, to this date, it is known as Taiwan Windsor bread 🙂
Two slightly different recipes you can try
I’ve tried several different recipes and came down to two that I have been using. One of the recipe uses Greek yogurt and the other is without yogurt. I had the family tried both without telling them anything and they did not notice any difference in taste or texture. I feel the same way too. They are both very similar. So, I decided to include both just in case I need to use up some of my Greek yogurt in the future 😉
How to make Windsor bread at home
1. Add all ingredients, except for the butter in the bowl of a stand mixer fitted with a dough hook attachment

2. Let the dough knead at low speed (speed 2 on KA) until it comes into a rough dough, about 5 minutes. If the dough is too dry, you can add a bit more milk, teaspoon by teaspoon

2. Add the softened butter

3. Continue to knead for another 15 minutes (longer if you knead by hands) on medium speed (speed 4 on KA) or until you reach a window-pane stage. Just tear a small piece of dough, about 1-inch ball , flatten it with your fingers and hold it between your thumbs and slowly stretch it, you can stretch it thin like a membrane without it breaking. If it breaks, try to knead for another minute or two and see. The dough should be smooth and very elastic at this point. It is also important to note that you don’t want to over-kneading the dough for too long as well as the gluten can break and your bread will have problem rising

4. Oil the bowl and put the dough in there, cover and let it proof at a warm place.

5. I use my oven’s bread proof setting to proof the dough. The dough should double in size. It took roughly about 1 hour. Again, don’t depend on the time. It really depends on the temperature the dough is proofing. Sometimes it may take longer than 1 hour to proof the dough if it’s much colder where you are. If you poke your finger into the dough and the indentation stays, the dough is done proofing

6. Punch the dough down to release air.

7. Knead it a few times and then divide into 9 equal dough

8. Roll them into a round shape. Cover and let them rest for 10 minutes

9. Work with one dough at a time and keep the rest covered. Roll out one dough into about 14 x 8 cm (or 3 x 4 inches)
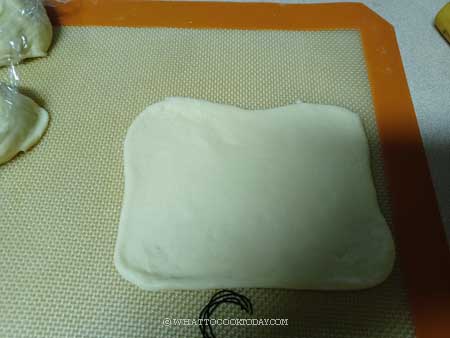
10. Swiss roll it up gently

11. Pinch the seams together and put it aside and cover. Repeat with the rest


12. Starting from the first one you roll earlier and roll it out longer to about 20 cm in length.

13. Place this in the pan and continue with the rest

14. Brush the shaped dough with half of the softened butter – the bread won’t be as golden brown (skip this if you prefer to do an egg wash instead. Egg wash will give a richer golden brown, if that matters to you)
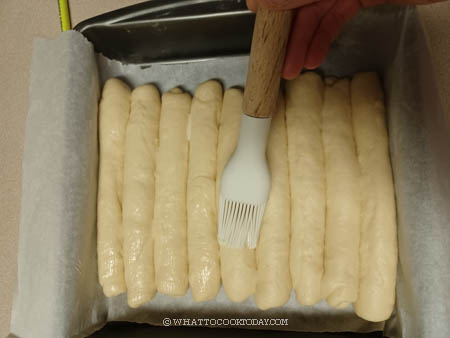
15. Cover the pan and let the shaped dough proof again at a warm place for about 1 hour or until they are puffy and fill up the pan. Preheat the oven to 350 F, 10 minutes before the end of proofing time. If you choose to do egg wash, brush with egg wash at this point

16. Place the pan on the middle rack and bake for 15 minutes or until lightly golden brown

17. Remove from the oven and I highly recommend to immediately brush the remaining butter on top of the bread. This will make the crust soft

18. Lift the parchment paper up and put on top of a cooling rack. Dust the top liberally with some icing sugar on top. Let the bread cools down on a cooling rack
Did you make this Windsor bakery bread recipe?
I love it when you guys snap a photo and tag to show me what you’ve made 🙂 Simply tag me @WhatToCookToday #WhatToCookToday on Instagram and I’ll be sure to stop by and take a peek for real!

You may also like these soft bread/buns
*Recipe without using yogurt is adapted from Olady Bakes and the recipe using yogurt is adapted from Yu Cuisine with some modifications.
Soft Fluffy Taiwanese Windsor Bakery Bread
Ingredients
Dough using yogurt:
- 250 gr bread flour plus more as needed
- 3 gr instant yeast
- 25 gr granulated sugar
- ½ tsp salt
- 1 egg yolk about 18-20 grams
- 100 gr Plain whole-milk Greek yogurt Don't use regular plain yogurt (it's too thin)
- 65 ml whole milk plus more as needed
- 20 gr softened butter
Dough without yogurt:
- 250 gr bread flour plus more as needed
- 3 gr instant yeast
- 25 gr granulated sugar
- ½ tsp salt
- 1 egg yolk about 18-20 grams
- 140 gr whole milk plus more as needed
- 25 gr softened butter
To brush on the bread:
- 20 gr softened butter divided
- Icing sugar
Instructions
Prepare the dough:
- Add all ingredients, except for butter in the bowl of a stand mixer fitted with a dough hook attachment. Let the dough knead at low speed (speed 2 on KA) until it comes into a rough dough, about 5 minutes. If the dough is too dry, you can add a bit more milk, teaspoon by teaspoon
- Add the softened butter and continue to knead for another 15 minutes (longer if you knead by hands) on medium speed (speed 4 on KA) or until you reach a window-pane stage. Just tear a small piece of dough, about 1-inch ball , flatten it with your fingers and hold it between your thumbs and slowly stretch it, you can stretch it thin like a membrane without it breaking. If it breaks, try to knead for another minute or two and see. The dough should be smooth and very elastic at this point. It is also important to note that you don't want to over-kneading the dough for too long as well as the gluten can break and your bread will have problem rising
First proofing:
- Oil the bowl and put the dough in there, cover and let it proof at a warm place. I use my oven's bread proof setting to proof the dough. The dough should double in size. It took roughly about 1 hour. Again, don't depend on the time. It really depends on the temperature the dough is proofing. Sometimes it may take longer than 1 hour to proof the dough if it's much colder where you are. If you poke your finger into the dough and the indentation stays, the dough is done proofing
- Punch the dough down to release air. Knead it a few times and then divide into 9 equal dough. Roll them into a round shape. Cover and let them rest for 10 minutes
Shape the dough:
- You can use 9 x 13 inch baking pan (ideal size for this recipe). The bread will be wider. I use 9 x 9 inch square pan and the breads are narrower but slightly taller. Line with a parchment paper or you can grease with butter
- Work with one dough at a time and keep the rest covered. Roll out one dough into about 14 x 8 cm (or 3 x 4 inches) and then Swiss roll it up gently. Pinch the seams together and put it aside and cover. Repeat with the rest
- Starting from the first one you roll earlier and roll it out longer to about 20 cm in length. Place this in the pan and continue with the rest. Brush the shaped dough with half of the softened butter - the bread won't be as golden brown (skip this if you prefer to do an egg wash instead. Egg wash will give a richer golden brown, if that matters to you)
Second proofing:
- Cover the pan and let the shaped dough proof again at a warm place for about 1 hour or until they are puffy and fill up the pan. Preheat the oven (my oven uses bottom heat only) to 350 F (180 c), 10 minutes before the end of proofing time. If you choose to do egg wash, brush with egg wash at this point
Baking:
- Place the pan on the middle rack and bake for 15 minutes or until lightly golden brown
- Remove from the oven and I highly recommend to immediately brush the remaining butter on top of the bread. This will make the crust soft. Lift the parchment paper up and put on top of a cooling rack. Dust the top liberally with some icing sugar on top. Let the bread cools down on a cooling rack
Storing:
- Let the bread cools down completely and then wrap with a plastic wrap and it can be kept at room temperature for about 3 days. Please note that once you wrap it up, the icing sugar will get "wet" creating a sticky top on the bun. Depending on your preference, this is not an issue for us, as my kids like them slightly sticky on top. If you don't like it that way, dust the icing sugar only when you are ready to serve the bread
