This post may contain affiliate links. Please read our disclosure policy.
Learn how to make Chinese bai tang gao or pak thong koh using this simple method using yeast to give you soft and bouncy texture. It’s my childhood favorite steamed rice cake.
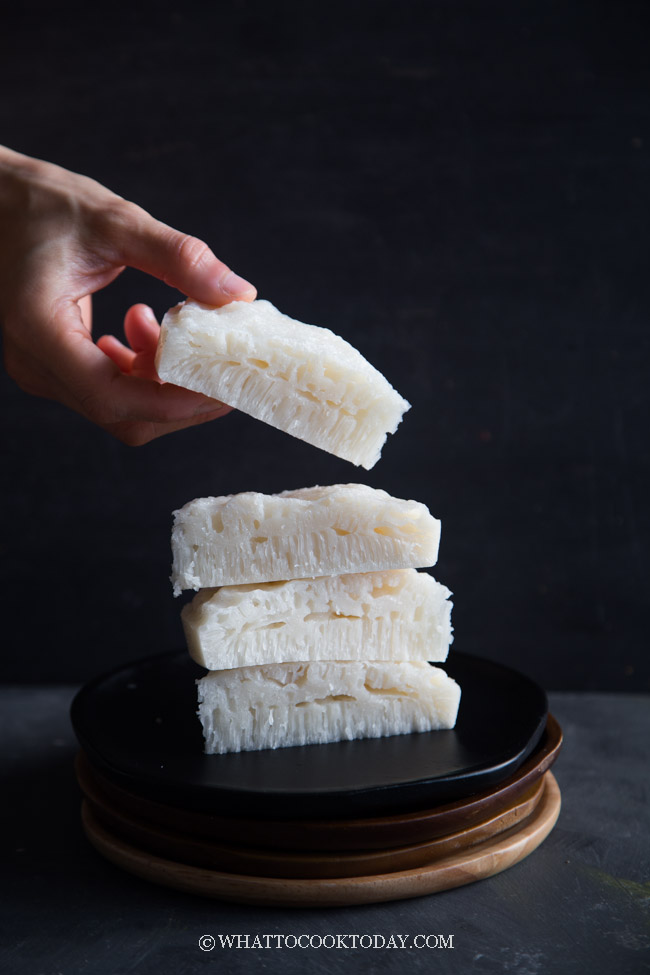
DON’T LET ITS PALE WHITE COLOR FOOLS YOU
I think if you ask most of the Asian kids that grew up with some Chinese food, they will know this bai tang gao cake
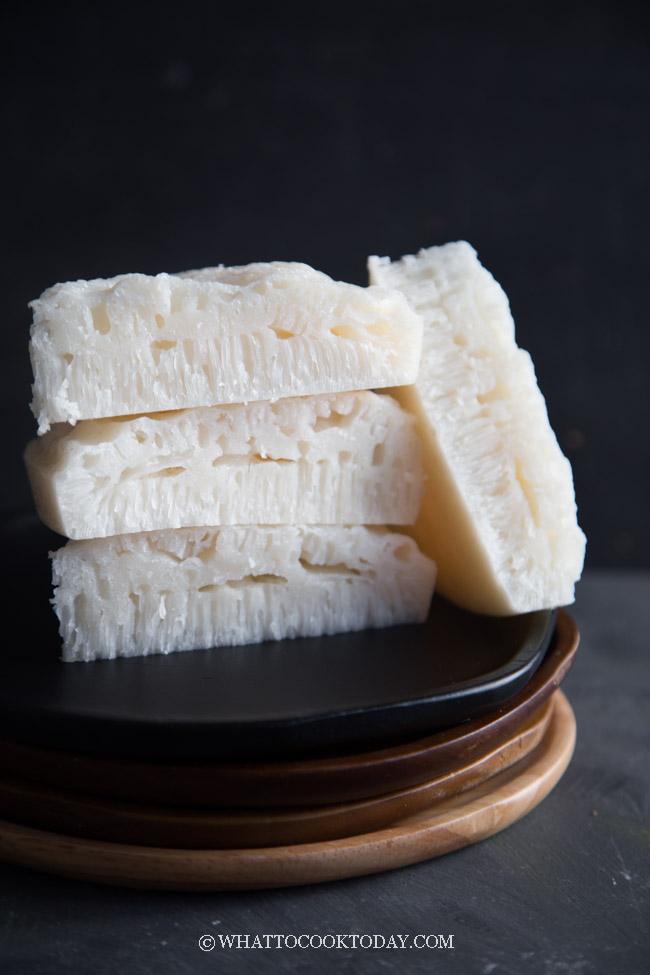
(白糖糕). Bai means white and tang gao means cake in Chinese or pak thong koh in Cantonese. Bai tang gao is also a dim sum classic. You will definitely see this if you go for a dim sum. The cake is characterized by its signature pale white color and its honeycomb texture inside the cake. It may seem like a boring cake judging from its appearance but most people like bai tang gao for its soft, bouncy texture and slightly sweet taste.
It was one of my favorite childhood steamed cakes and still is to this date. Even my mom felt all nostalgic when we experimented on this cake a few months ago when she visited me. I’ve mentioned before that my mom has absolutely no sweet tooth at all. She despises desserts or sweets of any kind (Wish I’m the same way LOL!), BUT, she likes bai tang gao. Which means…bai tang gao is a very lightly sweetened cake. Of course, you can always adjust the amount of sugar in the recipe, but most Chinese steamed cakes or Asian steamed cakes are never heavily sweetened anyway.
WHY YOU’LL LIKE THIS BAI TANG GAO RECIPE
1. NO FUSS
This recipe doesn’t require long hours of fermentation, which I like. I only need about 1 hour to proof the batter
2. TASTE AND TEXTURE SPOT ON
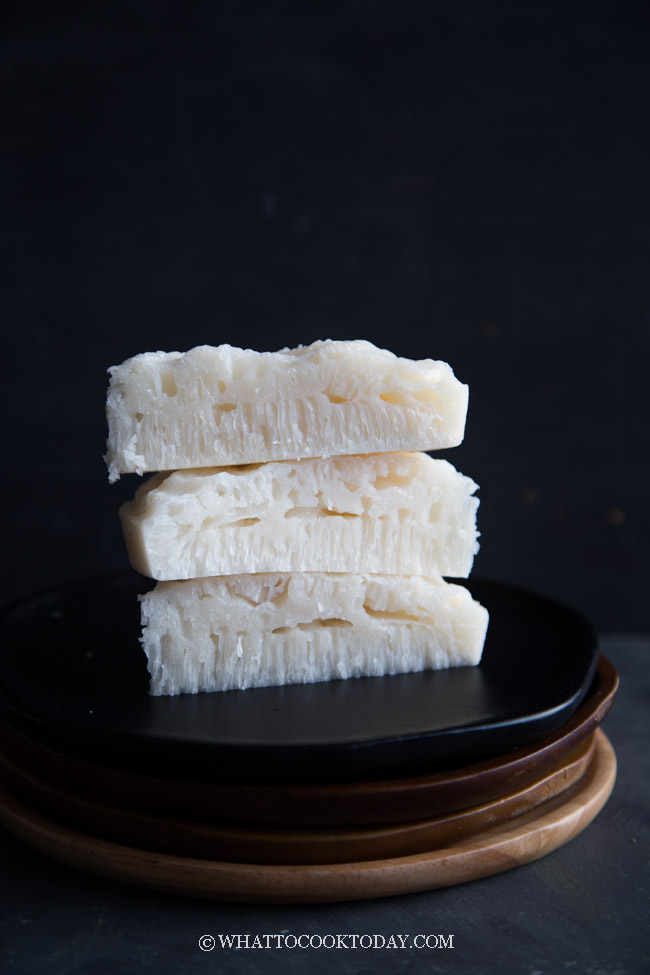
I love the soft yet bouncy texture of this cake. The right amount of chewiness. The taste is slightly sweet with a hint of tanginess, which is great!
3. GREAT HONEYCOMB TEXTURE
I love the tight honeycomb texture running up and down the cake
HOW TO EASILY MAKE BAI TANG GAO FROM SCRATCH USING YEAST
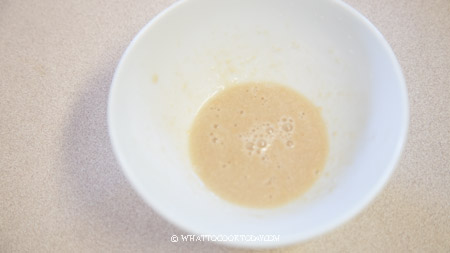
1. PREPARE STARTER
Put all ingredients for the starter in a bowl and let it sits for 10-15 minutes until foamy while you prepare other things. This helps to speed things up
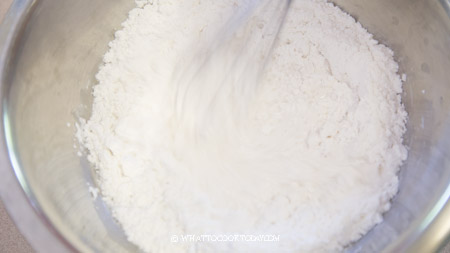
2. PREPARE BATTER
Mix all ingredients for batter and set aside
3. MAKE THE SYRUP
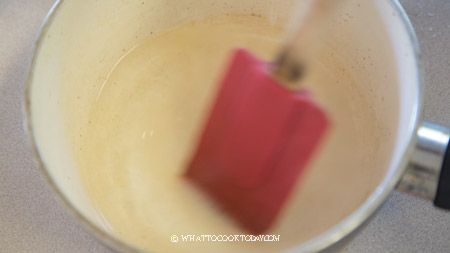
4.COMBINE BATTER, HOT SYRUP (COOLS DOWN), AND YEAST
Pur the hot syrup into the batter and stir to mix. Let it comes to a warm temperature (no more than 110 F (43 C). It should feel comfortably warm
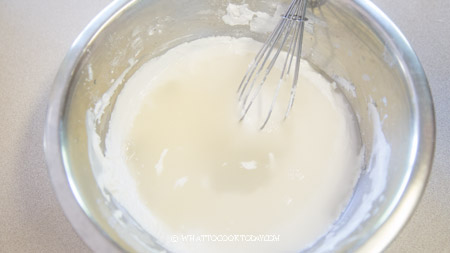
When it’s warm, add the yeast mixture in and stir to mix everything. The batter is watery
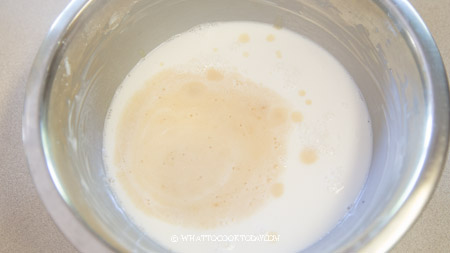
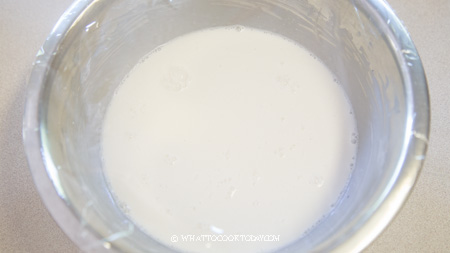
5. PROOFING
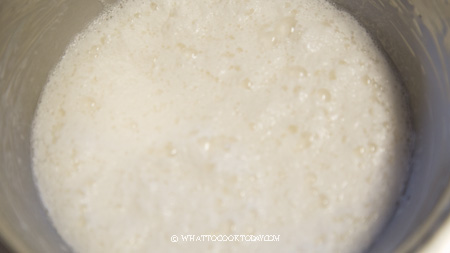
Cover and let it proof for 1 hour or until you see lots of bubbles
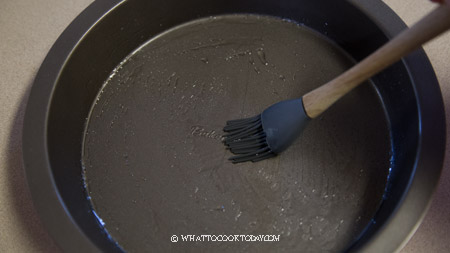
6. GREASE PAN
Recipe is perfect for 8-inch round or square pan
7. ADD BAKING POWDER
Bring the water in the steamer to a rolling boil before you add baking powder. Stir the batter thoroughly to make sure the bubbles are mixed in and the flour that settles to the bottom is all combined
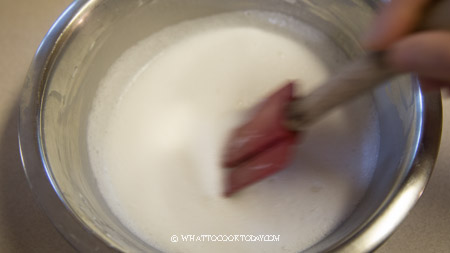
Add baking powder and stir one last time
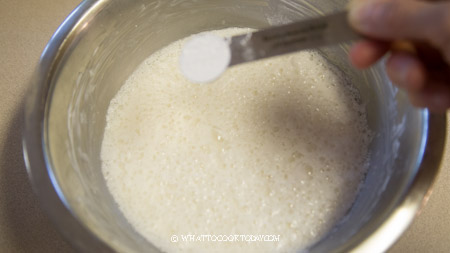
Pour into the prepared pan
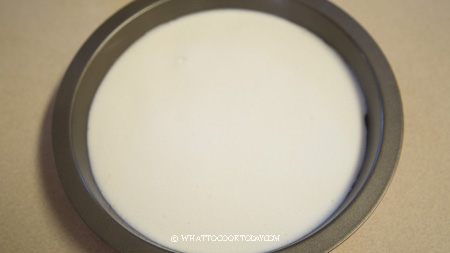
8. STEAMING
Place this inside the steamer and lower heat to medium-high (not high heat) and steam for the next 25-30 minutes. The top of the cake should be dry and no longer wet. A toothpick/chopstick inserted into the cake comes out clean with a few sticky crumbs is okay as long as it’s no longer wet. There is no need to wrap the lid with a cloth or cover the cake with a plate during steaming

9. COOLS DOWN
Remove from the steamer and let it cool down completely before cutting
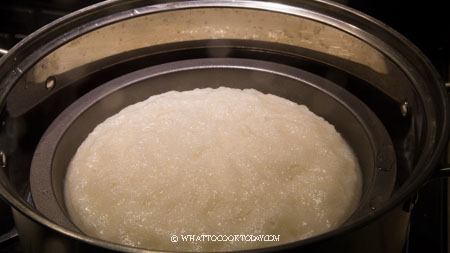
USEFUL TIPS
1. Let the batter ferment at a warm place. I use my oven’s breadproof function
2.Make sure you let the hot syrup cools down to lukewarm before adding the yeast. We don’t want to kill the yeast
3. Make sure your steamer is ready for steaming before adding baking powder
4. Don’t use pan smaller than 7-inches if possible, 8-inches is perfect. Bai tang gao is not meant to be a tall cake, usually about 1 1/2 inch in height. I feel like this gives the best honeycomb texture. If your cake is too tall, the honeycomb texture will not extend that long
5. Remember to steam over medium-high heat, NOT high heat
HOW TO STORE LEFTOVER BAI TANG GAO
Leftover can be kept in an air-tight container in the fridge for a maximum of 1 week. The cake will turn hard after refrigeration and will be drier the longer you keep them. Simply reheat by using moist heat, such as by using a steamer and the cake will be soft again.
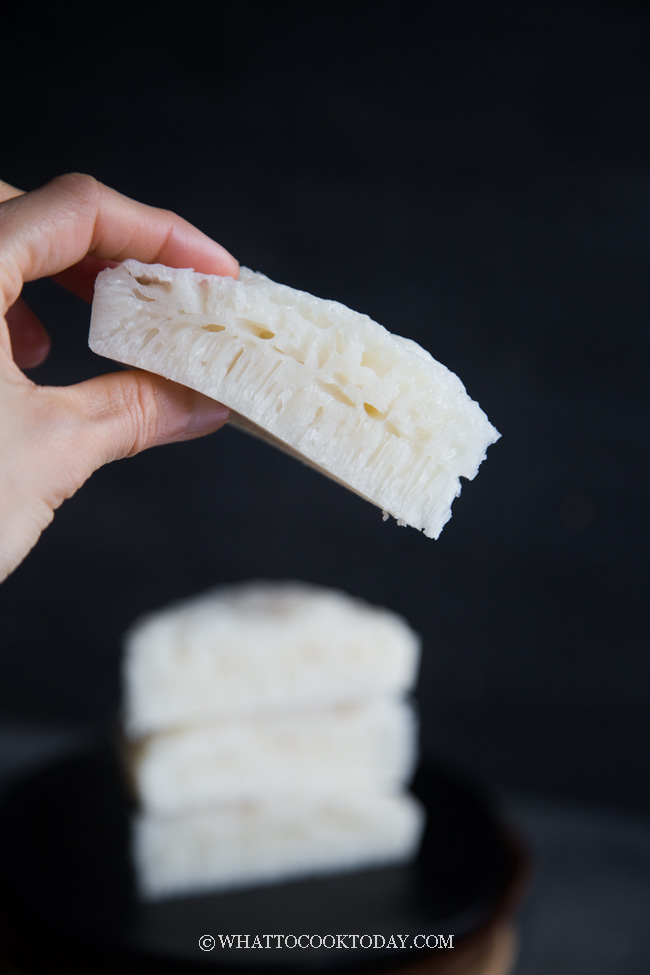
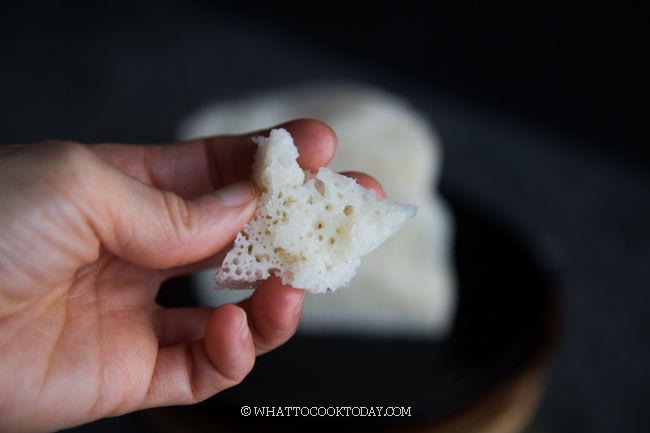
DID YOU MAKE THIS BAI TANG GAO / PAK THONG KOH RECIPE?
I love it when you guys snap a photo and tag to show me what you’ve made 🙂 Simply tag me @WhatToCookToday #WhatToCookToday on Instagram and I’ll be sure to stop by and take a peek for real!
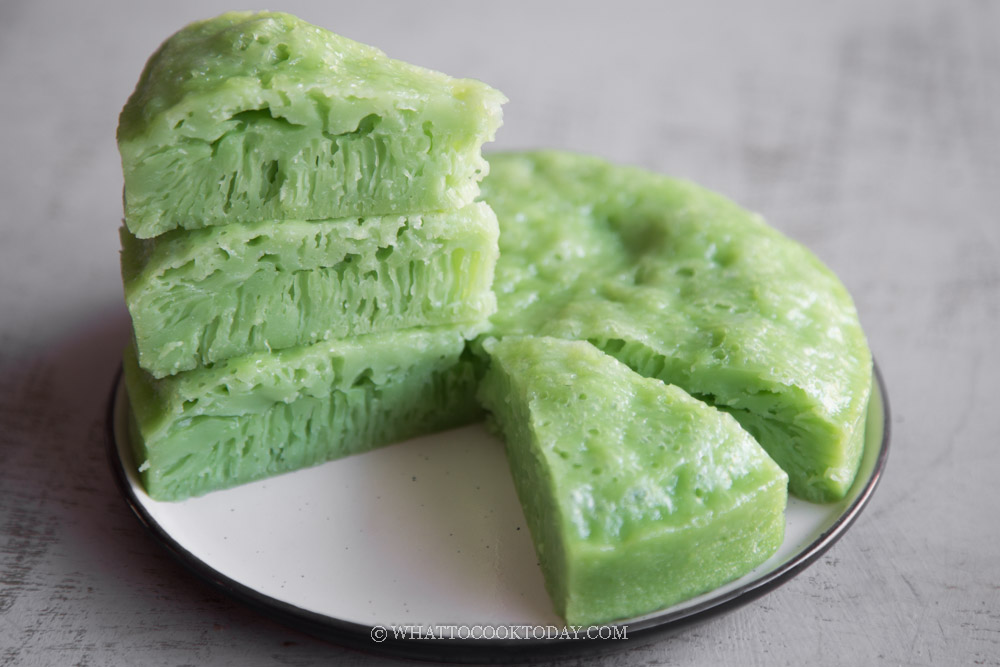
You may also like the pandan version of bai tang gao
Recipe was originally published in 2019 and I have updated recipe to a faster version requires only about 1 hour of fermentation but gives amazing flavor, taste, and texture. This recipe is adapted from here with some modifications.
Bai Tang Gao - Pak Thong Koh (Chinese White Honeycomb Cake)
Ingredients
Starter:
- 1 Tbsp warm water (NOT hot)
- 2 gr sugar
- 4 gr instant yeast
Batter:
- 150 gr rice flour
- 150 ml water
Syrup:
- 80 gr fine sugar or more to your taste
- 150 ml hot boiling water
To add last:
- ½ tsp baking powder double-acting
Instructions
Prepare starter:
- Put all ingredients for starter in a bowl and let it sits for 10-15 minutes until foamy while you prepare other things
Prepare the batter:
- Mix all ingredients for batter and set aside
Make the syrup:
- Put the water and sugar in a saucepan and bring to a boil and cook until sugar dissolves
Batter + hot syrup (cools down) + yeast mixture:
- Pur the hot syrup into the batter and stir to mix. Let it comes to a warm temperature (no more than 110 F (43 C). It should feel comfortably warm. When it's warm, add the yeast mixture in and stir to mix everything. The batter is watery.
Proofing:
- Cover and let it proof for 1 hour or until you see lots of bubbles. Place it in a warm place. I use my oven's bread proof function and it works great. Or you can turn on your oven to lowest temperature then turn off and open the door to let it cools down to lukewarm before putting the batter in (we don't want to kill the yeast!)
Add baking powder:
- Bring the water in the steamer to a rolling boil before you add baking powder. I use the largest burner on my stove. Grease a 7-inch round or 6-inch square pan with some oil. You can use 8-inch round pan too, the cake will just be shorter. Stir the batter thoroughly to make sure the bubbles are mixed in and the flour that settles to the bottom is all combined. Add baking powder and stir one last time to mix everything. Pour into the prepared pan
Steam the cake:
- Place this inside the steamer and lower heat to medium (not high heat). Remember that I use my largest burner on the stove, so I don't crank up the heat all the way up, as it's too hot. So I set it on medium and steam for the next 25-30 minutes
How to determine the cake is cooked through:
- The top of the cake should be dry and not wet anymore. Insert a toothpick or chopstick into the cake and it should come out clean with a few sticky crumbs is okay as long as no wet batter. There is no need to wrap the lid with a cloth or cover the cake with a plate during steaming
- Remove from the steamer and let it cool down completely before cutting. The cake may not be as white as the one you see at the restaurant or bakery shop. I don't have the exact answer for that but it could be the different types of rice flour that we use. So, don't be surprised if you don't get a sparkling white bai tang gao, you will still get a really good cake



32 comments
this recipe worked for me! I used 100 gram of regular granulated white sugar because I don’t have fine sugar. It’s a little too sweet for me, is it how it’s supposed to be? Or was it a mistake using regular sugar instead of fine?
Hi Magda, I’m glad it worked for you. It should be okay to replace with granulated white sugar. The original recipe calls for that amount of sugar. Since it is too sweet for you, maybe you can tone it down to 60-80 grams next time.
did the recipe change
Hi Magda, yes, I’ve found this recipe tastes much better than the previous one and shorter fermentation time too.
I really enjoy your recipes but, would you please proof the recipes and not use GR and ML but the english
measurements. It’s too complicated for me and I guess many others take the time to convert. Otherwise,
I love what you have to offer.
Hi Carol, I’ve included the cups measurement for this recipe.
Can you use mochiko glutinous rice flour for this recipe?
Hi El, unfortunately no, it will turn into a totally different cake I believe. The texture is totally different.
I have been craving this & I want to try to make ….what I am looking for is the sweet & a little bit sour taste. Do I have to ferment it longer to achieve the sour taste or something
Thanks!
Hi Mercedes, I haven’t tried to ferment the batter longer than 10 hours. I know that in general the longer you ferment it, the sourer it will get. Perhaps you can try that and see if it will make it sourer