This post may contain affiliate links. Please read our disclosure policy.
Learn how to easily make Indonesian fermented cassava at home. At the end of the fermentation, you will get soft, moist, and sweet cassava thanks to the yeast.
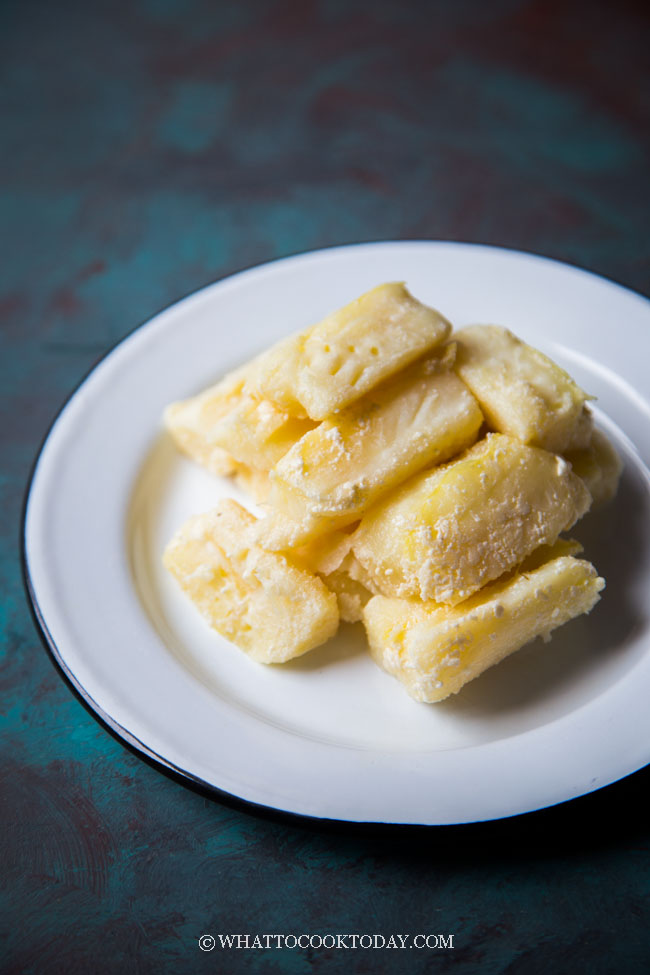
The word fermented may not sounds so glamour but similar to the case of making tempeh, fermented cassava or tape singkong is one of the popular snacks in Indonesia. It can be eaten on its own as a snack or as an ingredient in cakes and dessert. My late dad and I love tape singkong a lot. We can easily buy this from the market, already prepared. So mom bought it often and I love to snack on it.
WHAT IS TAPE / TAPAI ?
Tape usually refers to the process of fermenting starchy food such as rice and other starchy roots like cassava (singkong) for example. The Chinese make rice wine using the same type of yeast we use to make this tape singkong. Making rice wine takes months to get the wine. Tape singkong is made by fermenting the cooked cassava by using rice yeast. The process takes about 4-5 days, depending on how warm it is. The longer you ferment it, the stronger the alcohol taste is going to be. So, since we are not making a wine, 4-5 days is perfect to make tape singkong that is suitable as a snack or to be used as an ingredient in baking and topping in desserts.
WHAT YOU’LL NEED TO MAKE TAPE AT HOME
1. Cassava Roots
You can use fresh or frozen and already peeled cassava (which was what I used)
2. Rice Yeast / Sweet Yeast (Ragi Tape)
It needs a special yeast or we call it ragi tape in Indonesia to do the fermentation. You can’t use regular yeast that we use to make bread or steamed buns. You can easily get this at any Asian grocery store. They are in dried form and usually in a round ball shape

Rice Yeast
3. Clean containers
You can use any clean container with a tight-fitting lid. Traditionally, the locals like to use banana leaves to wrap the cassava and leave them for several days for fermentation
3. A warm dark place
A warm place will speed up the fermentation process. The perfect temperature is 75-95 F (24-36 C). Similar to making tempeh and yogurt, it needs to be comfortably warm, and not hot or the yeast will die.
Some people put them in a garage during summertime, but make sure it’s not too hot. Our garage can heat up pretty quickly in the summer. I use my oven “breadproof” function. You can also use an incubator if you have one, or your Instant Pot “yogurt” setting to start the fermentation process
HOW TO MAKE TAPE SINGKONG AT HOME
1. FRESH OR FROZEN CASSAVA
I use frozen already-peeled cassava. All I need to do is to thaw them in the fridge. If you use fresh cassava, remove the hard thick skin. Once you remove them you may see a thin wax/film coating the cassava. Look for the wax/film if you use frozen cassava to see if there is still any. You need to remove that too. If you don’t remove that, the end result won’t be good as it is hard for the yeast to penetrate that layer of wax and the tape singkong won’t have a nice flavor

frozen cassava (thawed)
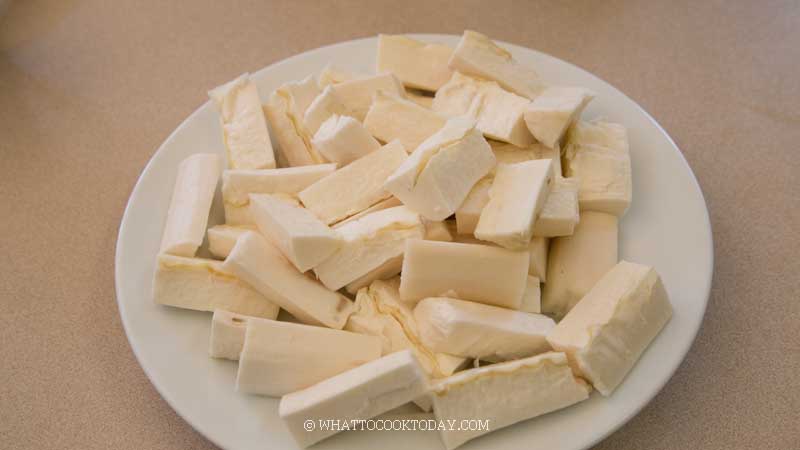
2. CUT INTO SMALLER CHUNKS
Cut the cassava into smaller pieces, not too small though. We want a good size, about 3-inch halved log. You don’t need to remove the tough core in the center of the cassava (not yet)
3. COOK THE CASSAVA
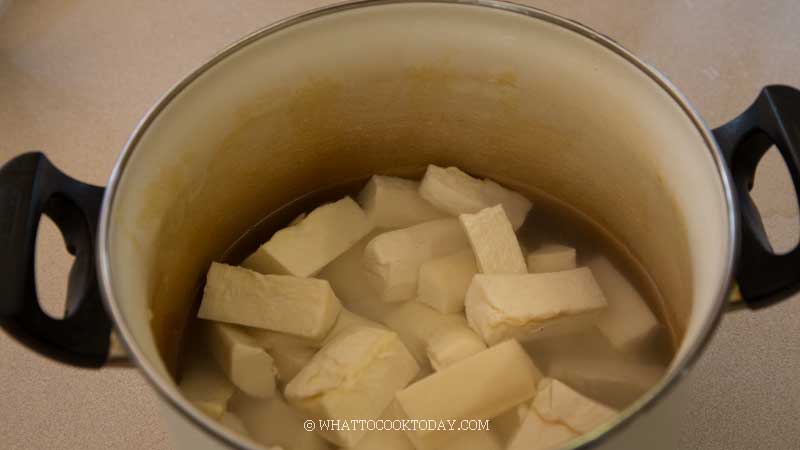
To boil or to steam? most of the time the cassava is steamed. My mom highly recommends boiling them instead of steaming. Why? By boiling the cassava in the water, the tape singkong will be much moister. There will be a bit more sweet “juice” at the end of the fermentation. Simply boil them in water until they are fork tender but not mushy. Drain off boiling water after that
4. LET THE COOKED CASSAVA COOL DOWN
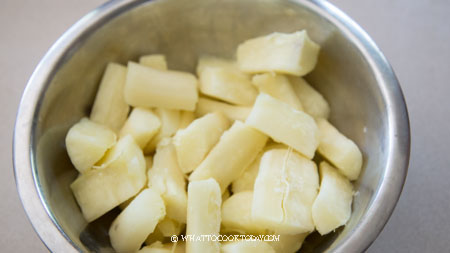
After boiling use a clean spoon or fork to transfer them on a clean tray in one layer to let them cool down completely, about 1 hour or so. Try not to touch them with your fingers anymore as we want everything as clean as possible. Once they cool down completely, transfer them to a large mixing bowl getting ready to be mixed with the yeast later
5. GRIND THE RICE YEAST BALL INTO POWDER
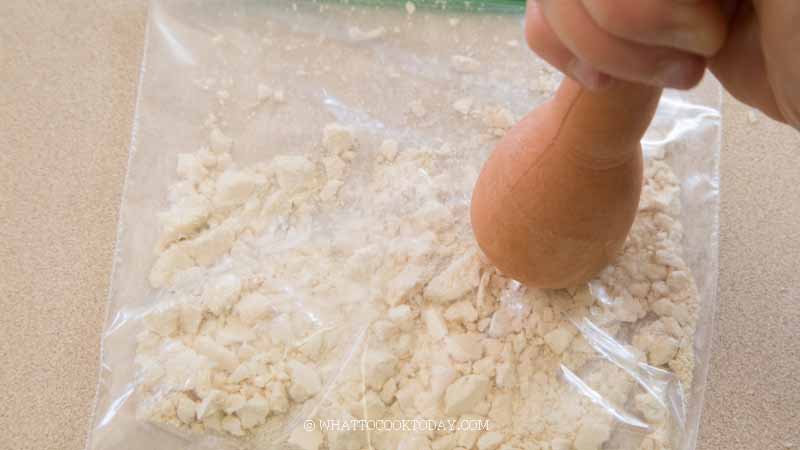
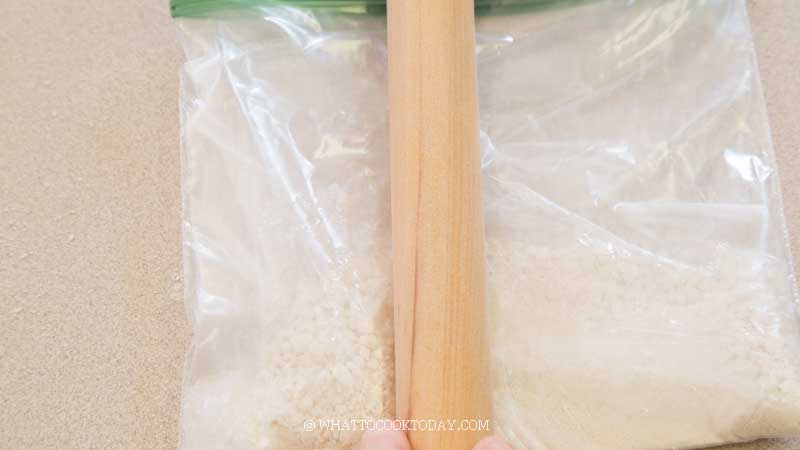
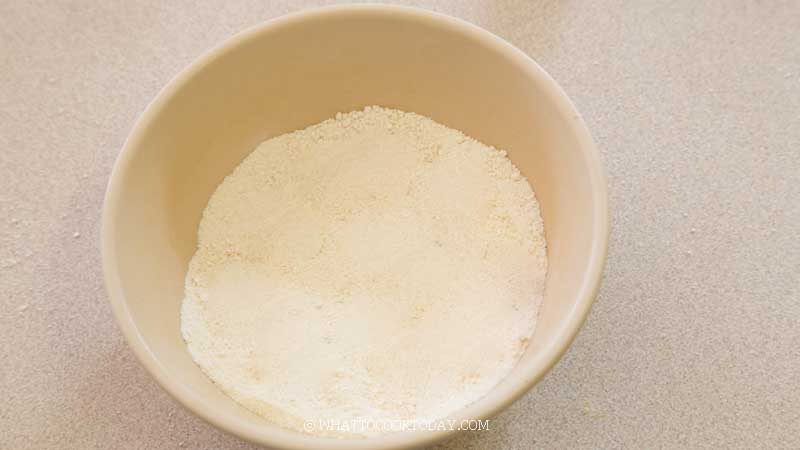
While waiting for the cassava to cool down completely, you can use a blender or food processor to grind the rice yeast ball into fine powder. Alternatively, you can also use a mortar and pestle to do the job.
6. MIX THE YEAST WITH CASSAVA
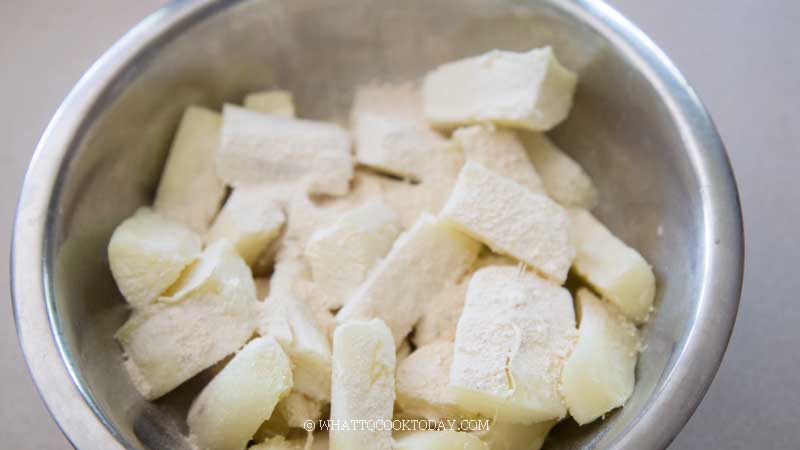
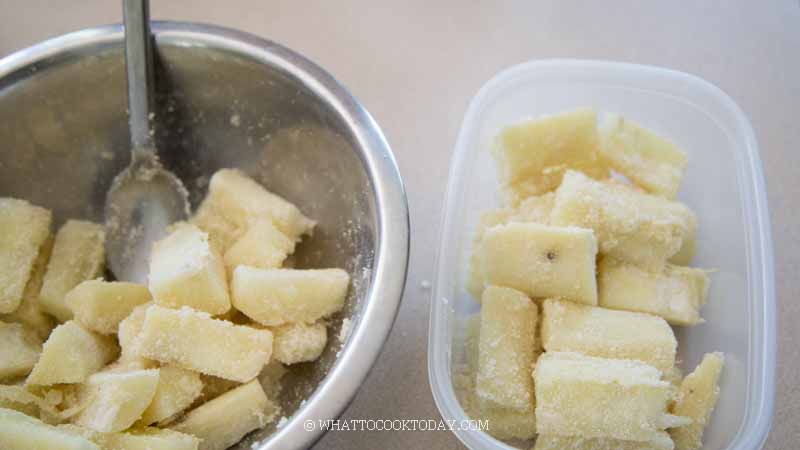
Sprinkle the powdered yeast all over the cooked cassava. Make sure every piece is coated with it. You can use a spoon to mix them around in a mixing bowl or wear a glove and mix it around. I tried not to touch them with my hands anymore
7. TRANSFER TO CONTAINER(S)
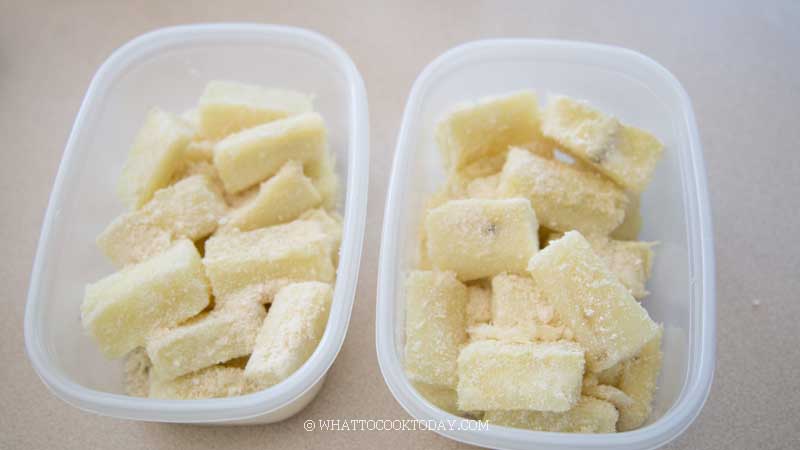
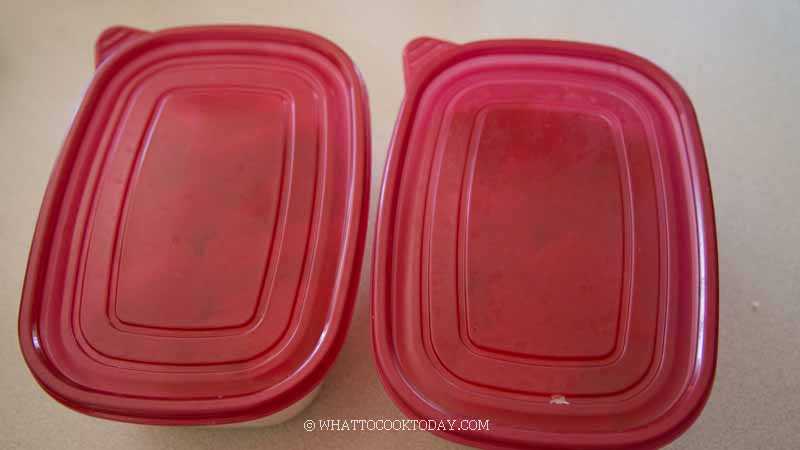
You can line the container with oversized cleaned banana leaves, enough to fold over to cover the cassava. This is optional. I didn’t use any banana leaves. Mom said that the banana leaves helps to speed up the fermentation process too. Transfer the yeast-coated cassava into the container. You may need more than one container if it’s not enough to store all of them in one. Cover with a tight-fitting lid
8. INCUBATE
I placed them in the oven and turn on the “breadproof” setting to make it warm enough for the fermentation to happen. You can also use an incubator, or if it’s warm where you are, simply put them in a dark place, away from direct light or sunlight. If you have Instant Pot, you can use the yogurt setting to start the fermentation
9. CHECK AT DAY 2
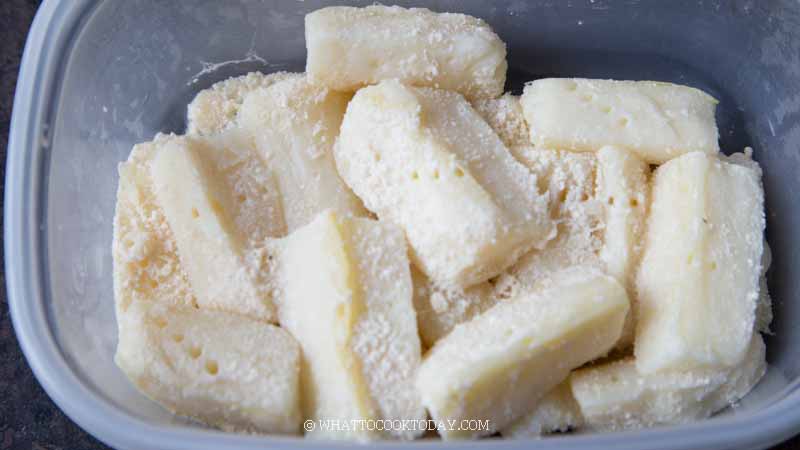
It took 4 days for mine to complete. I checked them after 48 hours and they already had a nice sweet and tangy aroma when you open up the lid. By day 4 (in my case), the cassava pieces are really tender and can be easily mashed. The aroma gets stronger and there is some liquid in there too and it is a rice wine but with very low alcohol content as we only ferment it for a few days
10. CHECK AT DAY 3 AND DAY 4 AGAIN
You can take a small bite to see if the tape is sweet and soft enough for you. If it’s not, then you can continue to ferment it for another day and do a test again. Stop the fermentation if you are happy with the taste
11. STORE IN THE FRIDGE
Tape singkong tastes the best when you chill them in the fridge for few days. Simply store them in the fridge. Keep in mind the longer you store, the more intense the aroma is going to be and they actually will be sweeter too
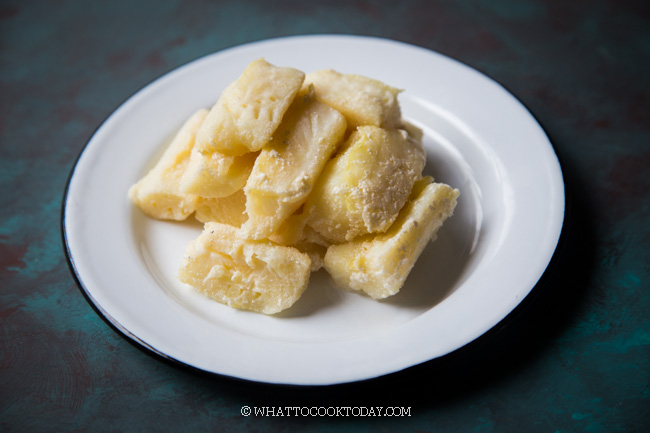
HOW DO I KNOW IF TAPE SINGKONG IS DONE FERMENTING?
1. Taste
It should be sweet and slightly tangy
2. Smell
It should have a faint aroma of alcohol and you may see some liquid at the bottom of the container
3. Texture
It should be soft and can be easily mashed with a fork
DID YOU MAKE THIS TAPE SINGKONG RECIPE?
I love it when you guys snap a photo and tag to show me what you’ve made 🙂 Simply tag me @WhatToCookToday #WhatToCookToday on Instagram and I’ll be sure to stop by and take a peek for real!
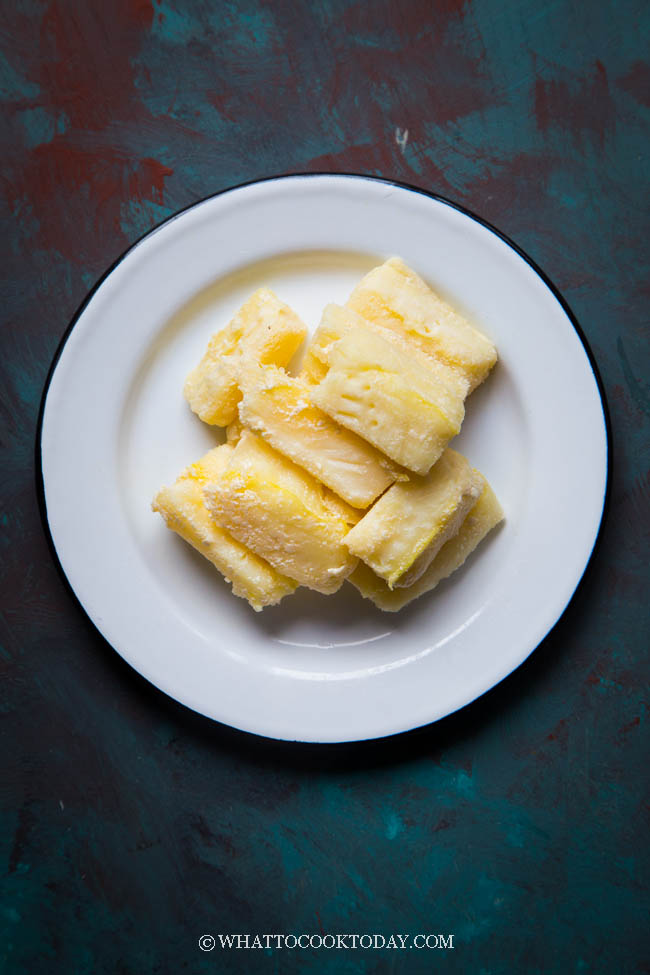
How To Make Tape/Tapai Singkong (Fermented Cassava)
Ingredients
- 1 kg cassava (peeled weight) 2.2 lbs. You can use frozen peeled cassava (thawed)
- 30 gr rice yeast ball about 2 Tbsp
Instructions
If using fresh cassava:
- You want to get a bit over 1 kg of cassava, probably about 1.3-1.5 kg. Peel the waxy skin off. Use a knife to also scrape off the shiny layer that coats the cassava after that. This is important for good-tasting tape singkong.
If using frozen peeled cassava:
- I used the frozen peeled cassava because I'm lazy to peel the cassava 🙂 Thaw them in the fridge overnight. Pat it dry and inspect to see if you see any shiny layer that coats the cassava. If you see it, use a knife to scrape it off. This is important for good-tasting tape singkong
Cut into smaller chunks:
- Cut the cassava into smaller pieces, not too small though. We want a good size, about 3-inch halved log. You don’t need to remove the tough core in the center of the cassava (not yet)
Cook the cassava:
- To boil or to steam? most of the time the cassava is steamed. My mom highly recommends boiling them instead of steaming. Why? By boiling the cassava in the water, the tape singkong will be much moister. There will be a bit more sweet “juice” at the end of the fermentation. Simply boil them in water until they are just fork-tender but not mushy. Drain off boiling water after that
Cooling down:
- After boiling use a clean spoon or fork to transfer them on a clean tray in one layer to let them cool down completely, about 1 hour or so. Try not to touch them with your fingers anymore as we want everything as clean as possible. Once they cool down completely, transfer them to a large mixing bowl getting ready to be mixed with the yeast later
Grind the rice yeast into powder:
- While waiting for the cassava to cool down completely, you can use a blender or food processor to grind the rice yeast ball into fine powder. Alternatively, you can also use a mortar and pestle to do the job, I found it harder to do so, but it’s probably just me
Mix the powdered yeast with cassava:
- Sprinkle the powdered yeast all over the cooked cassava. Make sure every piece is coated with it. You can use a spoon to mix them around in a mixing bowl or wear a glove and mix it around. I tried not to touch them with my hands anymore
Transfer to container:
- You can line the container with oversized cleaned banana leaves, enough to fold over to cover the cassava. This is optional. I didn’t use any banana leaves. Mom said that the banana leaves helps to speed up the fermentation process too. Transfer the yeast-coated cassava into the container. You may need more than one container if it’s not enough to store all of them in one. Cover with a tight-fitting lid
Incubate:
- The perfect temperature is 75-95 F (24-36 C). I placed them in the oven and turn on the “breadproof” setting to make it warm enough for the fermentation to happen. You can also use an incubator, or if it’s warm where you are, simply put them in a dark place, away from direct light or sunlight. If you have Instant Pot, you can use the yogurt setting to start the fermentation
Check at day 2 (48 hours later):
- It took 4 days for mine to complete. I checked them after 48 hours and they already had a nice sweet and tangy aroma when you open up the lid. By day 4 (in my case), the cassava pieces are really tender and can be easily mashed. The aroma gets stronger and there is some liquid in there too and it is a rice wine but with very low alcohol content as we only ferment it for a few days
Check at day 3 and day 4 again:
- You can take a small bite to see if the tape is sweet and soft enough for you at day 3, if it is, you can stop the fermentation. If it’s not, then you can continue to ferment it for another day and do a test again. Stop the fermentation if you are happy with the taste. What you are looking for are : sweet and slightly tangy taste, and faint aroma of alcohol. The tape singkong is noticeably softer and can be easily mashed with a fork. If all those presents, you can stop the fermentation
Store in the fridge:
- Tape singkong tastes the best when you chill them in the fridge for few days. Simply store them in the fridge. Keep in mind the longer you store, the more intense the aroma is going to be and they actually will be sweeter too

10 comments
Should it produce white furry mould all round while fermenting? It does smell sweet though
Hi Gabby, yes it does produce white furry molds all over while fermenting.
I see traces of yeast in the finished product. Is it ok to eat? How do i clean then? Thanks.
Hi Magda, it is very normal to see traces of the yeast powder in the finished products, especially if they are not very finely ground like mine, but it’s not an issue. If it bothers you, you can scrape them off, there’s no need to clean or anything. It is safe to eat as long as the finished product smells pleasant and tastes sweet with slight tang sometimes.
Hi, Im in the process of making this and it is day 2. The cassava has a slight tangy smell but I can still see traces of yeast. I placed them in a container inside an oven (i turned on the oven to keep them warm and turn it off again). Im using frozen cassavas and the same dried yeast as pictured.
Im sensing it might fail to ferment. What can I do witj it ? Can I process it into something else?
Thank you
Hi Karina, sorry for the late reply! How is the fermentation going so far ? sometimes it may take a bit longer, but with the right temperature the fermentation should be able to happen
I finished making this today refrigerated at 2.5 days. Was surprised at how sweet and soft it was. I’m wondering if anyone has tried dehydrating it at this point making a kind of fermented root jerky. Also, is this done with other starches?
Hi Wot, I hope you like the taste and texture. The yeast did all the work to make it all sweet. I haven’t tried dehydrating it. There’s also another version similar to this using glutinous rice instead. I haven’t tried that yet. I plan to when I have the chance to do it 🙂
I tried to make this recipe but it is really alcoholic and sour. I cannot detect any sweetness. I read somewhere online that it was probably the yeast I used. I don’t think the problem is with the recipe.
Hi Mary, what kind of yeast did you use?