This post may contain affiliate links. Please read our disclosure policy.
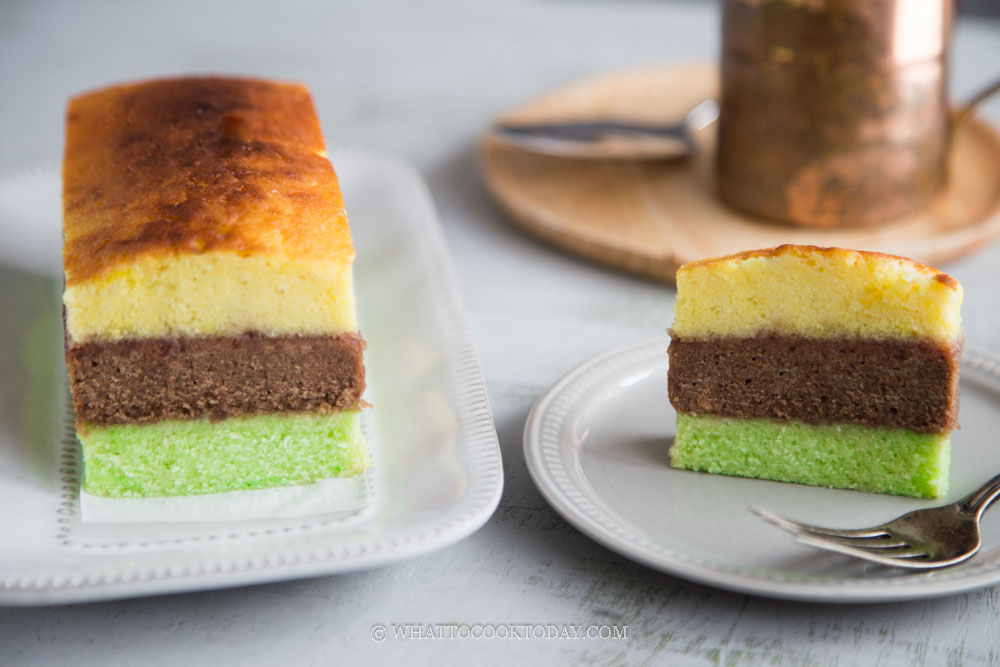
A rich and moist 3-layer cake that tastes like a premium Lapis Surabaya but with only 5 eggs. You will be surprised by how tasty and decadent this Lapis Surabaya ekonomis tastes. The cake is made without any emulsifier or additives.
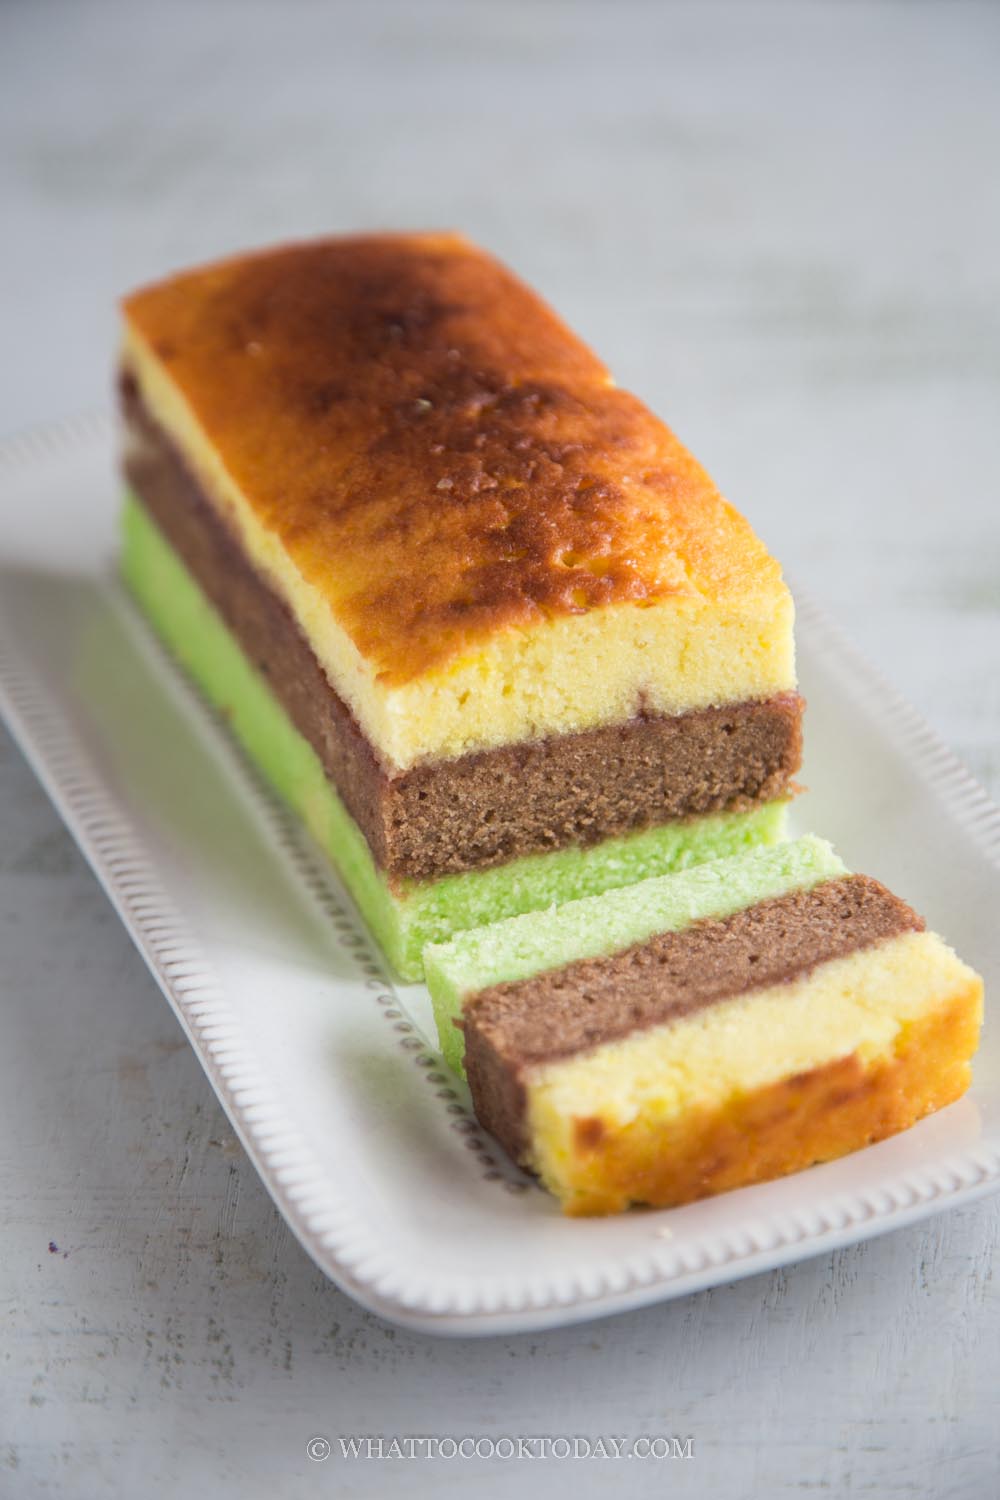
Lapis Surabaya is another popular cake you will see people make or purchase to celebrate events like Chinese New Year, Hari Raya, weddings, birthdays, or pretty much anything worth celebrating.
What is Lapis Surabaya?
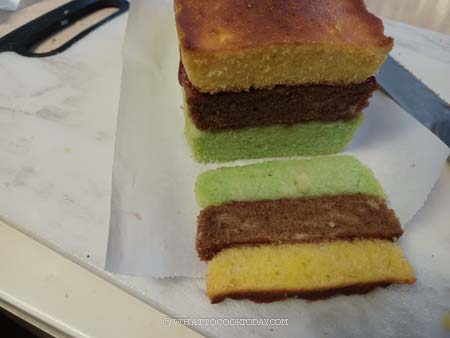
More people probably know the popular Lapis Legit (Thousand Layer Cake), which is known for its labor-intensive process of making and incredibly decadent taste and texture, but there are more Lapis (layered) type cakes in Indonesia. One of them is this Lapis Surabaya or sometimes known as Lapis Surabaya premium. Premium simply means that the cake is prepared the traditional way, using tons of egg yolks and sometimes whole eggs are added as well. Lapis Surabaya is originated in Surabaya, located in East Java island. In Surabaya, people call this cake as Spiku and not Lapis Surabaya. It is characterized by its 3-layer look of rich, moist, buttery cake. The top and bottom layers usually are yellow in color (from the yolks) and the middle color is chocolate in color from the cocoa powder. The three layers are baked in a pan with dividers (sekat) so all three layers can be baked at the same time. The layers are then stacked on top of each other and held together by applying some fruit jam.
What is Lapis Surabaya Ekonomis?
Ekonomis simply means economical (as you have guessed it). The economical part simply means that the cake is made with fewer eggs. How many yolks you would ask? Well, the least amount of eggs I have seen for a small loaf of cake needs at least 15 yolks or more. This recipe only calls for 5 whole eggs! *wink*
Why you will love this Lapis Surabaya Ekonomis
Honestly, I had been putting off baking Lapis Surabaya for years because of the number of yolks it needs. Most recipes also use SP, a type of emulsifier often used in lots of cake making in Indonesia. I have tried numerous recipes for Lapis Surabaya Ekonomis and didn’t find any that we liked. So, I decided to make up my own and after several rounds of testings, the family agrees that this version is really good.
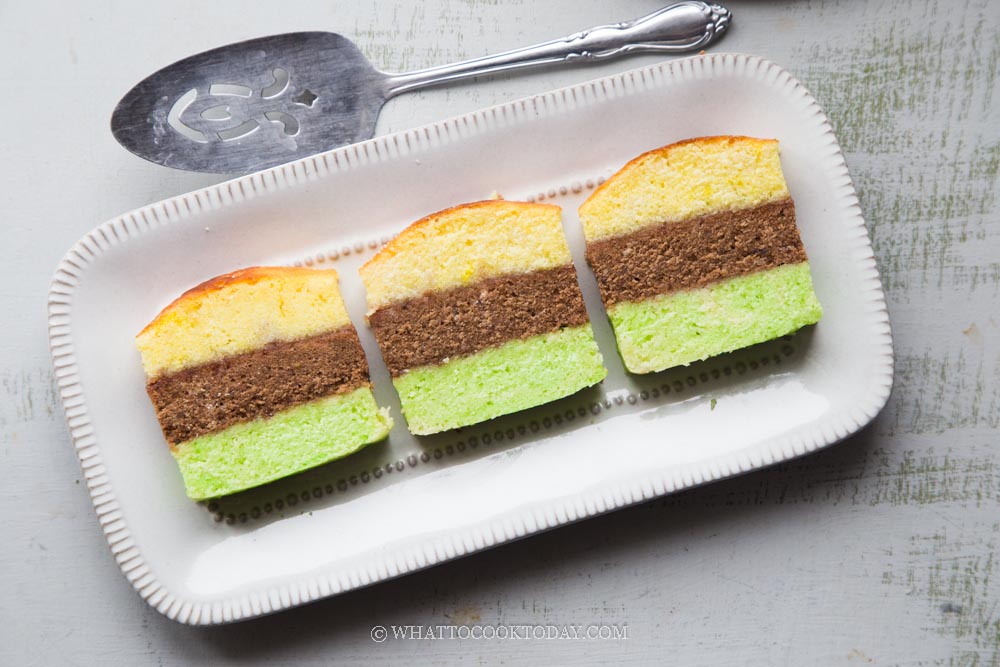
1. You only need 5 whole eggs
Yup, you don’t use just the yolks, but the whole eggs, which contributes to the volume.
I know the yolks are the part that contributes to the rich and moistness. Trust me, this recipe still gives you that same richness you are looking for in Lapis Surabaya. The recipe yields a reasonable 7 x 3 inches cake with three layers after trimming the four sides.
2. Moist and rich
The cake has tight crumbs, moist, rich and buttery in taste. It is dense but still feels light at the same time. I’m not sure if that’s making any sense
3. No SP emulsifier
My goal is to use ingredients that are not difficult to find. SP emulsifier is not something you can easily find here. I can buy from Amazon, but I would rather not use it if I can and I know I don’t have to
4. You don’t need a special pan
Lapis Surabaya is traditionally baked in a pan with dividers (sekat in Indonesia) so you can bake three layers of cake at one go. I just use three aluminum loaf pans to bake these. If you don’t own three loaf pans (I didn’t), just get the sturdy aluminum disposable pans and you are good to go
So, what’s the secret to a good Lapis Surabaya Ekonomis?
Really, there’s no secret or any tricks at all. It’s all down to good techniques. So it’s VERY important that you follow the recipe closely and if you have made traditional butter cake before, you will know what I mean. If you have never, don’t worry, just follow the recipe exactly and you’ll be fine
Important tips
1. Room temperature eggs, butter, and milk
It is EXTREMELY (I’m not shouting I promise) important that the eggs, butter, and milk are at room temperature. If they are not, your cake won’t turn out good! Butter needs to be softened but not melting
2. You will definitely need an electric mixer
You need to beat the cake batter until fluffy and quadrupled in volume and I couldn’t imagine anyone can do that manually by hands, at least not me. So, you definitely need a minimum of an electric hand mixer
3. You need a digital kitchen scale
I don’t recommend cup measurement. We need precision here
Ingredients for Lapis Surabaya Ekonomis
1. Butter
I use unsalted butter, but you can also use salted butter and omit the salt in the recipe. I DO NOT recommend substituting with margarine. I know in Indonesia, most people will use margarine because of cost and perhaps for health reasons too. Please use butter for this recipe. Using margarine won’t give the same result
2. Sugar
I use granulated sugar, which is the common type of sugar here in the U.S. You can also use caster sugar
3. Eggs
I usually use large eggs, about 50 grams each without the shell. Please weigh the eggs
4. Cake flour
I highly recommend buying cake flour instead of substituting it by using all-purpose flour and cornstarch. That usually works in a pinch for other recipes. Cake flour is actually made from soft wheat while all-purpose flour is made with a combination of hard and soft wheat. S, please get a cake flour (gluten content is usually about 5-6 %) because we use more flour than what a Lapis Surabaya premium calls for in the recipe
5. Milk
I use whole milk (full-cream milk) in the recipe
6. Condensed milk
Condensed milk adds moisture and good flavor to the cake
7. Baking powder
We don’t want to use too much baking powder but a little bit help to lighten up the cake a little bit but not too much because we are not baking a sponge cake here. We want our cake to have tight crumbs and dense and buttery in a good way
8. Cocoa powder
I use regular Hershey’s cocoa powder
9. Salt
A pinch of salt brings out the flavor of the cake. Omit this if you use salted butter

How to make Lapis Surabaya Ekonomis with only 5 eggs
In these step-by-step photo instructions, I’m showing you the rough outline. Please refer to the recipe card for all the little details.
1. Preheat oven to 320 F (160 C) for conventional oven and 300 F (150 C) for convection oven
2. Make sure the eggs, butter, and milk are at room temperature. Combine all the dry ingredients and sift. Set aside. Combine cocoa powder with hot water. It will be like a paste consistency
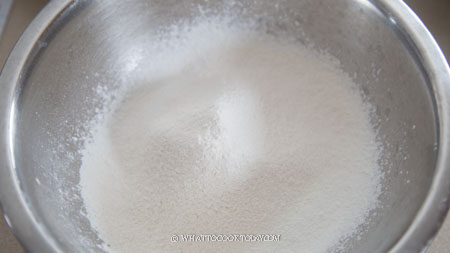
3. Beat the butter and sugar at a high speed (speed 8 on KA with paddle attachment) for 12-15 minutes
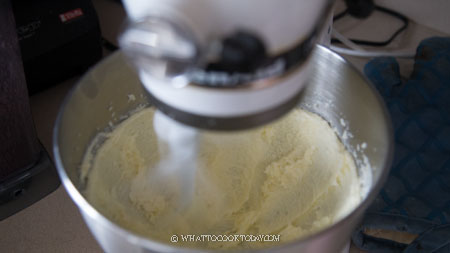
4. Scrape down the side of the bowl several times during this time so you get all the butter and sugar evenly beaten. Beat until they are pale and thick
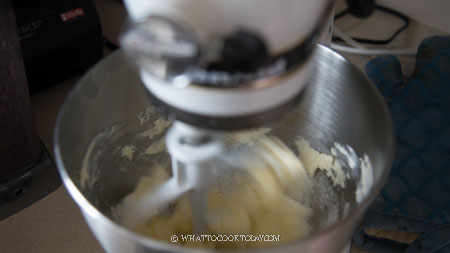
5. Gradually add in the beaten eggs, in about 8-10 additions. Do not dump all at once or you are risking the butter separating from the eggs. Make sure it is combined before you add the next
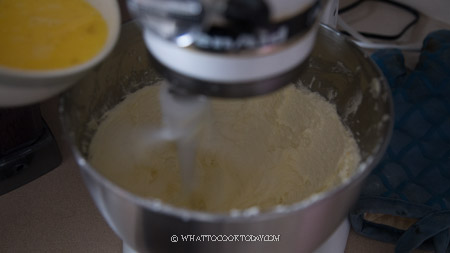
6. Once the eggs are all combined into the batter, add the condensed milk and milk and let it beat for another minute
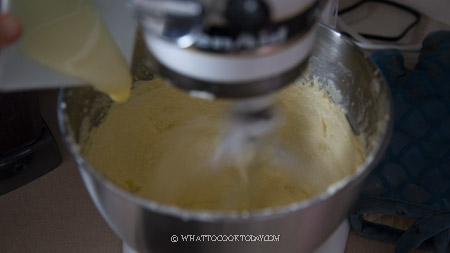
7. Lower the speed to the lowest and gradually add the flour mixture, in 3-4 addition. Mix for another 3 minutes

8. Stop the machine and scrape the side of the bowl and use a spatula to fold the leftover flour into the batter. Make sure you don’t see any more pockets of flour

9. The batter is quite thick, don’t panic. You are on the right track
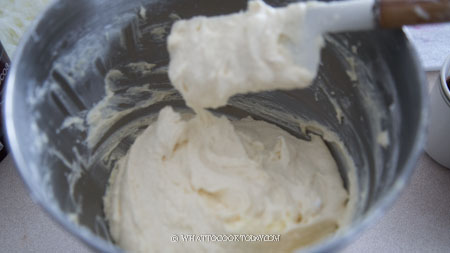
10. Divide the batter into roughly 3 equal portions into a bowl, about 300 grams each
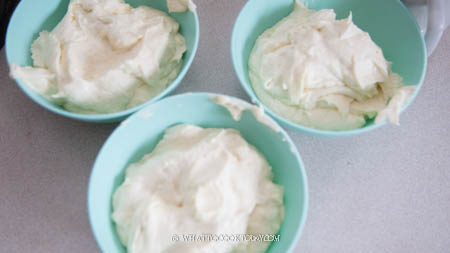
11. Leave one batter as original, which is yellowish in color. Add 1/2 teaspoon of pandan essence to the second batter if you choose to, otherwise, leave it as an original layer as well. Add the cocoa paste to the third batter and gently fold to combine
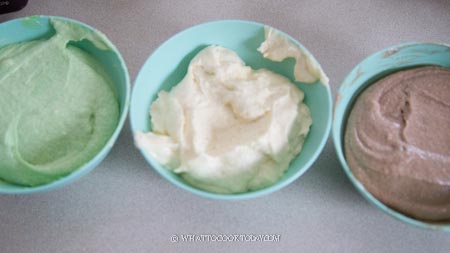
12. Pour each batter into each pan. Because the cake batter is thick, make sure the cake batter is even or level, so the cake won’t be lopsided. Use a spatula to help you spread the cake batter evenly. Bang it on the counter a few times to pop any air bubbles.
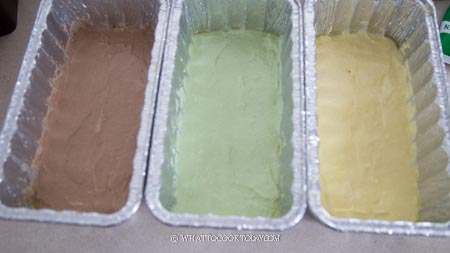
13. Place all three pans side by side in the oven on the middle rack and bake for 25-30 minutes or until a cake tester inserted into the cake comes out clean
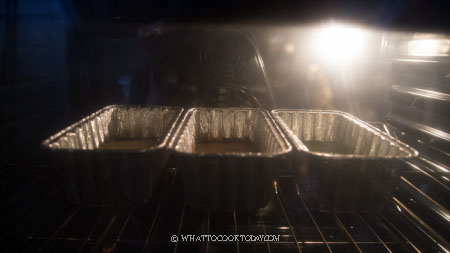
14. If the yellow layer (usually we use as a top layer) is not golden brown enough, turn on the broiler (top heat) on low and let it broil until golden brown, this just takes a minute or two or less. Do not walk away during this time
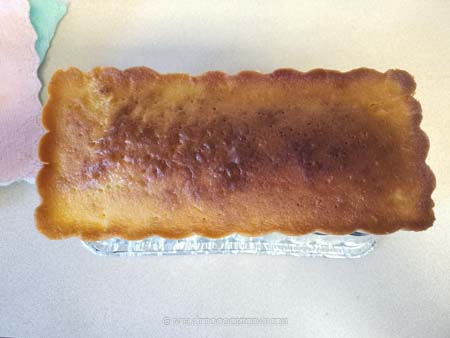
15. Remove from the oven and let the cake cool down in the pan for 5 minutes and then tip the pan upside down gently and the cake should slide right out. Peel the parchment paper at the bottom if you line your pan with it. Let the cake cools down on a cooling rack completely before assembling
16. If the bottom (pandan layer) and the middle layer (chocolate layer) have dome tops, use a knife to level them off. You don’t need to level the top layer (original yellow) as we want the golden brown crumb on top
17. Apply some strawberry jam on top of the pandan layer, don’t put too much, just an even thin layer on the surface. Put the chocolate layer on top of it and then apply some strawberry jam on top of the chocolate layer. Put the yellow layer on top of the chocolate layer. Gently press them down so they really “glue” to each other
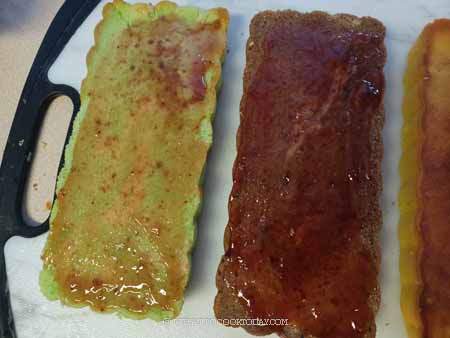
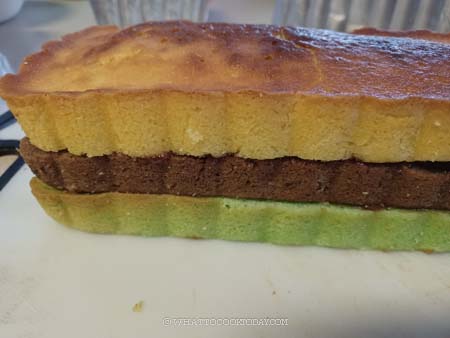
18. Use a sharp knife to carefully trim off the four sides so they look neat. Scrape off excess jam if any. I wrap the whole cake up with cling wrap somewhat tightly. This helps to “secure” the layers and also to “age” the cake. You can keep it at room temperature. If it’s really humid where you are, then you can keep it in the fridge. I do not recommend serving the cake on the same day. The cake doesn’t taste as good on the same day (yes, I know, waiting can be a pain, but this is worth the wait!)
Lapis Surabaya VS Lapis Malang (Spiku Malang) VS Lapis Mandarin
As I have mentioned before lapis means layers in Bahasa. Besides Lapis Surabaya, you may have also heard of the name Lapis Malang and Lapis Mandarin. The difference between all these three cakes is only in the number of layers. Lapis Malang or known as Spikoe Malang are the same thing with Lapis Mandarin, which has two thicker cake layers, usually yellow and chocolate in color. Lapis Surabaya has three layers, but each layer is usually a tad shorter compares to Lapis Malang or Lapis Mandarin.
How to store Lapis Surabaya?
1. After assembling the cake, wrap it up with a cling wrap and put it in air-tight container. They can be kept at room temperature for 4-5 days. If it’s really humid and warm where you are, you can keep it in the fridge. For longer storage, put in the freezer for up to one month
2. If it has been chilled in the fridge or kept frozen in the freezer, simply remove it from the fridge and let it sit at room temperature for 30 minutes or longer (if frozen) and the cake will soften again and ready to be served
Did you make this Lapis Surabaya Ekonomis recipe?
I love it when you guys snap a photo and tag to show me what you’ve made 🙂 Simply tag me @WhatToCookToday #WhatToCookToday on Instagram and I’ll be sure to stop by and take a peek for real!
Lapis Surabaya Ekonomis (Spikoe/Spiku) - only 5 eggs
Ingredients
- 230 gr butter
- 30 gr condensed milk
- 200 gr sugar
- 250 gr eggs beaten
- 50 gr whole milk
Dry ingredients:
- 230 gr cake flour
- ¼ tsp salt
- ½ tsp baking powder
For chocolate layer:
- 1 Tbsp cocoa powder
- 2 Tbsp hot water
For pandan layer (optional):
- ½ tsp pandan essence
To assemble the cake:
- Strawberry jam or any fruit jam of your choice
Instructions
- Preheat oven to 320 F (160 C) for conventional oven and 300 F (150 C) for convection oven
- You will need three 8 x 4-inch (20 x 10) loaf pans. If you choose to use a disposable type loaf pan, get the sturdy ones without too many curves on the sides of the pan (like the ones I used) so you don't have to trim the cakes too much after baking
- Grease the bottom and sides of the pan. You can line the bottom with parchment paper too
Prepare the cake batter:
- Make sure the butter is soft but not melty. Melty butter will not work here. I usually cut it smaller and let them sit at room temperature for 15-30 minutes until softened. If it's warmer where you are, you may not need that long
- Make sure the eggs and milk are at room temperature too. This is very important or the cake batter will separate when you combine the butter and the eggs later
- Weigh the eggs and crack them into a bowl and whisk the eggs to combine and set aside
- Combine all the dry ingredients and sift. Set aside. Combine cocoa powder with hot water. It will be like a paste consistency
- Beat the butter and sugar at a high speed (speed 8 on KA with paddle attachment) for 15 minutes, scrape down the side of the bowl several times during this time so you get all the butter and sugar evenly beaten. Beat until they are pale and thick
- Gradually add in the beaten eggs, in about 8-10 additions. Do not dump all at once or you are risking the butter separating from the eggs. Make sure it is combined before you add the next. Once the eggs are all combined into the batter, add the condensed milk and milk and let it beat for another minute
- Lower the speed to the lowest and gradually add the flour mixture, in 3-4 addition. Mix for another 3 minutes. Stop the machine and scrape the side of the bowl and use a spatula to fold the leftover flour into the batter. make sure you don't see any more pockets of flour. The batter is quite thick, don't panic. You are on the right track
Divide the batter:
- Divide the batter into roughly 3 equal portions into a bowl, about 300 grams each. Leave one batter as original, which is yellowish in color. Add 1/2 teaspoon of pandan essence to the second batter if you choose to, otherwise, leave it as an original layer as well. Add the cocoa paste to the third batter and gently fold to combine
- Pour each batter into each pan. Bang it on the counter a few times to pop any air bubbles. Make sure the cake batter is even or level, so the cake won't be lopsided
Baking:
- Place all three pans side by side in the oven on the middle rack and bake for 25-30 minutes or until a cake tester inserted into the cake comes out clean. If the yellow layer (usually we use as a top layer) is not golden brown enough, turn on the broiler (top heat) on low and let it broil until golden brown, this just takes a minute or two or less. Do not walk away during this time
Cooling:
- Remove from the oven and let the cake cool down in the pan for 5 minutes and then tip the pan upside down gently and the cake should slide right out. Peel the parchment paper at the bottom if you line your pan with it. Let the cake cools down on a cooling rack completely before assembling
Assembling:
- I prefer to assemble the cake first before trimming the four edges. If the bottom (pandan layer) and the middle layer (chocolate layer) have dome tops, use a knife to level them off. You don't need to level the top layer (original yellow) as we want the golden brown crumb on top
- Apply some strawberry jam on top of the pandan layer, don't put too much, just a an even thin layer on the surface. Put the chocolate layer on top of it and then apply some strawberry jam on top of the chocolate layer. Put the yellow layer on top of the chocolate layer. Gently press them down so they really "glue" to each other
- Use a sharp knife to carefully trim off the four sides so they look neat. Scrape off excess jam if any. I wrap the whole cake up with cling wrap somewhat tightly. This helps to "secure" the layers and also to "age" the cake. You can keep it at room temperature. If it's really humid where you are, then you can keep it in the fridge. I do not recommend serving the cake on the same day. The cake doesn't taste as good on the same day (yes, I know, waiting can be a pain, but this is worth the wait!)
To serve:
- If it has been in a fridge, it will harden because butter solidifies at cold temperatures. Let them out at room temperature for 30 minutes or so and the cake will soften and ready to be served
Storage:
- This cake can be wrapped with cling wrap and store at room temperature for 4-5 days. You will notice, the longer it sits, the better the flavor and texture will be. That's because the flavor has fully developed and the fat has evenly distributed throughout the cake. So, your patience will pay off 😉


8 comments
Hi Marvellina,
I live in a country where unfortunately cake flour doesn’t exist, so my only option is the cornstarch substitution. Do you think it’s worth to still attempt the recipe?
Thank you!
Hi Rai, yes, you can still do the cornstarch and all-purpose flour to make your own cake flour. It should be still softer than just using all-purpose flour.
I am being naughty since I only made 2 layers with your recipe. It turn out that I have to bake 10 minutes extra because the cake is thicker. Taste wise still delicious. I am happy with the result. Thank you so much.
I don’t blame you Wie, sometimes you just don’t feel like making three layers ha..ha..! I’m glad it worked out for you! Thank you for taking time to report back 🙂
Thank you for sharing! I’ve tried but it turn out the texture to be quite dry because I think I’ve reduced the sugar level to half.
And also my 3 layers cake won’t stick to each other after cutting. How did you do that?
Hi Junie, unfortunately when you reduce sugar by half, the texture is going to suffer for sure. Sugar is there not only to sweeten but to add moisture too.
I just apply the strawberry jam and then attach the layer and slightly press them together and I wrap the whole thing tightly with a cling wrap and leave it until the next day. It won’t stick immediately after you apply the jam.
Thank you very much for your recipe. The instruction is very clear. The cake came out just like the traditional Lapis Surabaya. I like it not as heavy as the original one. My little one calls is Rainbow Cake since it has bright green color. I will make it again.
Yay!! Thank you for letting me know Rose. At least I know somebody else had tried this and with a good result 🙂