This post may contain affiliate links. Please read our disclosure policy.
Learn how to make really good pisang goreng with this easy no-fuss recipe and you can serve them with moist sticky rice and grated coconut. The contrast of texture is so good!
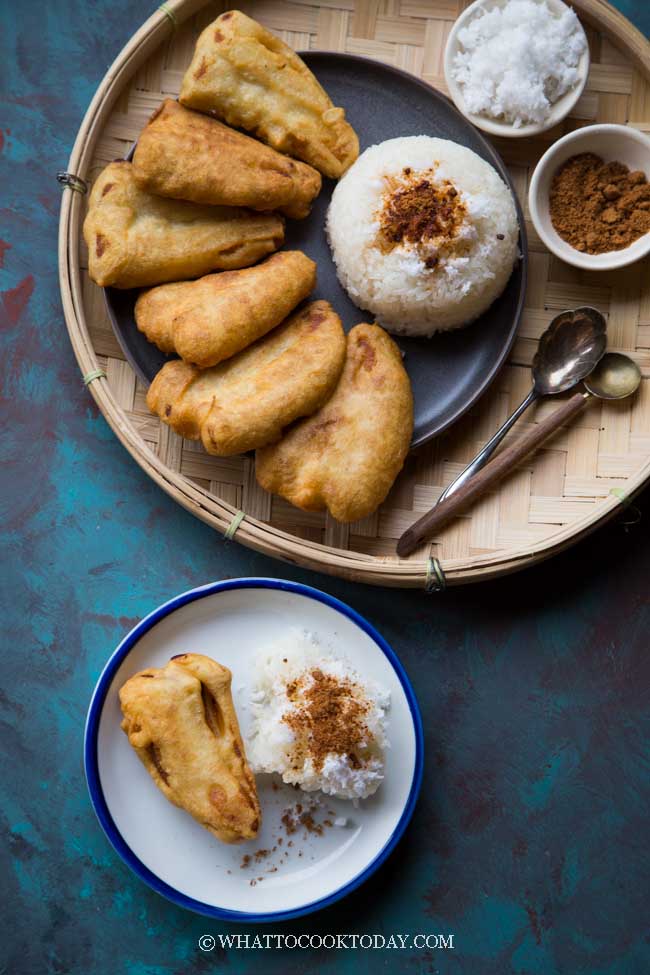
YOU GOTTA TRY PISANG GORENG SERVED WITH STICKY RICE AND GRATED COCONUT!
The mention of pisang goreng sure is making me feeling all nostalgic. Pisang means banana, goreng means deep-fried, ketan means glutinous rice, and kelapa means coconut in Indonesian. I can safely say that pisang goreng is almost everyone’s favorite snack in Indonesia, from young to adults. It is such a popular street food. I remember dad loved to buy some pisang goreng to go with his afternoon coffee. Whenever I went to a market (similar to farmer’s market in the U.S) with my mom and when we passed by this stall that sold pisang goreng, she would get some pisang goreng AND the sticky rice topped with grated coconut and sugar to go with it. It is such a treat. I would eat pisang goreng plain on its own, but pairing it with sticky rice and grated coconut AND sprinkle of sugar..oh my!!! I’m SOLD!
This post is basically my effort to recreate that childhood memory of mine.

THE BEST BANANAS TO USE FOR PISANG GORENG
1. PISANG RAJA (RAJA BANANAS)
In Indonesia, the number one choice of banana to use for pisang goreng is pisang raja. It has a nice firm texture and moderately sweet. Sadly, pisang raja is nowhere to be found here in Minnesota 🙁 If you can find some where you are, use that. It’s a bit more expensive, but it’s worth it!
2. PISANG KEPOK / PISANG BATU (SABA BANANA)
Pisang kepok is more often used to make pisang goreng by street vendors because they are cheaper. They are a bit less sweeter compare to pisang raja, but still makes a pretty good pisang goreng overall.
3. PLANTAIN
Plantain is easier to find here in the U.S. compared to saba banana. This would be my third choice to make pisang goreng.
4. CAVENDISH BANANAS
If you can’t find any of the three above, this will be your last choice. Cavendish bananas are the most commonly seen bananas sold here in the U.S. It’s not sweet and flavorful enough for pisang goreng. If you wait until they are ripe enough to be sweet, they will be too mushy to hold its shape. You can use the overripen and mashed cavendish bananas, however, to make this easy banana fritter (pisang cekodok)
HOW TO MAKE PISANG GORENG
1. CUT THE BANANA INTO FAN SHAPE
Use a small paring knife to slice the banana into three slices but take care not to cut through (as shown in the photo above) to look like a fan. Repeat with the rest

2. PREPARE THE BATTER
Put some ice cold water in the refrigerator. Mix the rice flour, cornstarch, and baking powder in a mixing bowl. Stir to mix. Add vanilla extract and pour in cold water and whisk until combined. The batter will be thick and don’t worry if there are a bit of lumps as long as there are no more visible loose flour

3. FRY THE BANANAS
Carefully coat the banana in the batter and shake off any excess.


Gently lower it into the oil and fry over medium-high heat until they are golden brown and crispy. Remove and place on an absorbent paper towel. Repeat with the rest of the bananas and batter. Pick up any leftover batter in the oil to keep the oil clean.

4. KEEP THEM WARM
You can keep them warm in the preheated oven at 200 F (93 c) while frying the rest of the bananas

USEFUL TIPS YOU NEED TO KNOW FOR CRISPY PISANG GORENG
1. ICE-COLD WATER
I mentioned this in my crispy batter that stays crispy recipe that using ice-cold water helps to make the batter crispy
2. OIL TEMPERATURE
You don’t need a thermometer for this, but simply do a simple test by dipping the end of wooden spoon or chopstick into the oil. If there are bubbles around it and float to the top, the oil is ready
3. FRY IN BATCHES
It’s important not to fry too many pieces at a time as this will lower the oil temperature resulting in soggy pisang goreng that’s too greasy and they won’t stay crispy for long
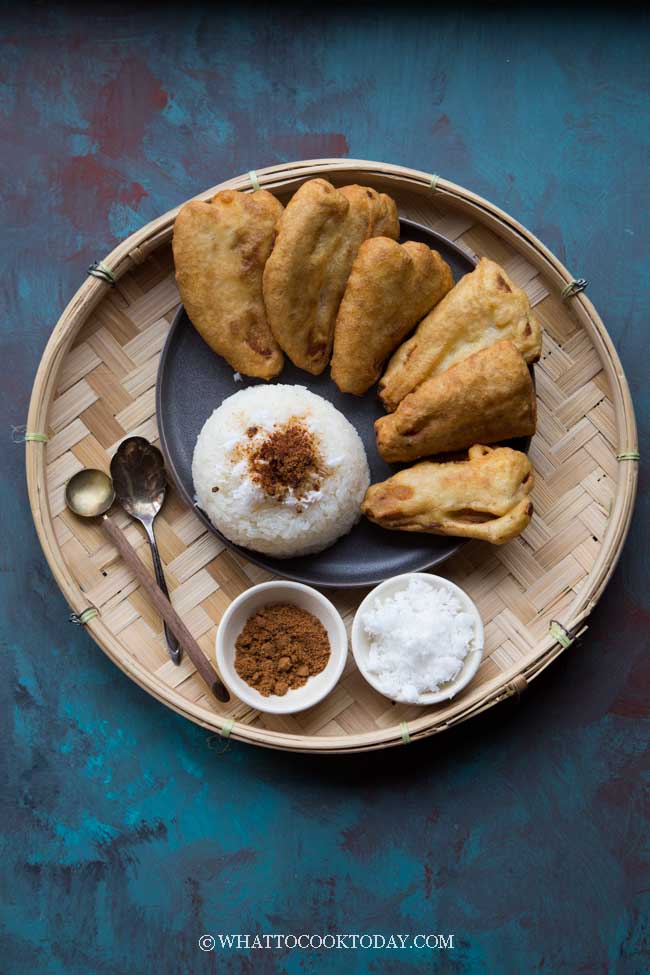
HOW TO REHEAT PISANG GORENG
Pisang goreng is best served the same day you make them. In case you do have some leftover, here’s how to reheat them:
1. AIR-FRYER: Place pisang goreng in the air fryer basket and reheat at 350 F for 5 minutes or so or until they are heated through and the batter is crispy again
2. TOASTER OVEN or OVEN: Place pisang goreng on a baking sheet lined with aluminum foil. Bake in a preheated oven at 350 F for about 10 minutes or until they are crispy

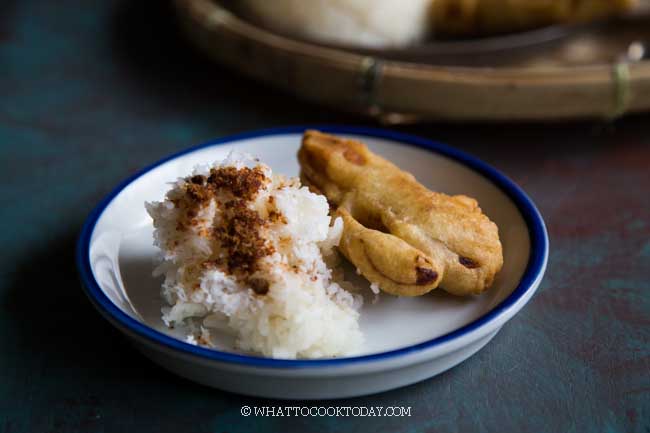
DID YOU MAKE THIS PISANG GORENG KETAN KELAPA RECIPE?
I love it when you guys snap a photo and tag to show me what you’ve made 🙂 Simply tag me @WhatToCookToday #WhatToCookToday on Instagram and I’ll be sure to stop by and take a peek for real!

Pisang Goreng Ketan Kelapa (Indonesian Fried Banana with Sticky Rice and Coconut)
Ingredients
- 4 -5 ripe raja bananas or saba bananas (pisang kepok)
Batter:
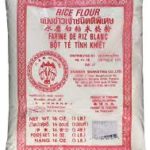
- 100 gr rice flour
- 5 gr cornstarch
- ¼ tsp salt
- 1 ½ tsp double-acting baking powder
- ½ tsp vanilla extract
- 100 ml ice-cold water or more as needed
- Peanut or vegetable oil for frying
Sticky rice and grated coconut:
- 180 gr glutinous rice about 1 cup
- 1 cup water if cooking with Instant Pot
- ¼ cup coconut milk
- ¼ tsp salt
- 200 gr grated unsweetened coconut
Serve with (any one of this):
- Coconut sugar
- white sugar
Instructions
- Steam the grated coconut in a steamer for 5 minutes over high heat and set aside
If cooking sticky rice on the stove:
- Soak the sticky rice for at least 4 hours. Drain off water. Bring the water in a steamer to a rolling boil. Place the rice directly on a collapsible steaming rack or on a plate and place inside the steamer. Steam for 15-20 minutes or until the rice is soft and sticky
- Mix coconut milk with the salt and set aside
- Carefully remove the steaming rack and transfer the sticky rice to a large mixing bowl. Stir in the coconut milk mixture and stir to mix. Let it rest and the sticky rice will absorb the coconut milk and the result will be moist and sticky
If cooking sticky rice with Instant Pot:
- There's no need to soak the glutinous rice in the water. Rinse the rice with clean water and drain off all water. Place the rice, water, coconut milk and salt in a stainless steel container that will fit in the inner pot of your instant pot
- Place a trivet inside the inner pot. Pour 1 cup of water inside the inner pot. Place the sticky rice on top of the trivet. Close the lid. Turn the steam release valve to "sealing" and set the timer to 15 minutes. Wait 10 minutes and then release pressure fully. Unlock the lid and carefully remove the sticky rice and fluff it with a fork
Prepare the banana:
- Peel the bananas. Use a small paring knife to slice the banana into three slices but take care not to cut through (as shown in the photo above) to look like a fan. Repeat with the rest
Prepare the batter:
- Before you start preparing the batter, pour about 2-inch of cooking oil in a medium heavy-bottom saucepan and preheat the oil
- Mix the rice flour, cornstarch, starch, and baking powder in a mixing bowl. Stir to mix. Add vanilla extract and pour in cold water and whisk until combined. The batter will be thick. If it's too thick, you can adjust by adding one teaspoon of water at a time until you get to the consistency where you can coat the banana with the batter evenly
Fry the banana:
- Test if the oil is ready. Dip a wooden spoon or chopstick into the oil. If you see lots of bubbles surround it and started to float, the oil is ready
- Carefully coat the banana in the batter and gently lower it into the oil and fry over high heat until they are golden brown and crispy. Remove and place on an absorbent paper towel. Repeat with the rest of the bananas and batter
Serve:
- Serve the pisang goreng with the cooked sticky rice, grated coconut and sprinkle of coconut sugar or white sugar or drizzle of honey


2 comments
Thanks for the recipe and love your website! I made pisang goreng this morning and it turned out great, however I needed to add way more water than listed in the recipe to make the batter a usable consistency. It ended up being more like 200ml of cold water – I weighed all the flours, so not sure what happened. Was delicious nonetheless!
Thank you for the feedback. The batter is supposed to be thick, but yes, if it’s too thick, you want to adjust to a workable consistency.