This post may contain affiliate links. Please read our disclosure policy.
Soft and bouncy two-layered steamed cake studded with red beans and top with rich coconut milk on top. You only need 6 ingredients and the cake is naturally gluten-free, dairy-free, and vegan.
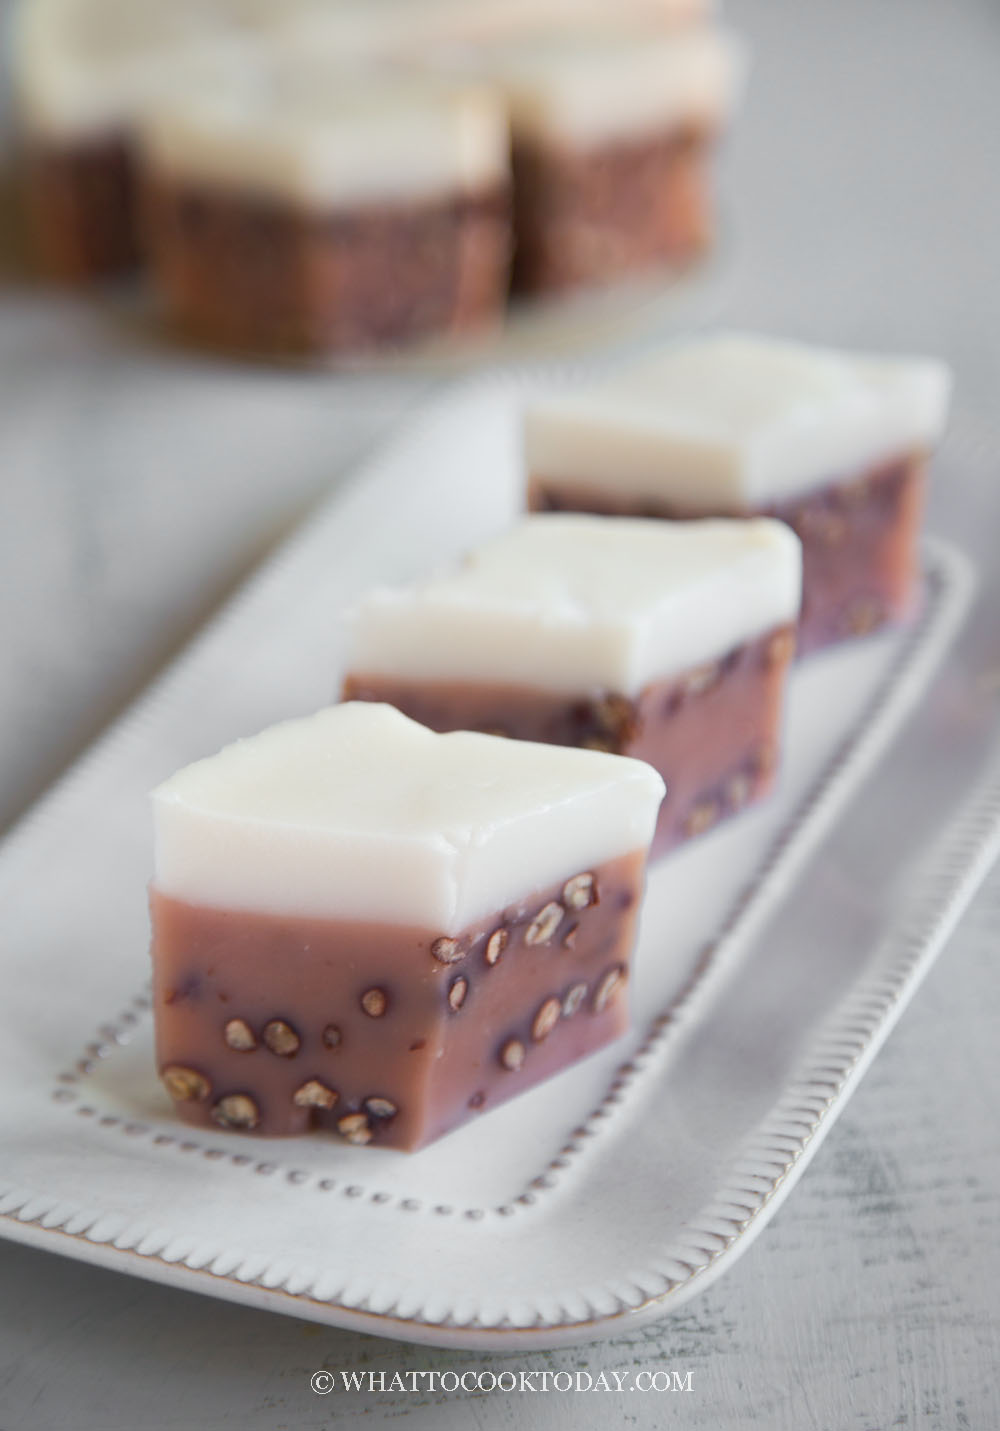
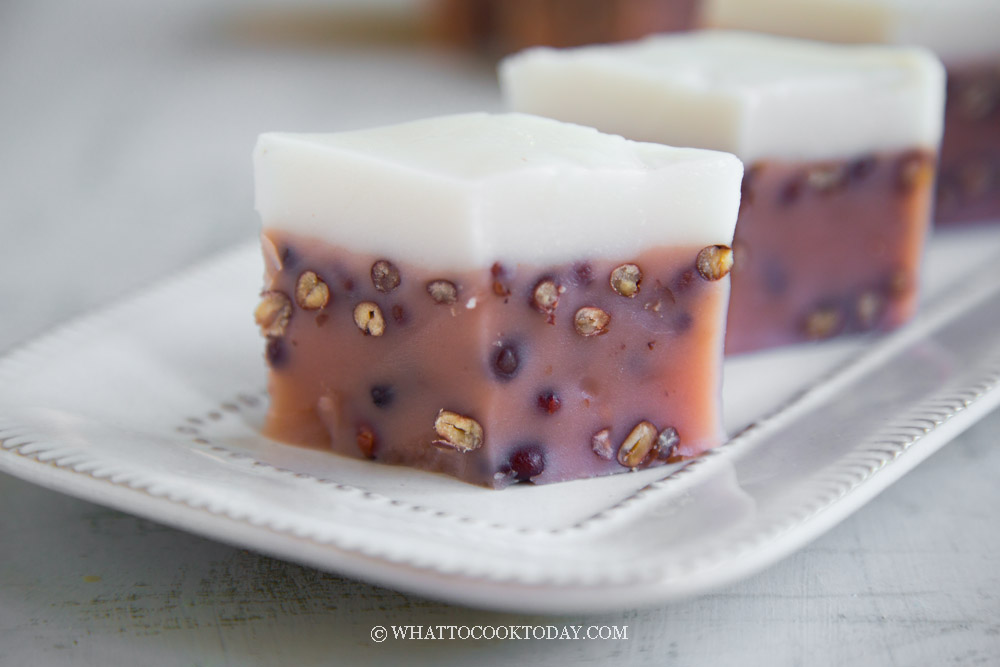
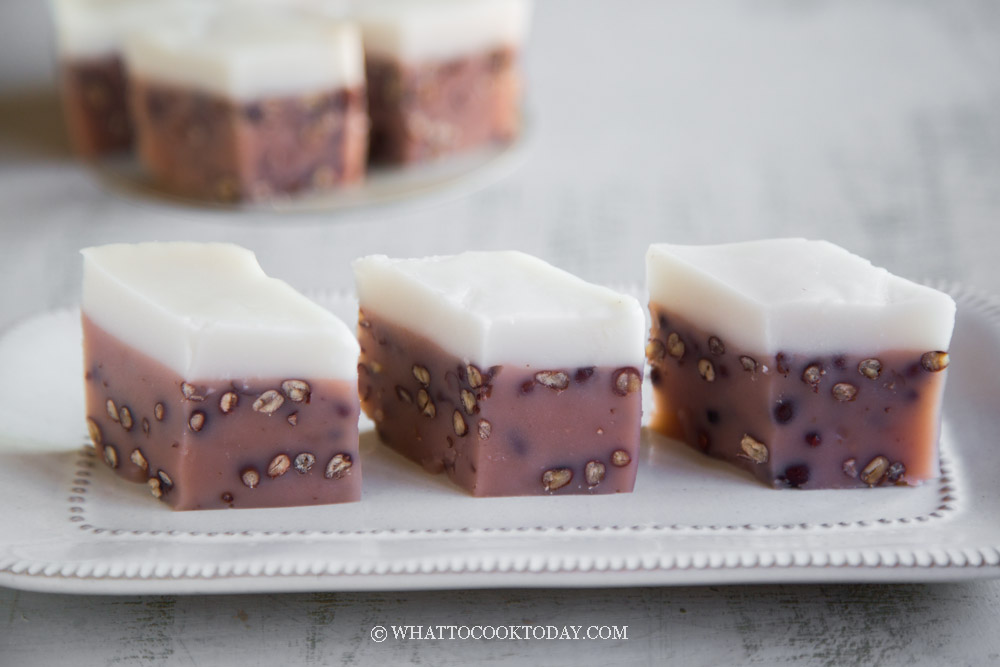
Red bean kue talam or known as talam kacang merah is one of the popular kue talam in Indonesia, Malaysia, and Singapore. I love dessert, cake, or kue/kuih like this with red beans. This red bean kue talam has a nice texture. The kue is soft and bouncy and I like biting into pieces of the red beans in the kue too.
Why You’ll Like This Recipe
- It uses only a few basic ingredients that are easy to find and pantry-friendly.
- The combination of slightly savory coconut milk and subtly sweet red bean creates a perfectly balanced flavor.
- The texture is soft with a light bounce, making it satisfying to eat without being overly rich.
- It’s naturally gluten-free, dairy-free, and vegan, making it suitable for a wide range of dietary needs.
- It looks elegant and festive, yet it’s surprisingly easy to make at home.
Ingredients and Substitutions
- Rice flour: This forms the base structure of the kue. Make sure to use regular rice flour, not glutinous rice flour, which has a completely different texture.
- Tapioca flour: Adds a pleasant chewiness and helps bind the cake together. Also known as tapioca starch in the U.S.
- Red beans (adzuki beans): These small beans have a natural sweetness and a soft texture when cooked. You can use canned red beans to save time or cook them from dried.
- Coconut milk: Full-fat canned coconut milk is ideal for a creamy top layer. Avoid refrigerated coconut drinks, which are too diluted.
- Sugar: Regular granulated sugar works best. Adjust the sweetness to your preference.
- Salt: A small amount of salt enhances the overall flavor, especially in the coconut milk layer.

Red Bean Kue/Kuih Talam (Talam Kacang Merah)
Ingredients
Red bean layer:
- 100 g red beans
- 60 g rice flour
- 50 g tapioca flour
- ¼ tsp salt
- 110 g sugar
- 125 g coconut milk
- 125 g liquid from boiling the beans see notes 1
Coconut milk layer:
- 250 g coconut milk
- 50 g rice flour
- 25 g tapioca flour
- 15 g sugar
- ⅛ tsp salt
- 250 g hot boiling water
Instructions
- Please make sure you weigh the ingredients instead of using cup measurements. I do provide the cup measurement, but they are not very accurate and if you want to get good result, digital kitchen scale is your friend 🙂
- The recipe is good for 6-inch round pan or square pan (will be shorter). If you want to use 7 inch round or square pan, you can multiply the ingredients by 1.5 times. For 8 inch round or square pan, multiply the ingredients by 2 (basically double the recipe) to get a good height. Cooking time should remain the same, slightly longer if using the round pan
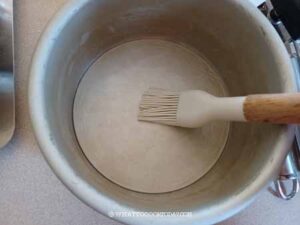
- Oil the pan on all sides to prevent the cake from sticking

Cook the red beans:
- Give the beans a few rinses and pick out the ones that don't look good anymore.
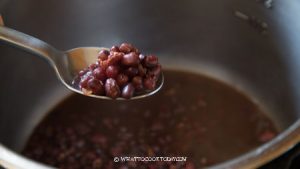
- If you are cooking the beans on the stove, soak the beans for at least 4 hours or overnight. Drain off the soaking water. Put this inside a pot, and cover with water, about 1 inch above the beans. Bring water to a boil and then lower the heat to simmer, cover with a lid, but leave a bit of crack so the beans won't boil over. Boil for about 45 minutes or until the beans can be easily mashed with your fingers when you squeeze it. Drain off the cooking liquid but save it. We will use this in the batter to give it a natural reddish hue
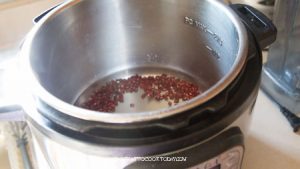
- If you cook with a pressure cooker like Instant Pot, you do not need to soak the bean. Put the beans in the inner pot of Instant Pot. Cover with water, about 1 inch above the beans. Close the lid and turn the steam release valve to "sealing". Press "Pressure Cooker" and make sure it's on high pressure. Set timer to 40 minutes. I found that 40 minutes is perfect for the beans not to be mushy but soft enough that you can mash it with your finger if you squeeze it

- When the timer is up, do a natural release, meaning wait until the valve collapses on its own before opening the lid. Drain off the cooking liquid but save it. We will use this in the batter to give it a natural reddish hue

Prepare the red bean layer:
- Bring the water in a steamer to a boil and then lower the heat to medium to let it simmer. Wrap the lid of the steamed with a cloth to prevent condensation from dripping onto the cake surface, making it wet
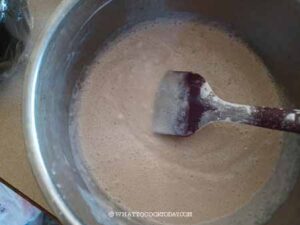
- Combine rice flour, tapioca flour, sugar, and salt in a mixing bowl. Add coconut milk and liquid from boiling the beans (if using) and whisk until combined.

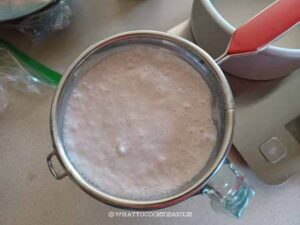
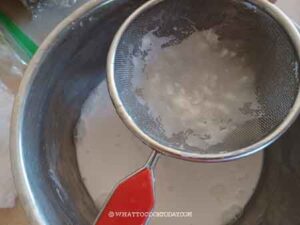
- I strain the mixture into a pot to make sure there are no lumps.

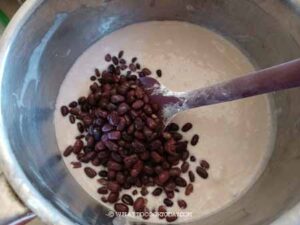
- Fold in the cooked red beans

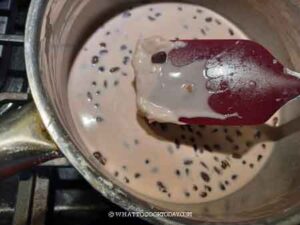
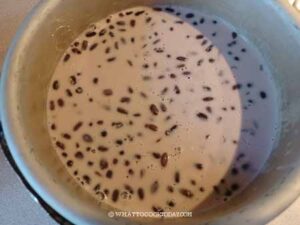
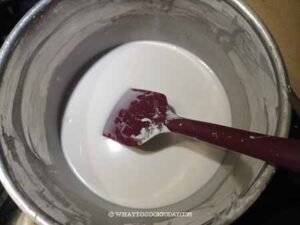
- Put the pot on the stove over low-medium heat and keep stirring. Make sure you stir all the way to the bottom and scraping the side of the pot. Nothing seems to be happening at first, then you will start feeling some lumps at the bottom. Just keep stirring until you feel a bit more lumps and the mixture thickens slightly and just lightly coating the spatula. Turn off the heat.

- Important tips: You don't want to cook until the batter is too thick. These lumps will even out during steaming, don't worry! So the overall batter consistency is still semi-thick but pourable with some lumps. If you cook until it's very thick, the kuih is going to be tough after steaming
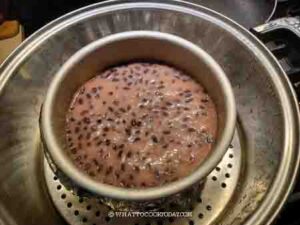
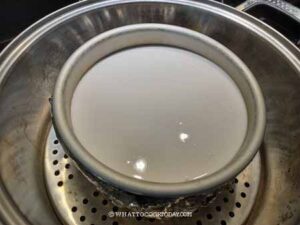
- Pour this into the prepared pan and steam over medium heat for 20 minutes.

- The top should be firm to touch before you pour the coconut milk layer on top. It's okay if it's slightly sticky. If it is still very wet and wobbly, steam a bit longer

Prepare the coconut milk layer:
- While the red bean layer is steaming, prepare the coconut milk layer
- Mix rice flour, tapioca starch, and salt. Whisk to mix. Pour in the coconut milk and mix again.

- Gradually add in the hot boiling water and keep whisking until the mixture is smooth. Strain if necessary to get rid of lumps

Steam the coconut milk layer:
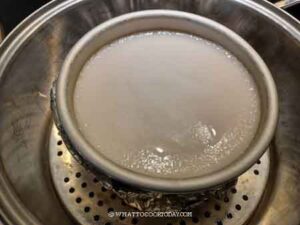
- After 20 minutes of steaming the red bean layer, uncover the lid and give the coconut milk layer a stir and gently pour or spoon this batter over the top of the red bean layer. Cover with a lid again and steam for another 25 minutes over medium-low heat. Don't steam over high heat as this may "wrinkle" the coconut milk layer

- There might be a bit of water pooling on top after steaming, they will dry up as they cool down at room temperature. But the coconut milk layer should be set and no longer jiggly

Cool down the cake:
- Remove from the steamer and cool down completely for at least 2-3 hours
Serving:
- As the cake cools down, it will pull from the side of the pan. Simply loosen the edge and then gently flip the cake out. You shouldn't have a problem doing so if you oil the pan earlier. Rub some oil on the knife to prevent sticking when you cut the cake. Cut the cake into desired sizes
RECOMMEDED TOOLS
Marv’s Recipe Notes
*Nutrition facts are just estimates and calculated using online tools*
Tips for Success
- If cooking red beans from scratch, soak them for at least 4 hours or overnight and then cook until they’re soft but not mushy. A pressure cooker can speed this up.
- Wrap the steamer lid with a clean kitchen towel to prevent water droplets from falling onto the surface of the cake.
- Steam the bottom layer until it’s just set before pouring the top coconut layer on. This helps keep the layers defined.
- Stir the batter well before steaming to make sure the flours are evenly distributed and no clumps remain.
- Let the kue cool completely before cutting. Lightly oil your knife to prevent sticking and get clean cuts.
Storage
- Once cooled, store the kue in an airtight container at room temperature for up to 1 day if your kitchen is cool and dry.
- If your kitchen is humid or warm, it’s best to refrigerate the kue. Place it in an airtight container and it will keep for up to 5–7 days.
- Let refrigerated kue come to room temperature for about 30 minutes before serving to soften the texture.
- Freezing is not recommended as it alters the texture of the cake and makes it less enjoyable.
This red bean kue talam is a beautiful and satisfying treat that’s easier to make than it looks. Whether you’re making it for a special occasion or just to satisfy a nostalgic craving, this kue delivers the perfect blend of flavor, texture, and visual appeal. It’s a lovely way to explore traditional Southeast Asian steamed cakes, and I hope it becomes a new favorite in your kitchen.




2 comments
I have tried a few times strictly following your steps but the cake always turns out to be soft. I have tried to lessen the amount of tapioca flour and add to reduced amount to rice flour. It still didn’t work. Please advise. Tq
Hi Ann, I’m sorry you were having trouble making this. I have just made this last week and didn’t have any issue. When you said “soft”, did the cake not cooked through ? were you having trouble with both layers ?
Did you cook the flour mixture until it thickens slightly (coating the back of the spatula) but still pourable consistency? Also, it might worth checking to make sure the tapioca flour and rice flour you use have no mixture of other flour/starch in it. I use Thai rice flour and tapioca flour. I updated the recipe instruction to make it more clear. I hope that helps!