This post may contain affiliate links. Please read our disclosure policy.
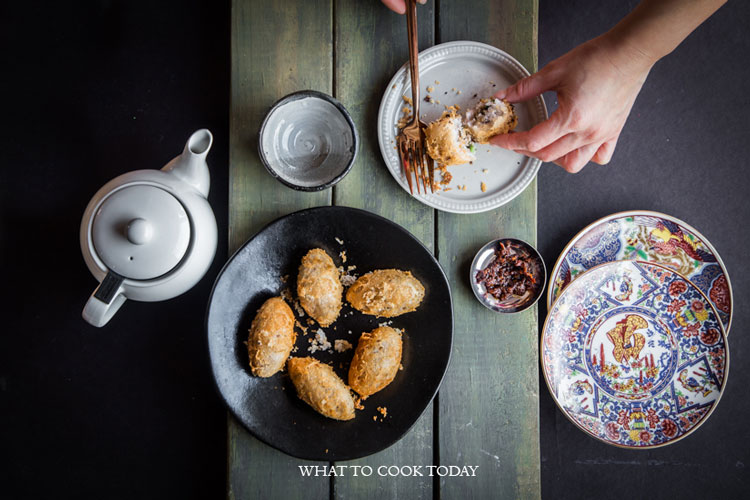
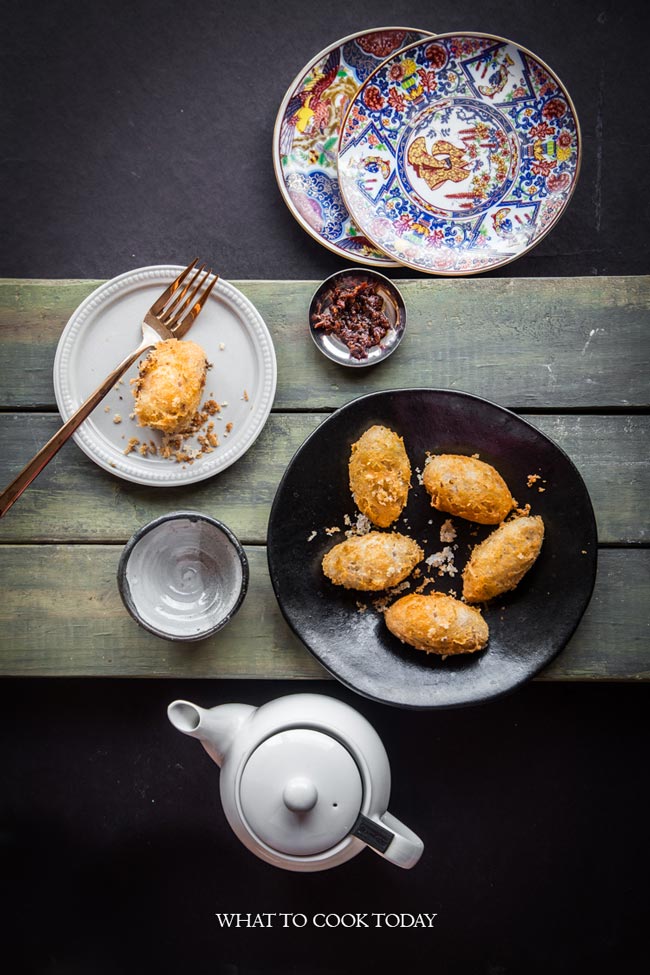
Woo kok is a classic Cantonese dim sum dish that is favorited by many. Mashed Taro is formed into ovals and stuffed with meat and veggies and deep-fried and formed that spider web crust layer on the outside.
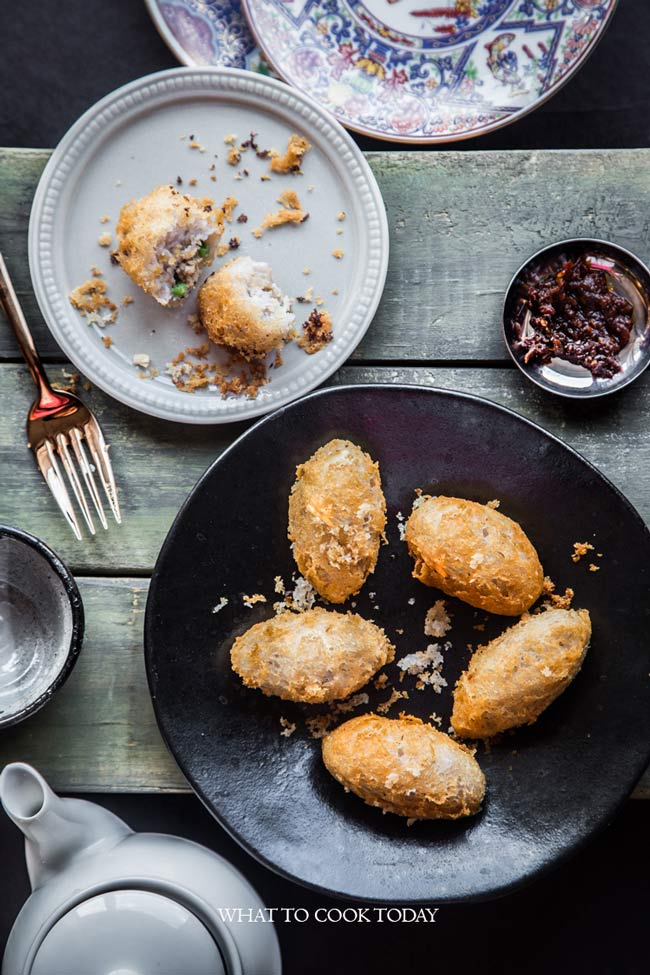
Woo Kok (Fried Taro Puff)
I’m not a person who likes to go to crowded places, not anymore! They say things continue to change as you grow old. I found that’s true. Your taste changes, your style changes, your vision changes. But, going to dim sum is one of my favorite things. Especially when the dim sum places still serving food in pushcarts. The constant chattering noises from the crowds as they are pouring tea and enjoying their food and pushcarts everywhere with stacks of the metal steamer with delicious food inside. I love this atmosphere!
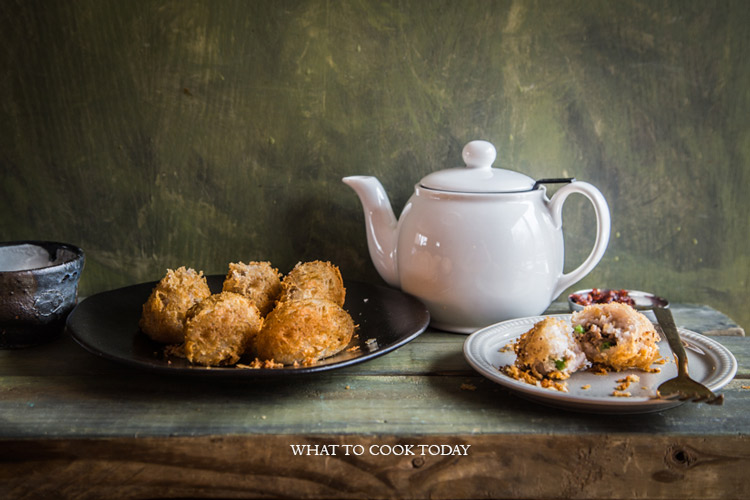
Anyway, I’m sharing with you one of my kids’ favorites (our favorites too!). Taro puff or known as woo kok in Cantonese language, It is one of my very favorite items to order whenever we go for a dim sum. I’ve always had soft spots for taro to begin with (or anything with high carbs lol). Making your own taro puff wasn’t as daunting as I thought it would be. It’s pretty straightforward as a matter of fact.
THE RECIPE RUNDOWN
Taste: It is a savory snack with just a hint of sweetness from the filling and the dough
Texture: It has that amazing layer or crispy crust on the outside against the soft savory taro dough. So good!
Ease: Intermediate
Pros: The recipe is pretty straight forward
Cons: Frying woo kok is the most challenging part and kinda tedious in the whole process. You need to make sure the oil temperature is just right or the crispy crust that looks like spider webs won’t form. If you have a deep-fry thermometer, use it!
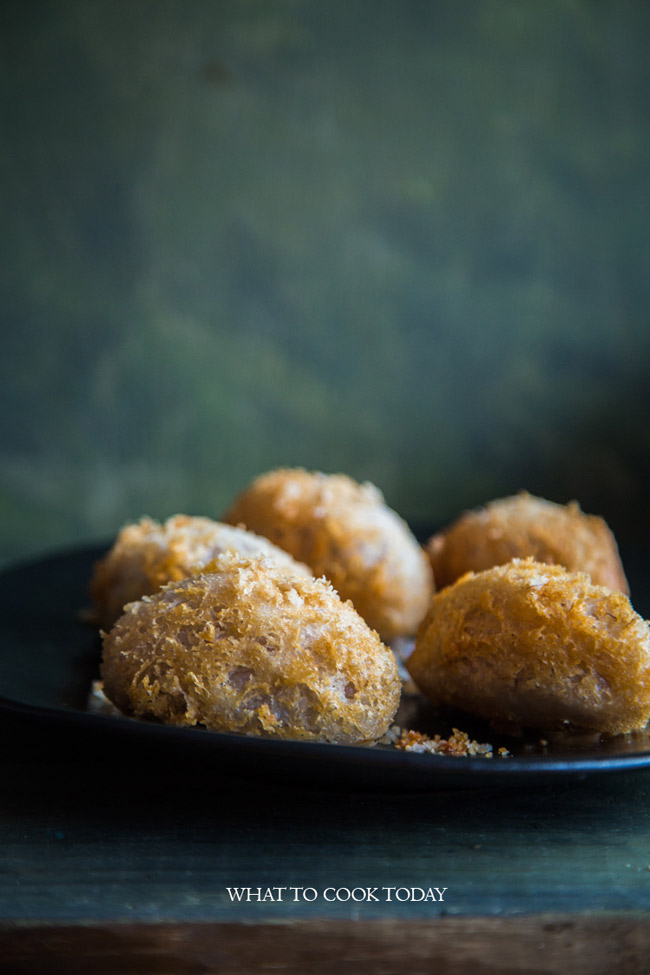
I’m happy with the result and even happier when I bite into the crispy outside and the soft and savory filling. It is to die for !!! I used coconut oil instead of shortening. The result is still amazing but without the shortening!
HOW TO MAKE WOO KOK WITH CRISPY CRUST
1. Prepare the filling
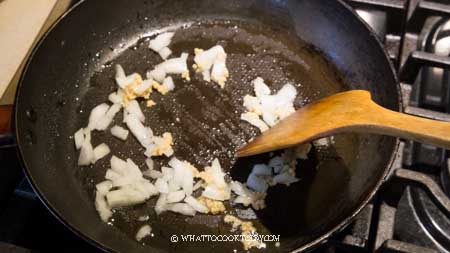
Preheat some oil in a skillet. Add in the onion and garlic and saute until soft and fragrant
Add the meat and stir fry again until the meat turns color.
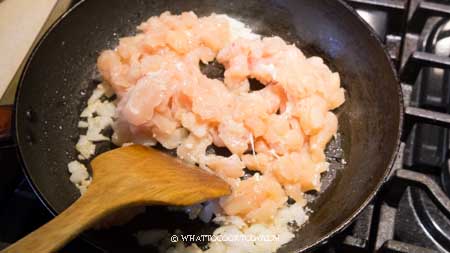
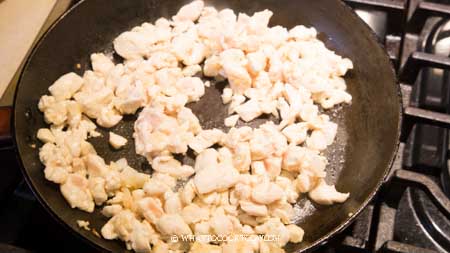
Add the mushrooms and mixed veggies
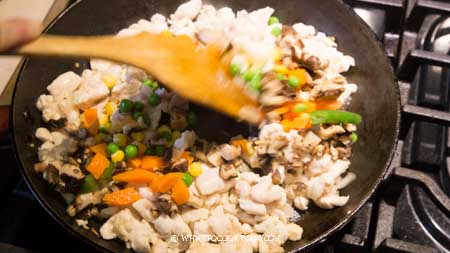
Add the five-spice powder, sesame oil, sugar, soy sauce, light soy sauce, and oyster sauce. Have a taste and adjust to your liking
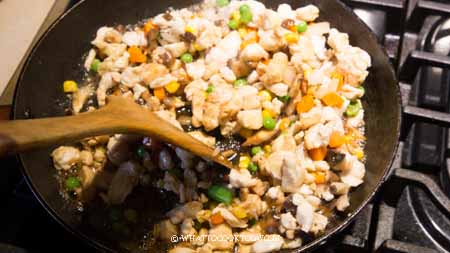
Mix cornstarch with water to make a cornstarch slurry and then pour in the meat mixture. Stir until it thickens
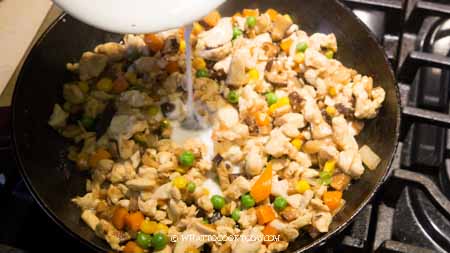
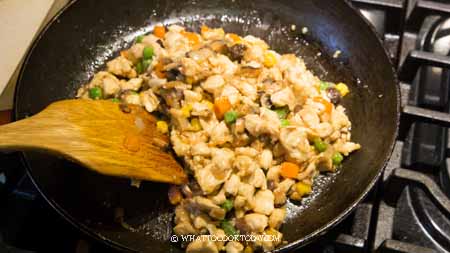
Set aside to cool down and pop into the refrigerator until the next day if you prepare ahead or let it cool down completely before wrapping if you prepare on the same day
2. Prepare the dough
If you get the taro already peeled, then all you need to do is to cut it into smaller chunks or thin slices
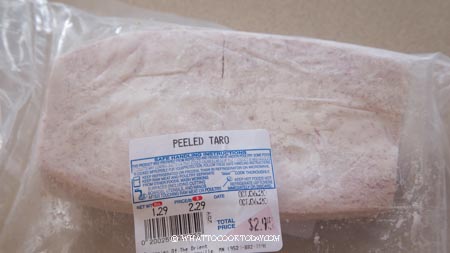
Steam on high heat until you can easily poke them with a fork, about 15 minutes. I pressure cook on high for 3 minutes. Mash the taro while it’s hot with salt and sugar
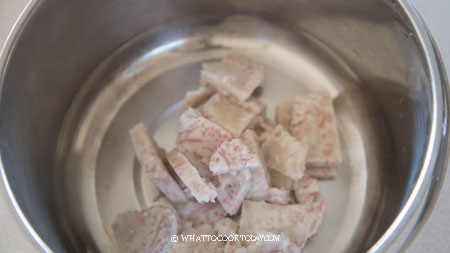
Mix wheat starch with boiling water. This will precook the starch.
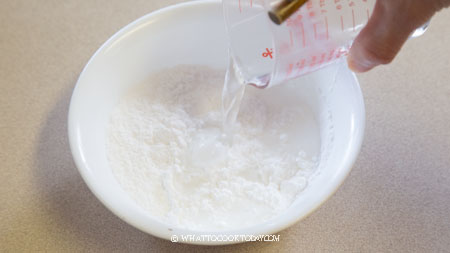
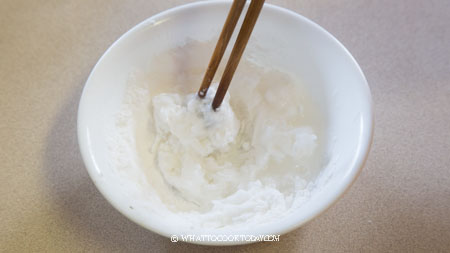
Stir this into the taro mixture followed by shortening/lard/coconut oil.
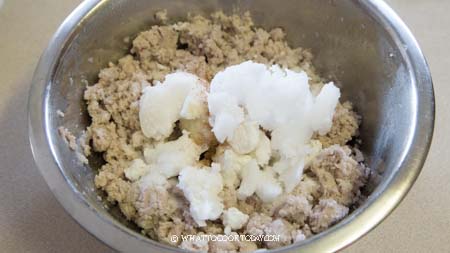
Knead into a dough. The dough will still be somewhat sticky and very soft at this point
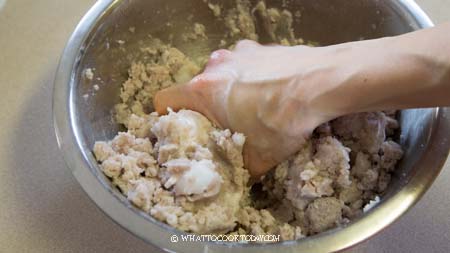
Continue to knead until the dough is smooth and shiny
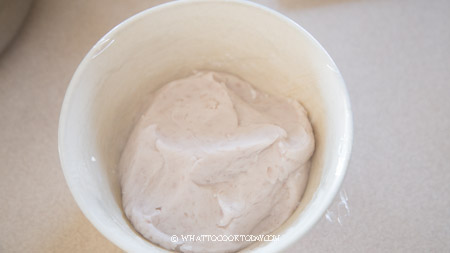
3. Chill and shape the dough
Cover with plastic wrap and pop it into the refrigerator and let it rest for about 1 hour. The dough should be soft and pliable now. Give it a few kneads. Divide it into half and then half again until you get about 20 small dough, or more if you want them smaller
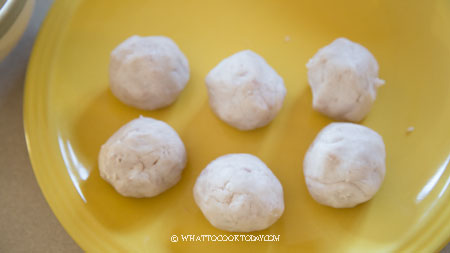
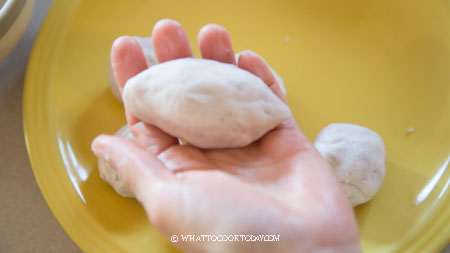
Work with one at a time and keep the rest cover to prevent it from drying. Flatten the dough with your palm to form a round shape
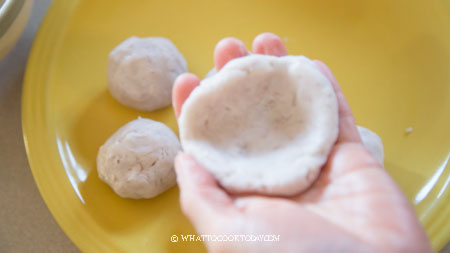
Spoon about 1/2-1 Tbsp of filling into the middle
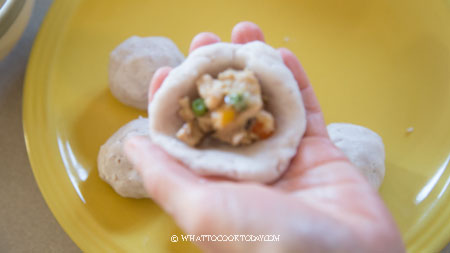
Gather the edge and roll into an oval shape. Continue with the rest
4. Chill the shaped dough
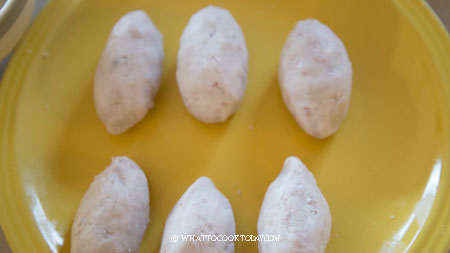
Place the shaped woo kok in the refrigerator for 30 minutes before frying. It helps to prevent the dough from falling apart during frying
5. Deep frying
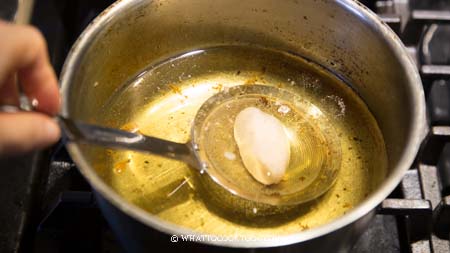
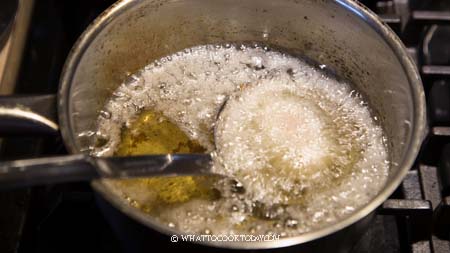
Preheat about 3 inches of oil in a heavy-bottom pot. Make sure the oil is really hot to start with. Then lower to medium-low and wait for about a minute before starting to fry. Fry one woo kok at a time until the spider web crust forms and then fry until they are crispy and golden brown. Don’t fry on high heat, or the crispy layer will disperse all over the oil. Place on an absorbent paper towel and repeat with the rest
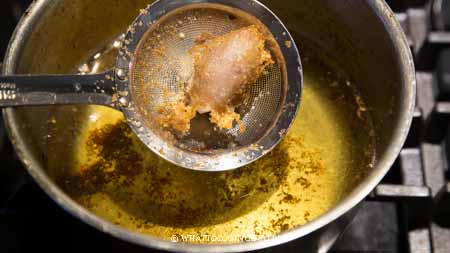
IMPORTANT TIPS
1. Cook the filling the day before
I like to do this so I don’t get overwhelmed trying to do everything on the same day
2. Use the right kind of wheat starch
The recipe calls for wheat starch, which is different than what we called all-purpose flour here in the U.S. Wheat starch has most of its gluten remove and mainly starch left, where wheat flour still has gluten that gives you that stretchy pull. Wheat starch can only be found in Asian grocery store (as far as I know!). Do not replace with all-purpose flour, or tapioca starch, or corn starch, it’s not the same thing.
3. Make sure the filling is cool enough before wrapping.
This will actually make your life easier when you wrap. If the filling is still warm, it will make the dough sticky
4. Chill the dough before and after shaping
This is especially important. If you fry them when they are still warm, you will lose all the crispy layer. They will disperse in the oil and fall apart
5. The oil temperature is the most important
If you have a deep-fry thermometer, that’s great! We want to maintain the oil temperature between 320 – 330 F (160 – 170 C). The oil is not too hot and allows the crispy spider web crust to form on the outside
WOO KOK CAN BE MADE AHEAD AND FREEZE
Here’s how to freeze uncooked woo kok:
Once you have filled and shaped the dough into oval, place them on a baking sheet lined with parchment paper. Pop in the freezer and let them chill until they are solid, about 1 hour or so. After that, transfer them to freezer bag and they will not stick to each other anymore
Here’s how to cook them after freezing:
Thaw them in the fridge overnight. Preheat oil for deep-frying. Once the oil is hot enough, lower the heat to medium and then fry the frozen woo kok in small batches, I suggest one at a time to start with until you get the hang of it.

Common problem: Why my woo kok doesn’t have a crispy crust layer?
I have made this so many times during the experiment and it’s all boiled down to the oil temperature. Most likely your oil is either too hot or not hot enough (yeah..I know!). It worths getting a deep-fry thermometer and maintain the frying temperature between 320-330 F (160-170 C). Try to fry one to two at a time so you don’t lower the oil temperature too much.
Did you make this woo kok recipe?
I love it when you guys snap a photo and tag to show me what you’ve made 🙂 Simply tag me @WhatToCookToday #WhatToCookToday on Instagram and I’ll be sure to stop by and take a peek for real!
Woo Kok (Fried Taro Puff)
Ingredients
For the dough:
- 700 gr taro (already peeled weight) about 1 1/2 lbs
- 1 Tbsp sugar
- ½ tsp salt
- 130 gr Wheat starch about 1 cup 1 Tbsp. Only available at Asian grocery store
- 130 ml hot boiling water 4.3 oz
- 200 gr shortening or lard, about 1 cup. I used coconut oil
Filling:
- 2 dried shiitake mushrooms soaked, cut off stems and finely diced
- 1 Tbsp cooking oil
- 1 small onion diced
- 1 clove garlic finely minced
- 180 gr pork or chicken ground or finely chopped, preferably with some fat
- ½ tsp five-spice powder
- 1 tsp sugar
- 1 tsp soy sauce
- 1 tsp dark soy sauce
- 1 Tbsp oyster sauce
- 1 tsp sesame oil
- 2 tsp cornstarch + 1 Tbsp water
Others:
- Oil for deep frying
Instructions
Prepare the filling a day before if possible:
- Preheat some oil in a skillet. Add in the onion and saute until soft and fragrant. Add the pork and mushrooms and stir fry again until the meat turns color. Add the five-spice powder, sesame oil, sugar, soy sauce, light soy sauce, and oyster sauce. Have a taste and adjust to your liking. Mix cornstarch with water to make a cornstarch slurry and then pour in the meat mixture. Stir until it thickens. Set aside to cool down and pop into the refrigerator until the next day if you prepare ahead or let it cool down completely before wrapping if you prepare on the same day
Preparing the dough:
- If you get the taro already peeled, then all you need to do is to cut it into smaller chunks or thin slices and steam on high heat until you can easily poke them with a fork, about 15 minutes. I pressure cook on high for 3 minutes. Mash the taro while it's hot with salt and sugar
- Mix wheat starch with boiling water. This will precook the starch. Stir this into the taro mixture followed by shortening. Knead into a dough. The dough will still be somewhat sticky and very soft at this point. Continue to knead until the dough is smooth and shiny
Chill and shape the dough:
- Cover with plastic wrap and pop it into the refrigerator and let it rest for about 1 hour
- The dough should be soft and pliable now. Give it a few kneads. Divide it into half and then half again until you get about 20 small dough, or more if you want them smaller. Work with one at a time and keep the rest cover to prevent it from drying. Flatten the dough with your palm to form a round shape. Spoon about 1/2-1 Tbsp of filling into the middle and then gather the edge and roll into an oval shape. Continue with the rest
Chill the shaped woo kok before frying:
- Place the shaped woo kok in the refrigerator for at least 30 minutes before frying. It helps to prevent the dough from falling apart during frying
Deep frying:
- The oil temperature is the most important part (and challenging) in frying woo kok. You want the oil to be hot before frying and lower the heat to medium-low or even low when you first fry the woo kok. This is the point where the crust forms
- Preheat about 3 inches of oil in a heavy-bottom pot. Make sure the oil is really hot to start with. Then lower to medium-low and wait for about a minute before starting to fry. It is best if you can maintain the temperature between 320 - 330 F (160 - 170 C) when you start frying and fry one woo kok at a time until the spider web crust forms and then fry until they are crispy and golden brown. Don't fry on high heat, or the crispy layer will disperse all over the oil. Place on an absorbent paper towel and repeat with the rest


18 comments
Hello
Thank you for this nice recipe
It is written mash the taro with the lard
Does this stand for the coconut oil?
Thank you
Monette
Hello Monette,
It should be coconut oil 🙂 Original recipe calls for lard but I use coconut oil. Thank you for pointing this out. I’ll get it corrected 🙂
Hi, Marv. So I’ve been trying small batches. The first batch I misted with oil and tried to do it in the air fryer. While it tasted good, it didn’t develop the hairy surface. The second batch I deep-fried in a small pot, one at a time so that it could stay submerged. I took it out as soon as it turned golden since everything is already cooked prior to assembly. I checked my oil temperature and it was 380 degrees F. Again, while it tasted good, it didn’t develop the hairy surface. What do you think I’m doing wrong?
Hi, Marv. It does seem daunting, but I’m gained to try this. Some questions please: 1) Is the taro weight before it’s steamed and mashed?; 2) do you know how many cups of mashed taro this equates to? 3) does the water have to be boiling? (some recipes call for boiling water to “cook” the wheat starch; 4) is the coconut oil amount in solid form approximately 1 cup?; 5) Can butter be used as well? and lastly, 6) any idea if this can be air-fried? Thanks for allowing me to pepper you with all these questions.
Hello, it’s good to ask questions. That means my instructions aren’t clear enough and I can always improve on that part too. I have updated the recipe accordingly to make more sense 🙂
1) Is the taro weight before it’s steamed and mashed?;
The taro weight is before it is steamed and mashed. So after you peel you will get about 700 grams of taro
2) do you know how many cups of mashed taro this equates to?
I didn’t have the ingredients measured in cups when I made this, but based on the online conversion it says 100 grams would roughly equal to 1/2 cup
3) does the water have to be boiling? (some recipes call for boiling water to “cook” the wheat starch;
Yes, the water needs to be boiling hot
4) is the coconut oil amount in solid form approximately 1 cup?;
based on the online conversion yes, it’s close to 1 cup
5) Can butter be used as well? and lastly,
Yes,I’ve seen recipes used butter too. The texture may comes out slightly different. Your end product may come out softer (may be slightly easier to crumble)
6) any idea if this can be air-fried?
This part I don’t know for sure 🙂 I didn’t own an air fryer back then but I do now. Maybe i should try it out in the future. If you do try it with an air fryer, let me know how it turns out 🙂
Hi Marv! I miss your posts and just saw that you decided to quit IG. Hope things are going well!
Hi Vy,
I sure miss you and your beautiful IG posts too. Things are going well here and I hope the same for you too dear.
These look so lovely. My mom used to make a spicy and crispy taro root and I used to be a happy girl every time that was on my plate. But, taro made into a dim sum is definitely intriguing and looks incredible:)