This post may contain affiliate links. Please read our disclosure policy.
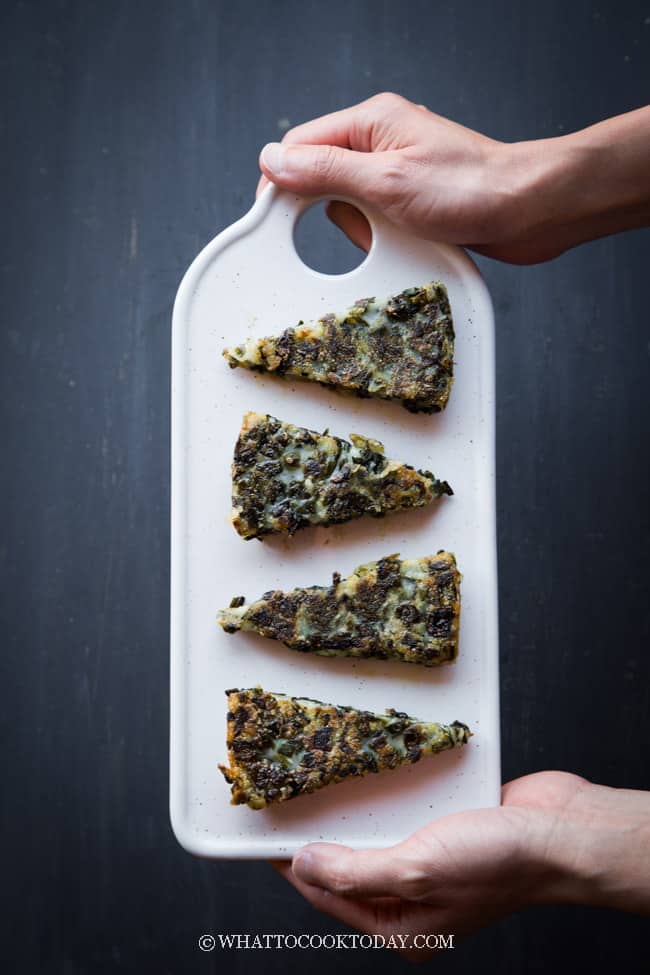
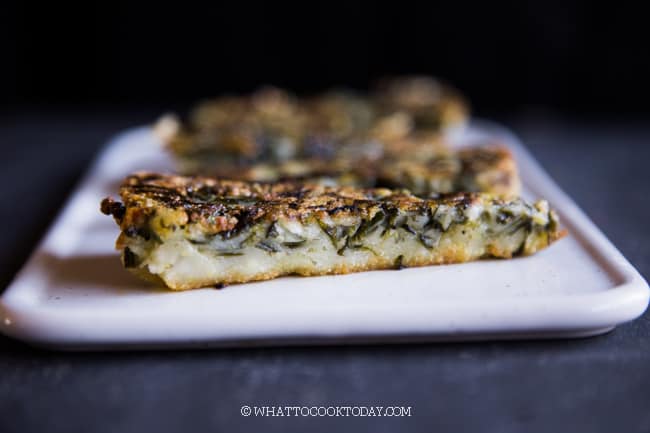
Learn how to make this popular Thai pan-fried chive cakes, kanom gui chai tod, with this easy and fool-proof recipe. It’s crispy, flavorful, and can be made ahead.
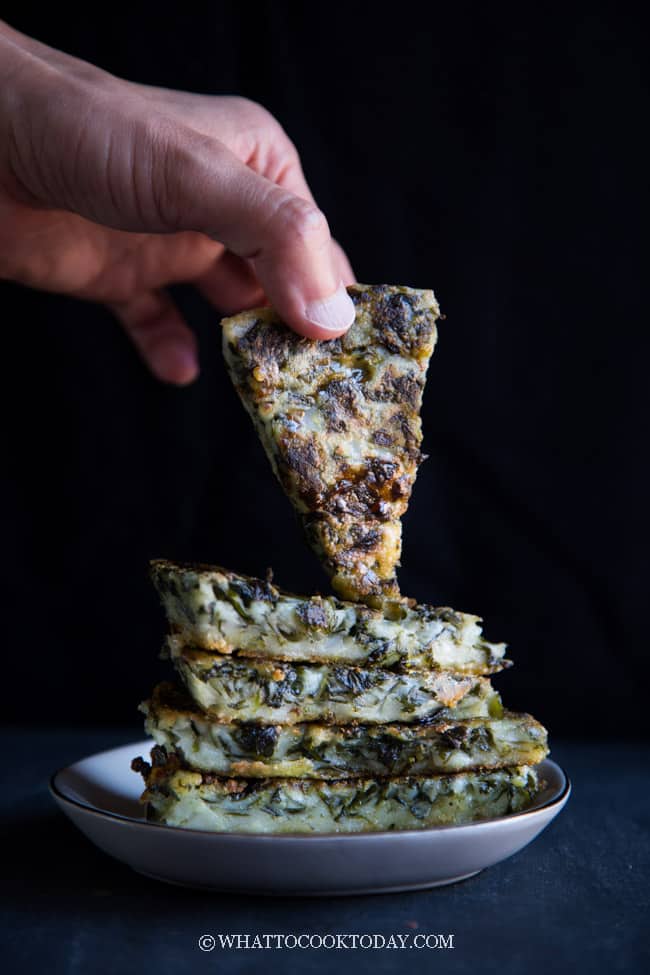
I got to know about Thai pan-fried chive cakes from a Thai friend who loves to snack on this when we were still in college. He likes to get the frozen pan fried chives cake dumplings from an Asian grocery store. The “easier” version of this chive cake dumplings is this kanom gui chai thod. The chives cake is steamed and then pan-fried. It’s crispy on the outside and so addicting to snack on!
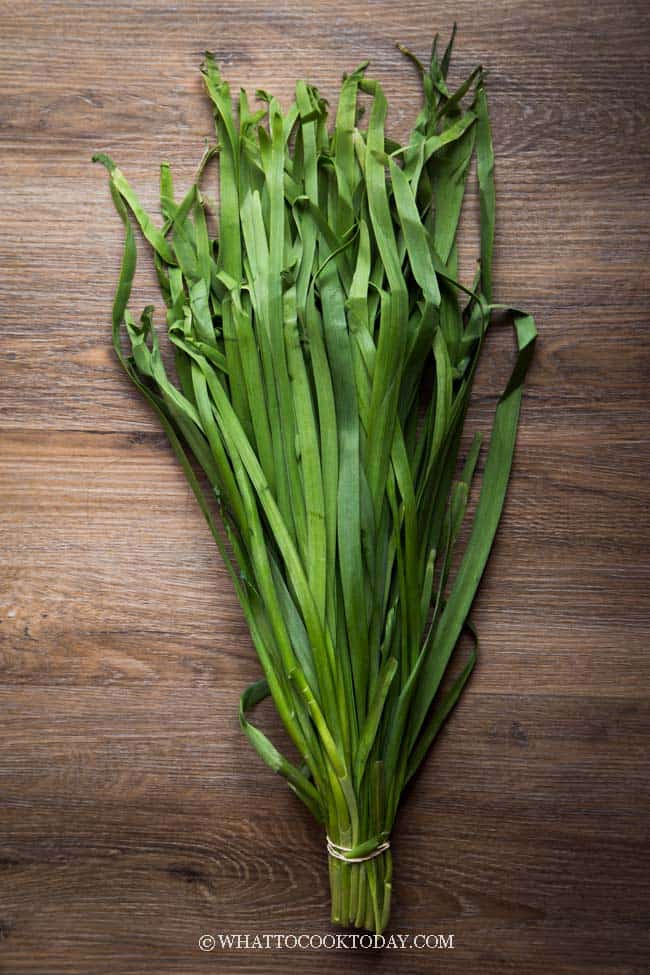
TYPE OF CHIVES TO USE
Most of the Asian recipes that call for chives cake usually uses Chinese chives or also known as garlic chives, which is flat and has a strong garlicky aroma. They are usually sold fresh in bundles in Asian grocery stores. Can you substitute with onion chives (the ones with round leaves)? I suggest not to because they aren’t really the same even though they are both chives family.
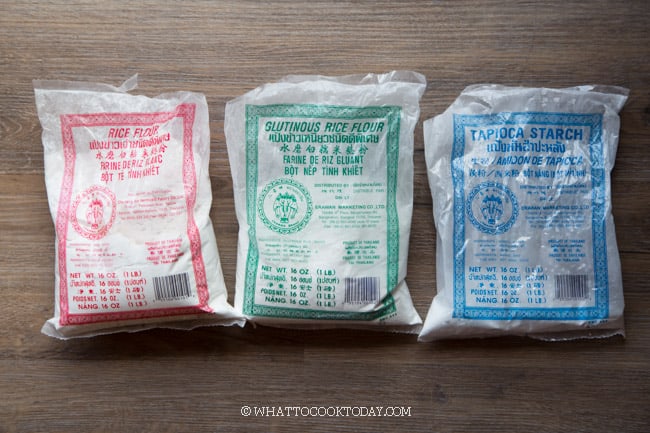
GLUTEN-FREE FLOURS/STARCHES USED IN THIS RECIPE
Not that this recipe is altered to be gluten-free, but the flours/starches used in this recipe are gluten-free in nature. I use the term flour/starch interchangeably here, but they mean the same thing. It’s not unusual to find tapioca flour, rice flour, glutinous rice flour being widely used in Asian cooking and baking. This pan-fried chive cakes used rice flour, tapioca flour, and glutinous rice flour.
WHY YOU’LL LIKE THIS RECIPE
1. Tried and true recipe
This recipe has been tested several times and we love how they turned out.
2. Easy and no fuss
It looks harder than it actually is, but once you make it, you’ll realize how easy it actually is
3. Can be made ahead
This pan-fried chives cake can be made ahead, steamed and the freeze. So you can pan fry in small or big batch whenever you need it
HOW TO MAKE THAI PAN-FRIED CHIVE CAKES FROM SCRATCH
1. PREPARE THE CHIVES
Wash the chives in clean water. Trim off about 2-inch off the bottom of the chives.
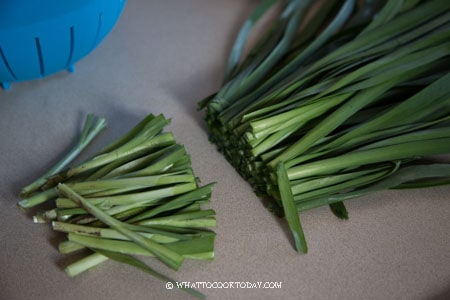
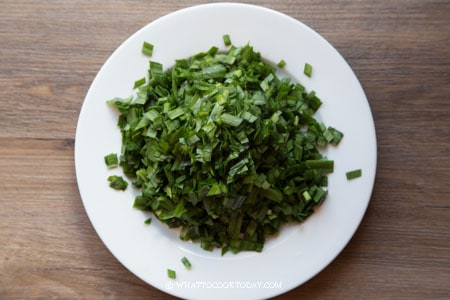
Cut the green parts into about 1/2-inch pieces
2. COOK THE CHIVES
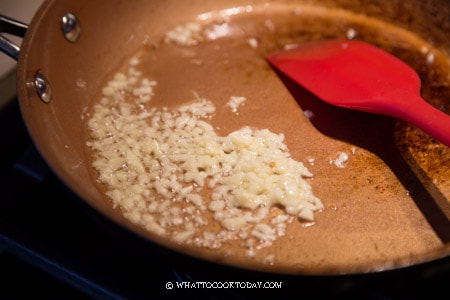
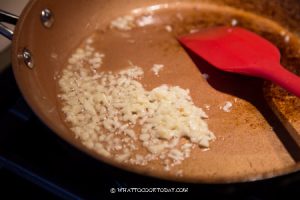
Preheat a large skillet with 1 Tbsp cooking oil. Add garlic and saute for about 30 seconds.
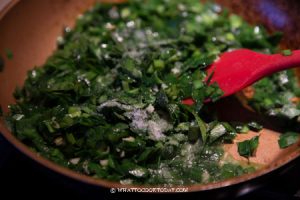
Add the chives and 1/2 tsp of salt and cook over medium heat until the chives are soft and wilted.
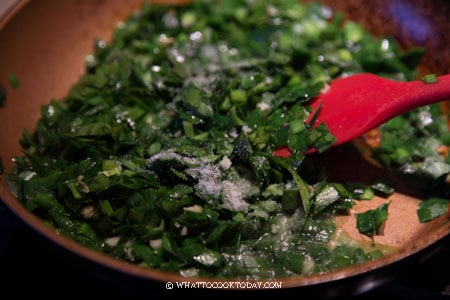
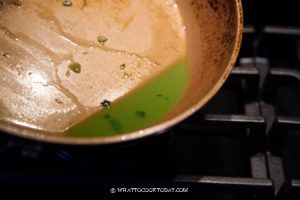
You will see lots of juice oozing out. Discard that extra liquid.
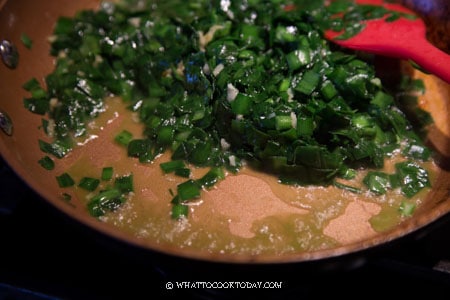
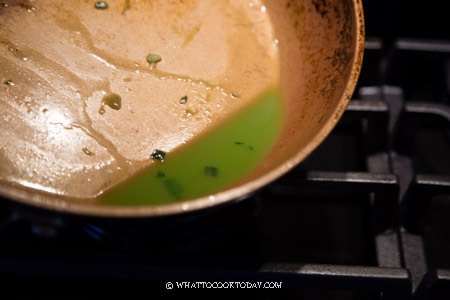
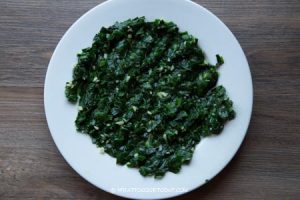
Let the chives cooled down while you prepare other things. Once the chives have cooled down, squeeze out more liquid from the chives. This is important as too much liquid will affect the final consistency and texture of the cake
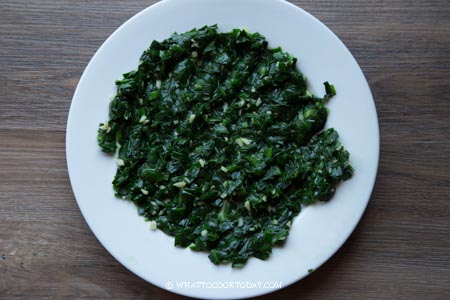
3. PREPARE THE BATTER
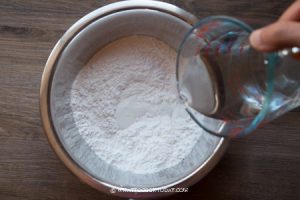
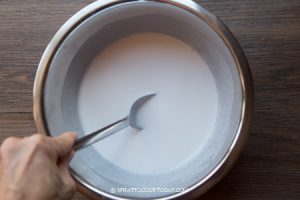
Combine all the flours with water and salt. Stir to mix to get a smooth batter.
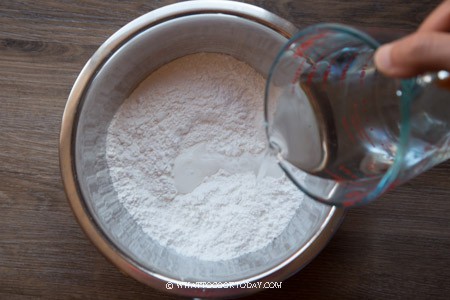
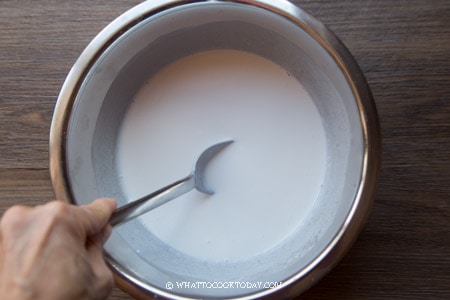
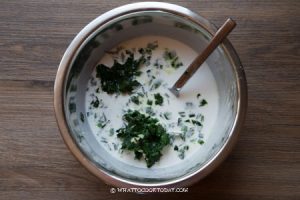
Add the chives in and stir to combine.
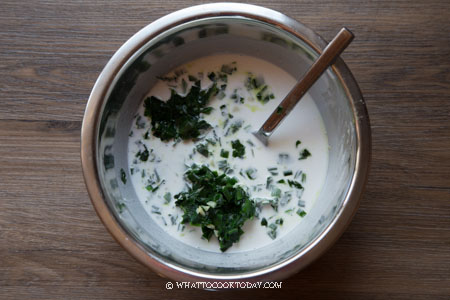
4. STEAM THE CAKE
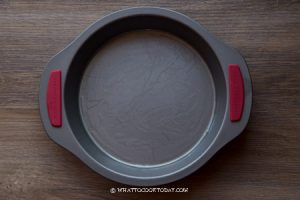
Bring the water in the steamer to a rolling boil and ready to steam. Brush some cooking oil on your pan.
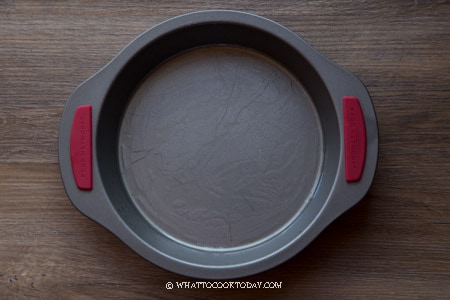
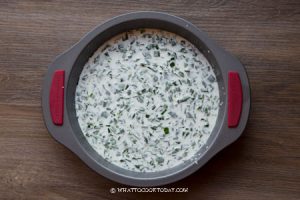
Pour the chives batter into the pan.
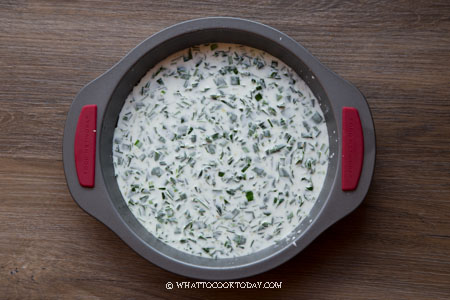
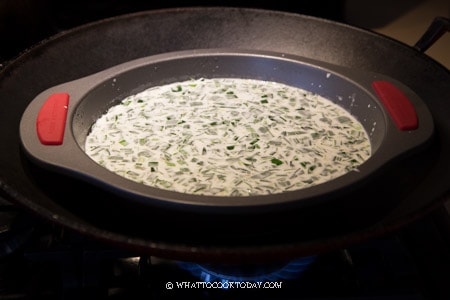
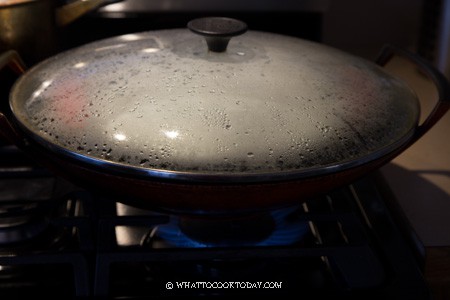
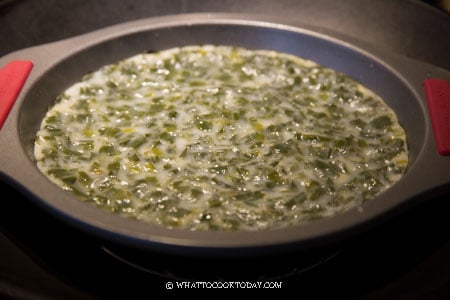
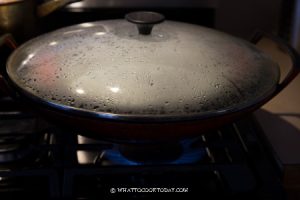
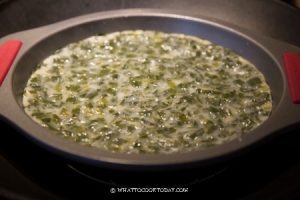
Place the pan in the steamer and steam over high heat for 25-30 minutes or until the cake turns slightly translucent and a toothpick inserted into the middle of the cake comes out clean.
Remove from the steamer and let the cake cool down completely before cutting and pan frying the cake
5. PAN FRY THE CAKE
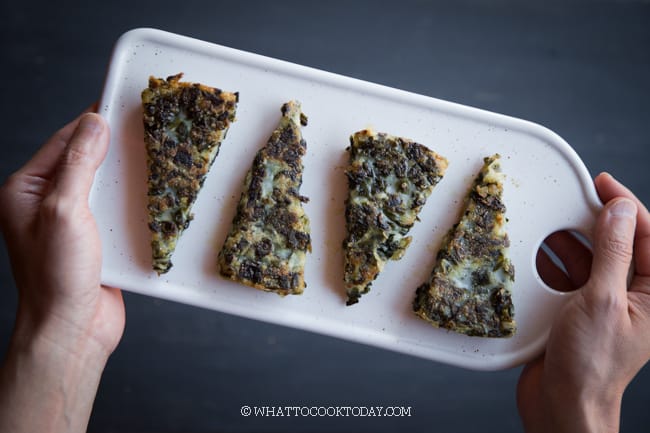
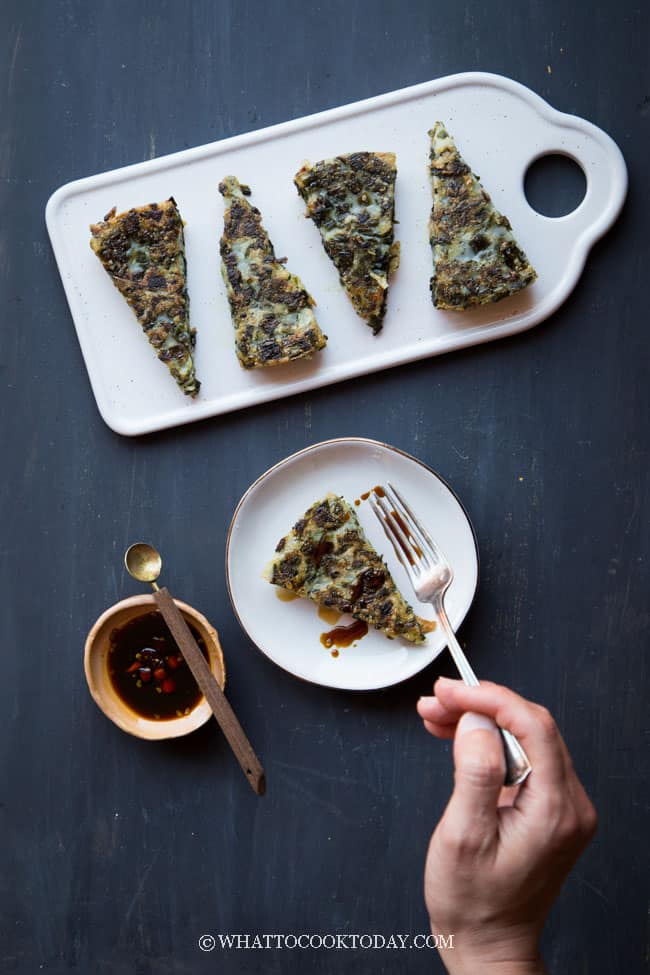
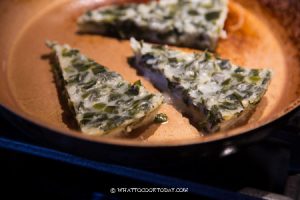
Cut the cake into small squares (if you use square pan)or wedges like mine (since I use round pan). Preheat the oil over medium heat. Place the chives cake pieces on the oil and pan fry until golden brown on both sides, about 3 minutes or so on each side
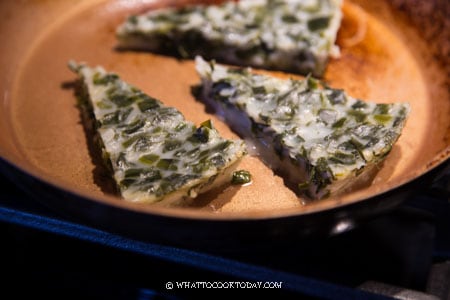
6. READY TO BE SERVED WITH DIPPING SAUCE
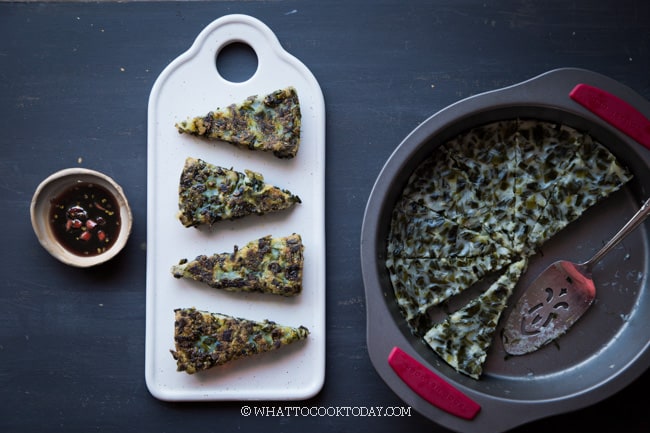
ONLY PAN FRY THE AMOUNT YOU ARE GOING TO SERVE
I suggest to pan fry only the amount you want to eat for the best result.
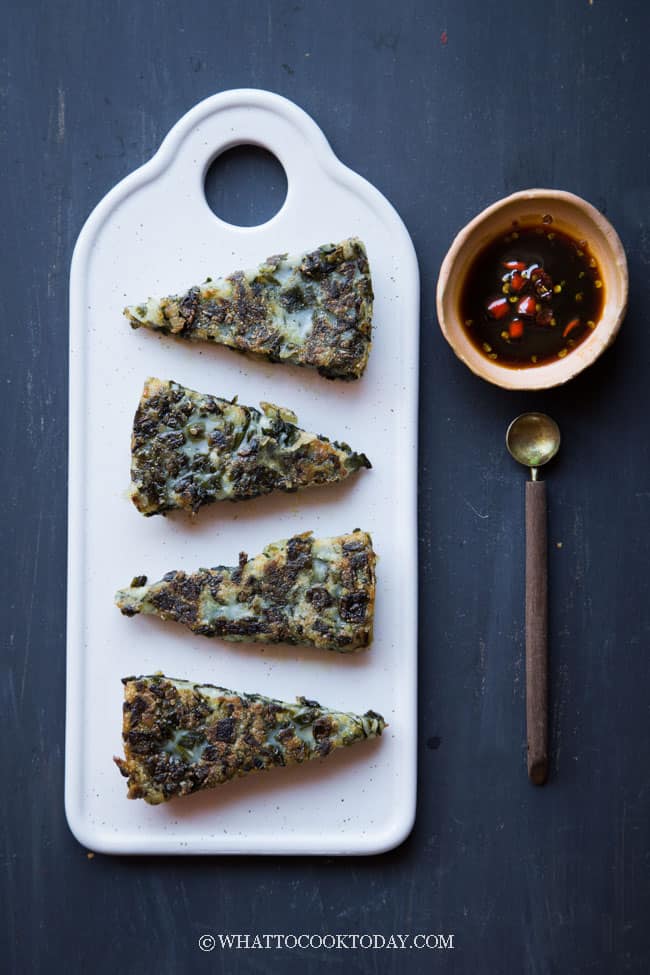
HOW TO STORE AND REHEAT LEFTOVER AND TO MAKE AHEAD
STEAMED CHIVES CAKE (NOT PAN-FRIED YET)
Steamed chives cake can be kept frozen for up to one month. Simply cut them into squares or wedges and then place on a baking sheet lined with parchment paper and then place in the freezer for one hour. Transfer to a freezer bag and they won’t stick to each other anymore. Simply thaw them before pan frying. This is a great way to make ahead and pan fry the amount you want to serve.
PAN-FRIED CHIVES CAKE
Pan-fried chives cake can be kept in the refrigerator for 3 days max.You can reheat them in the air fryer or an oven at 375 F for 5 minutes or so or until crispy
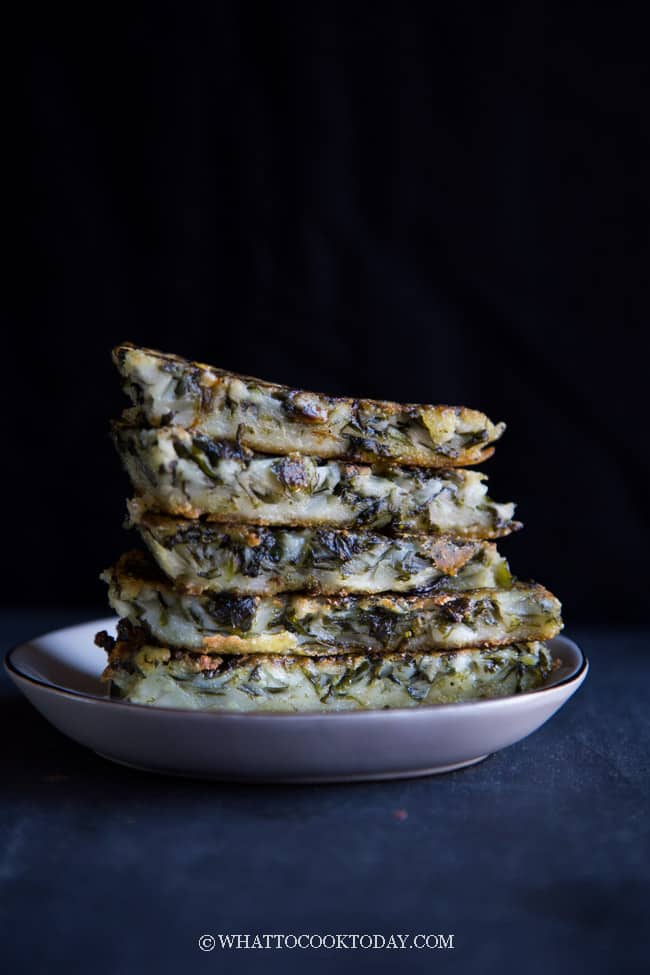
Kanom Gui Chai Tod (Thai Pan-fried Chive Cakes)
Ingredients
- 250 gr Chinese chives about 1/2 lbs
- 3 large cloves garlic finely grated
- 1 Tbsp Cooking oil plus more to grease the pan
- ½ tsp salt
Cake batter:
- 120 gr rice flour 1 cup
- 30 gr glutinous rice flour 1/4 cup
- 30 gr tapioca flour 1/4 cup
- 1 ¼ cups water room temperature
- 1 tsp salt
Dipping sauce:
- ¼ cup kecap manis
- 2 Tbsp soy sauce
- 2 Tbsp rice vinegar or regular white vinegar
- ¼ tsp sugar
- 2 Thai red chili finely chopped
To pan fry the cake:
What you need:
- An 8×8-inch square or round pan
Instructions
Prepare the chives:
- Wash the chives in clean water. Trim off about 2-inch off the bottom of the chives

- Cut the green parts into about 1/2-inch pieces

- Preheat a large skillet with 1 Tbsp cooking oil. Add garlic and saute for about 30 seconds

- Add the chives and 1/2 tsp of salt and cook over medium heat until the chives are soft and wilted.

- You will see lots of juice oozing out. Discard that extra liquid. Let the chives cooled down while you prepare other things

- Once the chives have cooled down, squeeze out more liquid from the chives. This is important as too much liquid will affect the final consistency and texture of the cake

Prepare the steamer:
- Bring the water in the steamer to a rolling boil and ready to steam
Prepare the batter:
- Combine all the flours with water and salt

- Stir to mix to get a smooth batter

- Add the chives in and stir to combine

Steaming the cake:
- Brush some cooking oil on your pan

- Pour the chives batter into the pan

- Place the pan in the steamer and steam over high heat for 25-30 minutes or until the cake turns slightly translucent and a toothpick inserted into the middle of the cake comes out clean

- Remove from the steamer and let the cake cool down completely before cutting and pan frying the cake

Prepare the dipping sauce:
- Place all ingredients for dipping sauce in a small saucepan and cook until sugar dissolves
Pan frying the cake:
- Cut the cake into small squares (if you use square pan)or wedges like mine (since I use round pan)
- Pour cooking oil into a skillet to come up to about 1/4-inch in height. Preheat the oil over medium heat. Place the chives cake pieces on the oil and pan fry until golden brown on both sides, about 3 minutes or so on each side

- Remove and place on an absorbent paper towel while you are pan frying the rest
Serving:
- Serve the pan-fried chive cake with the dipping sauce
Storing leftover:
- Steamed chives cake can be kept frozen for up to one month. Simply cut them into squares or wedges and then place on a baking sheet lined with parchment paper and then place in the freezer for one hour. Transfer to a freezer bag and they won't stick to each other anymore. Simply thaw them before pan frying. This is a great way to make ahead and pan fry the amount you want to serve
- I suggest to pan fry only the amount you want to eat for the best result. Pan-fried chives cake can be kept in the refrigerator for 3 days max. You can reheat them in the air fryer or an oven at 375 F for 5 minutes or so or until crispy
[disclosure]

2 comments
This looks absolutely delicious! Now I want to go in search of the flours so I can make it. I’m gluten free, so these are all perfect to add to my pantry. Question, could I keep all the chive water that was squeezed out, then add water to get 1.25 cups? Seems like a waste of good flavor. I think I will try that anyway. Thank you for this recipe.
Hi Annette, yes you can use the chives water if you want! I hope they turn out good for you!