This post may contain affiliate links. Please read our disclosure policy.
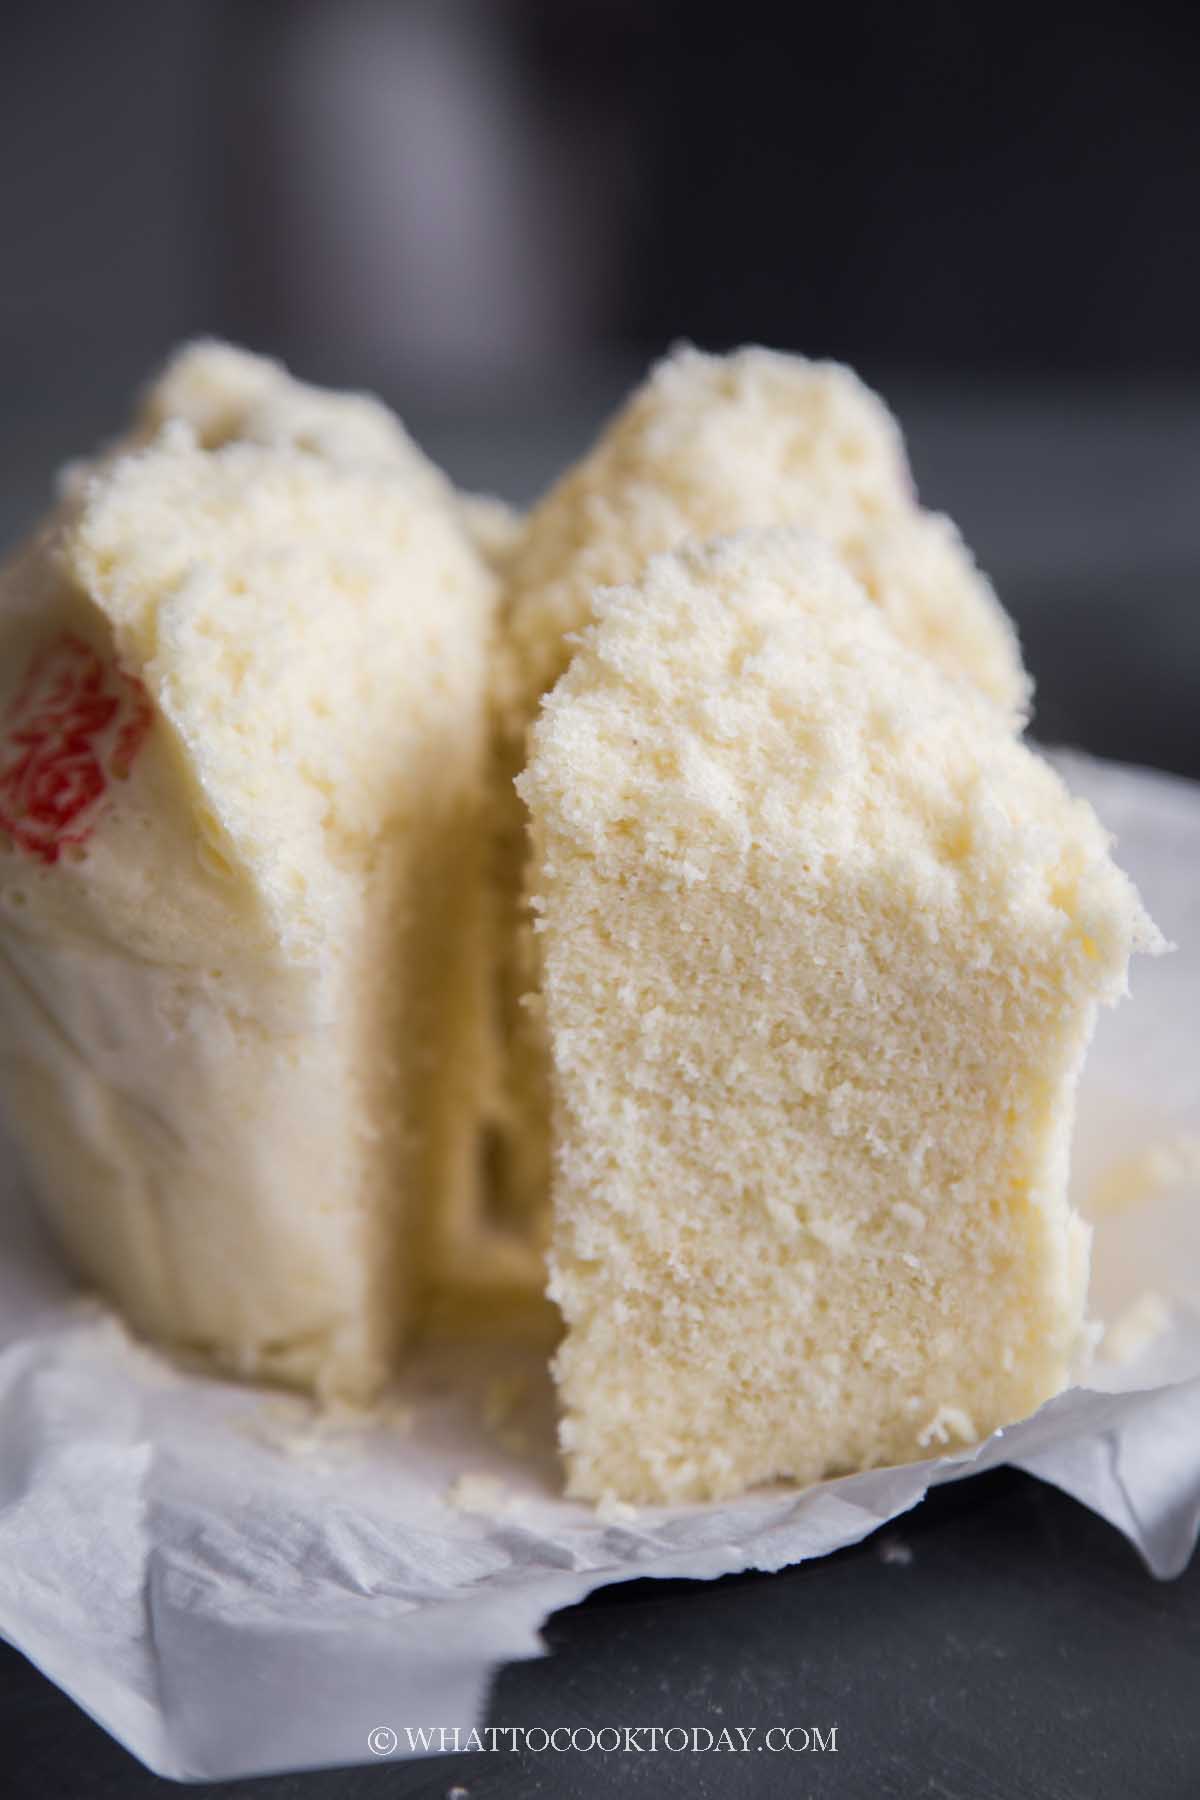
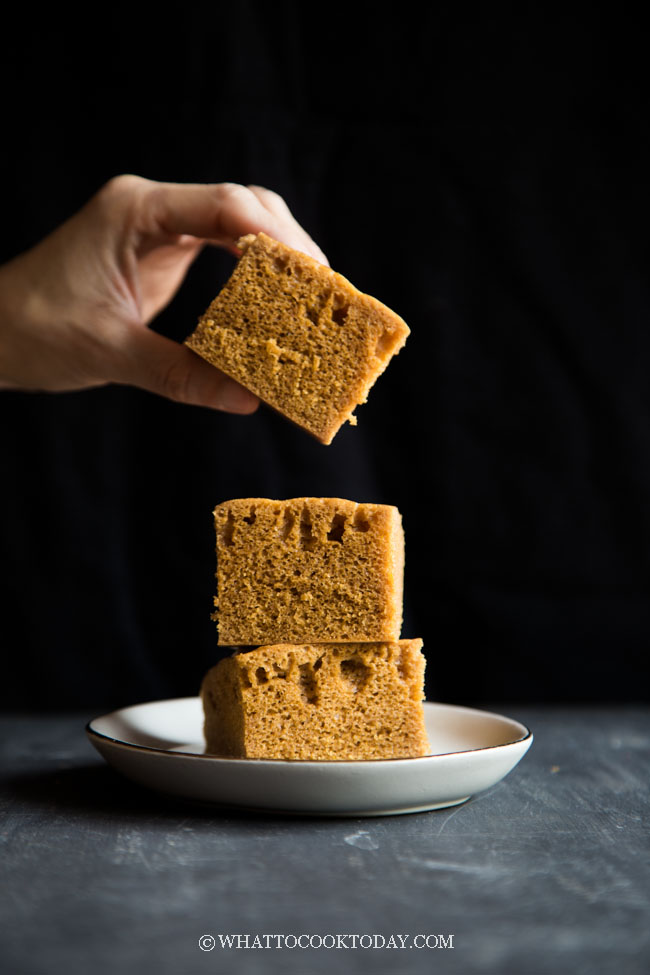
A traditional Chinese steamed ji dan gao or known as kueh neng ko recipe from my grandmother made with only four ingredients and without any oil or butter. The cake is usually characterized by a smiling top and its gu zao wei (old-style aroma). Step-by-step instruction and video are included.
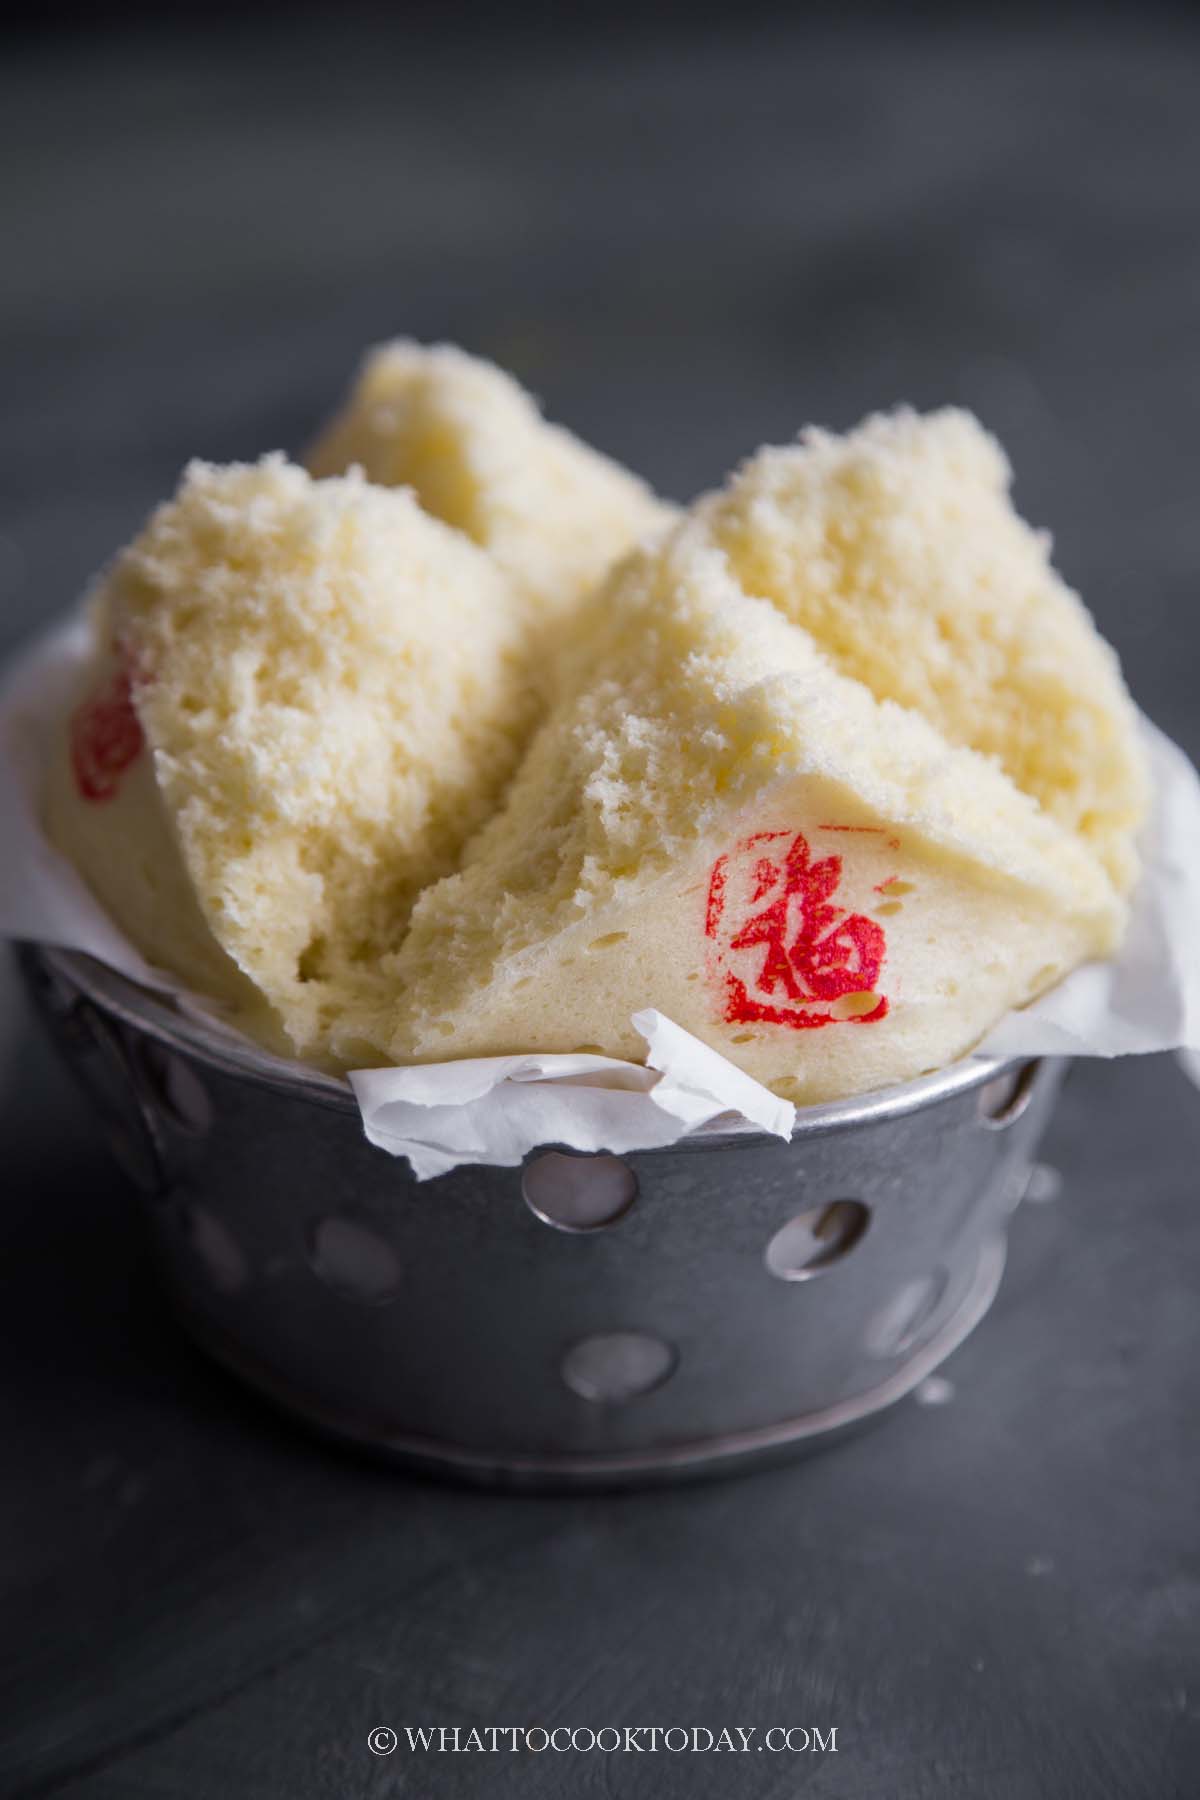
One of the steamed cake that I remember my grandma made often as a kid was this kueh neng ko/kuey neng ko. In Hokkien, kueh neng means chicken eggs and ko means cake. It is one of the simplest cakes to make with only 4 ingredients but can be quite tricky to get the nice smiling crack on top.
Kueh Neng Ko VS Huat Kueh (Faat Koh)
Both of them have nice smiling tops and usually represent prosperity, but they are not the same. They don’t taste the same either. Kueh neng ko is only made with 4 ingredients without any added oil or butter and it has its “eggy” aroma (hence its name). It may sound unappetizing when I said “eggy”, but traditional ji dan gao to me, gotta have that eggy aroma, but it’s just me. I like the gu zao wei (old-style aroma). Kueh neng ko usually is steamed in a large bamboo or rattan basket or a round cake pan with holes all over. Huat kueh has more ingredients and usually steamed in individual cups just like muffins. Huat kueh can also be made without any eggs, but ji dan gao, as its name implies, cannot be made eggless, at least not my grandma’s version.
Ingredients
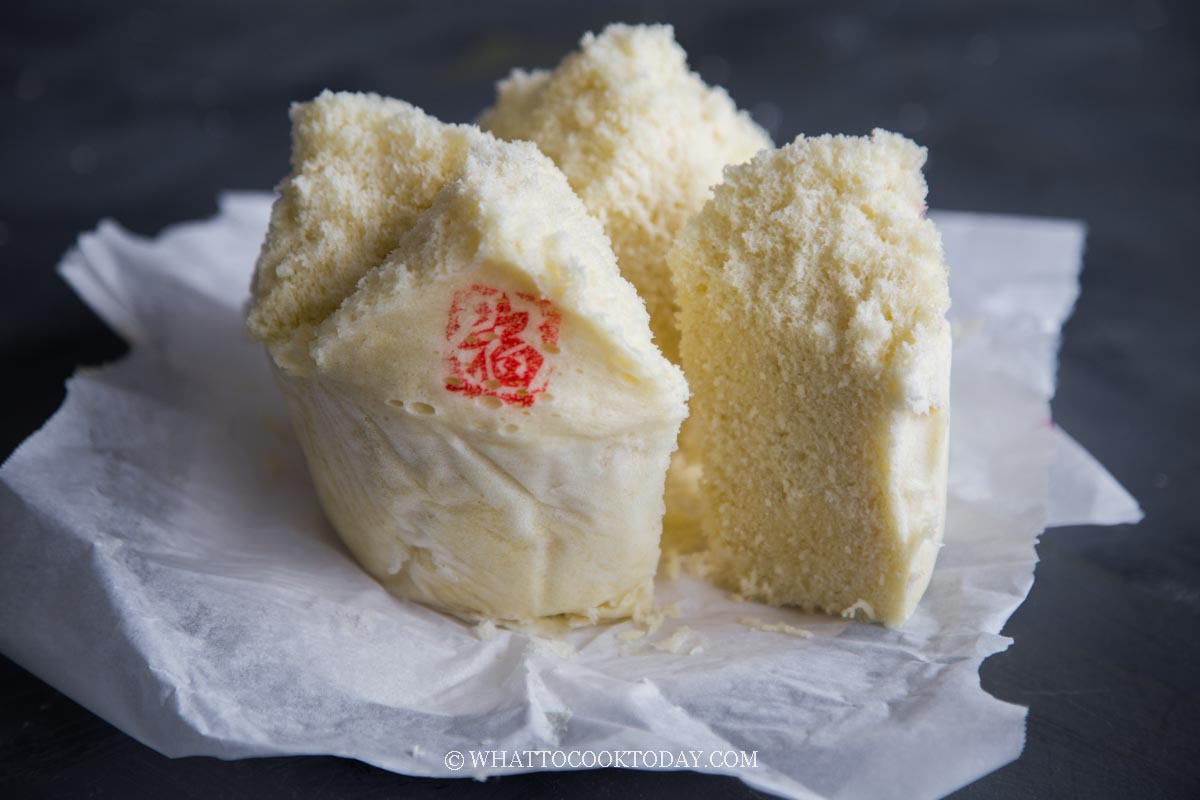
This kueh neng ko is about 3 inches in height (not including the cracked top). So, it’s a really nice and tall cake
1. Eggs
I use large eggs, weighing about 56-58 grams each with the shell. Make sure they are at room temperature
2. Cake flour
I wasn’t sure what kind of flour my grandma used at that time. My mom said she used flour with medium gluten content, so my guess would be an equivalent to all-purpose flour. I don’t really like the texture of the cake made with all-purpose flour as it was more “rough” and dense. So I decided to use cake flour and it has a nice tender fluffy texture
3. Sugar
I use granulated sugar
4. Soda drink
My grandma and mom used sprite. I use sparkling water because I don’t want any more added sugar to the cake. Sparkling water comes with some flavor, so I choose the one I like. You can use any soda drink or carbonated beverage of your choice. Can you replace it with baking powder? I’ve tried, but I have no luck when it comes to getting that smile but the cake still turned out good, just no smile!
How to make traditional kueh neng ko with smiling top
1. Get the eggs out from the fridge at least 15 minutes before you plan to make the cake so they can be at room temperature
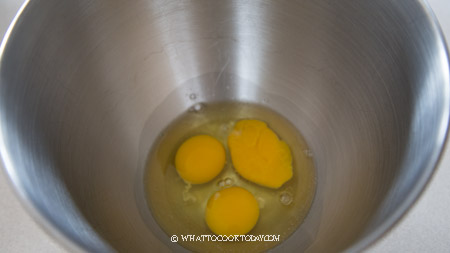
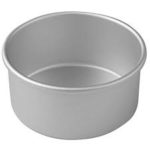
2. Line the steaming basket or aluminum cake pan with a parchment paper all around. It’s okay to have some extra on the sides as you can fold it down
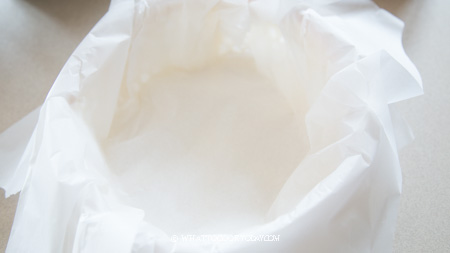
3. Crack eggs into a mixing bowl. Beat over high speed for about 1 minute.
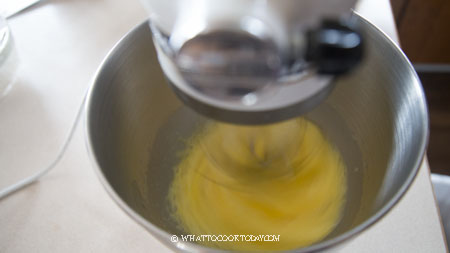
4. Then gradually add in sugar in 3-4 batches.
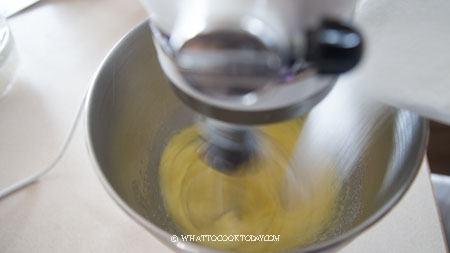
5. Continue to beat until the mixture is pale and creamy, about 10 minutes with a stand mixer, about 15-20 minutes with a hand mixer. The volume would have doubled or tripled too. The mixture will be thick and you can write figure 8 and it won’t disappear immediately. We call this “ribbon stage”. It is important to reach a ribbon stage or your cake will be dense. Add vanilla extract if using and beat for another minute
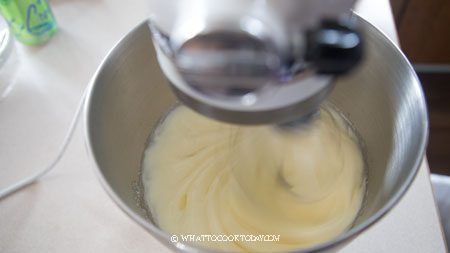
6. Stop the mixer. Crank the heat on the stove back up so the steamer is ready
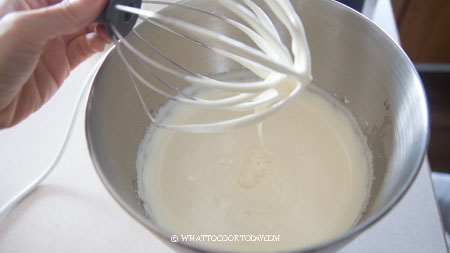
7. Add in cake flour in 3 batches, Use a rubber spatula to gently fold the flour and soda drink. Just mix until you no longer see loose white flour. Don’t overmix or your cake will be dense and tough
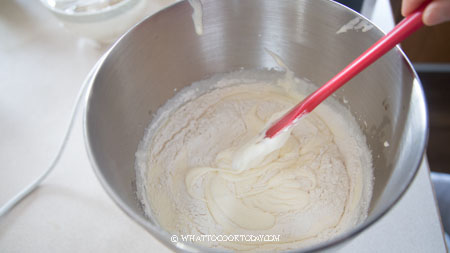
8. Alternating with the soda drink in batches. Only open the soda drink when ready to use it so it won’t lose its carbonation.
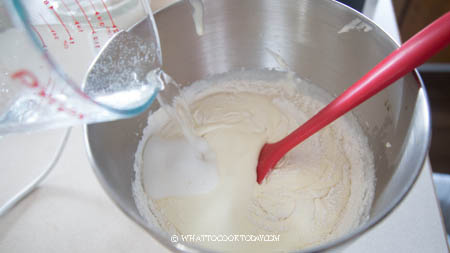
9. Use a rubber spatula to gently fold the flour and soda drink. Just mix until you no longer see loose white flour. Don’t overmix or your cake will be dense and tough
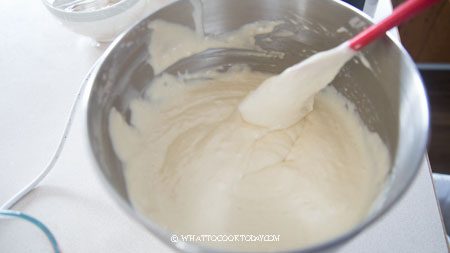
10. Pour the cake batter into a prepared basket all the way to the brim ( in this photo, my basket is a bit too big and hence the batter is not all the way up to the brim, so the crack won’t be as tall). Drop the basket on a counter a few times to pop and large bubbles
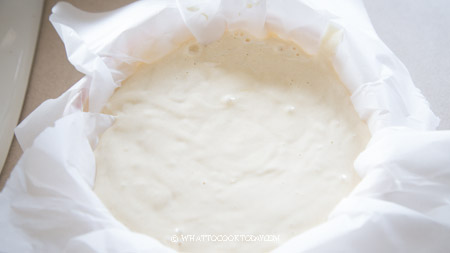
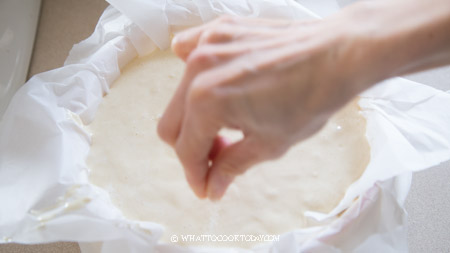
11. Sprinkle the top of the batter with granulated sugar in an X or + pattern. Make sure you do this for about 3 rounds each line. Not enough sugar and the cake won’t split nicely. Do this quickly so the sugar won’t sink to the bottom of the cake
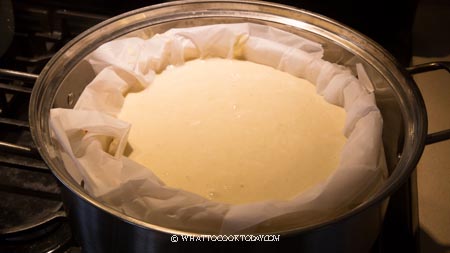
12. Put the basket inside the steamer.
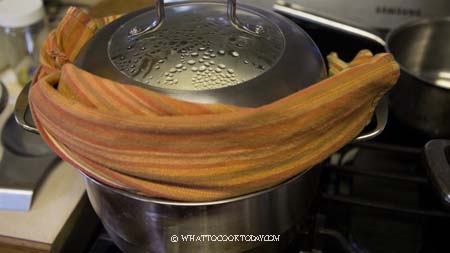
13. Cover with a lid and use a towel to cover all around the lid (as shown in the photo and video). We don’t want any steam to escape. We need all the force we can to push that cake up and hopefully, it will smile at you. Please do not open the lid for the first 30 minutes of steaming. Steam for a total of 40-45 minutes or until a cake tester comes out clean
14. When the cake is done, remove it from the steamer and leave the cake out from the basket by lifting the parchment paper and let it cools down on a cooling rack. This way the bottom of the cake won’t be wet and soggy
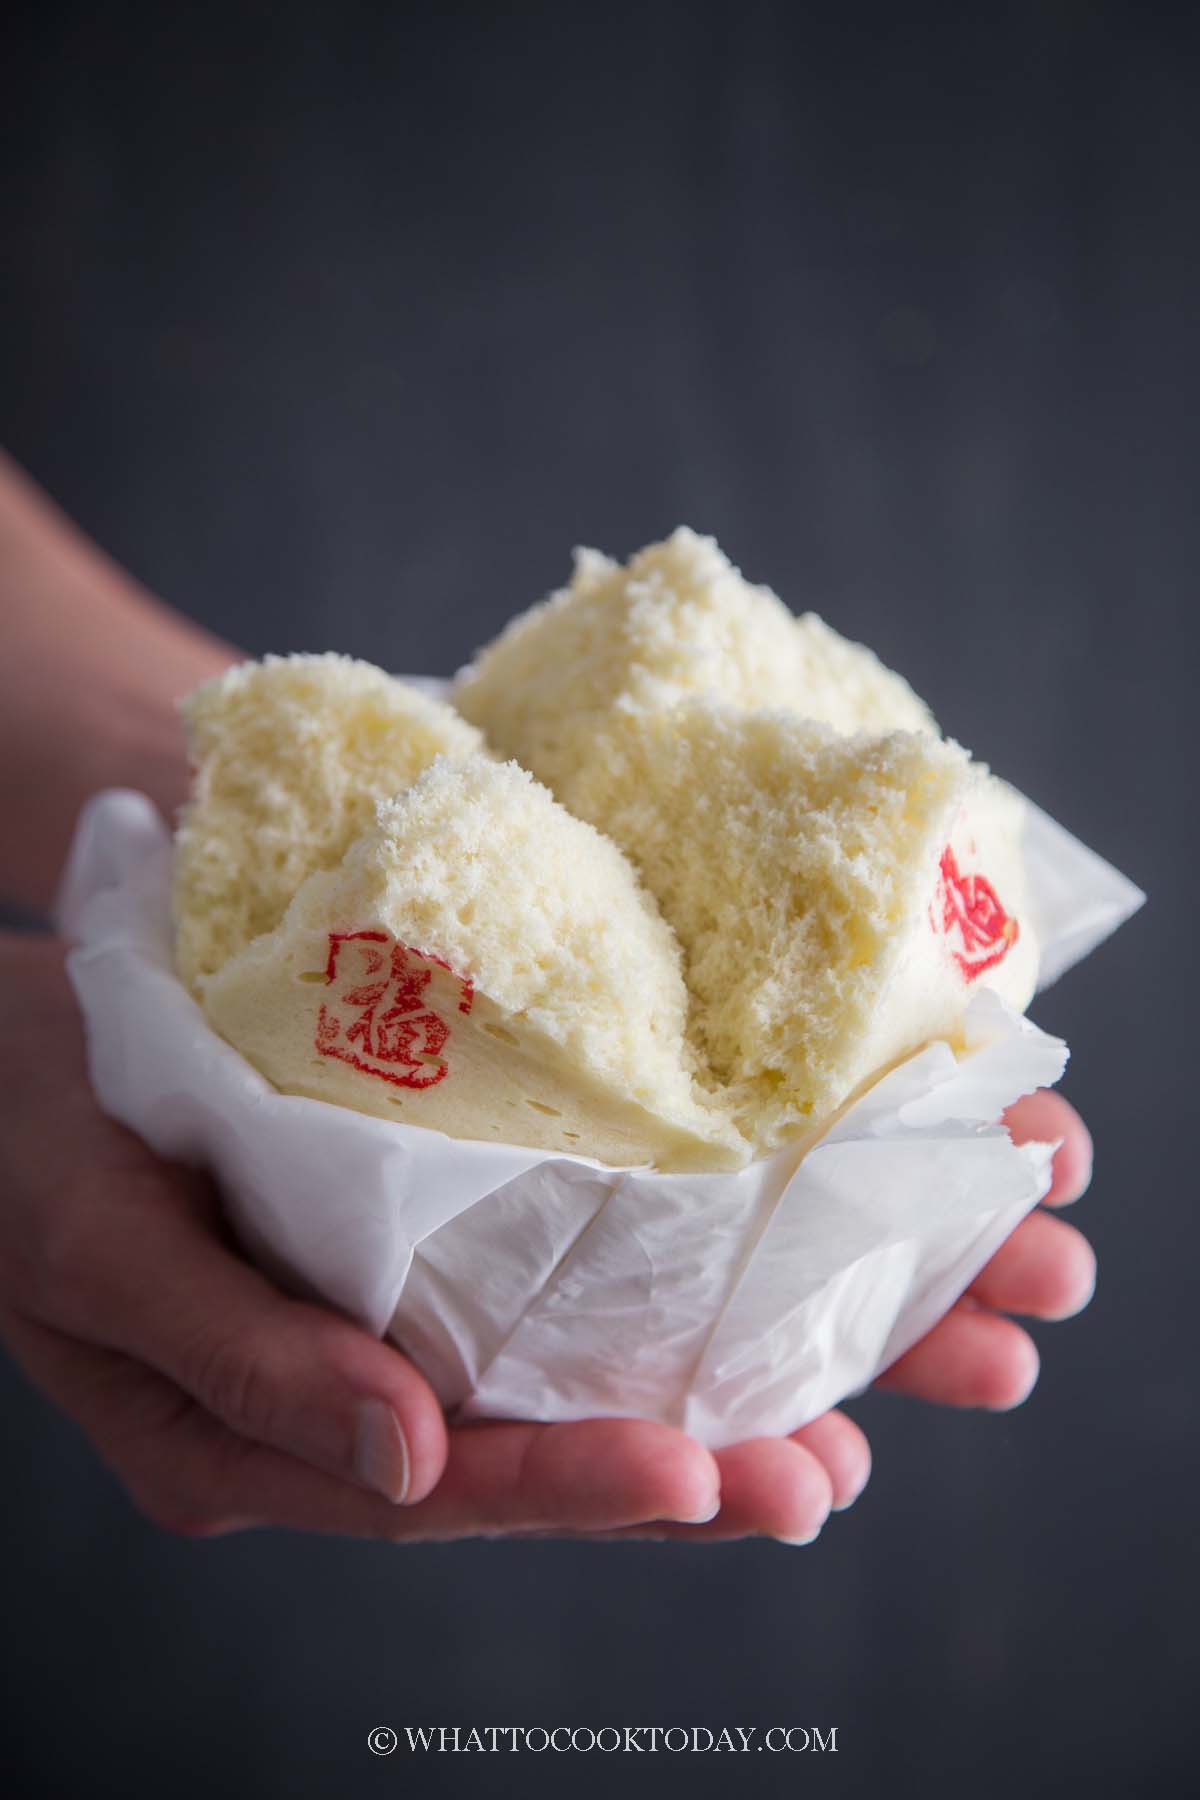
My mom got me some stamps with Chinese character on them and so I just use a red food coloring with the stamp 🙂
Tips for the smiling top on ji dan gao/kueh neng ko
I cannot tell you how many times I have tried and tried and sometimes I failed sometimes I got that smiling top. Finally, I got a consistent result and decided I can post this recipe now LOL. Here’s what I have discovered:
1. Ingredient ratio
I tried a few times trying to alter the amount of sugar and flour and that’s where I failed. My grandma’s recipe uses a ratio of 6:6:6, meaning 6 eggs: 600 grams flour: 600 grams sugar to fit an 8-inch round basket. So, if I were to do half a recipe it will be 3:3:3, so that would be 3 eggs: 300 grams flour: 300 grams sugar, and this will fit into 6-inch round basket or pan. I strongly suggest not to mess with the amount of flour and sugar.
2. Leavening agent
My grandma’s recipe uses soda drink such as sprite to leaven the cake. I have tried replacing it with baking powder and while the cake still tastes good, it refused to smile. I use sparkling water instead of sprite because I don’t want any more added sugar. You can use other soda drinks or carbonated drinks of your choice.
3. Fill up the cake batter to the brim
Yes, don’t fill it up only 3/4 full. We usually do that for muffins, cupcakes, etc, but for kueh neng ko, please fill it up to the brim, so it can rise tall and cracks open (fingers crossed).
4. Sprinkle sugar on top of the cake batter
You need to sprinkle some granulated sugar on top of the cake batter in a cross pattern. The cake will split and crack to give you that smile following the sugar you sprinkled on top. The cake needs to go into the steamer immediately after that or the sugar will sink down and disappear
5. Steamer with a tall lid
Since we expect the cake to “bloom” and crack on top, you need to allow some space or the cake will get squish. So make sure you have a steamer with a tall dome lid to accommodate that.
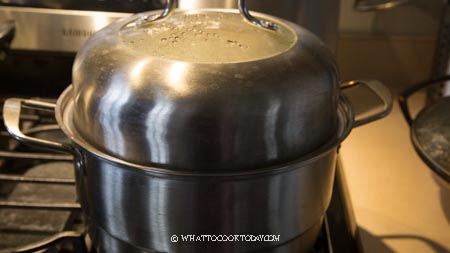
Steamer with a tall lid
6. Round steaming basket or aluminum cake pan
You really need the steaming basket or aluminum cake pan (good conductor of heat) with lots of holes on the bottom and the side (updated: this is not necessary anymore. A round cake pan made with aluminum works too). Steaming basket is harder to find here in the U.S., so the aluminum cake pan is the best alternative. Kueh neng ko depends on very high heat to push the cake up and for the cracks to form. Please do not use a cake pan made with thick material like a glass or silicon material. The cake will not turn out with smiling top for sure
7. High heat
Yes, the high heat is very crucial for the smiling to form. The first 10 minutes is when this smiling cracks open. So, the steamer needs to be ready for steaming on high heat as soon as you are done preparing the cake batter
8. Seal any gaps on the lid of the steamer
My steamer has two tiny holes for steam to escape, in a normal circumstance when I steam other food, I just leave them alone so some steam can escape. BUT, since this kueh neng ko needs all the force from the heat to rise up and crack, I sealed the holes by rolling a towel and place it around the lid (as shown in the photo and video). This is very important!
9. Do not open the lid during steaming
If you do that, simply say bye-bye to the smiling top, it won’t happen anymore. Please make sure you have enough water in your steamer as the cake needs to be steamed over HIGH heat for at least 30 minutes and you cannot open the lid during these first 30 minutes
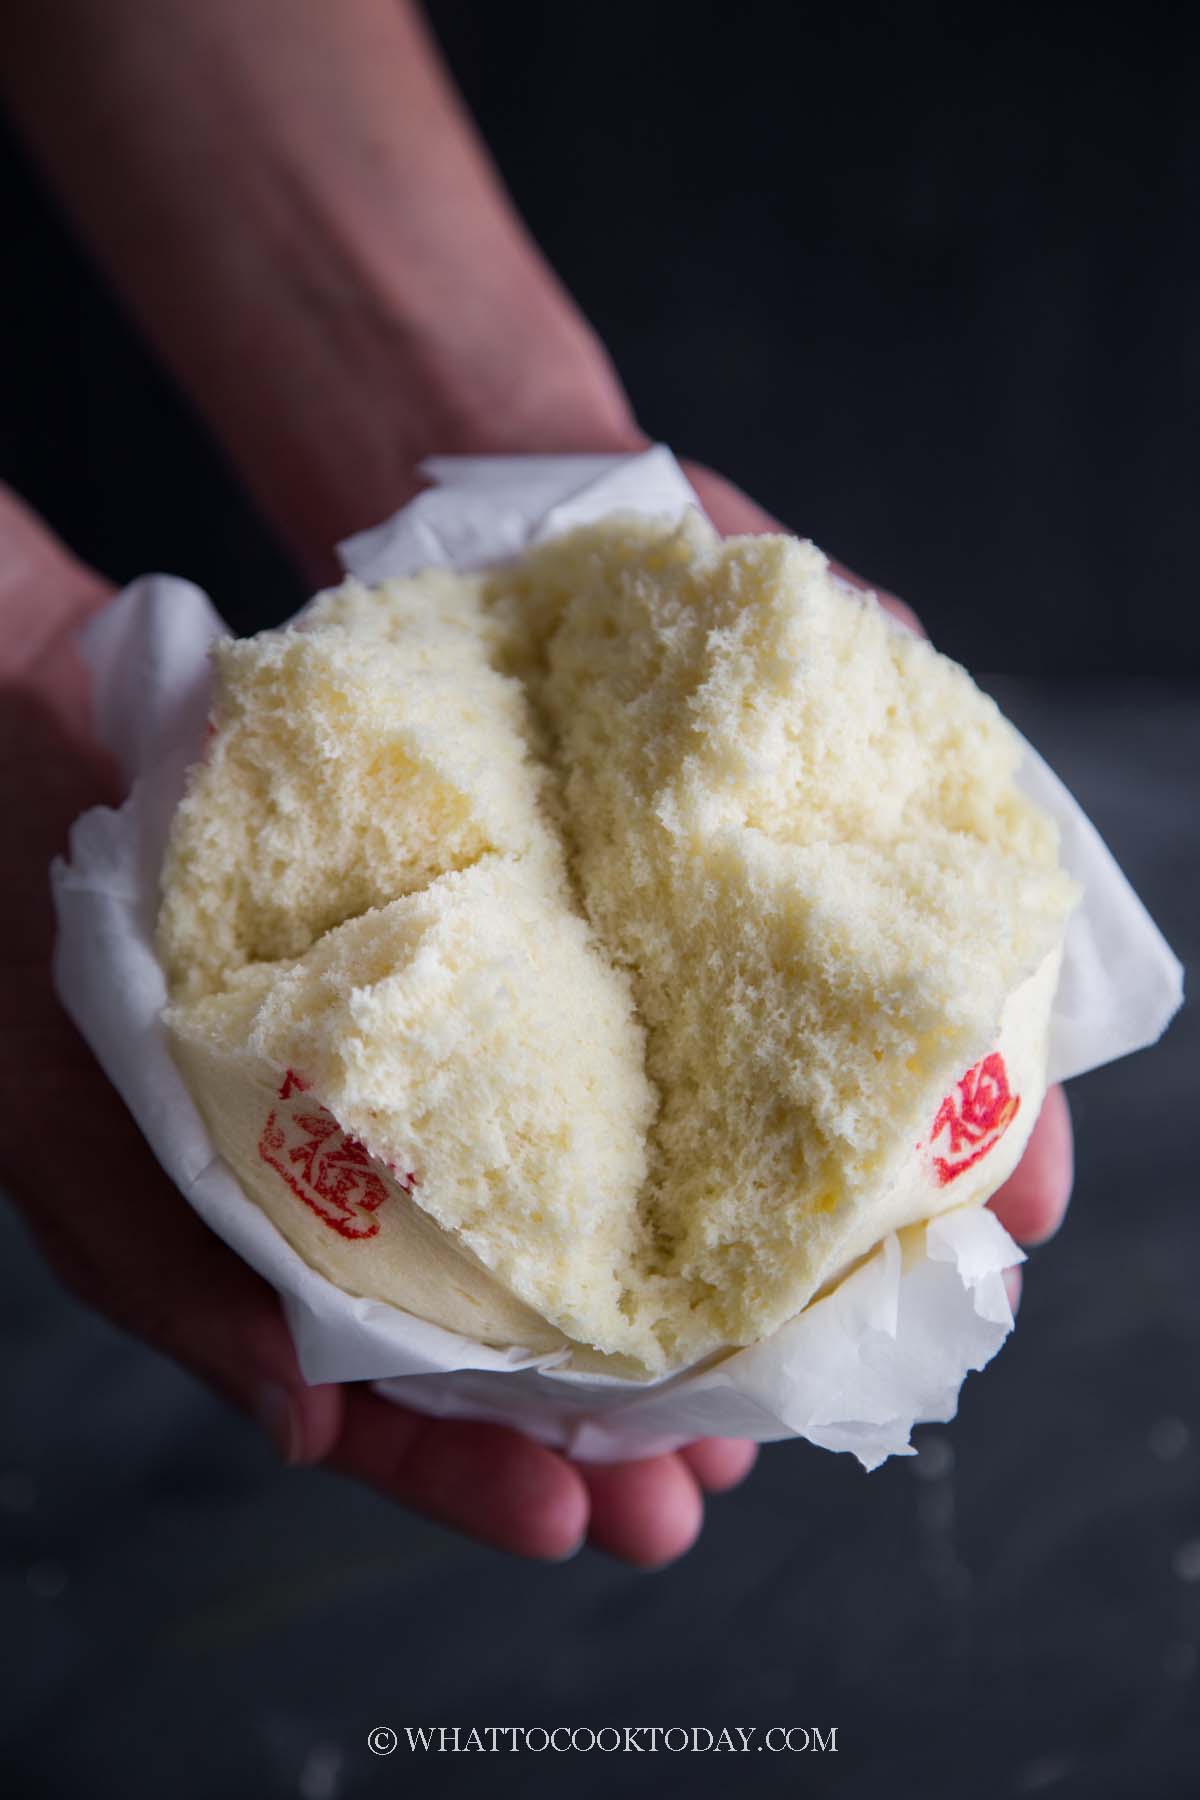
Variations
1. For a different flavor
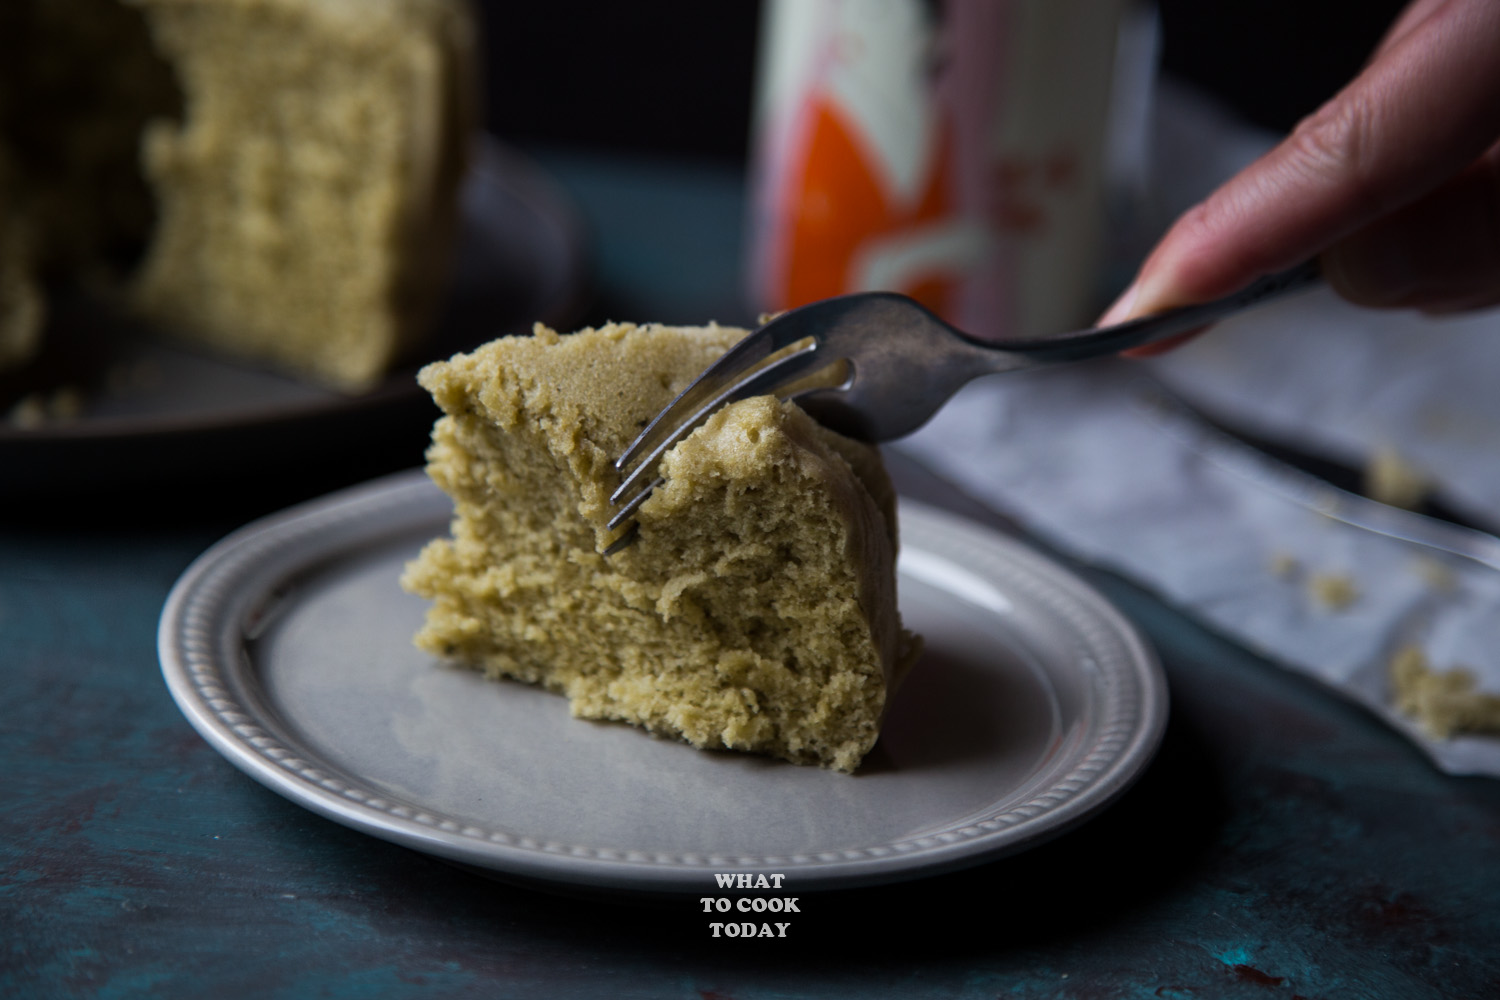
If you want a different flavor, I suggest using essence or powder such as 1 teaspoon of pandan essence/extract, ube extract, or 1 Tbsp cocoa powder, matcha powder. Here I did the pandan extract.

Pandan flavor kueh neng ko/ji dan gao
2. For some color patterns
You can scoop about 3 Tbsp of the cake batter and add a small drop of food coloring or essence. Pour the rest of the cake batter into a prepared cake pan. Add the colored batter into the middle of the batter, then sprinkle with sugar as directed in the recipe
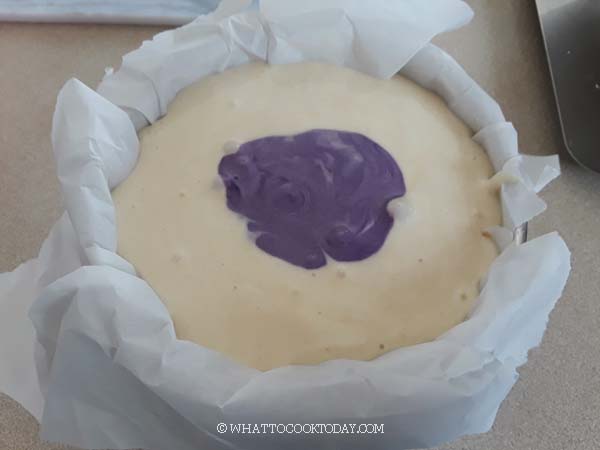
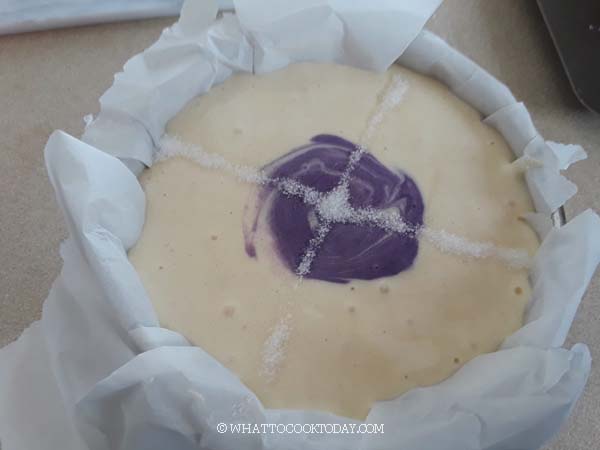

Traditional Ji Dan Gao / Kueh Neng Ko (Chinese Steamed Egg Sponge Cake) with ube essence added
Did you make this traditional ji dan gao/kueh neng ko recipe?
I love it when you guys snap a photo and tag to show me what you’ve made 🙂 Simply tag me @WhatToCookToday #WhatToCookToday on Instagram and I’ll be sure to stop by and take a peek for real!
Other Chinese sponge cakes you may like
A while ago I made an Instant pot version of ji dan gao and I modified my grandma’s recipe. This Instant pot version will not give any smiling top but it still a great cake
Traditional Steamed Ji Dan Gao / Kueh Neng Ko (Chinese Steamed Egg Sponge Cake)
Ingredients
For 5 x 3 inch round basket:
- 2 large eggs about 56-58 grams each with a shell, see notes
- 200 gr cake flour
- 200 gr sugar
- 120 ml sparkling water or use soda drink/carbonated drink of your choice
For 6 x 3 inch round basket:
- 3 large eggs about 56-58 grams each with a shell
- 300 gr cake flour
- 300 gr sugar
- 180 ml sparkling water or use soda drink/carbonated drink of your choice
For 9 x 3 inch round basket: (grandma's original recipe used this size)
- 6 large eggs about 56-58 grams each with a shell
- 600 gr cake flour
- 600 gr sugar
- 360 ml sparkling water or use soda drink/carbonated drink of your choice
Optional:
- 1 tsp vanilla extract if you don't like the "eggy" aroma
- Stamp with Chinese character
Instructions
- Get the eggs out from the fridge at least 15 minutes before you plan to make the cake so they can be at room temperature
Prepare the steaming basket:
- Line the steaming basket with a parchment paper all around. It's okay to have some extra on the sides as you can fold it down
Prepare the steamer:
- Fill up the steamer with water, enough to steam for at least the first 30 minutes. Bring it to a boil and then lower to medium to keep it on a stand-by
Prepare the cake batter:
- Crack eggs into a mixing bowl. Beat over high speed (speed 8 on Kitchen Aid) for about 1 minute. Then gradually add in sugar in 3-4 batches. Continue to beat until the mixture is pale and creamy, about 10 minutes with a stand mixer on high speed (speed 8 on Kitchen Aid), about 15-20 minutes with a hand mixer. The volume would have tripled by now. The mixture will be thick and you can write figure 8 and it won't disappear immediately. We call this "ribbon stage". It is important to reach a ribbon stage or your cake will be dense. Add vanilla extract if using and beat for another minute
- Stop the mixer. Crank the heat on the stove back up so the steamer is ready. Add in cake flour in 3 batches, alternating with the soda drink in batches. Only open the soda drink when ready to use it so it won't lose its carbonation. Use a whisk to gently swipe and fold over flour and soda drink. Just mix until you no longer see pockets of the flour mixture. Switch to spatula to make sure everything is properly combined. Don't overmix either or your cake will be dense and tough
- Pour the cake batter into a prepared basket and it should fill up to the brim. Drop the basket on a counter a few times to pop and large bubbles
Sprinkle with sugar:
- Sprinkle the top of the batter with granulated sugar in an X or + pattern. Make sure you do this for about 3 rounds each line. Not enough sugar and the cake won't split nicely. Do this quickly so the sugar won't sink to the bottom of the cake
Steaming:
- Put the basket inside the steamer. Cover with a lid and use a towel to cover all around the lid (as shown in the photo and video). We don't want any steam to escape. We need all the force we can to push that cake up and hopefully it will smile at you
- Please do not open the lid for the first 30 minutes of steaming. Steam for a total of 45 minutes for 5-inch round cake, 50-55 minutes for 6-inch round cake, and 1 hour for 9-inch round cake, or until a cake tester comes out clean. You may check on the level of water after 30 minutes if you are steaming a larger size cake and fill with hot water so the steamer will come back to a boil again much quicker. The remaining of the steaming time is to make sure the cake is cooked through inside
Cool down the cake:
- When the cake is done, remove from the steamer and leave the cake out from the basket by lifting the parchment paper and let it cool down on a cooling rack. This way the bottom of the cake won't be wet and soggy
- Let the cake cool down completely before slicing





16 comments
Can I reduce the sugar by half or 3 quarters without it affecting the result of the cake?
Besides sweetening the cake, sugar also moisturizes the cake and by cutting out that much the cake may not stay moist as long as texture may suffer. It also helps to hold the air when you beat it with the eggs. So, I’m not sure if you can cut it by that much without affecting the result because I’ve never tried it! If you really want to cut down on sugar, maybe can try with 25% first and see.
Thanks for this recipe. Works so well. Mine had a nice big smile on it.
yay!! happy to know that 🙂
Can these be made as cupcakes?
Hi Tabby, I haven’t tried it myself, but I don’t see why not! As for the steaming time, I would say probably only need between 15-20 minutes depending on the size of your cupcakes. If you give it a try, please let me know how it turns out 🙂