This post may contain affiliate links. Please read our disclosure policy.
Learn how to easily make soft and fluffy Chinese steamed buns (baozi/mantou) without any kneading. This recipe is suitable for anyone with or without much experience in making steamed buns. I believe you will enjoy making (and eating ) these soft and fluffy no-knead steamed buns.

Okay, so I have been making so many steamed buns and I have lost count. I totally hate hand kneading and depend on my stand mixer to knead doughs of any kind! So the other day I was wondering, hmm…I have my soft fluffy steamed buns recipe that I pretty much count on. I also have a no-yeast steamed buns recipe. I also have a sourdough version of steamed buns recipe. Then it dawn on me over the Christmas break that I haven’t explored the no-knead world of steamed buns!! How is that possible?!?
Why you’ll love this no-knead steamed buns recipe
1. No kneading
It’s no kneading needed for real!
2. No overnight
Most no-knead doughs require some resting overnight in the fridge. Not this recipe!
3. Soft and fluffy texture
The steamed buns stay soft and fluffy for a long time. Even the next day when you stored them properly
4. It’s a versatile basic dough
This basic no-knead dough can be made into any kind of steamed bun you want. With or without filling. Any shapes you want. Sweet or savory steamed buns
Why it works
Steamed buns dough usually are kneaded until soft and smooth but it doesn’t have to reach the window pane stage like most baked bread/buns. We want a soft and fluffy texture instead of a chewy one. This is why I use a combination of flour with medium gluten content and low or no gluten content to make steamed buns. We don’t want it to be like a cake, but we don’t want it to be chewy like bagels (I love bagels, don’t get me wrong!). We want something in between.
1. Two proofings
Unlike my basic soft and fluffy steamed buns, which only require one-time proofing, the no-knead steamed buns needs two proofings/fermentation. This is how the steamed buns get a soft and fluffy texture. The first proofing (bulk fermentation) is where the majority of the flavor and texture is developed. The gluten develops on its own during this time because we allow enough time for the magic to happen. Then we shape and allow the dough to do the second proofing (final fermentation) before we steam the dough. Yup, no secret or any black magic. Just simple fermentations can save some elbow grease!
2. Higher hydration
The hydration for this dough is a bit higher than my usual soft and fluffy steamed buns. Higher hydration also contributes to the soft and fluffy texture. The dough is stickier than normal but frets not. It’s still very easy to work with!
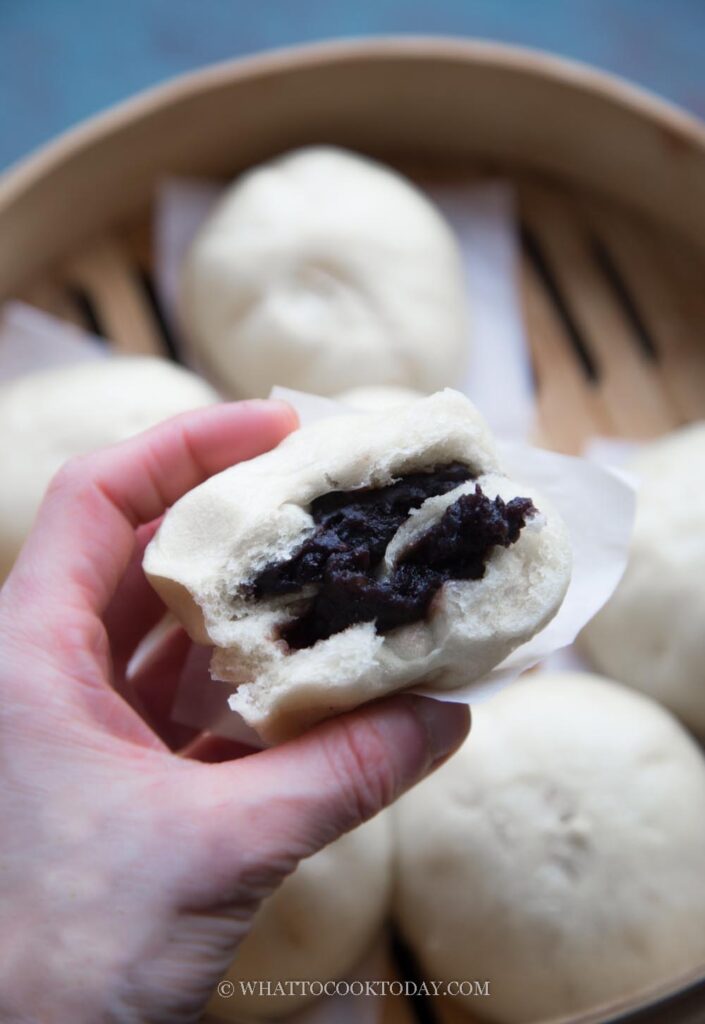
How to make super easy no-knead steamed buns
1. Activate the yeast: Mix the yeast with warm water and sugar. Stir to combine. Let it sit for 10 minutes and the mixture will turn foamy. If you use instant yeast, you can skip this step and add the water amount to the dough instead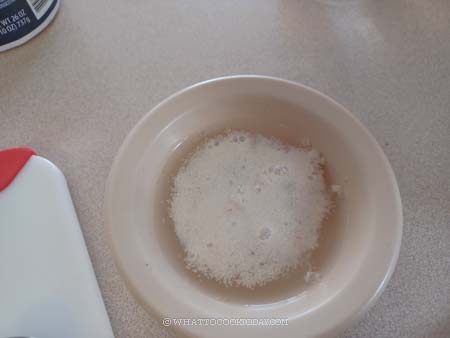
2. Combine flour, sugar, baking powder and salt. Make a well in the center. Add the milk, oil, and the yeast mixture. Use a sturdy spatula to stir to combine. This is a wet and sticky dough. Don’t handle it with your hand. Use a spatula to combine until you don’t see any more pockets of flour. The dough looks rough and shaggy at this point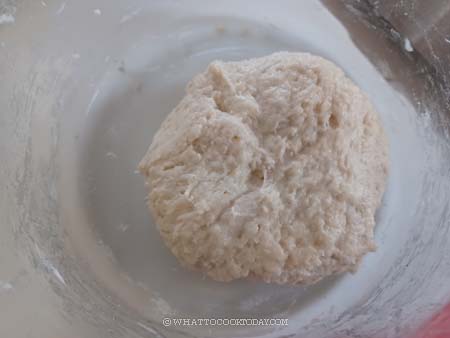
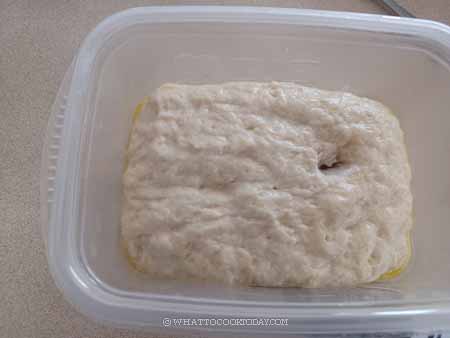
3. Cover the dough and let it proof at a warm place for about 1 hour or until it doubles in size. I like to mark where the start line is for the dough in a container and I can easily see it when the dough doubles. If you poke the dough with a lightly floured finger, the indentation stays and the dough won’t collapse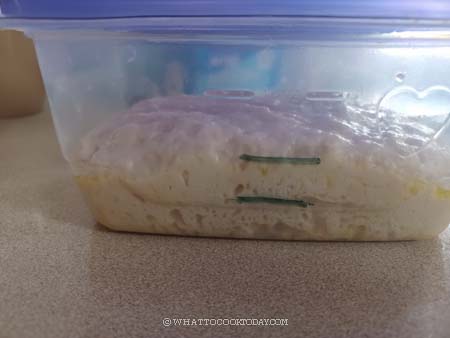
4. Divide the filling into 16 equal portions (depending on how many buns you plan to make). Roughly shape them into ball as that makes it easier to wrap later
5. Scoop the dough out into an oiled counter-top. You can also use a non-stick cooking spray. I recommend not using flour. The more flour you use, the drier and tougher the end result is going to be. I can manage the sticky dough very well by using non-stick cooking spray or oil. Use your oiled hand to deflate the dough by folding and pressing the dough several times. You will notice that the dough gets smoother as you do that
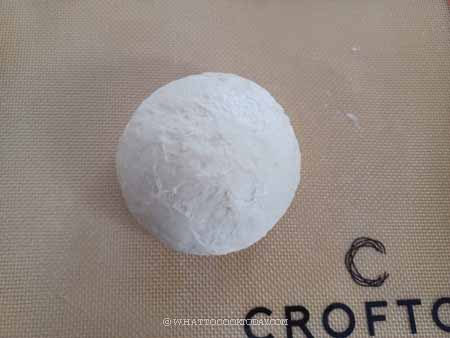
6. Divide the dough into 16 small, 12 medium, or 8 or 9 large doughs. It’s up to you on the size. Round each one into a dough ball. Cover and let them rest for 5 minutes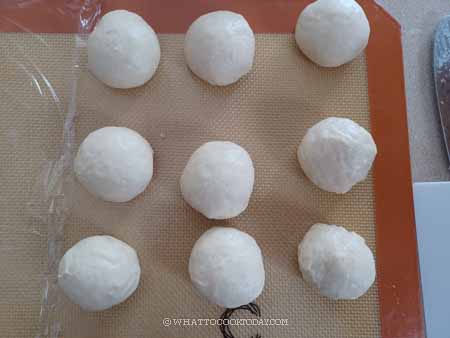
7. I use dou sha filling in this case. You can use any filling of your choice, sweet or savory. Flatten the dough with your palm and then use a rolling pin to roll the sides thinner to form a circle with a thicker middle part. This is to support the weight of the filling. Place the filling in the middle. Create a fold around the edge and then pinch to seal. Cup the dough with both palms and move the dough in a circular motion to shape it taller

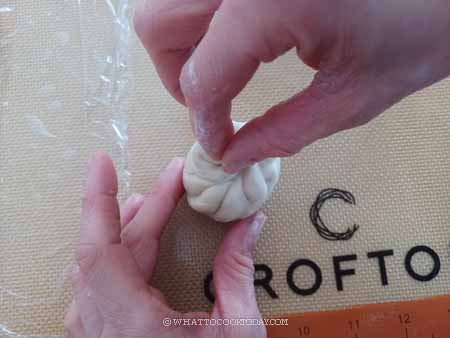
8. Place on a piece of parchment paper. Loosely cover with a saran wrapper to prevent drying. Work with another dough and do the same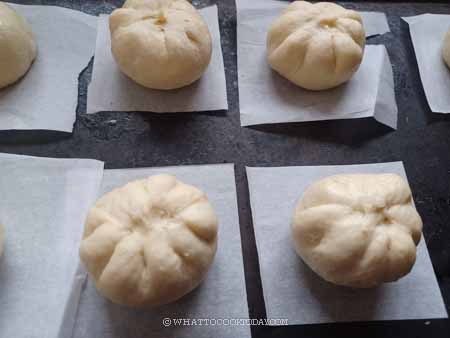
11. Let the shaped and filled buns proof until about 50% double their original size at a warm place. They don’t have to double in size. This may take about 30 minutes to one hour, but please don’t go by the time, just observe to make sure the buns have puffed up to half their original size before steaming and when you gently push on the dough, it slowly bounces back. If it bounces back immediately, the dough needs a longer proofing time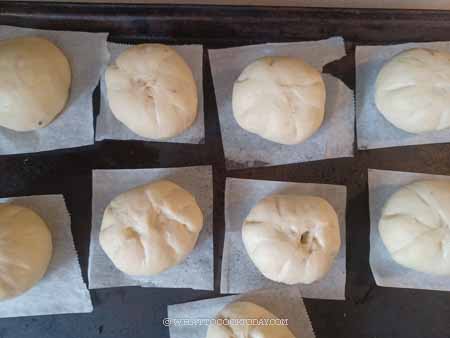
12. Prepare your steamer. Bring the water in the steamer to a boil. Wrap the lid of your steamer (like wrapping a gift basically) with a clean kitchen towel and secure it with a rubber band/ string or whatever you have on the top. This is to prevent the condensation from the steam drops back to your bao and this will create “burn spots” later. When I steam with a bamboo basket, the condensation is not a problem
13. LOWER THE HEAT TO MEDIUM. Place the buns in there, leaving about a 1-inch space in between. Cover with a lid but leaving it about a 1/4-inch gap for some steam to escape. Steam on medium heat for 10 minutes. As long as you steam them like this, the buns will not wrinkle and collapse later when you take them out from the steamer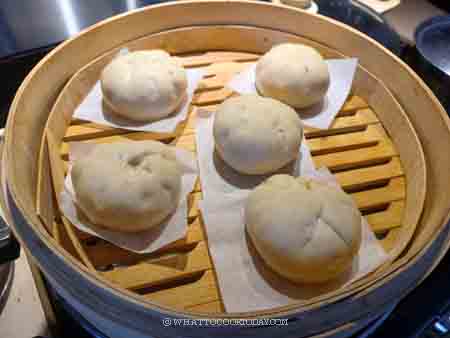
14. Turn off the heat. Do not open the lid of the steamer. Let the buns sit there for 5 minutes like this. The buns will not sink or wrinkle due to the sudden change in temperature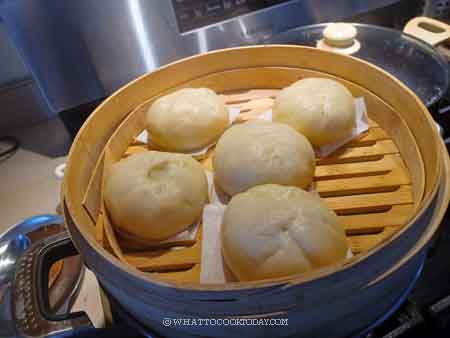
Important tips
1. If you use active dry yeast, it’s important to dissolve the yeast first before adding to the dough. If you use instant yeast, you can skip this step
2. Oil your working surface and your palm to handle the dough. I do not recommend using flour. The more flour you use, the drier the dough gets and the end result won’t be soft fluffy buns
3. Steam the buns over medium heat with the lid slightly ajar to allow steam to escape. The steamed buns won’t collapse and wrinkle that way
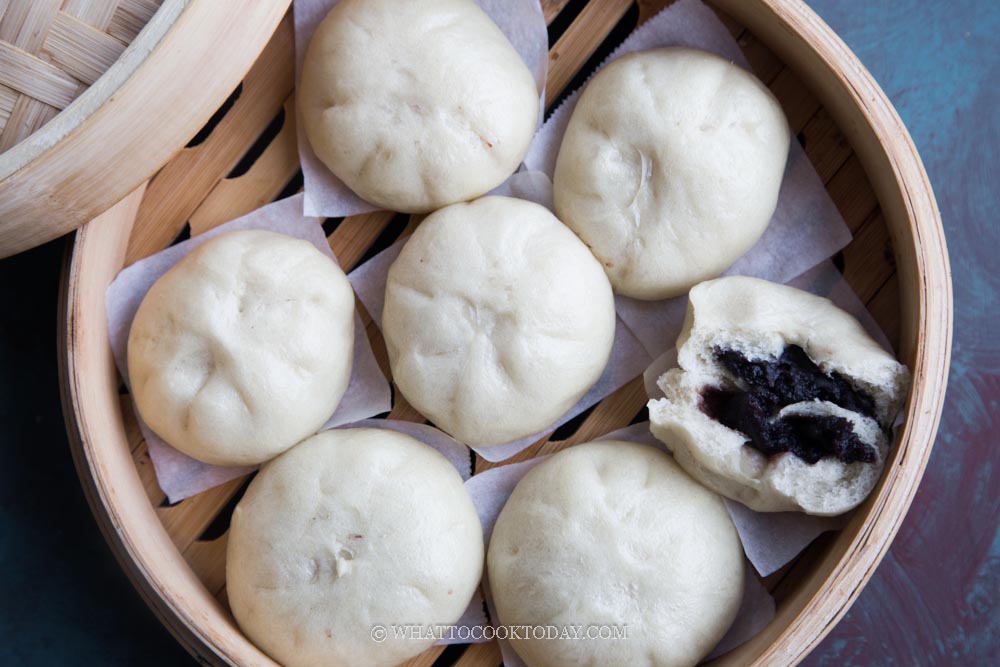
Did you make this super easy no-knead steamed buns recipe?
I love it when you guys snap a photo and tag it to show me what you’ve made. Simply tag me @WhatToCookToday #WhatToCookToday on Instagram and I’ll be sure to stop by and take a peek for real!
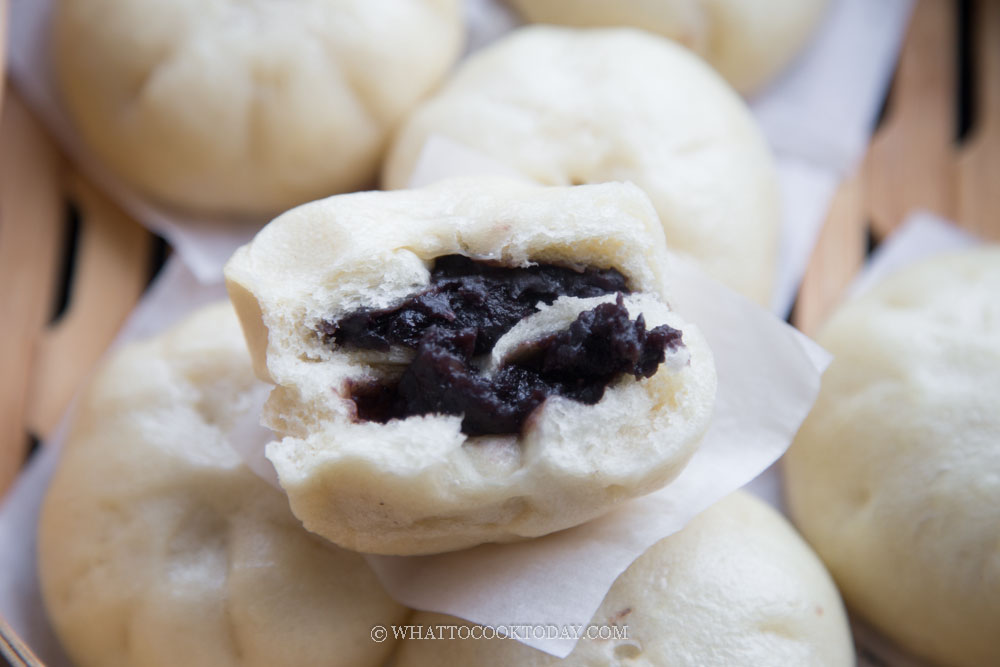
Super Easy No-Knead Steamed Buns (Baozi/Mantou)
Ingredients
Activate the yeast:
- 3 gr active-dry yeast
- 20 gr warm water
- 1 gr sugar
For the dough:
- 300 gr all-purpose flour
- 25 gr sugar you can increase or decrease the amount
- ¼ tsp salt
- 1 tsp baking powder
- 180 gr warm milk
- 15 gr oil neutral-tasting oil, plus more for working with the dough
Filling ideas:
Instructions
Activate the yeast:
- Mix the yeast with water and sugar. Stir to combine. Let it sit for 10 minutes and the mixture will turn foamy
- If you use instant yeast, you can skip this step and add the water amount to the dough instead
Prepare the dough:
- Combine flour, sugar, baking powder, and salt. Make a well in the center. Add the milk, oil, and the yeast mixture. Use a sturdy spatula to stir to combine. This is a wet and sticky dough. Don't handle it with your hand. Use a spatula to combine until you don't see any more pockets of flour. The dough looks rough and shaggy at this point
First proofing (bulk fermentation):
- Cover the dough and let it proof at a warm place for about 1 hour or until it doubles in size. I like to mark where the start line is for the dough in a container and I can easily see it when the dough doubles
Shaping:
- Divide the filling into 16 equal portions (depending on how many buns you plan to make). Roughly shape them into ball as that makes it easier to wrap later
- Scoop the dough out into an oiled counter-top. You can also use a non-stick cooking spray. I recommend not using flour. The more flour you use, the drier and tougher the end result is going to be. I can manage the sticky dough very well by using non-stick cooking spray or oil. Use your oiled hand to deflate the dough by folding and pressing the dough several times. You will notice that the dough gets smoother as you do that
- Divide the dough into 16 small, 12 medium, or 8 or 9 large doughs. It's up to you on the size. Round each one into a dough ball. Cover and let them rest for 5 minutes
- Flatten the dough with your palm and then use a rolling pin to roll the sides thinner to form a circle with a thicker middle part. This is to support the weight of the filling
- I use dou sha filling in this case. You can use any filling of your choice, sweet or savory. Flatten the dough with your palm and then use a rolling pin to roll the sides thinner to form a circle with a thicker middle part. This is to support the weight of the filling. Place the filling in the middle. Create a fold around the edge and then pinch to seal. Cup the dough with both palms and move the dough in a circular motion to shape it taller
- Place on a piece of parchment paper. Loosely cover with a saran wrapper to prevent drying. Work with another dough and do the same
Final proofing:
- Let the shaped and filled buns proof until about 50% double its original size at a warm place. They don't have to double in size. This may take about 30 minutes to one hour, but please don't go by the time, just observe to make sure the buns have puffed up to half its original size before steaming and when you gently push on the dough, it slowly bounces back. If it bounces back immediately, the dough needs longer proofing time
Steaming:
- Prepare your steamer. Bring the water in the steamer to a boil. Wrap the lid of your steamer (like wrapping a gift basically) with a clean kitchen towel and secure with rubber band/ string or whatever you have on the top. This is to prevent the condensation from the steam drops back to your bao and this will create "burn spots" later. When I steam with a bamboo basket, the condensation is not a problem
- LOWER THE HEAT TO MEDIUM. Place the buns in there, leaving about 1-inch space in between. Cover with a lid but leaving it about 1/4-inch gap for some steam to escape. Steam on medium heat for 10 minutes. As long as you steam them like this, the buns will not wrinkle and collapse later when you take them out from the steamer
- Turn off the heat. Do not open the lid of the steamer. Let the buns sit there for 5 minutes like this. The buns will not sink or wrinkle due to the sudden change in temperature
Serving:
- Serve while they are warm. These no-knead steamed buns stay soft even after they have cooled down completely
Storing:
- They can be stored at room temperature for 3 days. Wrap each one in a cling wrap and put inside an air-tight container and they will stay soft this way
- If you make extra and plan to store them, place them on a baking sheet, not touching each other, and then put the entire tray inside the freezer for about 1 hour. They will harden, but not completely frozen yet. Transfer to a freezer bag and they will not stick to each other anymore. Try not to keep for more than 1 month
Reheating:
- They can go straight from freezer to steamer when you ready to eat them. Steam on high heat for 5 minutes and they are as good as new


