This post may contain affiliate links. Please read our disclosure policy.
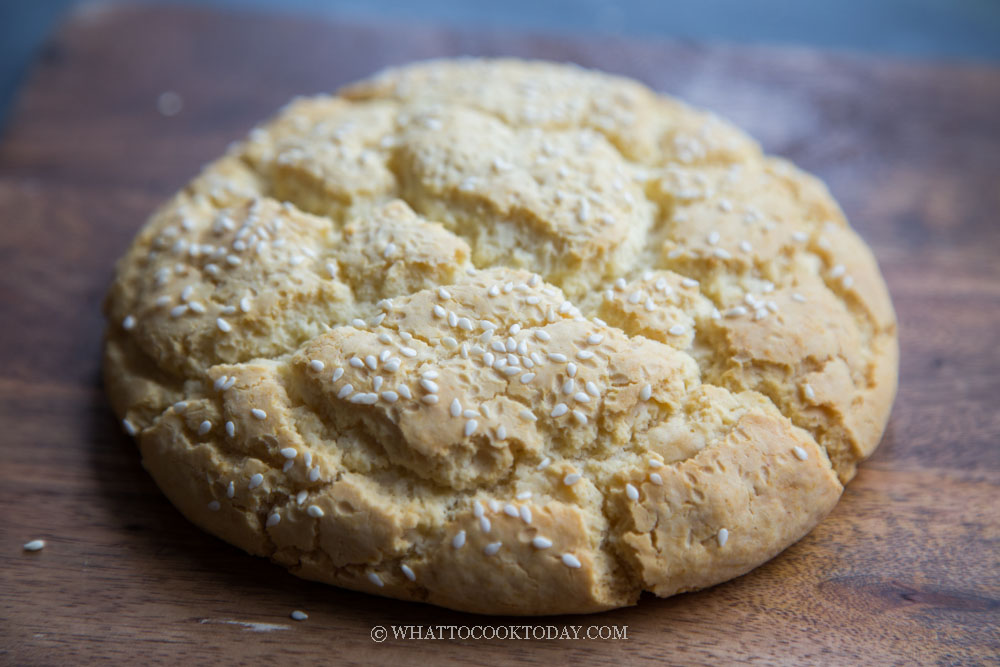
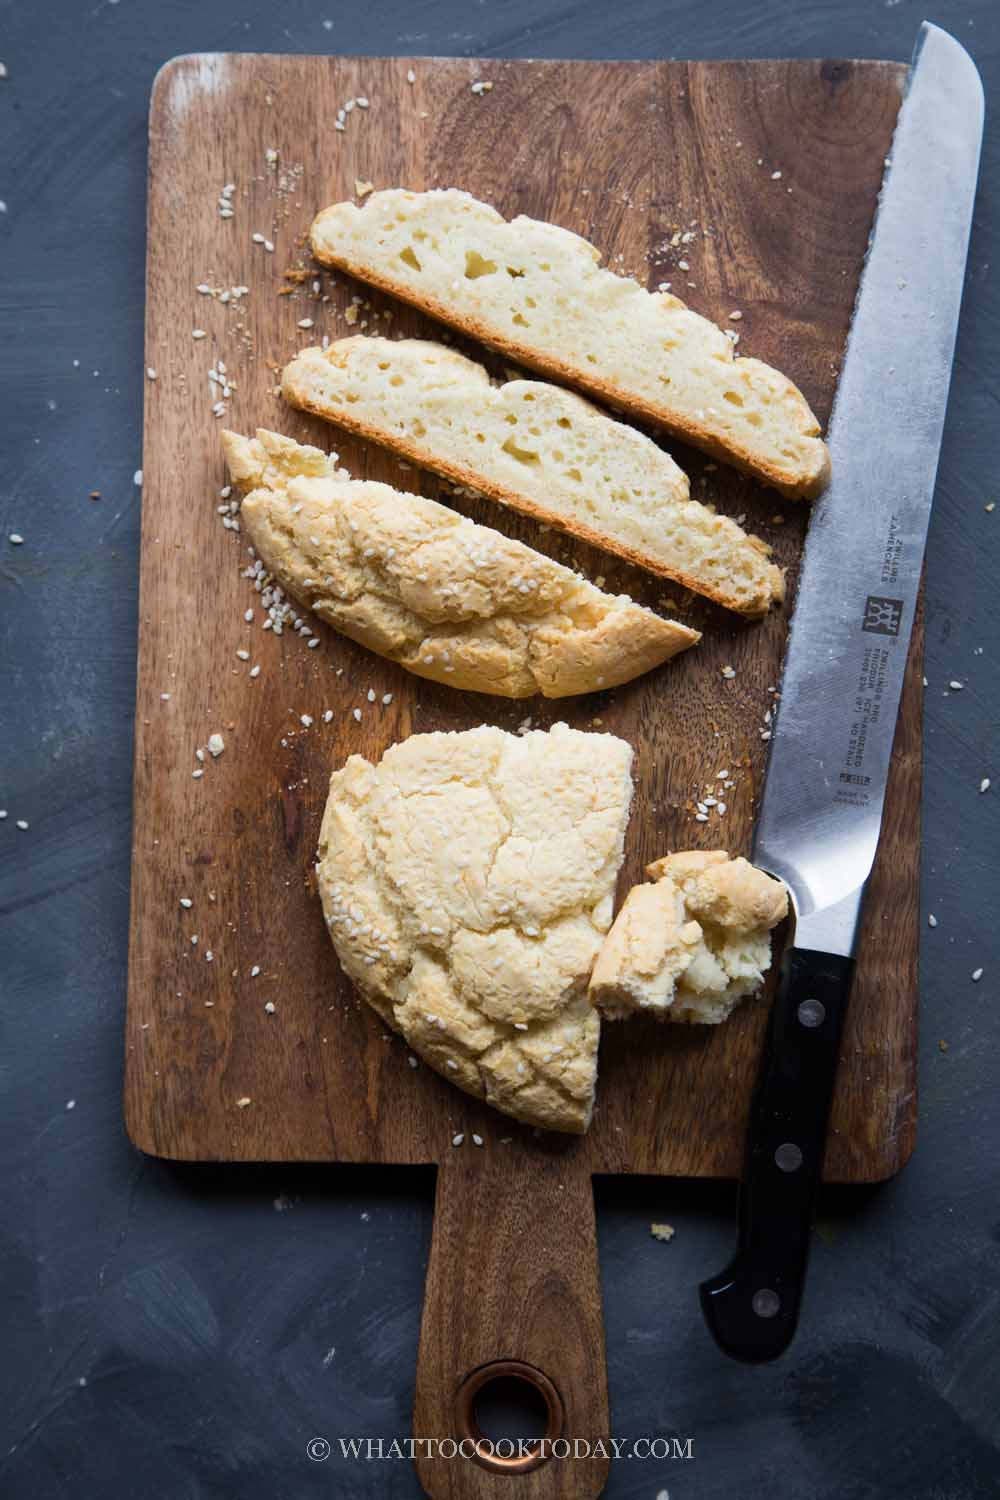
If you are looking for easy gluten-free and no yeast bread, you want to give this “artisan” style mochi bread a try. It has that addicting crust on the outside and the soft, chewy, and slightly stretchy inside. It’s perfect to go with a soup, stew, salad, spread or if you are like me, I love to eat it plain on its own too. It’s so easy to make too.
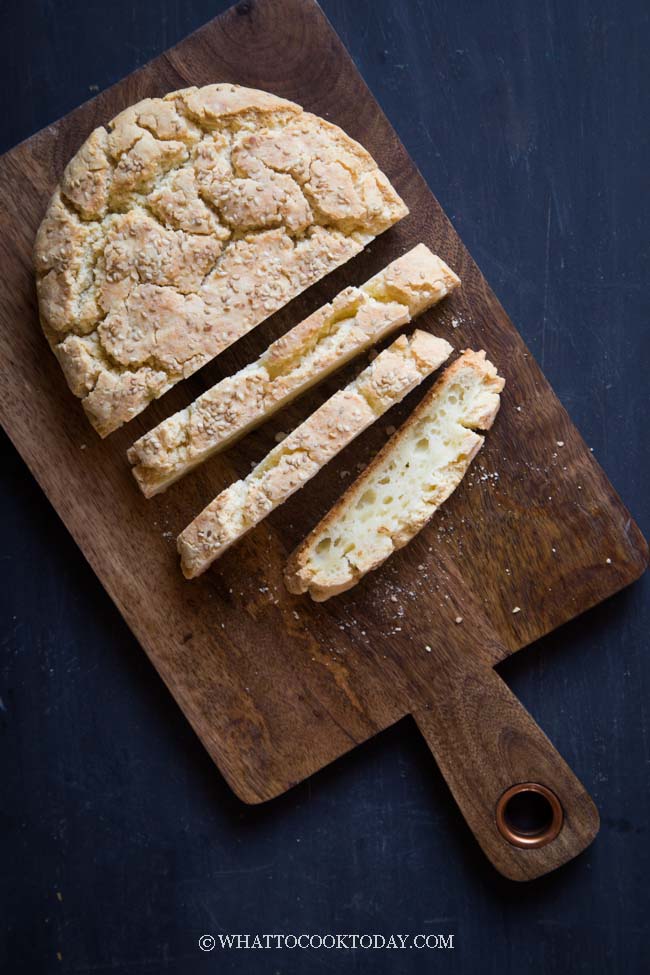
Our family loves this super easy no-yeast mini cheddar mochi bread I made a while ago. They are sooo good that I’ve since made several different kinds of mochi bread. Those haven’t made it to the blog because I thought..what’s the rush right? I’ve almost forgotten about them. With many people looking for easy gluten-free bread and also a recent yeast shortage, I thought this one is worth sharing.
WHY YOU’LL LIKE THIS RECIPE
Gluten-free bread is not my expertise, BUT, I can tell you I really love this super easy no-yeast gluten-free artisan-style mochi bread. We are not on a gluten-free diet, but I’ve always intrigued by gluten-free bread because it’s so hard to get it right (for me anyway!). I developed it based on the mini mochi bread with some tweaks.
1. YOU DONT NEED DIFFERENT KINDS OF FLOUR MIX
Most of the gluten-free bread recipes I’ve seen required a mixture of different types of flour OR a purchase of a brand-specific gluten-free bread flour or gluten-free all-purpose flour, which from what I’ve heard may work on certain recipes only using that specific brand and not really an “all-purpose”. (I’m not a gluten-free expert to comment much on that). For this recipe, you only need glutinous rice flour (for the older version), and the addition of tapioca flour (for the improved version).
2. NO GUMS
Most gluten-free recipes require some sort of gums, most commonly xanthan gums to “glue” things together. You don’t need it here thanks to the glutinous rice flour
2. ONLY ONE BOWL
Yes, you only need one bowl to mix all the ingredients
3. IF YOU KNOW HOW TO STIR, YOU CAN MAKE THIS BREAD
No stand mixer or a hand mixer needed for this recipe. If you know how to stir, you can make this bread. It’s that easy!
4. NO YEAST
I use baking powder to help leaven the bread. Both versions of the recipe had been tested with yeast and I did not find that the yeast version is much better than using baking powder as a leavening agent
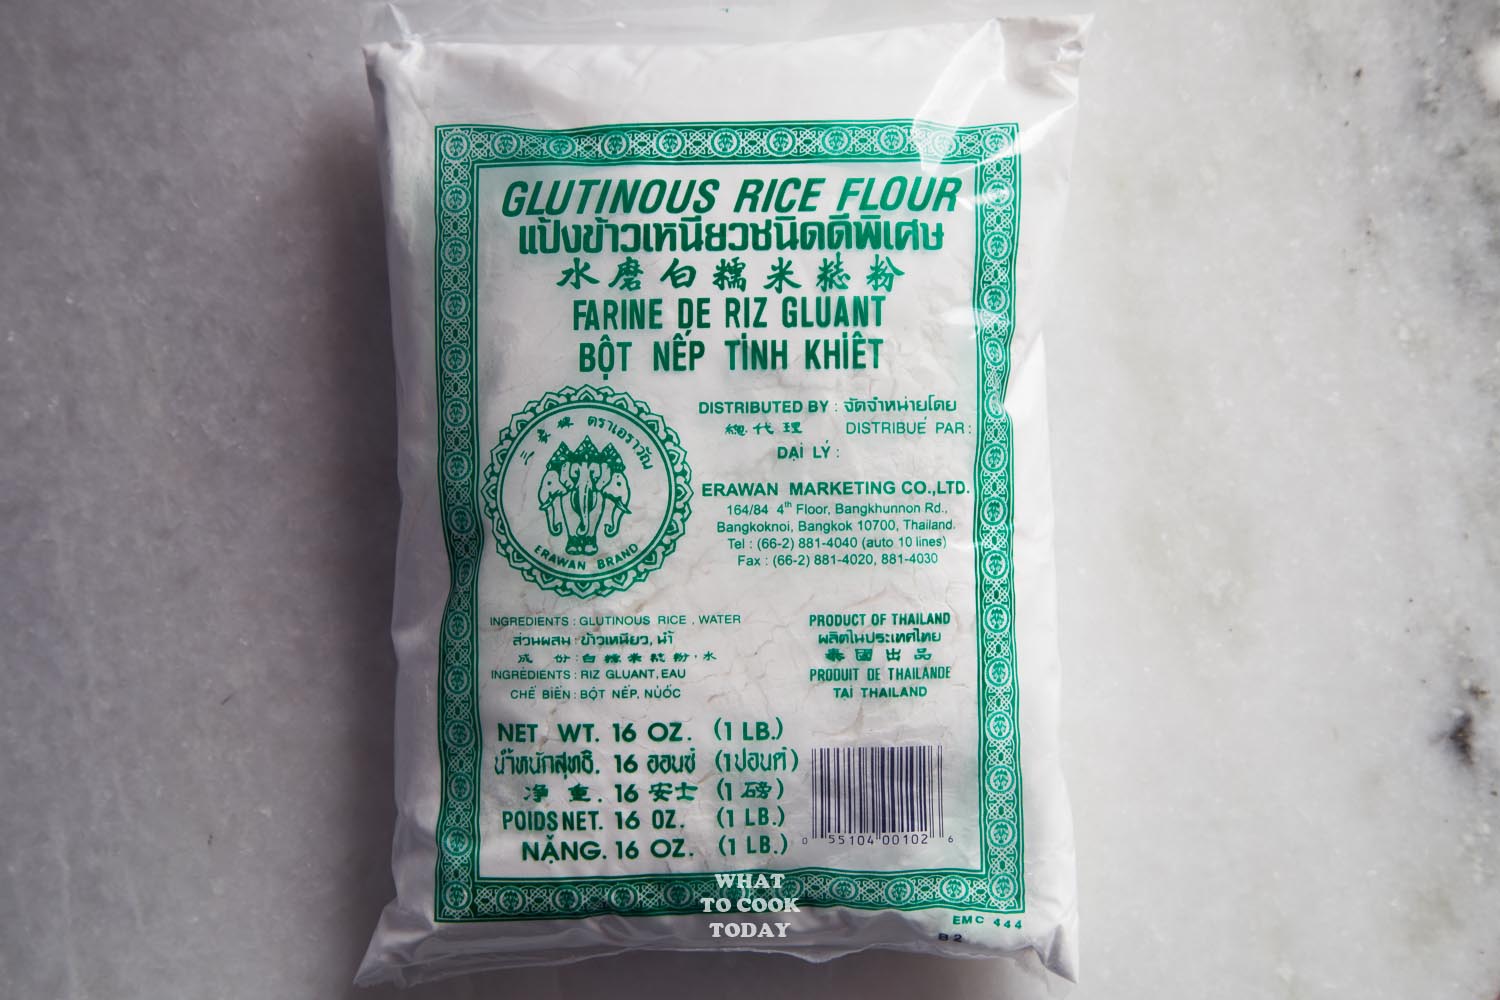
WHERE TO FIND GLUTINOUS RICE FLOUR (MOCHIKO FLOUR)
Most people are more familiar with mochiko flour instead of glutinous rice flour. Glutinous rice flour is totally different from rice flour. Regular rice flour doesn’t have a sticky and stretchy texture after being cooked. Glutinous rice flour does. Glutinous rice flour is made from glutinous rice or also known as sticky rice / sweet rice. But again, just because a rice such as sushi rice is slightly sticky, that is not considered glutinous rice. Glutinous rice is glutinous rice! 😉 a type of rice of its own!
You can find glutinous rice at any Asian grocery store. They are very commonly used in Asia for cooking and baking. This is the type I always use, from Thailand, but you can use any kind as long as you see “glutinous rice flour” written on it.
WHAT TO EXPECT OF THIS ARTISAN MOCHI BREAD
1. Incredibly easy to make
You don’t need much skill to bake this bread that’s for sure. Only mixing in a bowl and then bake. I think we all can handle that
2. Your bread won’t rise as high
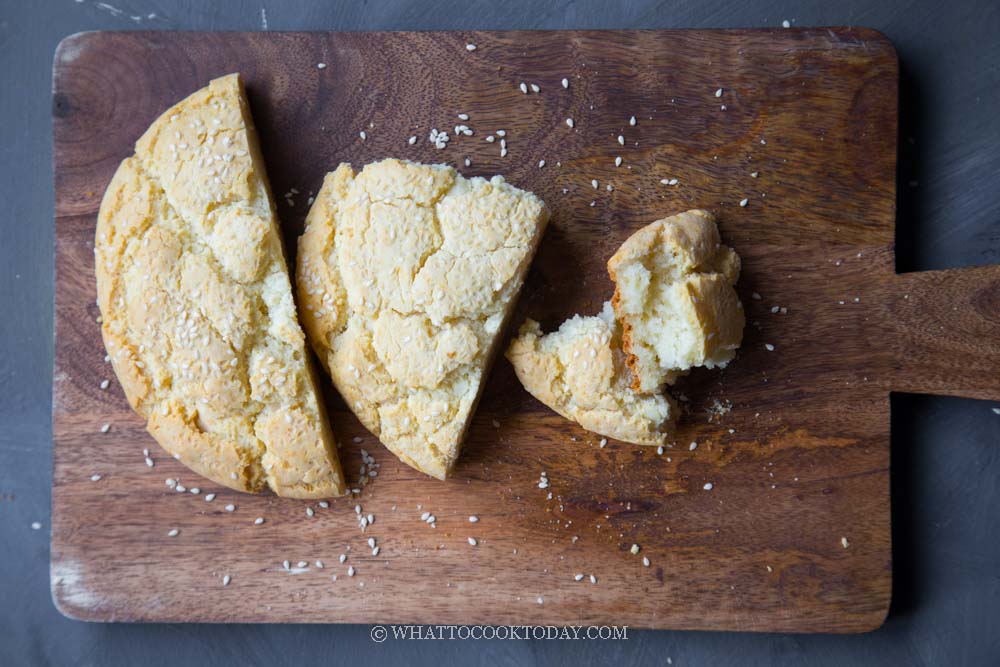
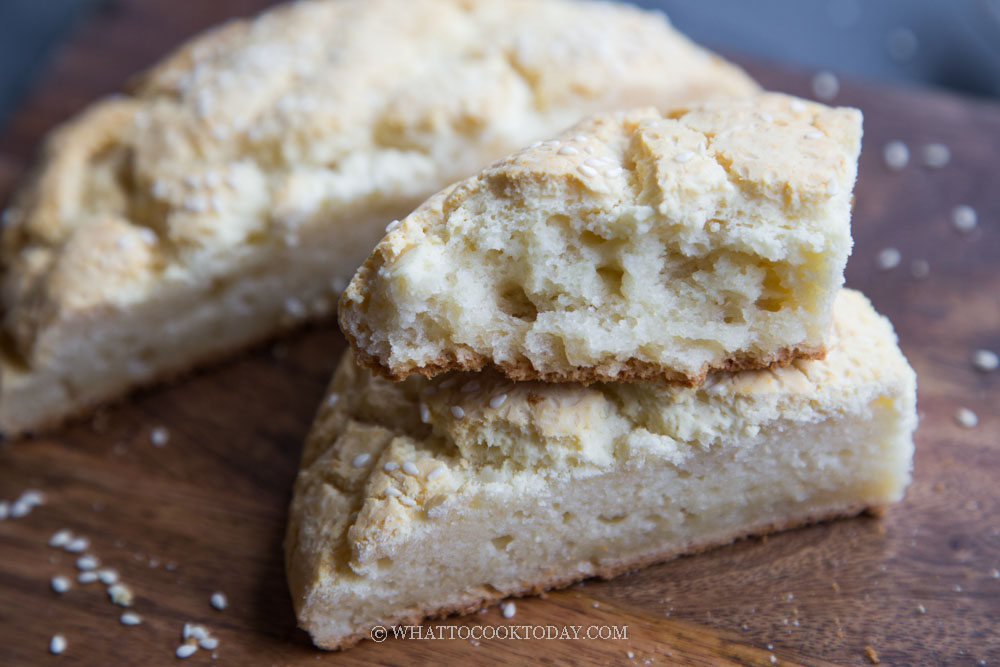
This is not a “tall” bread to be honest. My kids said “It’s like a giant cookie mama”. ha..ha… and she’s right. It does look like a giant cookie, but don’t be fool by the look
3. Crusty outside
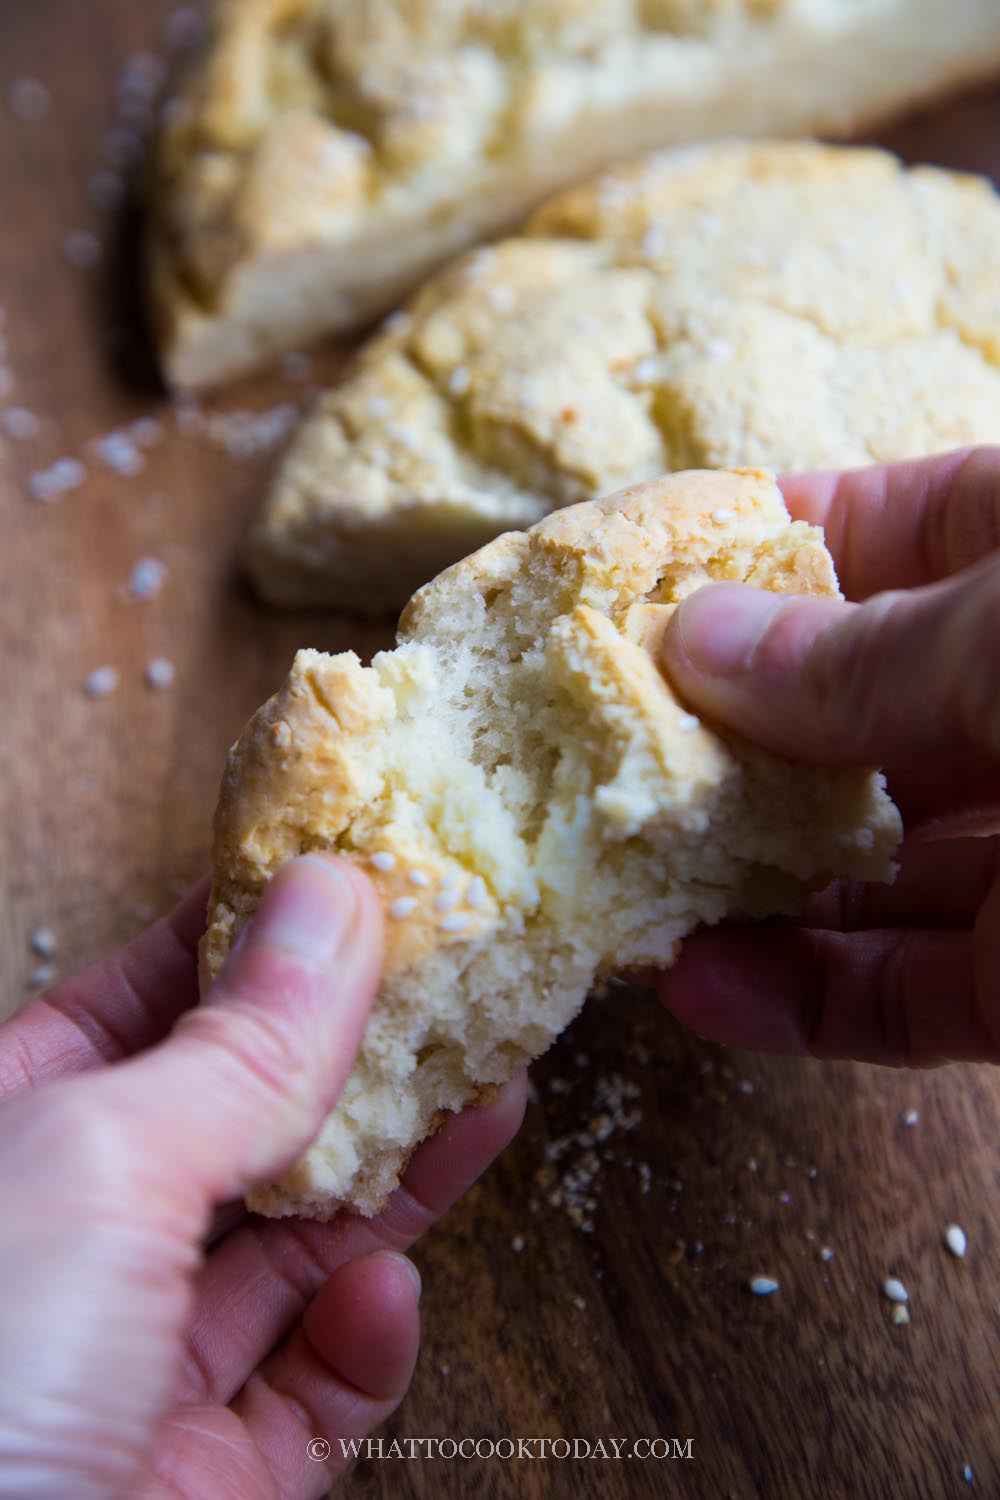
I love how crusty it is on the outside, which complements the soft, chewy, stretchy inside very well
4. Different texture than regular gluten-free bread
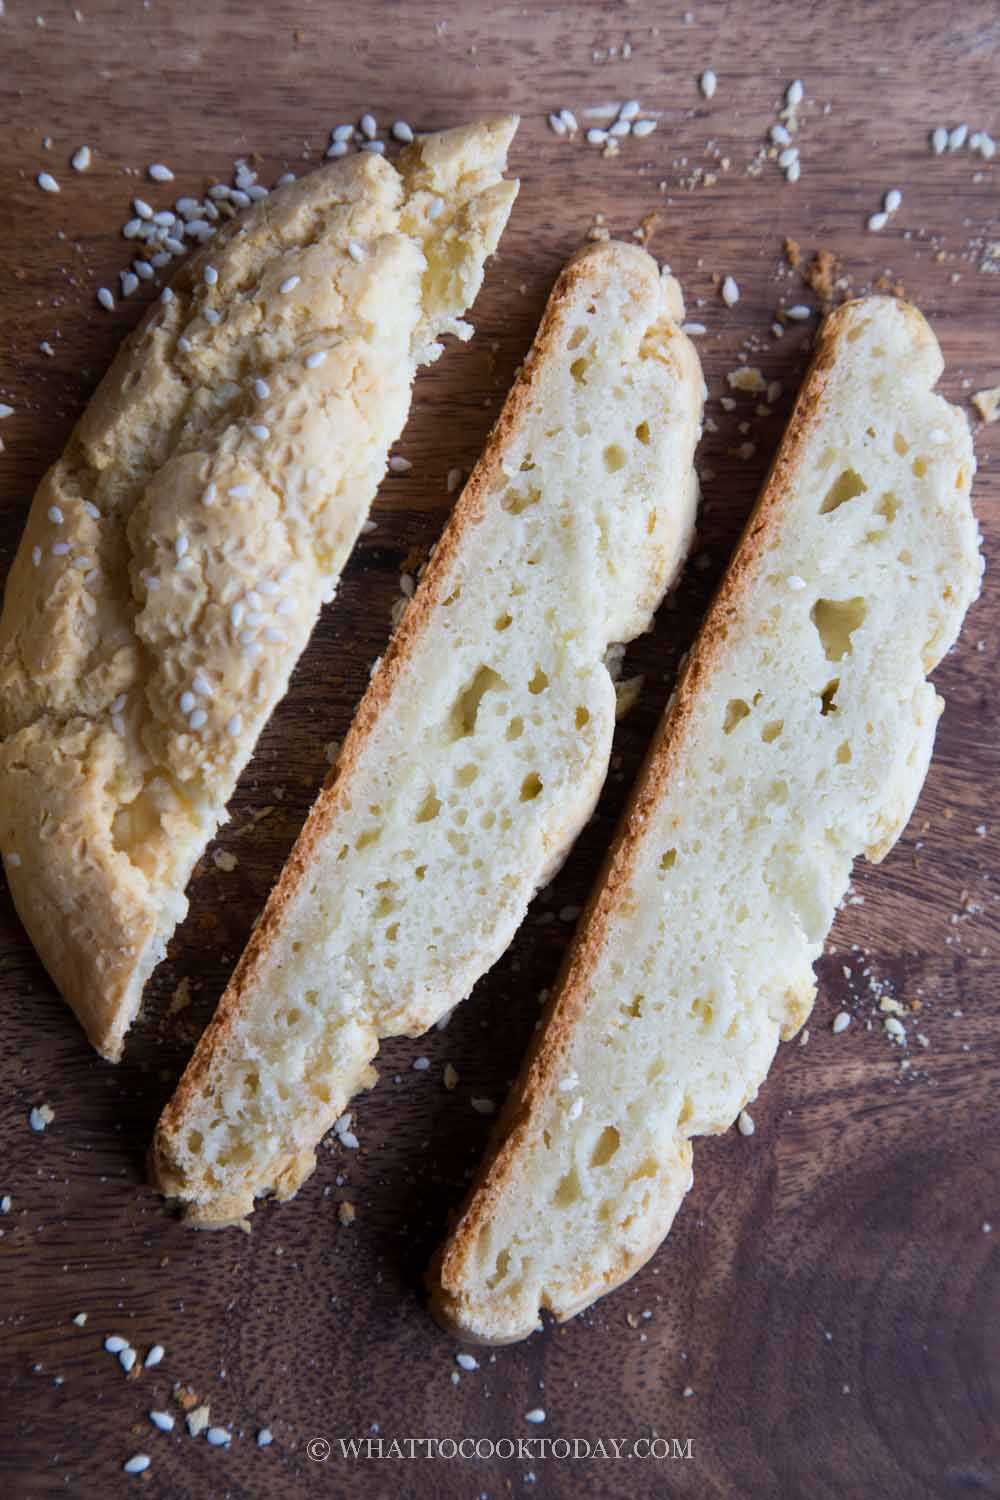
This bread is made entirely with one gluten-free flour (on the older version), which is the glutinous rice flour that contributes to that chewy and stretchy texture and I added a bit of tapioca starch on the improved version. You can see the dense crumbs but it has that pleasant chew without being tough at the same time
5. Does it taste like mochi?
Even though it’s called mochi bread, I can assure you it’s not entirely like the mochi balls you’ve seen or eaten before. It is made of glutinous rice flour and tapioca starch. It does have that hybrid of texture, which is soft, slightly chewy, and slightly stretchy in a good way. Don’t expect it to be 100% like regular artisan bread. NO gluten-free bread I’ve tasted can be 100% like regular bread when you don’t have gluten in it. It can come close, but definitely not the same IMHO! To me, it has that addicting crust and texture that make me keep going back for it LOL!
HOW TO MAKE NO-YEAST ARTISAN MOCHI BREAD IN JUST A FEW SIMPLE STEPS
1. Make the dough
Preheat oven to 400 F (200 C). Combine flour, baking powder, salt, and sugar in a mixing bowl and whisk to mix. Make a little well in the middle, crack in an egg and add milk, and oil.
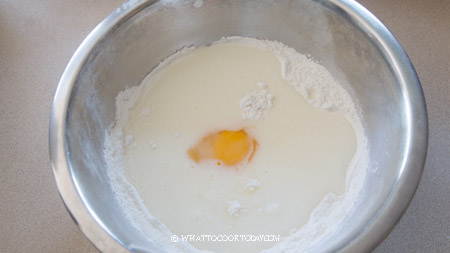
Stir to combine until you can form a dough.
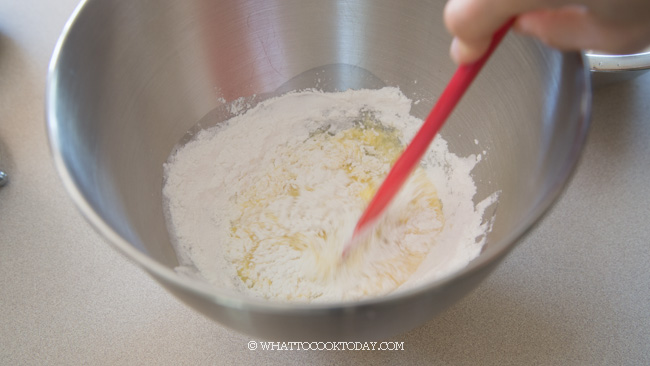
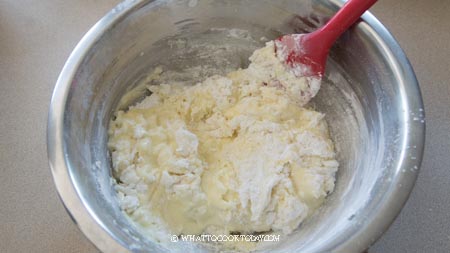
The dough will be just slightly sticky to touch
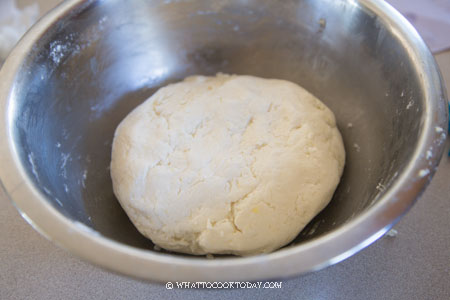
2. Bake
Place this on a baking sheet lined with parchment paper. Roughly shape it into a round disc, about 6-inch in diameter. If you are making a full recipe, I highly recommend dividing it into two loaves instead of one large loaf.
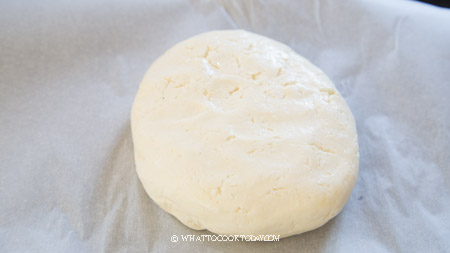
Sprinkle on some white sesame seeds or any other seeds and toppings you like. I added a few grinds of sea salt on top too. It’s up to you what you want to put on top.
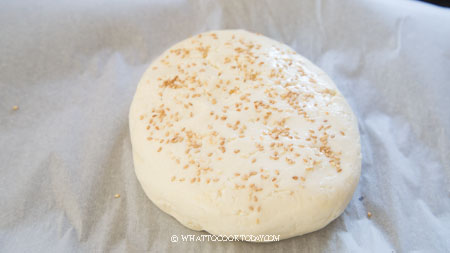
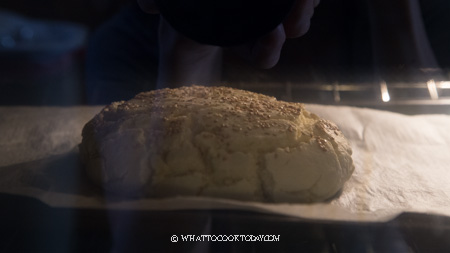
Place this in the oven, 3rd rack from the top. Bake for 15 minutes and then lower temperature to 350 F (180 C) for another 20-25 minutes or until a tester inserted in the middle comes out clean.
3. Let the bread cools down on a cooling rack
VARIATIONS
1. Make it vegan
You can omit the egg and replace with chia eggs, but I have to warn you that it may taste much “denser” and less flavor, but I’ve tried it with chia eggs before. Simply mix 1 Tbsp of chia seeds with 3 Tbsp of water and let the seeds soak for 15 minutes and they will gel the liquid. Proceed with the recipe as per instructions
2. Add other ingredients
You can add shredded / grated cheese, fresh herbs like chopped green onions, basils, parsley, cilantro into the dough, nuts, etc.
HOW TO STORE MOCHI BREAD
Once they cool down completely, wrap them up in a plastic wrap, and put it inside a zipper bag, push all the air out and seal it. They can be kept like this at room temperature for about 3 days. Only slice what you are going to serve. That way you won’t dry out all the slices.
WILL MOCHI BREAD STAYS SOFT FOR DAYS?
They taste the best the same day you make them. The improved version actually stays soft when I wrapped them in a cling wrap. The outer crust stays soft in the improved version. Though, of course, the longer you keep them, the drier they will get. You can mist them with water and loosely wrap them in a foil and warm them up in a preheated oven/toaster oven or air-fryer at 350 F for 8-10 minutes.
YOU MAY ALSO LIKE THESE:
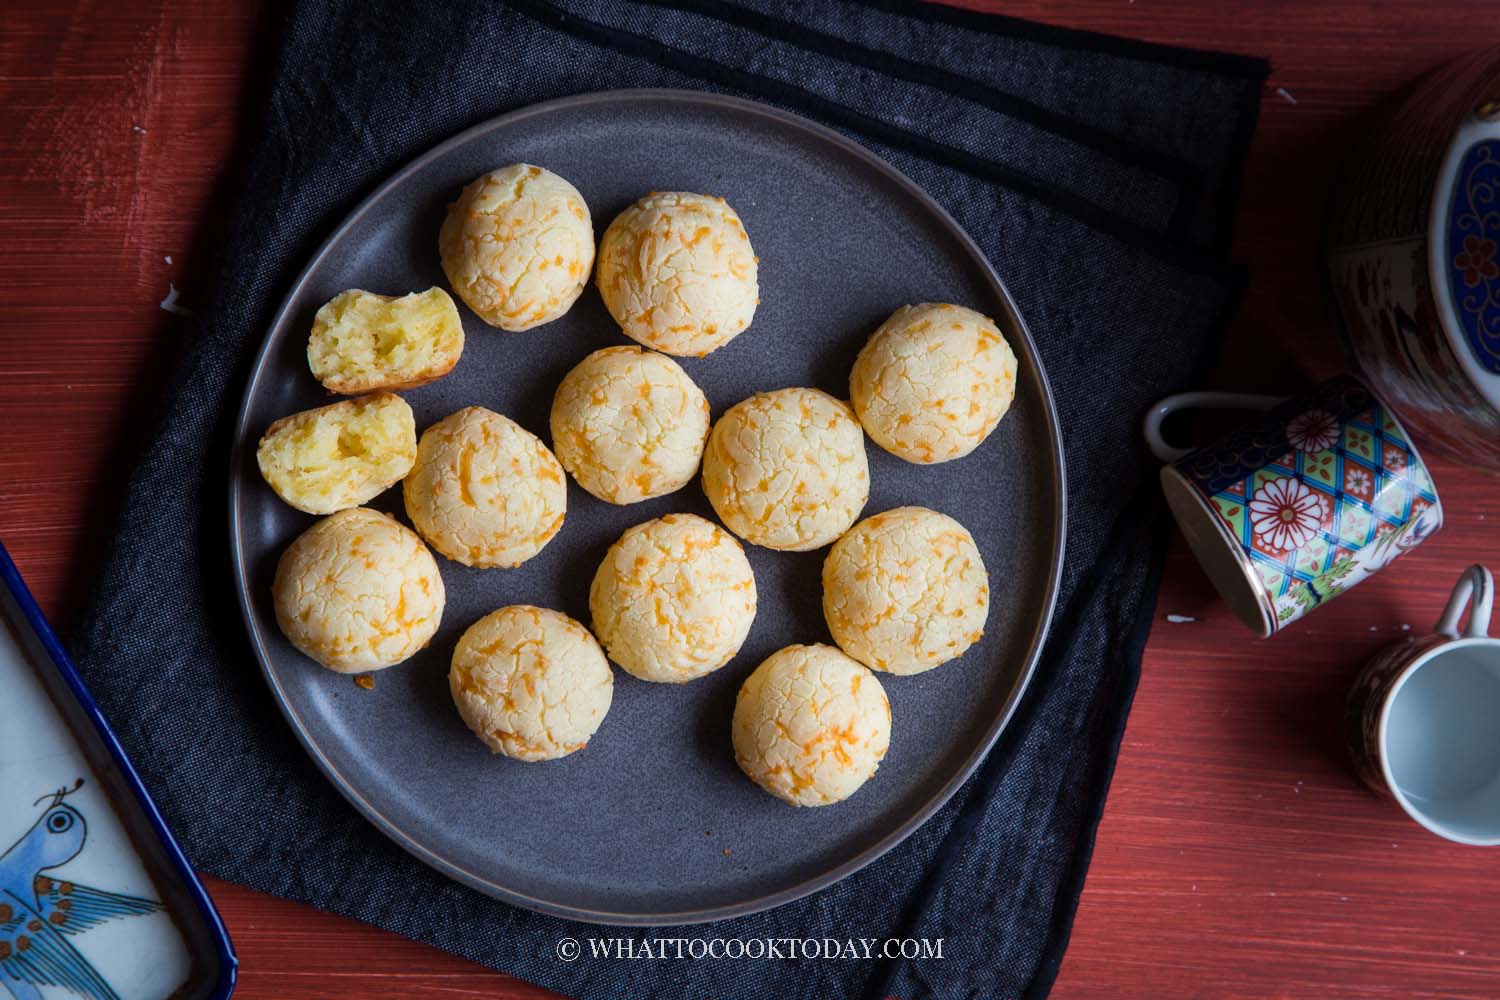
This super easy no-yeast mini cheddar mochi bread was the first gluten-free mochi bread I made years ago and with many positive feedbacks from readers, I decided to make more mochi bread since then and this artisan mochi bread is one of them 🙂
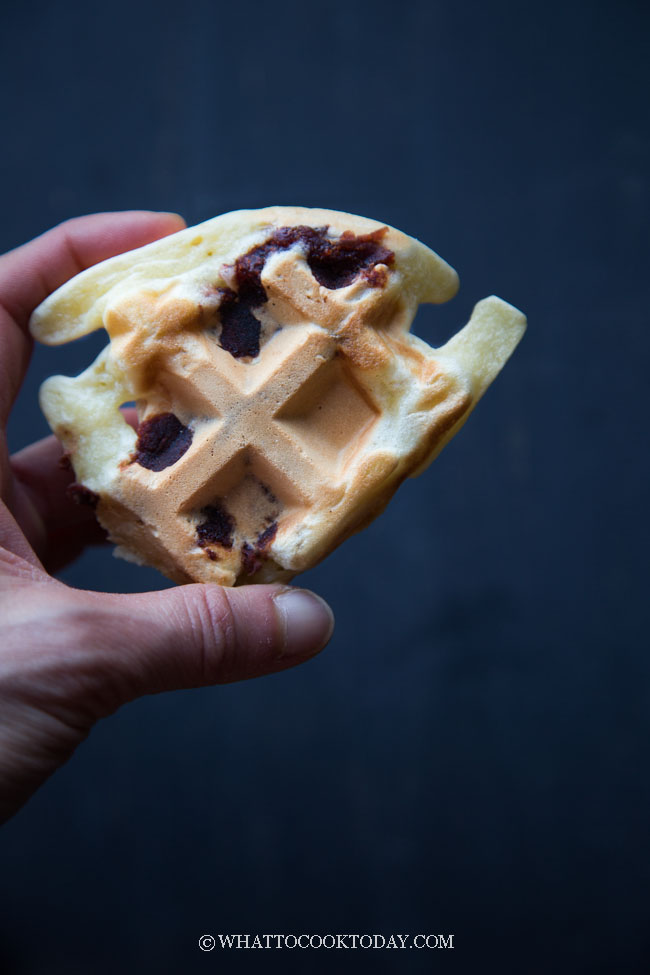
Easy Sweet Red Bean Mochi Waffles (DF)
Did you make this recipe?
I love it when you guys snap a photo and tag to show me what you’ve made 🙂 Simply tag me @WhatToCookToday #WhatToCookToday on Instagram and I’ll be sure to stop by and take a peek for real!
*Improved version of the recipe is included on March 23, 2020. I actually love this improved version much better than the previous version. The crust is crisp but not tough and the inside is soft with some stretch and chewiness and they stay soft longer too.*
Easy No-Yeast Gluten-Free Artisan Mochi Bread
Ingredients
Improved version: (I actually prefer this one)
- 240 gr glutinous rice flour (mochiko flour/ sweet rice flour) - NOT regular rice flour
- 60 gr tapioca starch
- 10 gr sugar
- ½ tsp salt
- 1 tsp baking powder
- 2 large eggs about 50 grams each
- 25 gr cooking oil
- 20 gr honey
- 150 ml milk
Older version: (I'm keeping it in case anyone is still interested in this version)
- 300 gr glutinous rice flour (mochiko flour/ sweet rice flour) - NOT regular rice flour
- 2 ½ Tbsp baking powder
- ½ tsp salt
- 1 Tbsp sugar
- 1 large egg
- 60 gr cooking oil
- 210 ml milk
Instructions
Make the dough:
- Preheat oven to 400 F (200 C). Combine flour, baking powder, salt, and sugar in a mixing bowl and whisk to mix. Whisk the eggs, milk, honey (for the improved version) and oil in another bowl. Pour the egg mixture into the flour mixture and stir to combine until you can form a dough. The dough will be kinda wet and slightly sticky
- Lightly oil your palms or use a cooking spray. Divide the dough into two. I highly recommend splitting the dough into two instead of making one large dough. They yield much better results this way
- Place both dough on a baking sheet lined with a parchment paper. They won't expand a whole lot, so just about an inch apart is sufficient. Roughly shape each dough into a round disc, about 6-inch in diameter
- Sprinkle on some white sesame seeds or any other seeds and toppings you like
Bake:
- Place this at the middle rack and bake for 15 minutes and then reduce temperature to 350 F (180 C) and bake for 20-25 minutes or until a tester inserted comes out clean
- Transfer the bread to a cooling rack to let it cool down completely before slicing. If you slice it when it's still warm, the inside may still be "sticky"
Storage:
- The bread can be stored at room temperature for 3-4 days. Simply wrap the in a cling wrap and especially with the improved version, the bread stays soft even after the next day
- For longer storage, you can wrap the whole or sliced bread in a foil and put inside a freezer bag. Simply thaw in the fridge or on the counter for 2-3 hours. You can reheat them in a foil and mist with a bit of water and reheat at 350 F for 15 minutes for thawed whole bread or 25 minutes or longer for frozen whole bread or in the toaster or toaster oven for sliced bread to crisp it up if you like



16 comments
Could I substitute the egg with 1 TBSP flaxmeal and 3 TBSP water?
Hi Natalia, I haven’t tried it myself. I think the texture will be very dense though. Let me know how it turns out if you substitute with flax eggs!