This post may contain affiliate links. Please read our disclosure policy.
Soft buns with only one-time proofing, topped with coffee flavor cookie crust and filled with melty cheese are simply irresistible. All the tips you need to know to make this at home.
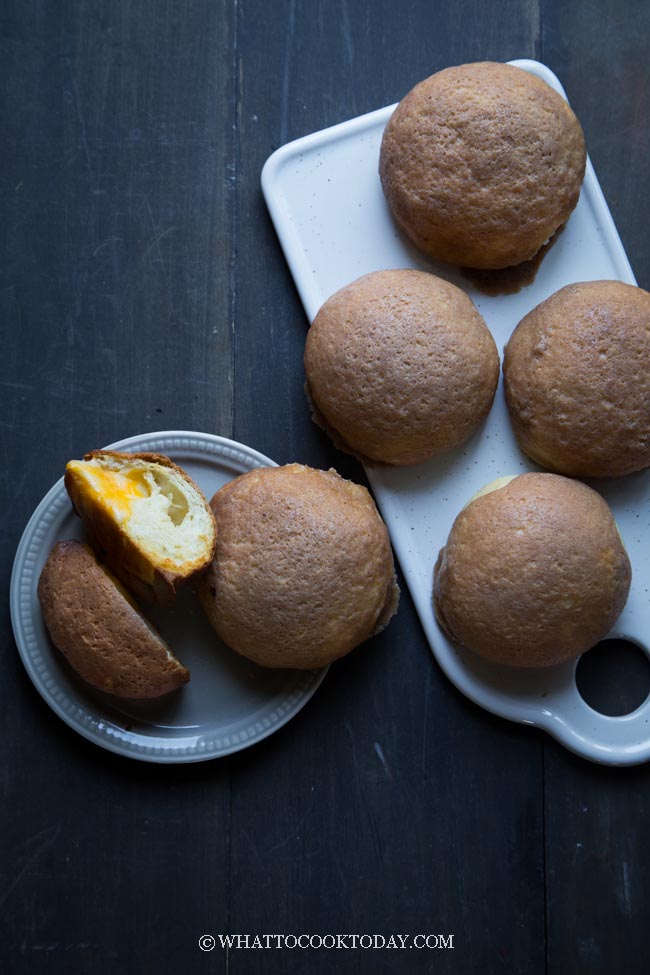
The aroma of bread baking is simply so amazing! Like my late dad, going to a bakery shop for me is like a little kid in a candy store, not knowing which one to pick because he/she wants them all. I was never really into candies, but bring me to a bakery shop and my eyes would light up! At one point, my dad even thought about franchising a bakery shop ha..ha..!
ORIGIN OF ROTI BOY
When I went to a Mexican bakery shop here in town, I saw lots of conchas (Mexican morning buns), which is a Mexican sweet buns (Pan Dulce) topped with thick and colorful cookie crust on top. Conchas are so popular that you can see them on every tray that people carry (you pick your own bread/cookies/cakes and put them on a tray and carry them to a cashier to pay). Of course, I got some to try out too and oh gosh…so good! My kids went crazy over them. It reminds me of the Cantonese Po Lo Bao.
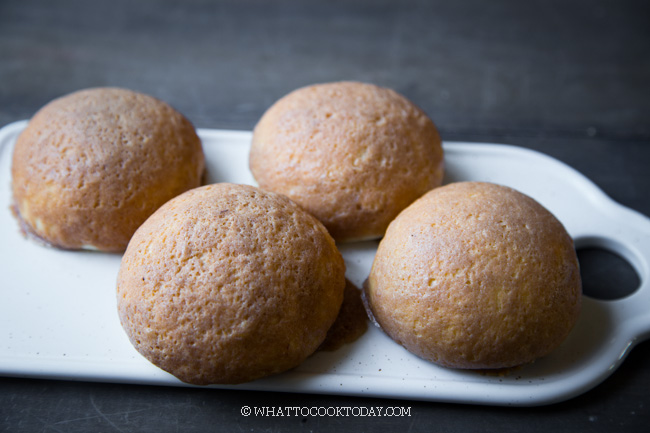
Roti Boy has become the name for this type of buns with cookie crust on top in Malaysia. It started out from this shop called “Roti Boy” and now it’s everywhere and known as roti boy or papa roti/papparoti. Roti boy doesn’t has a cookie crust as thick compared to conchas or po lo bao. Roti boy is also infused with the aroma of coffee, which is so darn good people!
WHY YOU’LL LIKE THIS ROTI BOY RECIPE
1. Soft airy buns (one-time proofing bread/buns)
I usually like to use my tangzhong milk bread recipe to make pretty much any type of sweet or savory buns, but this time, I tried it without tangzhong using the one-time proof only method, and the result is really good, too. It’s very soft and airy, and it saves more time.
2. No more leaky filling
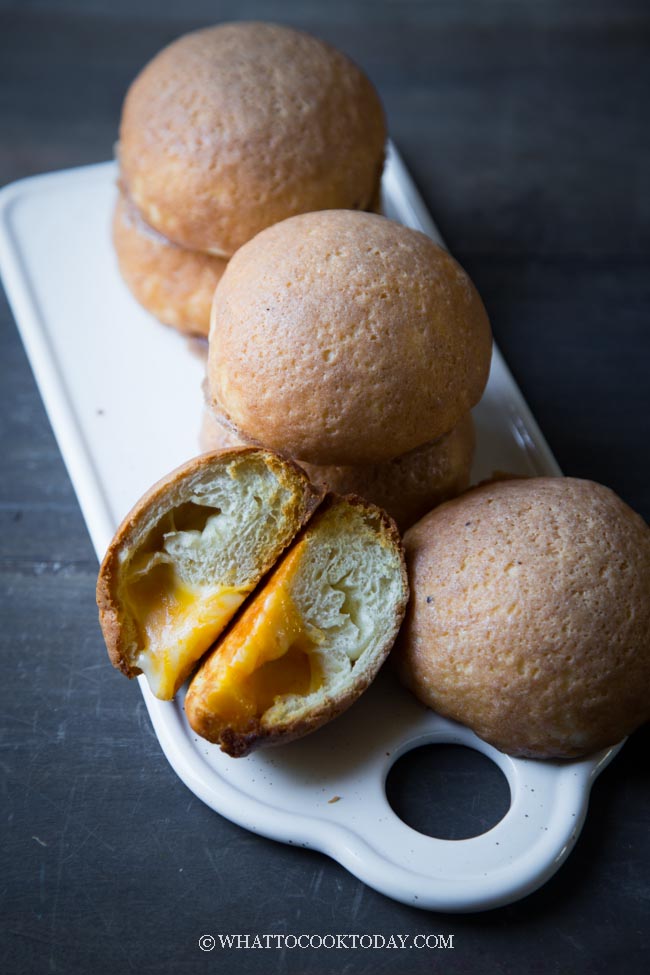
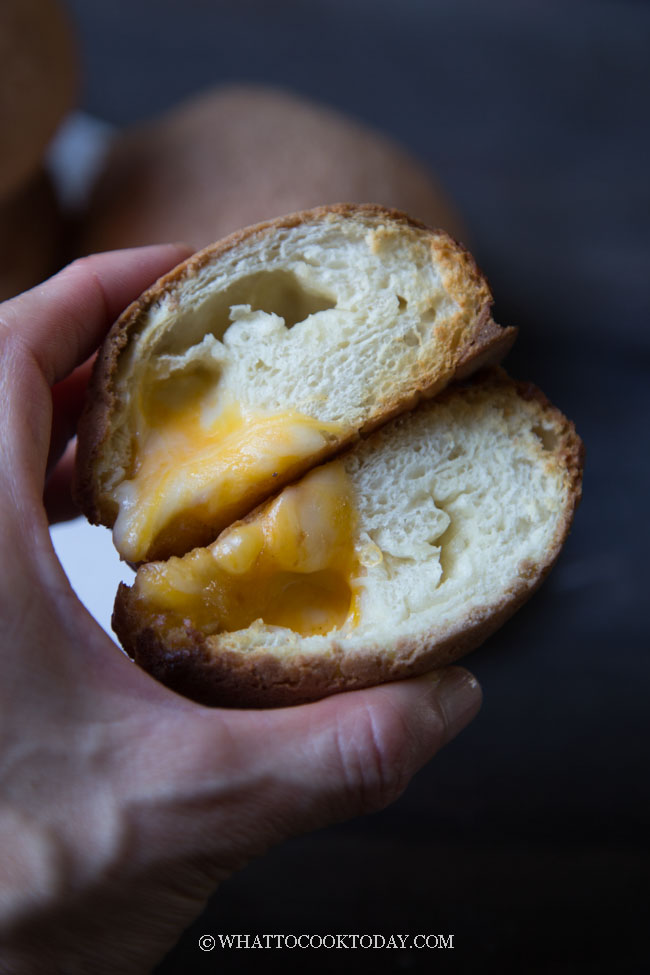
Instead of butter, use cheese cubes. I’ve tried so many ways to have the butter not leaked out as they bake, but they still leak out no matter what I do. I have given up. So, this time I use cubes of cheese, which is so good because it doesn’t leak and it’s melty and slightly savory against the sweet cookie crust and buns!
Roti Boy (Mexican Coffee Buns / Papparoti)
Ingredients
Dough for the buns:
- 260 g bread flour
- 3 g instant yeast
- 1 large egg
- 100 ml -120 ml of milk
- 50 g sugar
- 30 g unsalted butter (softened)
- 4 g salt
If you want to use Tangzhong milk bread recipe instead (you will get slightly larger buns):
- 1 recipe tangzhong milk bread recipe
For Filling (choose cheese or butter):
- 120 g block of cheese you can use cheddar, mozzarella, or any of your favorite
- 120 g unsalted butter
Cookie crust topping:
- 50 g unsalted butter softened
- 40 gr confectioner's sugar
- 25 gr egg room temperature, about 1/2 egg
- 1 tsp instant coffee omit if you don't want a coffee flavor
- ½ tsp hot water omit if you don't want a coffee flavor
- 50 gr all-purpose flour
- ½ tsp cocoa powder
Instructions
Prepare the filling:
- If you want to use butter, cut the butter into cubes of about 10 grams each. Place this on a wax paper or parchment paper and freeze them in the freezer until ready to be used
- If you want to use cheese (which is what I highly recommend), cut the cheese block into cubes of about 10 grams each. Keep them chilled in the fridge. You don't need to freeze them as they won't melt like butter until being baked later
Prepare the dough:
- Place all ingredients for the dough, except for butter and milk, in a large mixing bowl or mixing bowl of a stand mixer, that's what I used. Use a dough hook to knead the dough and gradually add in milk. I started out with 100 ml of milk and add a bit until it's about 120 ml. You may need a bit less or more. Knead until you get a rough dough, about 3-5 minutes
- Once you have a rough dough, gradually add in the softened butter, piece by piece until the dough absorbs the butter before adding more each time. Adding the butter will turn the dough into a sticky mess again, don't panic, it's normal
- Let it continues to knead until the dough is no longer sticky. I need to stop 2-3 times and scrape the sides and bottom of the bowl in between and continue to knead until the dough reaches a window pane stage. This means when you stretch the dough, it won't break easily (as shown in the photo). To reach the window pane stage from the time I added butter, it took me about 15 minutes kneading on speed 2 on my kitchen aid. The time is just for your reference, it may take you longer or it may not
Shape the dough:
- Divide into 12 smaller dough. Cover them and work with one dough at a time
- Flatten the dough. Put one frozen butter cube or cheese cube in the middle. Wrap the dough around it. Pinch to seal the seam tightly. Place on a baking sheet lined with a parchment paper. Continue with the rest of the dough and filling
Proof the shaped dough:
- Cover the shaped and filled dough with a clean kitchen towel and let them proof again in a warm place until double in size. It took me about one hour. Again, the time is just for reference, it may not take you that long it may take you longer
Prepare the topping:
- 15 minutes before the end of the proofing, start preparing the topping. Mix 2 teaspoons of instant coffee with 1 teaspoon of hot water. Let it cool down. Get the egg out of the fridge to let it comes to room temperature. Cream or whisk the softened butter and sugar until combined. Add egg and the cooled-down concentrated coffee mixture and whisk well again. Sift in the flour and cocoa powder. Use a spatula to fold the flour mixture in. Transfer this to a piping bag or a thick zip lock bag. If it's really warm where you are, place this in a fridge for about 5-10 minutes. Don't chill for too long as it may be hard to pipe the topping later. Updates: some readers have shared that it's easier to just spread the topping with a spoon. Feel free to try that method too.
Pipe the topping:
- After the proofing, preheat your oven to 380 F (195 C). Get your piping bag out of the fridge. If it's hard to pipe, you can knead it a few times and it will soften. Starting from the center, pipe the cookie batter in a spiral manner covering as much surface as possible.
- When you are done piping, place the baking sheet in the fridge for another 15 minutes. I find it helpful that the cookie crust doesn't melt too fast that you end up with cookie crust not on the buns but all sliding down to the side of the bun
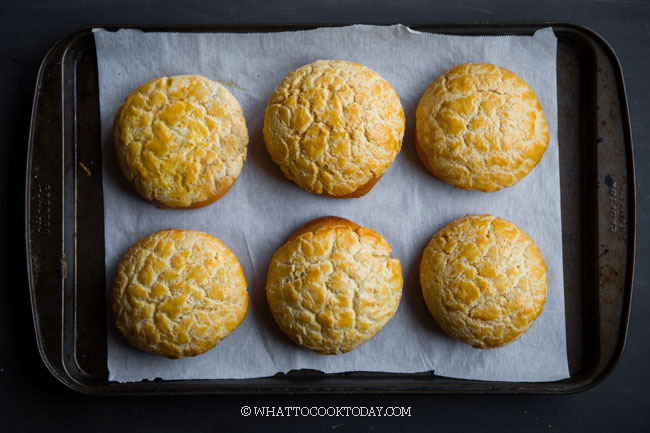
- Remove from the fridge and put in the oven and bake for 20-25 minutes or until the top is golden dark brown and the bottom is golden brown. I recommend baking one tray at a time if you have two trays so they cook and brown properly. Keep the other tray in the fridge while the other one is baking
Cooling:
- Remove from the oven and let them cool down on the tray for 5 minutes and then move to a cooling rack to let them cool down further. They can be served warm for that melty cheese or butter. If you use butter, don't be surprised that some of the butter may have leaked out during baking 🙁 I have no solution to this, unfortunately 🙁 But they will still be buttery and delicious though!
- The topping will crisp up as the buns cool down
Storing:
- These buns are best served on the same day they were made. You may notice that the cookie crust on top may get soft and sticky after few hours and this is quite common especially if it's humid where you are. You can recrisp it in the air fryer or oven at 350 F for 5 minutes or so until they crisp up again
*Nutrition facts are just estimates and calculated using online tools*

HOW TO MAKE ROTI BOY FROM SCRATCH
1. PREPARE THE FILLING
If you want to use butter, cut the butter into cubes of about 10 grams each. Place this on a wax paper or parchment paper and freeze them in the freezer until ready to be used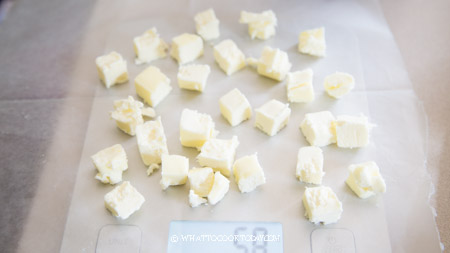
If you want to use cheese (which is what I highly recommend), cut the cheese block into cubes of about 10 grams each. Keep them chilled in the fridge. You don’t need to freeze them as they won’t melt like butter until being baked later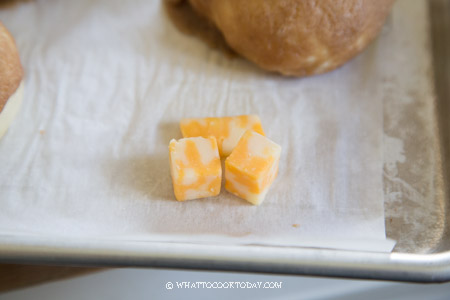
2. PREPARE THE DOUGH
Place all ingredients for the dough, except for butter and milk, in a large mixing bowl or mixing bowl of a stand mixer, that’s what I used. Use a dough hook to knead the dough and gradually add in milk. I started out with 100 ml of milk and add a bit until it’s about 120 ml. You may need a bit less or more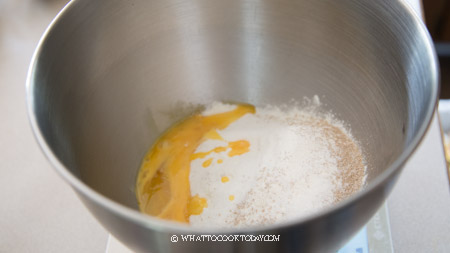
Knead into a rough dough, about 3-5 minutes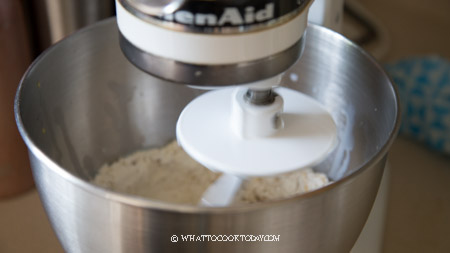
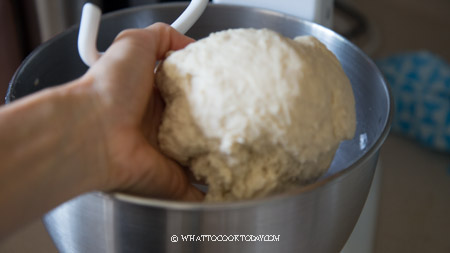
Once you have a rough dough, gradually add in the softened butter, piece by piece until the dough absorbs the butter before adding more each time.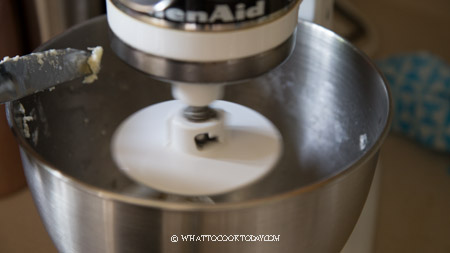
Adding the butter will turn the dough into a sticky mess again, don’t panic, it’s normal. Let it continue to knead until the dough is no longer sticky. I need to stop 2-3 times and scrape the sides and bottom of the bowl in between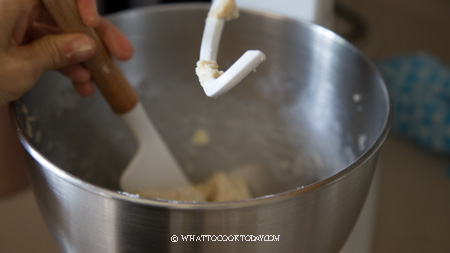
Continue to knead until the dough reaches a window pane stage. This means when you stretch the dough, it won’t break easily (as shown in the photo). To reach the window pane stage from the time I added butter, it took me about 15 minutes kneading on speed 2 on my kitchen aid. The time is just for your reference, it may take you longer or it may not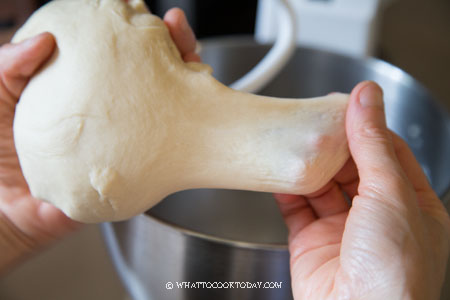
3. SHAPE THE DOUGH
Divide into 12 smaller dough. Cover them and work with one dough at a time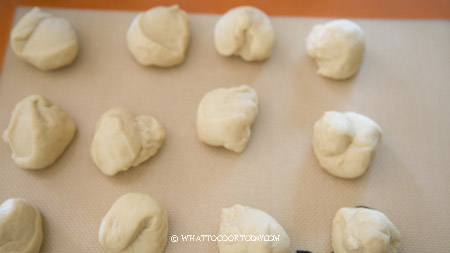
Flatten the dough. Put one frozen butter cube or cheese cube in the middle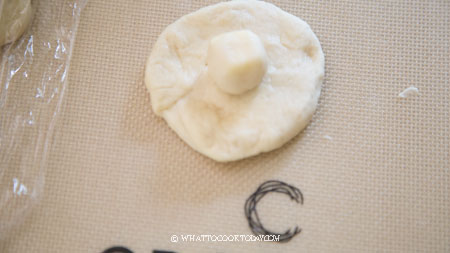
Wrap the dough around it. Pinch to seal the seam tightly. Place on a baking sheet lined with a parchment paper.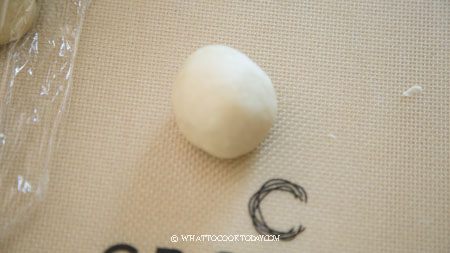
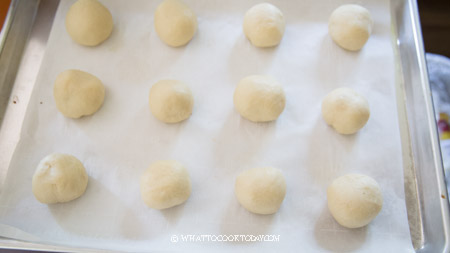
Continue with the rest of the dough and filling
4. PROOF THE SHAPED DOUGH
Cover the shaped and filled dough with a clean kitchen towel and let them proof again in a warm place until double in size. It took me about 1 hour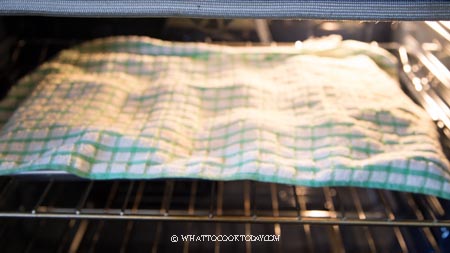
6. PREPARE THE FILLING
15 minutes before the end of proofing, start preparing the filling. Mix 2 teaspoons of instant coffee with 1 teaspoon of hot water. Let it cool down. Get the egg out of the fridge to let it comes to room temperature. Cream or whisk the softened butter and sugar until combined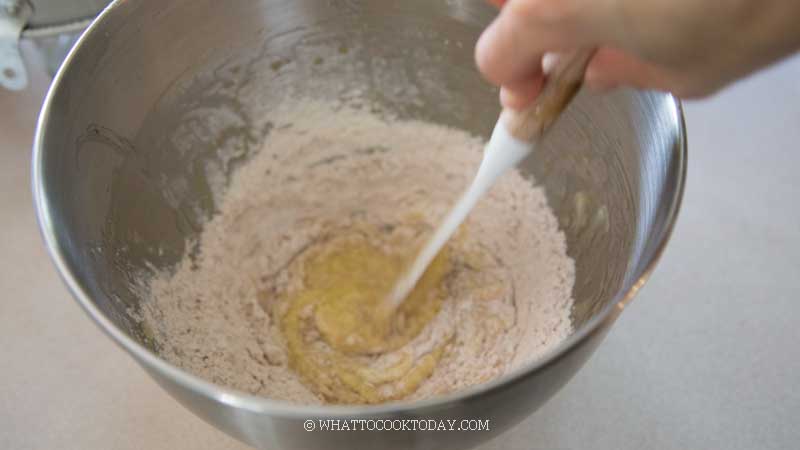
Add egg and the cooled-down concentrated coffee mixture and whisk well again. Sift in the flour and cocoa powder
Use a spatula to fold the flour mixture in. Transfer this to a piping bag or a thick zip-lock bag. If it’s really warm where you are, place this in a fridge for about 5-10 minutes. don’t chill for too long as it may be hard to pipe the topping later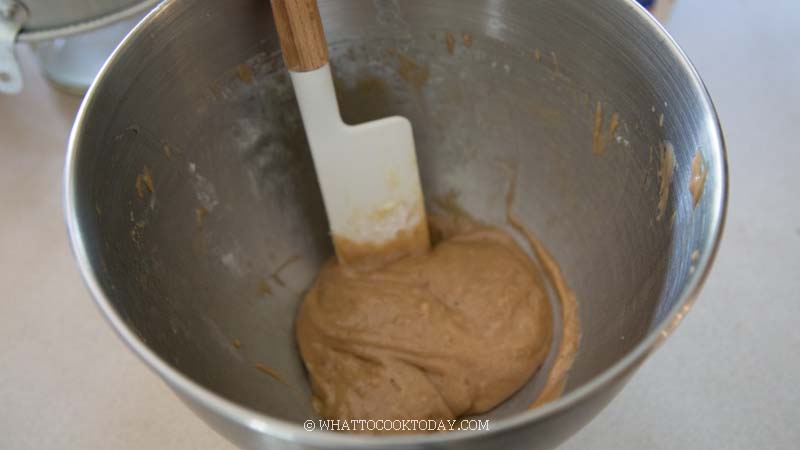
7. PIPE THE TOPPING
After the proofing, preheat your oven to 380 F (195 C). Get your piping bag out of the fridge. If it’s hard to pipe, you can knead it a few times and it will soften. Starting from the center, pipe the cookie batter in a spiral manner covering as much surface as possible. Updates: some readers have shared that it’s easier to just spread the topping with a spoon. Feel free to try that method too.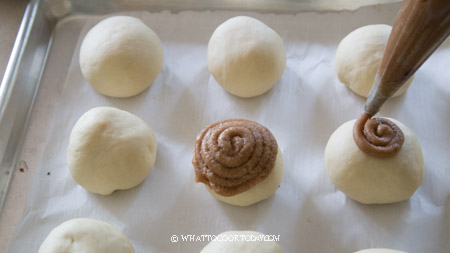
When you are done piping, place the baking sheet in the fridge for another 15 minutes. I find it helpful that the cookie crust doesn’t melt too fast that you end up with cookie crust not on the buns but all sliding down to the side of the bun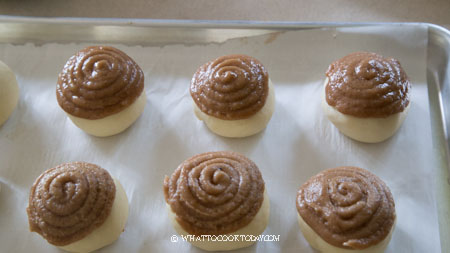
8. BAKING
Remove from the fridge and put in the oven and bake for 20-25 minutes or until the top is golden dark brown and the bottom is lightly golden brown too. I recommend baking one tray at a time if you have two trays so they cook and brown properly. Keep the other tray in the fridge while the other one is baking

9. COOL DOWN
Remove from the oven and let them cool down on the tray for 5 minutes and then move to a cooling rack to let them cool down further. They can be served warm for that melty cheese or butter. If you use butter, don’t be surprised that some of the butter may have leaked out during baking 🙁 I have no solution to this, unfortunately, 🙁 But they will still be buttery and delicious though!
IMPORTANT TIPS
1. I highly recommend using bread flour for the buns, but if you want to use all-purpose flour, you can too. You may need a bit less liquid. So make sure to start with the minimum amount of liquid stated in the recipe. The result should be pretty similar. Bread made with bread flour is chewier, which I like.
2. I highly recommend using cheese cubes instead of butter as a filling. Butter just leaks everywhere no matter how tight I seal the buns. I have even tried wrapping the butter in another small piece of dough before putting it inside the big dough and wrap, still leaks!
3. You can also use coconut oil instead of butter for the cookie crust, BUT, make sure the coconut oil is not in liquid form. It should be soft and solid. Simply chill them for 2-3 minutes or until they are semi-solid in the fridge before whisking it with sugar. It can be hard with coconut oil because either they are very frozen or they are melty
4. Chill the cookie batter before piping but don’t chill for more than 15 minutes or it will harden (because of the butter). But don’t worry, if it is hard, you can always give it a few kneads with your hands and it will soften and easy to pipe again
5. After piping the cookie batter on top of the buns, chill them in the fridge for 10 minutes, this helps to slow down the cookie crust from melting too fast during baking

WHAT TO EXPECT
1. The cookie crust will be crispy when the buns have cooled down
2. The cookie crust will lose its crispiness the next day, which is normal. You can crisp it back up in the oven or air fryer briefly
HOW TO STORE AND REHEAT ROTI BOY
ROOM TEMPERATURE: Once they have cooled down completely after baking, wrap them up with a cling wrap and store in a bread box or zipper bag for about 1 day max. The cookie topping will be sticky and wet. For longer storage, I suggest freezing them
FREEZER: Move them to a freezer if you plan to keep longer than 3 days. You can thaw them overnight in the fridge and crisp the cookie crust in the oven/toaster oven or air fryer at 350 F
DID YOU MAKE THIS ROTI BOY RECIPE?
I love it when you guys snap a photo and tag to show me what you’ve made 🙂 Simply tag me @WhatToCookToday #WhatToCookToday on Instagram and I’ll be sure to stop by and take a peek for real!

19 comments
Hi , I have successfully made your roti boy and all my friends and family love it.
I like to ask if I can chilled proof the dough in the fridge at night and do the round dough with butter and cheese to bake the next morning ?
I hope it turns out for you! Keep me updated with your experiment when you have the chance 🙂
Hi Pauline, I’m so glad your family and friends love them. Yes, you can cold proof the dough in the fridge the night before and then fill and shape them the next day. The proofing may take longer because the dough is cold, but it should work just fine!
Thank you so much for your advice.
Thank you for shared recipe. My topping is not melted to bun just crispy on it. I don’t know what I did wrong.
Hi Nucharee, that is weird! did you use butter? You also want to make sure you measure/weigh the ingredients accurately.
Hi Marvellina – thanks for sharing your recipes. I’ve tried several of your recipes successfully. I wasnt sure if the butter indicated is suppoed to be salted or unsalted. I did a similar recipe from a different website before but it called for unsalted butter + salt. I note your recipe didnt use salt though. My understanding re salted and unsalted butter is for the chef to be able to control the use of salt. I was excited to try your recipe as most times I’ve been successful. However in my rush, i ended using unsaalted butter but mistook the amount needed for milk as the butter. Since there’s too much butter in the batter, not sure if proofing the batter twice will be any difference. Your expertise advice appreciated.
Hi Normah, sorry for the confusion. I usually use unsalted butter. I have amended the recipe accordingly. Proofing the batter twice won’t make much difference in terms of the extra amount butter you use. It adds more flavor of course because of the extra fermentation. If the dough is too soft to handle, the only remedy is to add some flour to compensate. Gradually add in the flour though, a tablespoon at a time until the dough is manageable, but still soft and slightly sticky too the touch. That’s one of the key to soft fluffy baked bread/buns. Try not to add too much flour. I’m sure you were done by now. How did they turn out ? You probably have extra buttery soft buns I hope 🙂