This post may contain affiliate links. Please read our disclosure policy.
Sourdough discard adds a subtle tang to the pie crust, perfectly balancing sweet or savory fillings. With these tips, your sourdough discard pie crust will be buttery, flaky, and delicious every time!

Don’t throw away sourdough discard!
Even though it’s called a “discard”, I don’t discard anything away. I utilize my sourdough discard to make these sourdough discard recipes. Using sourdough discard in pie crusts adds a unique layer of flavor, texture, and sustainability that makes it an appealing choice for bakers. Here’s why it’s a fantastic ingredient to incorporate into your pie crust:
1. Flavor Boost
Sourdough discard adds a subtle tangy flavor to the crust, which balances both sweet and savory fillings beautifully. The natural acidity in sourdough gives a mild, pleasant tang that enhances the richness of the butter and other ingredients without overpowering the filling. For sweet pies, this touch of acidity complements fruity or creamy fillings, adding complexity to flavors like apple, berry, or custard. For savory pies or quiches, the sourdough’s tang pairs excellently with cheese, herbs, or hearty fillings.
2. Improved Texture
The wild yeast and lactic acid bacteria in sourdough can help improve the texture of the crust. Sourdough discard creates a tender crumb structure due to the slight fermentation activity it introduces, which can result in a more delicate and slightly flakier crust. This is especially true when combined with cold butter, as the dough puffs up while baking, creating a tender, layered effect
3. Minimal Waste
Using sourdough discard is a wonderful way to prevent food waste if you’re regularly feeding and discarding portions of your sourdough starter. Instead of tossing out the discard, you can put it to good use in a pie crust, adding nutrition and flavor to your recipes while being more sustainable.
4. Versatility
Sourdough discard is mild enough that it works well in both sweet and savory pie crusts. This versatility makes it a valuable ingredient that bakers can experiment with to elevate many types of pies—from apple or pumpkin to savory quiches or pot pies.
Flaky and Buttery Sourdough Discard Pie Crust
Ingredients
- 130 g all-purpose flour
- ½ tsp salt
- 2 tsp sugar
- 113 g cold unsalted butter
- 133 g sourdough discard cold from the fridge
- Ice water if needed
Instructions
- I've also written a detailed post on this all-butter pie crust, which is similar to this sourdough discard pie crust. The only difference is this recipe using sourdough discard, but all the techniques are pretty much the same
- Cut the cold butter into small pieces and keep them in the freezer while you prepare other things
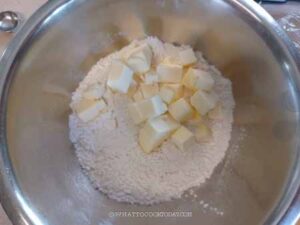
- Combine flour, salt, sugar in a mixing bowl. Add butter pieces.

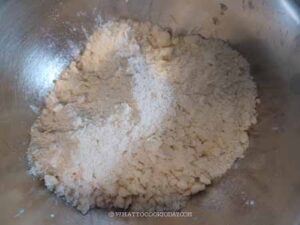
- Use a pastry cutter to mix the butter with the flour mixture. You can also use your fingers to press and rub the butter pieces against the flour mixture to get flaky coarse crumbs. But you shouldn't see any butter pieces on their own anymore

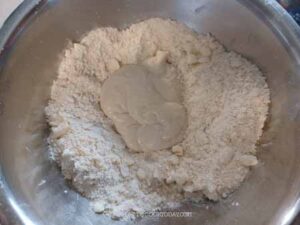
- Add the cold sourdough discard into the mixing bowl.

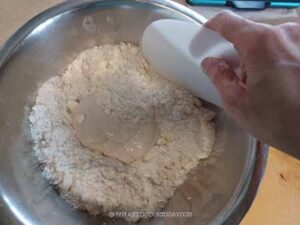
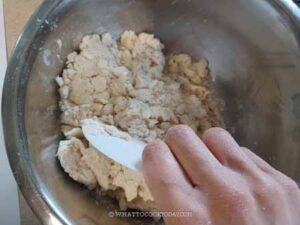
- I recommend using a bench scraper to start mixing the butter-flour mixture with the discard by folding and pressing.

- Do not knead it. We don't want to develop any gluten.

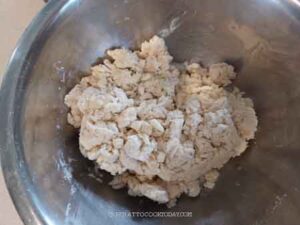
- Use your hands to press the dough together the best you can without kneading. There may be a bit of dry bits of flour but that's okay. If it's really too dry, you can drizzle a bit of ice water, one teaspoon at a time and try to bring the dough together into a ragged-looking dough. Transfer it to a work surface

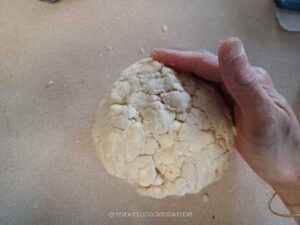
- Use your hands to sort of press the dough mixture together to form one crackly dough

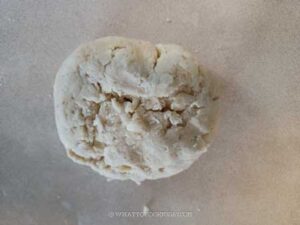
- Pat the dough into a disc about 1-inch thick.

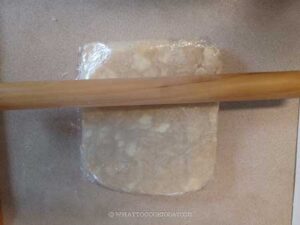
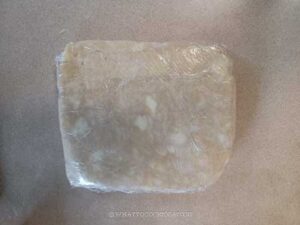
- Wrap it in a plastic wrap. I suggest double wrap to prevent the dough from drying out and absorbing odor in the fridge. Use a rolling pin to roll out a bit to smooth out any cracked edges.

- Chill in the fridge for at least 1 hour before rolling out the dough. Even better if you could leave them overnight

How to store pie dough if not using on the same day:
- The pie dough can be kept in the fridge for 3-5 days or in the freezer for up to 2 months. Simply thaw it overnight in the fridge before using
How to roll out pie dough:
- Let the pie dough rest at room temperature for a few minutes until it feels pliable enough to work with so it won't crack as much when you roll it out. If it cracks, it's not a big deal too because you can always patch it up
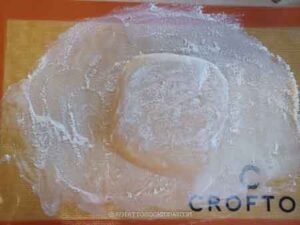
- Lightly flour your work surface. Place one pie disk on top. Lightly dust the surface of the dough with some flour.

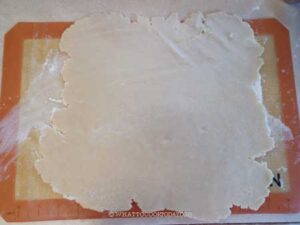
- Use a rolling pin to roll the dough into a round (may not be a perfect round LOL), starting from the center and rolling outwards to get a round that is about 11-12 inches in diameter. It's not going to be a perfect round and that's okay, just do the best you can

Shape into a pie crust:
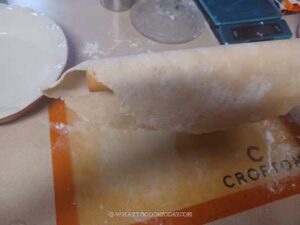
- Butter a 9-inch pie pan on all sides. Place your rolling pin on the center of the rolled out dough and carefully fold the top or bottom over the rolling pin
- Use the rolling pin to gently lift the dough up

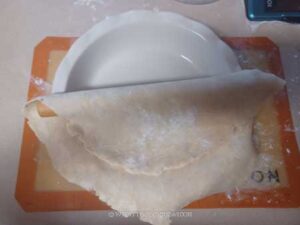
- Gently drape it on the prepared pie pan.

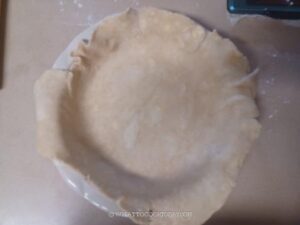
- Use your fingers to fit it into the pan. Let the dough hang over the edge.

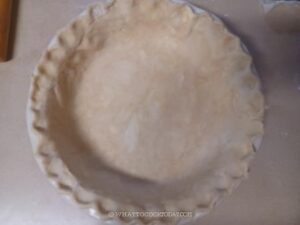
- You can crimp the edge by using a fork for simple design. Press the fork tines down on the dough or if you want a flute design, you can use your fingers. Make sure the dough clings to the pan

- Cover with a cling wrap and chill the crust in the fridge for a minimum of 1 hour
To bake the pie crust:
- Preheat your oven to 450 F (230 C) for conventional oven, 430 F (220 C) for convection oven. Position the rack at the lowest level
- This is also called blind baking. Place the pie pan on a baking sheet. Place parchment paper or aluminum foil against the crust. Fill it with pie weights, dry beans, or rice. I use pie weights made with glass (loving it!). This is to prevent the crust from puffing and shrinking too much during baking
If the recipe calls for a partially-baked crust:
- Place the baking pan on the lowest rack and bake for 25 minutes. Remove the pan from the oven and put on a cooling rack and let it cool for about 5 minutes. Then carefully remove the pie weights. Let it cool down completely before filling
If the recipe calls for a fully-baked crust:
- Place the baking pan on the lowest rack and bake for 25 minutes. Then very carefully remove the paper or foil along with the weights. Use the tines of the fork to poke few holes at the bottom of the crust to prevent it from puffing up.
- Return the pan into the oven and bake for another 5-7 minutes. The crust should be golden in color. Let it cool down completely before filling it according to the recipe you are using
*Nutrition facts are just estimates and calculated using online tools*
Success Tips for Sourdough Discard Pie Crust
1. Keep Ingredients Cold
Cold butter and cold sourdough discard are essential for a flaky texture. You can even chill your flour and mixing bowl to keep everything as cold as possible.
2. Don’t knead the dough
Overworking the dough can develop gluten, making the crust tough. Mix just until it comes together, and try to handle it minimally. I like to use a bench scraper to help me mix. Do NOT knead the dough
3. Chill Before Rolling and Baking
After rolling out the crust, chill it in the pie dish for at least 1 hour before baking to prevent shrinking.
