This post may contain affiliate links. Please read our disclosure policy.
Soft fluffy tangzhong milk buns topped with delectable sweet-savory Asian meat jerky and kewpie mayo are new favorites at our house.

Like I’ve mentioned before in my Easy Homemade Bak Kwa post, the tradition of having some bak kwa (meat jerky or usually refers to pork jerky) for Chinese New Year is a big deal in Singapore. I personally love bak kwa too. It’s sweet, savory, and tender. It’s not the healthiest snack, but boy, my kids love them too. I made some bak kwa fried rice not too long ago and It’s just not complete if I don’t use bak kwa on my soft fluffy tangzhong milk buns 🙂 AND also I made some bak kwa chiffon cake (coming up soon LOL). Anyway, this is another great way to use up your bak kwa.
The recipe rundown
Taste: The sweet-savory bak kwa pieces and the baked-in kewpie mayo on top of the milk buns are simply delicious
Texture: Tangzhong buns are just so pillowy soft and then you have that tender piece of bak kwa on top. Enough said!
Level: Medium
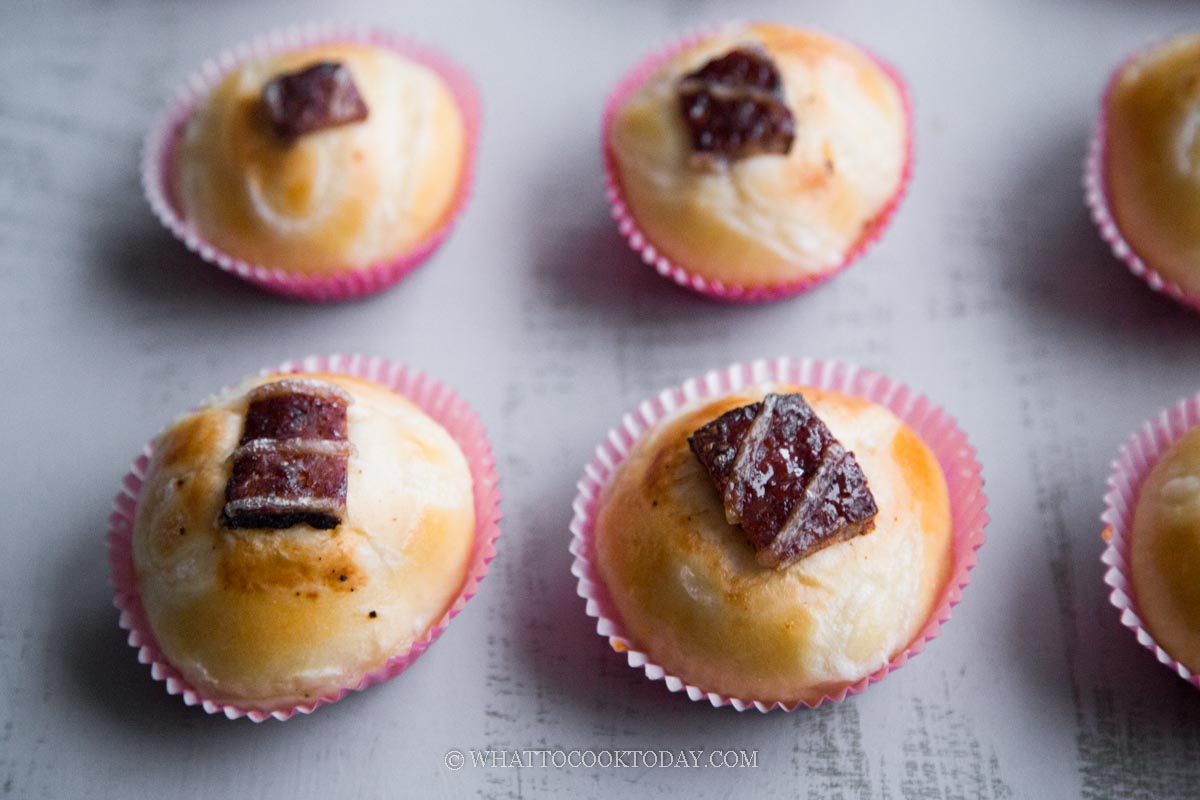
How to make bak kwa tangzhong milk buns
1. You can follow my step-by-step photo instruction and video to prepare the tangzhong dough in this soft and fluffy tangzhong bread recipe until 1st proofing
2. The dough should double in size after the first proofing

3. When you gently press on the dough, the indentation stays. This means the dough is ready

4. Punch the dough down and knead it a few times to push out all air

5. Divide it into 16 smaller doughs

6. Work with one dough at a time and keep the rest covered
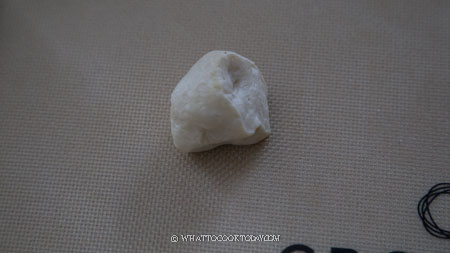
7. Slightly flatten the dough and then pull the edge to the middle to form a smooth dough ball. Place the seam side down. Place in a standard-size muffin liner. Take one piece of bak kwa and push it down, don’t be afraid to do so. It will puff back up again later when you proof the buns

8. Repeat with the rest of the dough and bak kwa pieces

9. Put them on a baking tray and cover them with a clean cloth and let them rise in a warm place. I use my oven bread proof function and let them rise for about 1 hour or when you gently press the dough, it will slowly bounce back. If it bounces back immediately, proof a bit longer
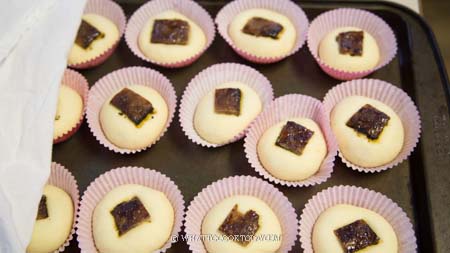
10. Preheat the oven to 350 F (180 C) 10 minutes before the buns are done proofing. Brush the surface of the buns with some egg wash. Drizzle with some kewpie mayo on top of each bun

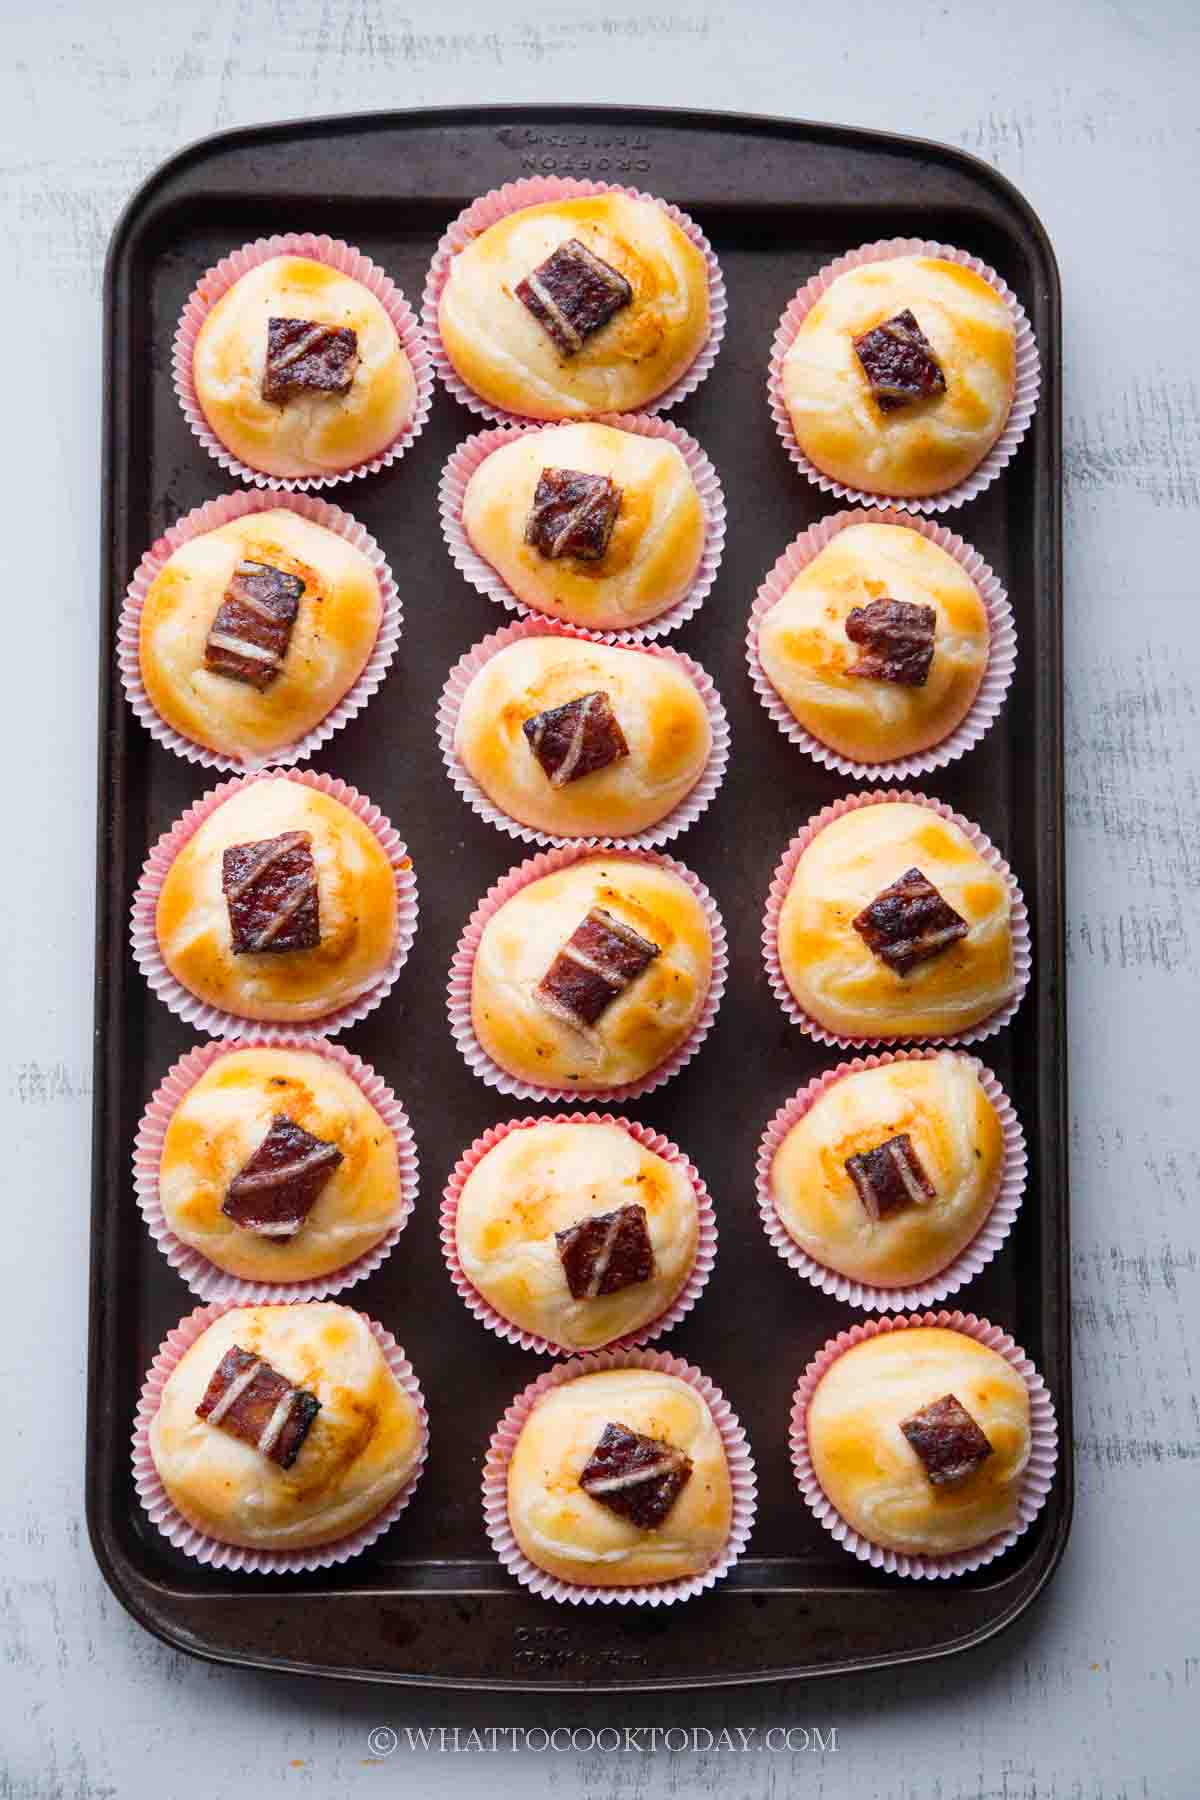
11. Place the baking tray in the middle rack and let them bake for 15-20 minutes or until they are golden brown on top

12. Remove from the oven and let them cool down in the pan for about 5 minutes and then lift the bread out and let it cool completely on a cooling rack. Enjoy and once it’s cooled down completely, individually wrap it up with a plastic wrap to keep them soft and it’s good for about 3 days or so
Variations
Instead of using bak kwa piece as a topping on each bun, you can also chop them up into smaller and mix into the dough so you’ll have tiny pieces of bak kwa pieces all over the buns
How to store bak kwa buns
1. Let them cool down completely on a cooling rack
2. Individually wrap them with a cling wrap and put them inside a zipper bag, push all the air out. They can be kept at room temperature for about 3 days
Will the buns stay soft for days?
The buns taste best the first day you made them. They won’t stay as soft as the first day but still reasonably soft for 2nd day. Unlike store-bought bread and buns, we do not add any preservatives or additives to prolong shelf-life or to improve texture. Simply reheat in the microwave for few seconds and they will be as good as new.

Did you make this bak kwa milk buns recipe?
I love it when you guys snap a photo and tag to show me what you’ve made 🙂 Simply tag me @WhatToCookToday #WhatToCookToday on Instagram and I’ll be sure to stop by and take a peek for real!

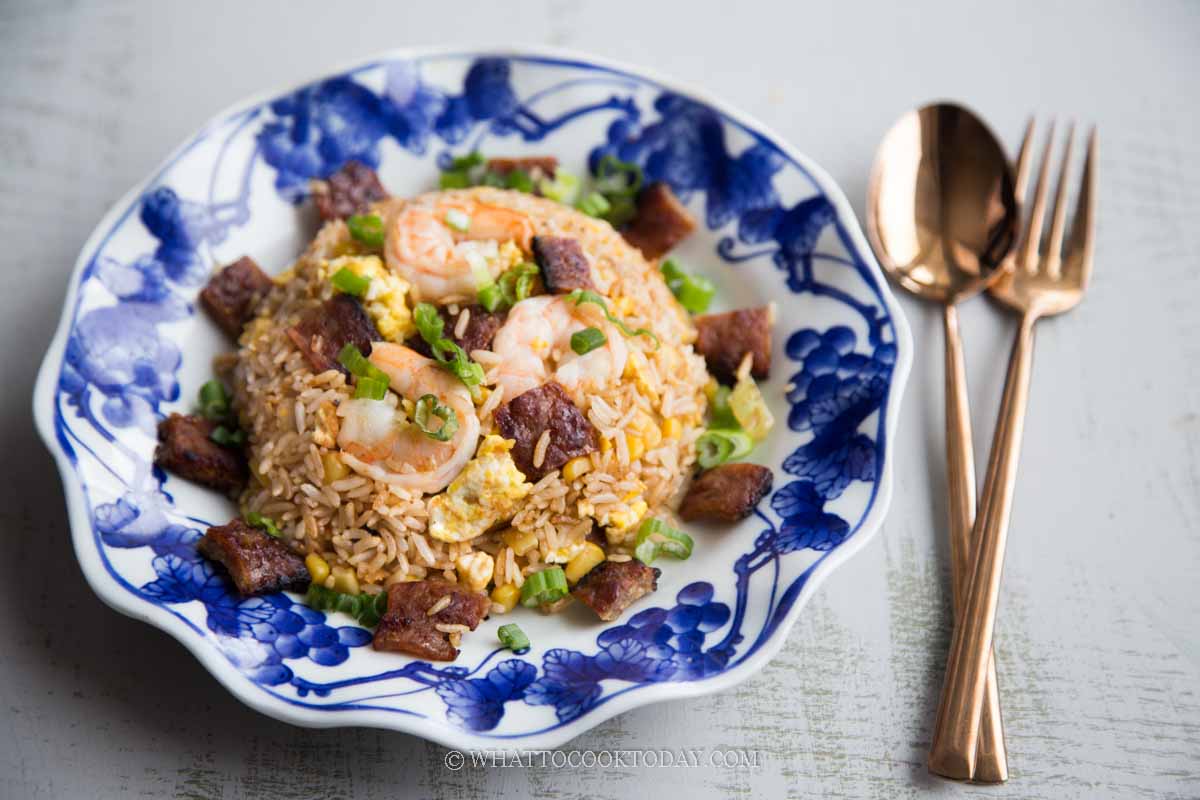
You may like bak kwa fried rice too
Soft Fluffy Bak Kwa Milk Buns (Meat Jerky Buns)
Ingredients
Water roux:
- 15 gr bread flour 5 tsp
- 90 ml whole milk 6 Tbsp
Dry ingredients:
- 300 gr bread flour 2 cups + 2 Tbsp + 1 tsp
- 5 gr instant yeast 1 1/2 tsp
- 5 gr milk powder 1 1/2 tsp
Wet ingredients:
- 120 ml whole milk 1/2 cup
- 1 large egg lightly beaten, about 50 grams without the shell
Ingredients to add last to the dough:
- 40 gr butter unsalted, softened, 3 Tbsp
- ¾ tsp salt
- 2 Tbsp sugar
Egg wash:
- 1 egg - beaten
Toppings:
- 150 gr Bak kwa or store-bought bak kwa
- Kewpie mayo To drizzle on top
Instructions
- Cut the bak kwa into 16 pieces, about 1 x 1 inch square, or whatever shape you want really.
Prepare tangzhong roux:
- Place milk and the bread flour in a small saucepan. Whisk until there is no more lumps. Cook this mixture over low-medium heat until it reaches 65 C (149 F). Remove from the heat and cover with a plastic wrap, touching the tangzhong so the skin won't form. I highly suggest using this the next day instead of using it on the same day. Store this in the fridge
Prepare the dough:
- Mix all the dry ingredients together in a mixing bowl. Make a well in the center and pour in the wet ingredients and the tangzhong you made earlier. Use a dough hook attachment to knead the dough until all the crumbly dough starts to come together into one mass, it may take about 2-3 minutes for this to happen. Don't be tempted to add any liquid. You may need to stop halfway and scrape the dough off the hook and the sides of the bowl and knead again several times
- Once it comes into a dough, stop the machine. The dough will not be smooth, don't worry. Cover the bowl with a plastic wrap and let it rest for 20 minutes
- After the rest, turn on and knead the dough again and knead for 1-2 minutes until it is a bit smoother. Then add the salt and sugar into the dough. Continue to knead until the dough is relatively smooth. You need to stop and scrape the dough off the hook and the bowl several times during this process. I promise it's worth the effort!
- Once you have a smooth dough, turn the machine back on again to knead and gradually add in the softened butter a bit by a bit. The dough will turn into a REAL sticky mess again because of the butter, just keep kneading and stop halfway and scrape the dough off the hook and bowl again and continue to knead until the butter is absorbed by the dough. IT WILL HAPPEN, don't worry! DO NOT be tempted to add any extra flour. You will get a shiny smooth dough that is very elastic, or what a baker calls a "windowpane stage". When you stretch the dough thin, it doesn't break
1st proofing:
- Place this dough in a lightly oiled large bowl, cover it with a clean and damp tea cloth or plastic wrap and let it rise at a warm place for about 1 hour until the dough doubles in size
Shaping:
- Punch the dough down, divide it into 16 smaller doughs. Work with one dough at a time and keep the rest covered
- Slightly flatten the dough and then pull the edge to the middle to form a smooth dough ball. Place the seam side down. Place in a standard-size muffin liner. Take one piece of bak kwa and push it down, don't be afraid to do so. It will puff back up again later when you proof the buns. Repeat with the rest of the dough and bak kwa pieces
2nd proofing:
- Put them on a baking tray and cover them with a clean cloth and let them rise in a warm place. I use my oven bread proof function and let them rise for about 1 hour or when you gently press the dough, it will slowly bounce back. If it bounces back immediately, proof a bit longer
- Preheat oven to 350 F (180 C) 10 minutes before the buns are done proofing. Brush the surface of the buns with some egg wash. Drizzle with some kewpie mayo on top of each bun
Baking:
- Place the baking tray in the middle rack and let them bake for 15-20 minutes or until they are golden brown on top
- Remove from the oven and let them cool down in the pan for about 5 minutes and then lift the bread out and let it cool completely on a cooling rack. Enjoy and once it's cooled down completely, individually wrap it up with a plastic wrap to keep them soft and it's good for about 3 days or so


2 comments
Hi Marvellina,
Love your blog and recipes. Photos are great too. Can I use this dough to make chocolate filled buns? Been looking for soft , fluffy chocolate bun recipes to make for my little ones.
Absolutely Sandy. You can use it with any sweet or savory filling 🙂