This post may contain affiliate links. Please read our disclosure policy.
Mei Cai/muy choy (preserved mustard greens) is braised with pork along with umami-boasting ingredients that gives you this easy and flavorful one-pot stew.
My grandma was a Teochew but she made this braised mei cai with pork almost on a weekly basis when I was a kid. Grandma used to make her own mei cai. When I was at the Asian grocery store the other day, I saw a package of dried mei cai and it seriously made me feel all nostalgic. I haven’t had this dish for such a long long time.
I won’t call this exactly mei cai kou rou. The Hakka mei cai kou rou is usually steamed. My grandma didn’t use a whole slab of pork belly. She usually used a combination of pork belly and pork shoulder that had been cut into smaller pieces and then braise with the mei cai. The cooking style and ingredients used are more similar to babi pongteh or tau yew bak.

The recipe run down
1. Taste:It’s savory, sweet, and umami
2. Texture:Not a whole lot of texture contrast in this dish. The pork and mei cai are supposed to be tender
3. Level: Easy
What type of mei cai to use
There are sweet preserved mei cai, salty preserved mei cai, and dried mei cai. My grandma usually made the salty preserved mei cai. The sweet and salted mei cai are usually “wet”. The dried mei cai are literally dehydrated. They are not salty compared to the salted mei cai. This is the only mei cai I can get here at the Asian store. You can use any of these varieties. I prefer to mix salty and sweet mei cai if you have access to both.
How to prepare mei cai for cooking
1. For sweet and salty mei cai
Wash them clean in cold running water to get rid of any dirt and sand. Then soak for 1 hour or longer to get rid of the extra saltiness
2. For dried mei cai
Dried mei cai needs to be rehydrated. Soak them for 5-6 hours or overnight. Discard the water and then rinse them clean under running water to get rid of any impurities
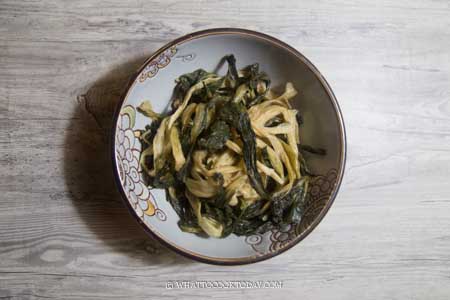
Dried mei cai that had been rehydrated
Type of pork to use
You can use all pork belly or a combination of pork belly with pork butt. I prefer the latter, as they are not as greasy. I won’t recommend using pork loin or tenderloin as they are too lean for this
Tips for success
1. Make sure to wash mei cai thorougly and then soak to get rid of extra saltiness
2. Using a combination of pork belly and pork shoulder give a nice balance without being too greasy
3. Cut pork into bite-size pieces to shorten the cooking time
Did you make this recipe?
I love it when you guys snap a photo and tag to show me what you’ve made 🙂 Simply tag me @WhatToCookToday #WhatToCookToday on Instagram and I’ll be sure to stop by and take a peek for real!

You may also like these
Pressure Cooker Lu Rou Fan (Taiwanese Braised Pork Belly Rice)
Braised Pork with Young Bamboo Shoots
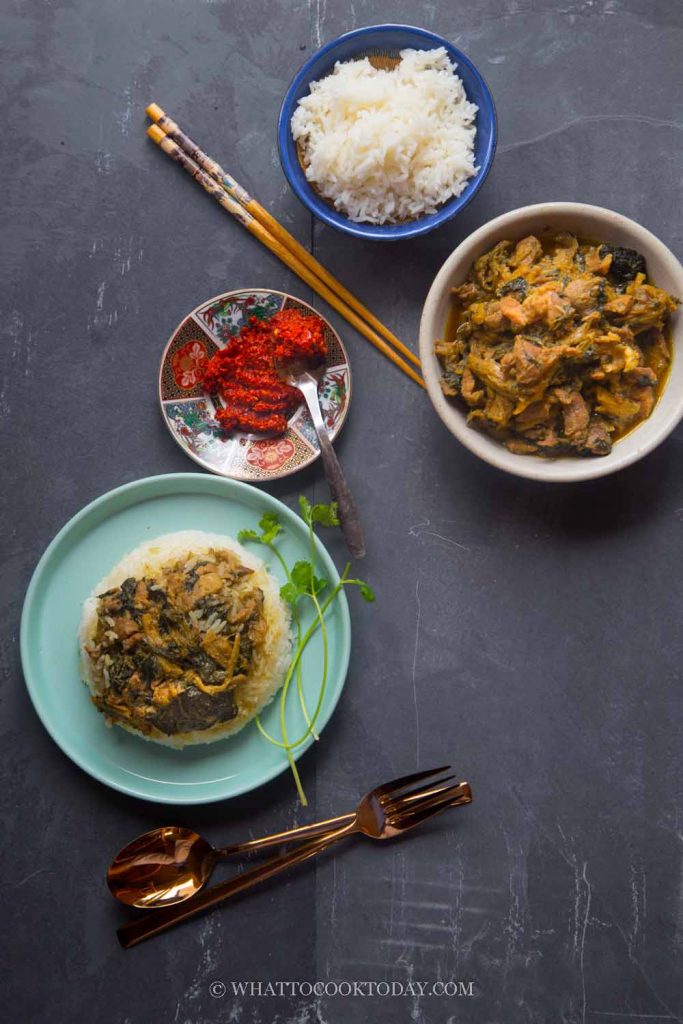
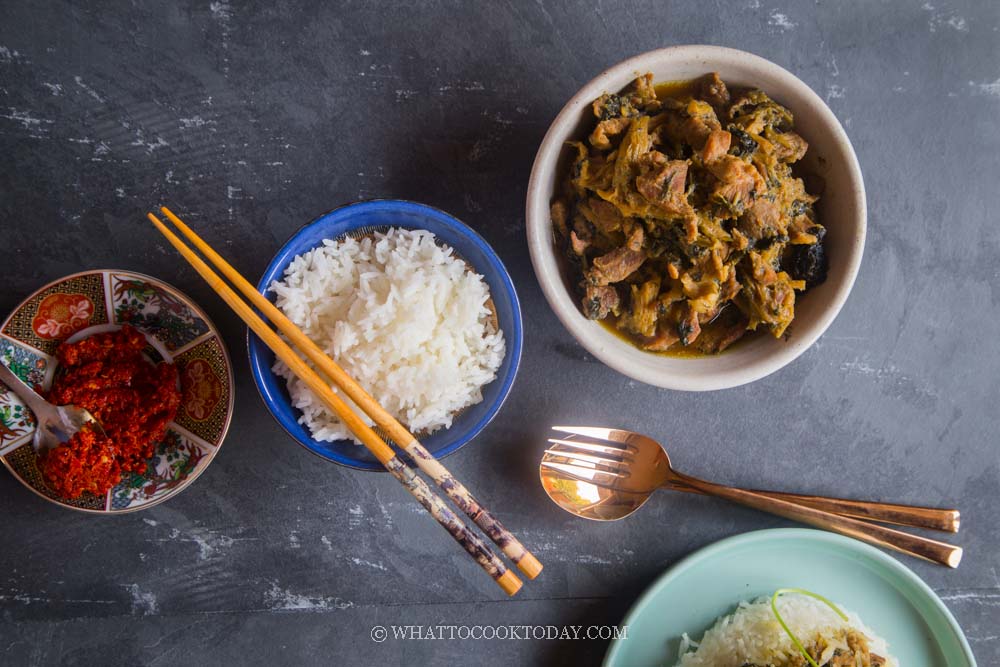
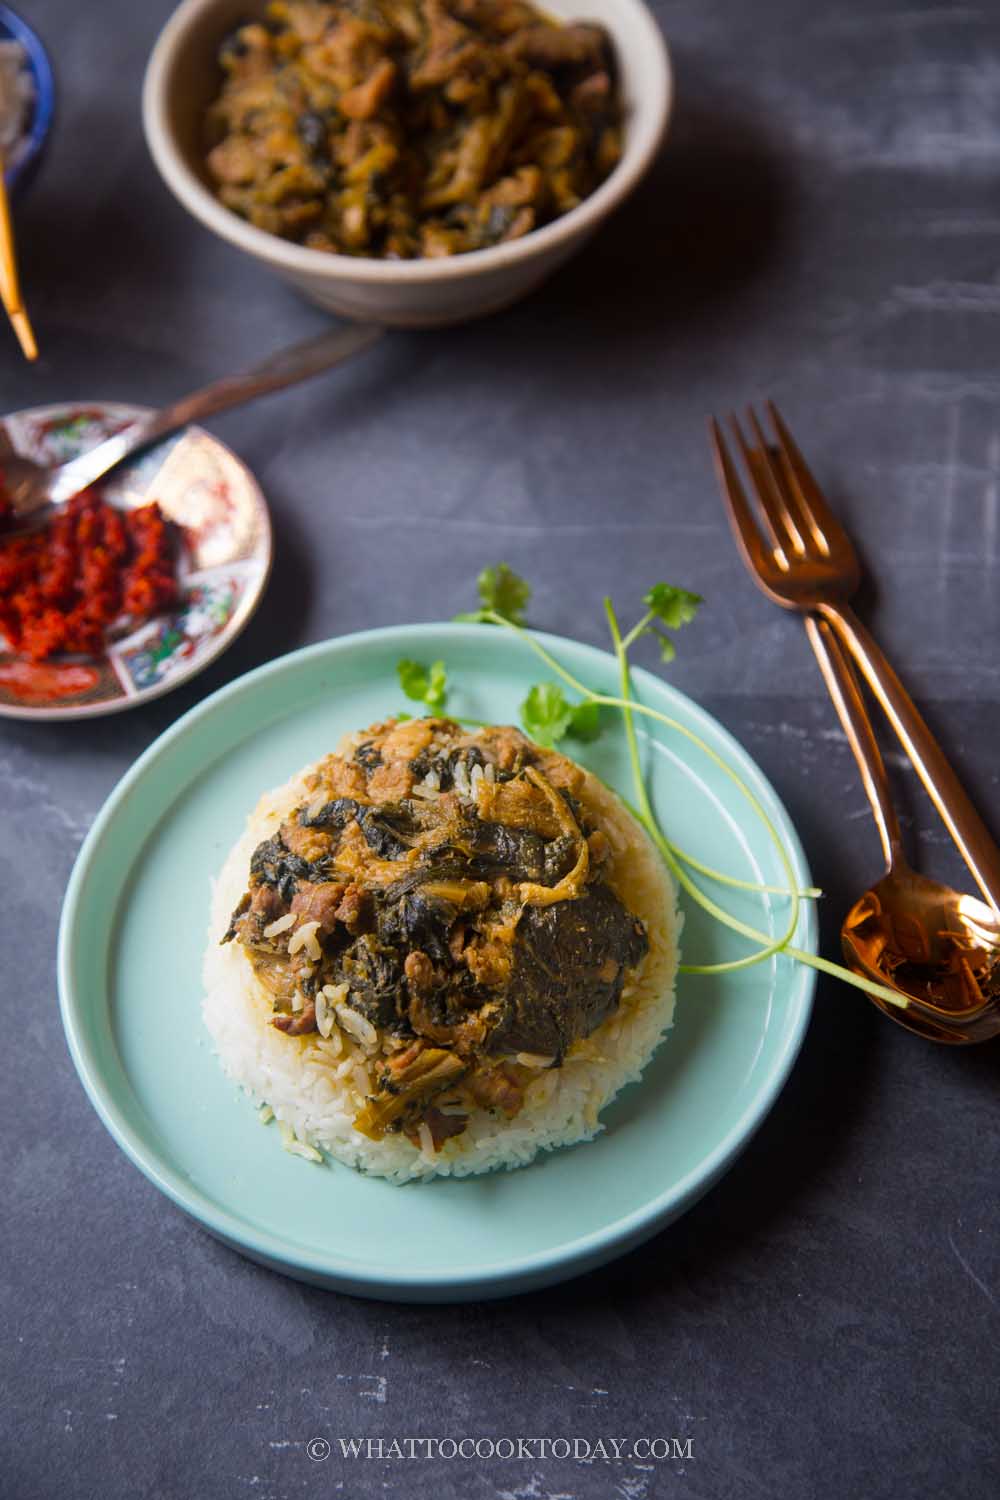
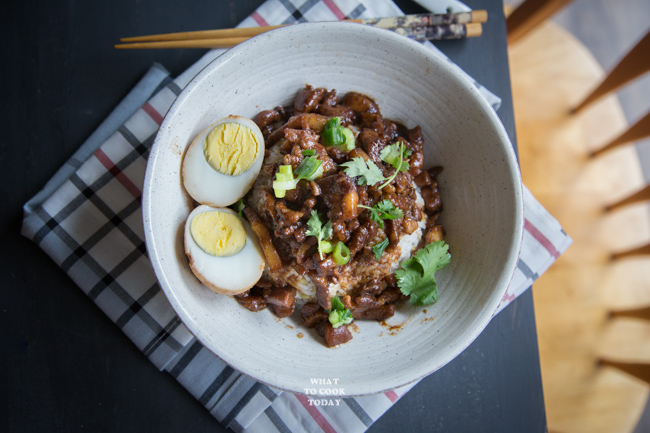
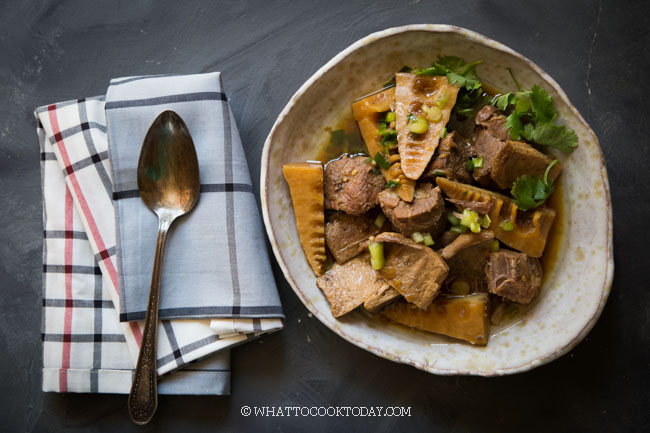
Easy Braised Mei Cai/Muy Choy with Pork
Ingredients
- 250 gr pork belly cut into bite-size pieces
- 250 gr pork shoulder/butt cut into bite-size pieces
- 100 gr dried mei cai see notes 1
- 6 cloves garlic finely minced
- 1 tsp ginger grated
- 1 star anise
- 2 Tbsp rice wine
- 4 cups water or as needed
Seasonings:
- 2 Tbsp soy sauce
- 1 Tbsp dark soy sauce
- 2 Tbsp oyster sauce
- ½ tsp sugar
- ½ tsp ground white pepper
Serve with:
- Sambal belacan optional
Instructions
Thing to prepare the day before:
- Soak the dried mei cai for 5-6 hours or overnight. Then rinse with clean water to make sure all the dirts and sands are gone. Squeeze the mei cai dry and cut into about 1-inch pieces
- If you use "wet" mei cai (sweet and/or salty version), Both needs to be washed and then soaked for 1 hour and then cut into 1-inch pieces. The salty mei cai is really salty. If it's still too salty after soaking, change to a fresh water and soak a bit longer. Squeeze the mei cai dry and cut into about 1-inch pieces
Cooking on the stove:
- Preheat oil in a dutch oven or large heavy-bottom pot. Add cooking oil and stir fry garlic, star anise, and ginger for about 10 seconds. Add in the pork and saute until they turn color. Add the mei cai and seasonings. Stir fry for another minute. Add the rice wine to deglaze. Loosen up any bits that stuck to the bottom of the pot with a spatula
- Add water and bring to boil. Lower the heat and cover the lid and let it braise for the next 1 hour or until the mei cai is soft and the pork is tender to your preference
Cooking with Instant Pot pressure cooker:
- Press "saute" on Instant Pot. When it says "hot", add cooking oil. Saute garlic, star anise, and ginger for about 10 seconds. Add in the pork and saute until they turn color. Add the mei cai and seasonings. Stir fry for another minute. Add the rice wine to deglaze. Loosen up any bits that stuck to the bottom of the pot with a spatula
- Turn off saute mode. Add water and stir to mix. Close the lid and turn the steam release valve to sealing. Press "pressure cooker" and make sure it's on "high pressure". Set the timer to 20 minutes. Allow natural release. Carefully unlock the lid
To serve:
- Garnish with a fresh cilantro leaves and serve with some rice as part of multi-course meal


7 comments
Thank you so much for the recipe! My mother, who was a Teochew, used to cook mui chai belly pork dish this way. I searched online for the recipe and all of them used the steamed method which I find very tedious. Finally, I found it here! I should have come straight here to check out your website as I’ve been following some of your recipes for a while now, knowing that you also feature a lot of Teochew dishes.
Thank you again and keep your wonderful recipes coming!
Hi Joanna, I’m so glad the recipe worked out for you and yes, this is a less fussy version but I guess enough to satisfy the craving 🙂 Thank you for trying and for your feedback 🙂
I did it once and forgot to take a picture. It was so good. Was gone. 1 week after, I made it again on request. Again it was finished. Always thought it was so difficult to make but it’s so simple. I had to soak the veg for 1.5 days.
Hi Jacqueline, I’m happy to know that you enjoyed the dish 🙂
I must say, your post had me at “dehydrated cole.” Who knew that cabbage could get such a fabulous makeover? Your step-by-step guide reads like a thrilling adventure story, where the cabbage transforms from a regular veggie into a flavorful hero of the dish.
And let’s not forget about that succulent braised pork! It’s like the perfect partner-in-crime for the dehydrated cole, creating a symphony of flavors that I can practically taste through the screen.
I’ve only ever made the original version which calls for frying up the skin, painting it with dark soy, blanching, slicing and steaming. Whew, it’s a lot of work. Your version is easy and gives all of the taste if not the texture and appearance. Only charge I made was to substitute the white granulated sugar with the Chinese brown sugar that comes in bars. I will 100% make this again.
Hi Denny, I’m happy to know that you approve of this “easy” version and a great idea with the substitution for granulated sugar.