This post may contain affiliate links. Please read our disclosure policy.
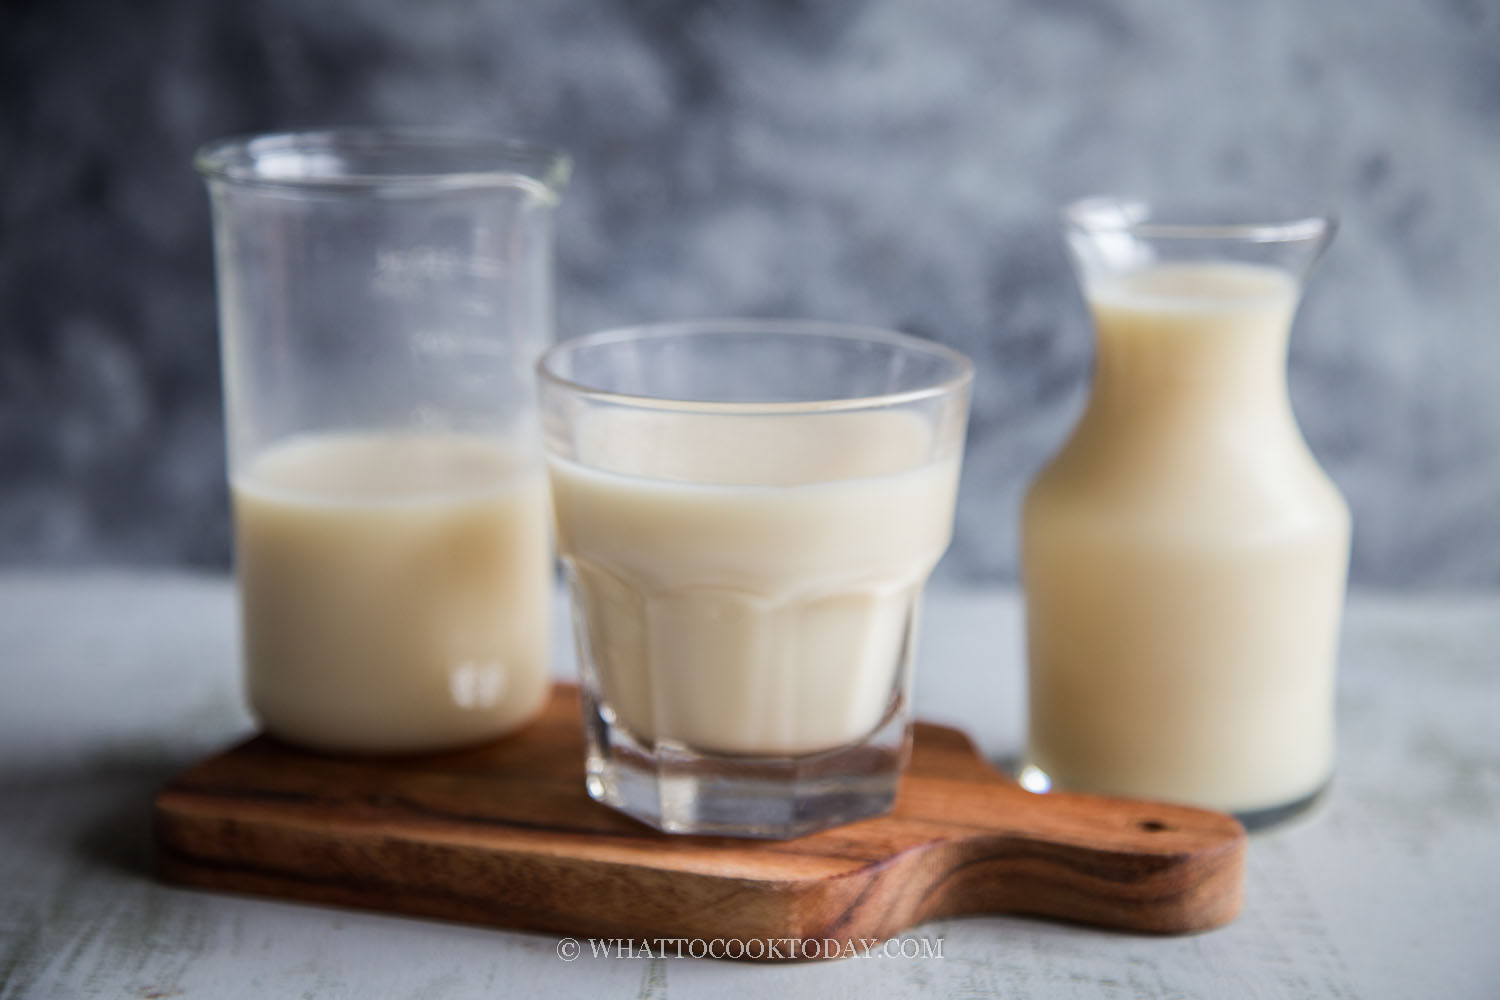
Making your own soy/soya bean milk is easier than you think, especially with an electric pressure cooker such as Instant Pot. You can have fresh homemade soy milk in no time and get some soybean pulp/okara that you can use in different recipes.
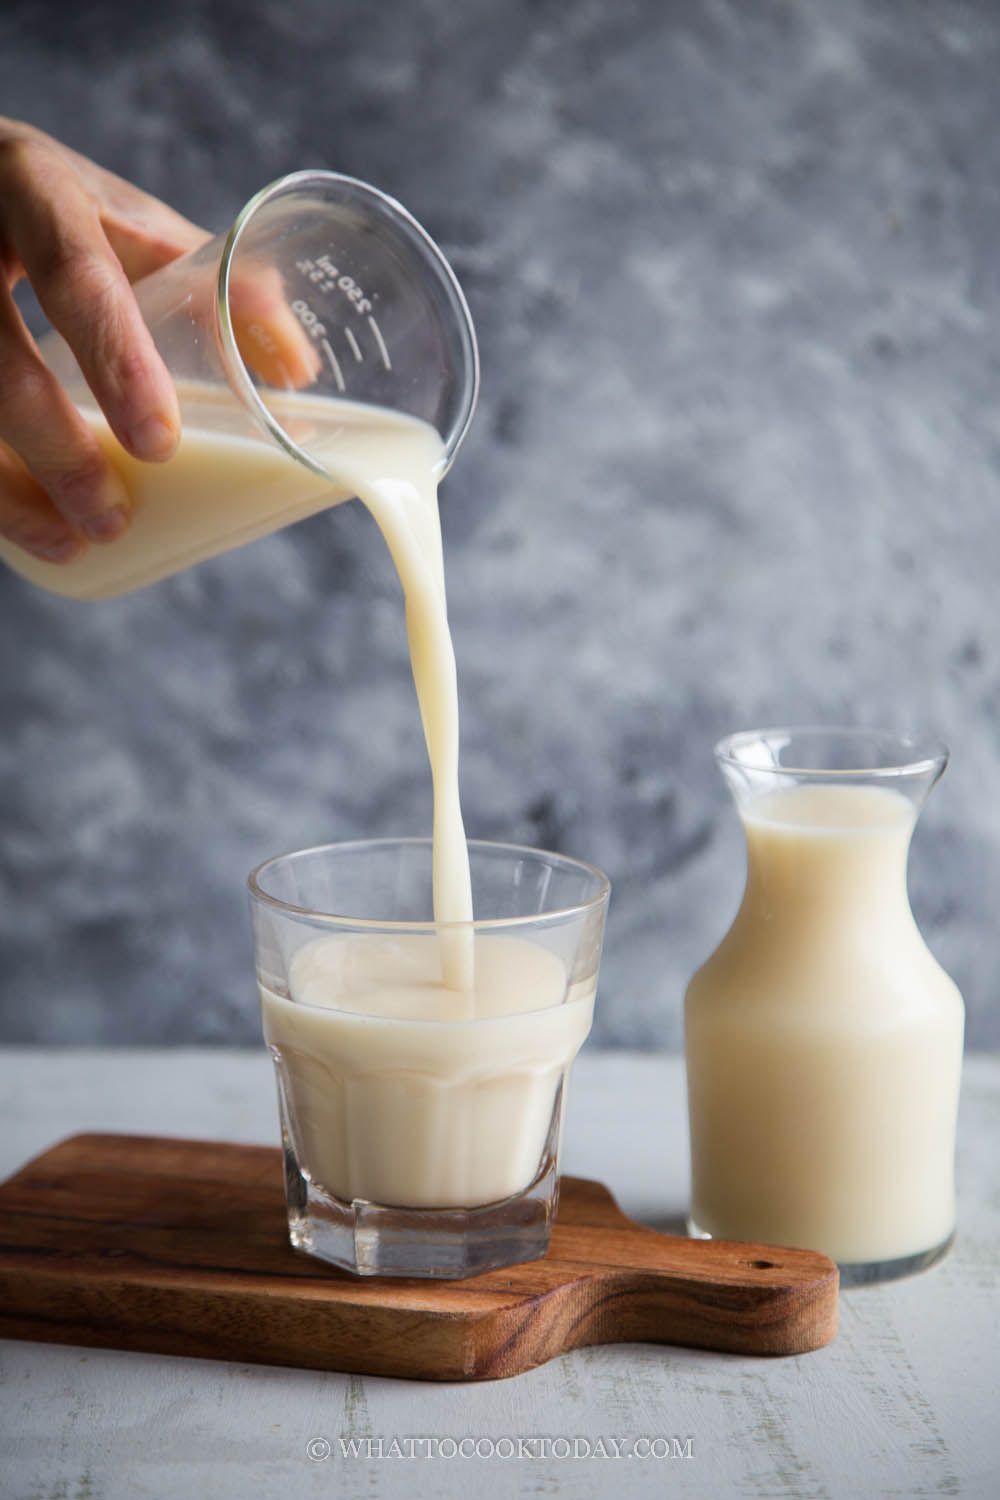
A staple in Asia
Soybean milk/soy milk (often called soya bean milk in Asia), or dou jiang (豆浆) in Chinese, is a staple beverage in Asia. Dairy milk like cow’s milk is not consumed as commonly in Asia, but soy milk is. I grew up with soy milk that my mom will buy from a market. The lady who sold the soy milk a few houses down from us, made it fresh daily and it wasn’t like the packaged stuff, it was really homemade and tasted great! She also sold homemade tofu, dou hua (soybean pudding), and pretty much anything that is made using soybeans 🙂
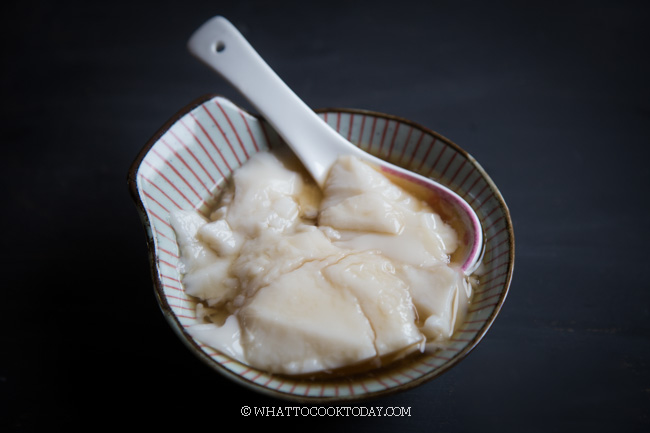
Dou hua is like one of my favorite desserts ever. I would beg my mom to get it every week 🙂 Now that I know how to make dou hua the easy way, I couldn’t be happier!
The recipe rundown
Taste: Creamy and no raw taste
Texture: Smooth and clean
Level: Easy
Pros: You are left with the soybean pulp/ okara that you can use to explore other savory and sweet recipes (I’ll be sharing some too)
Cons: sometimes you’ll get a burn alert from IP, but I included some tips to try to avoid that
You only need 2 to 3 ingredients
You only need soybeans and water. If you want to sweeten it, then you will add sugar. I highly recommend using organic non-GMO soybeans. You can get it from a health food store or any store that carries organic soybeans.

To soak or not to soak the soybeans
When I initially did this recipe for couple of times, I did the no-soak method. Then I tried the soaking overnight method. The family voted that they liked the soaked method. Soaking the bean does give a creamier texture and the milk also looks whiter compared to the no-soak method. The no-soak soymilk will also separate after a while. So, even though no-soak is very convenient and you can do it on the same day, I decided to stick with the soaking method.
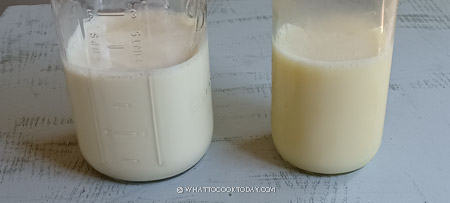
Soy beans make with soaked soy beans (left) and no-soak soy beans (right)
How to make creamy soy/soya bean milk with Instant Pot
1.Rinse the soybeans in several changes of water. Pick out any beans that do not look good anymore and discard

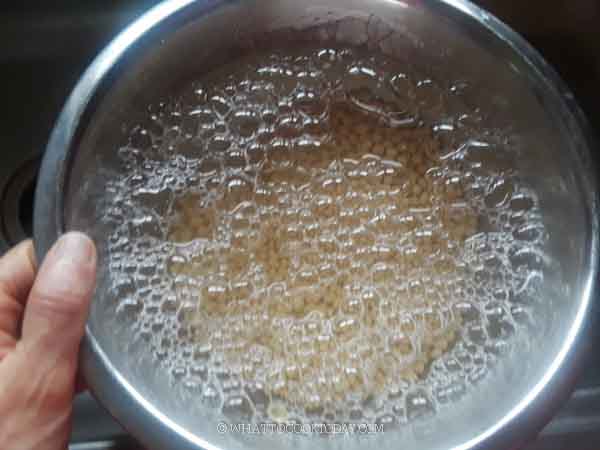
2. Put the rinsed beans in a large pot and pour enough water, about 2 inches above the beans and soak them for at least 4 hours or best overnight for a creamier taste

3. Drain off the soaking water. The beans have swelled up quite a bit after soaking
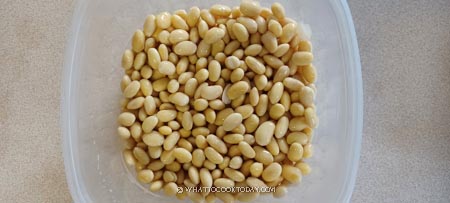
4. Put the soaked beans into a blender with 2 cups of water.
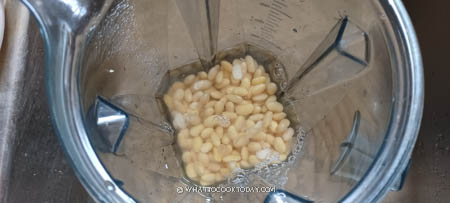
5. Blend the mixture on high speed for about 10 seconds. I use Vitamix blender. Don’t over do it. We just want to roughly break it into finer pieces as this helps to make the milk creamier

6. Pour the mixture into the inner pot of Instant pot and add the rest of the 3 cups of water into the blender to make sure and give it a swirl so we get bits and pieces that are left in the blender.
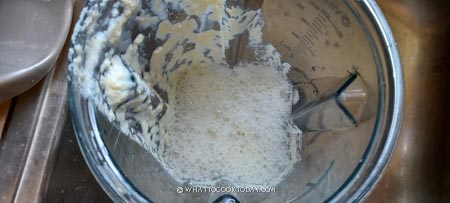
7. Pour this into the inner pot. So we have total of 5 cups of water with the beans
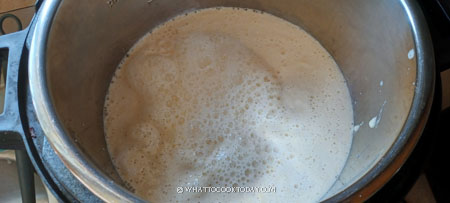
8. I notice that if I pressure cook this mixture right away, I’ll get a “burn” alert from IP because some of the starches get scorched at the bottom of the pot and trigger the burn alert. Turn the “saute” mode first and keep stirring and skim off some foams that rises.
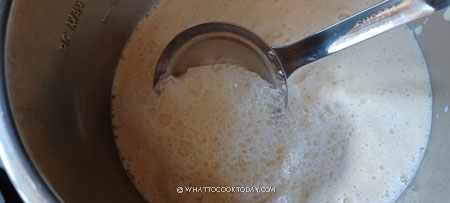
9. Stir until the mixture starts to boil. Turn off the saute mode. Give it a stir for a few more rounds to make sure nothing gets stuck at the bottom of the pot

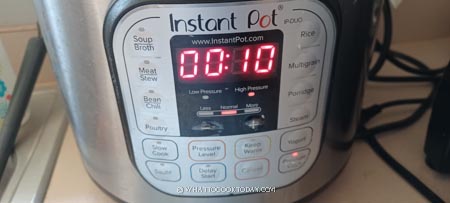
10. Close the lid and turn the steam release valve to sealing. Press “pressure cooker” and make sure it’s on high pressure. Set the timer to 10 minutes and then natural release, which may take 15 minutes or a bit longer. The valve will collapse on its own. Carefully unlock the lid
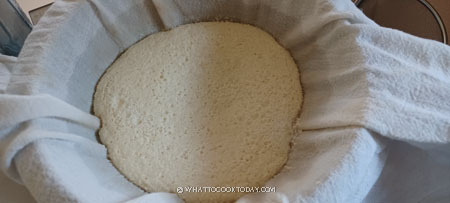
11. Prepare a large pot with a strainer and a cheesecloth-lined over it to strain the soymilk for a fine smooth texture. Very carefully pour about half of the soy milk onto the strainer. You may need to use a spoon to stir the mixture a bit to help it strain through the cheesecloth. Once most of the liquid has gone down, pour the rest of the soy milk (if it can fit) and let the liquid strain through the cheesecloth again
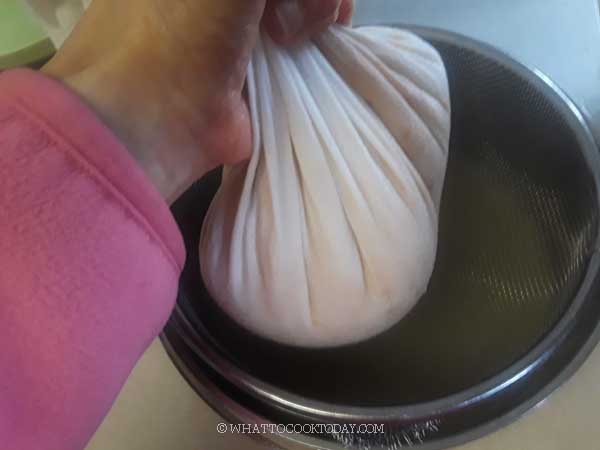
12. When it’s cold enough to handle, you can use your hands to squeeze the rest of the soymilk out from the soybean pulps inside the cheesecloth. Alternatively, you can also let the soymilk strained inside the fridge until the next day
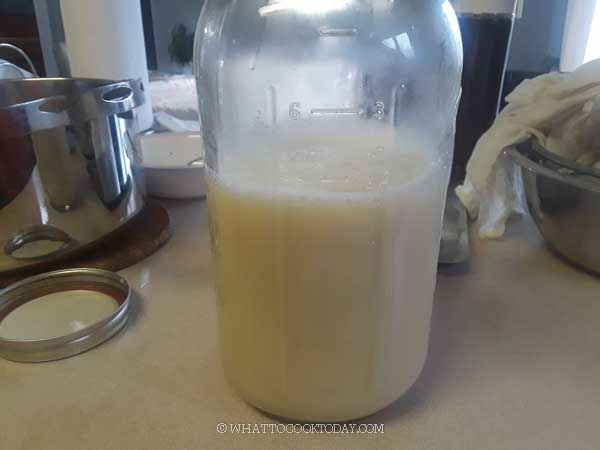
13. To sweeten the milk, you can bring the soymilk to a gentle simmering again and add sugar or sweetener of your choice. The amount is up to you. You can also add some vanilla flavor if you want. Reboiling it will also extend the shelf life a bit longer
14. Homemade soymilk can be kept in the fridge for no more than 3-4 days.
What to do with the soybean pulp (okara)?
I strongly suggest not throwing away the soybean pulp. They are also known as Okara in Japanese. Okara is pretty much a byproduct of tofu and soymilk making. They are fibrous and nutritious. They are being consumed and used in lots of recipes in Japan, Korea, and China. I have been making cakes, bread, brownies with the okara. Try this Soft Okara Bread/Dinner Rolls (Soy Bean Pulp Dinner Rolls)
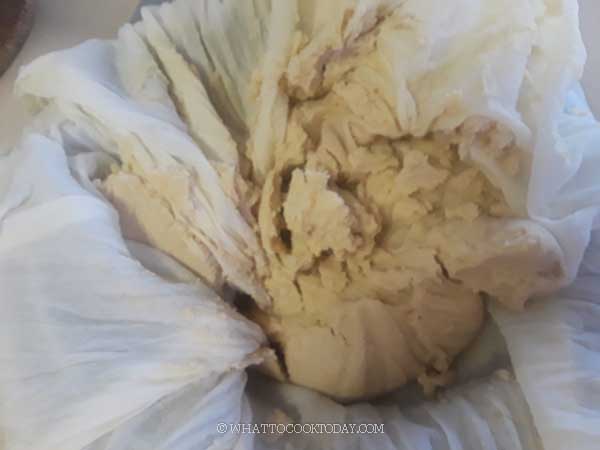
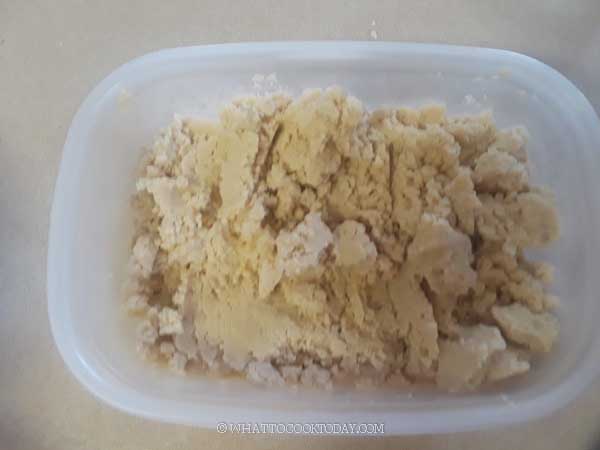
Okara / soybean pulp after squeezing out all the milk
How to store okara?
Fresh okara can be kept in the refrigerator for about 2-3 days. After that, it may start to turn rancid and goes bad. For longer storage, I recommend portioning it out and keep them in the freezer for no more than 6 months.
Did you make this homemade soy milk with Instant Pot recipe?
I love it when you guys snap a photo and tag to show me what you’ve made 🙂 Simply tag me @WhatToCookToday #WhatToCookToday on Instagram and I’ll be sure to stop by and take a peek for real!
You may also like this
Easy Creamy Homemade Chinese Soy Milk (Instant Pot)
Ingredients
- 1 cup dried soybeans organic non-GMO preferred
- 5 cups water see notes
Optional:
- Sugar to your taste
- 1 tsp Vanilla extract
Instructions
Soak the soybeans:
- Rinse the soybeans in several changes of water. Pick out any beans that do not look good anymore and discard
- Put the rinsed beans in a large pot and pour enough water, about 2 inches above the beans and soak them for at least 4 hours or best overnight for creamier taste
Blend the beans:
- Drain off the soaking water. I didn't rub off the skin. You can if you want. Some people prefer the taste without the skin, but I didn't notice much difference. Put this into a blender with 2 cups of water. Blend the mixture on high speed for about 10 seconds. I use Vitamix blender
Cook the beans (how to avoid getting the "burn" alert):
- Pour the mixture into the inner pot of Instant pot and add the rest of the 3 cups of water into the blender to make sure and give it a swirl so we get bits and pieces that are left in the blender. Pour this into the inner pot. So we have total of 5 cups of water with the beans
- I notice that if I pressure cook this mixture right away, I'll get a "burn" alert from IP because some of the starches get scorched at the bottom of the pot and trigger the burn alert. Turn the "saute" mode first and keep stirring and skim off some foams that rises. Stir until the mixture starts to about to boil. Turn off the saute mode. Give it a stir for a few more rounds to make sure nothing gets stuck at the bottom of the pot
- Close the lid and turn the steam release valve to sealing. Press "pressure cooker" and make sure it's on high pressure. Set the timer to 10 minutes and then natural release, which may take 15 minutes or a bit longer. The valve will collapse on its own. Carefully unlock the lid
If you still get a burn alert:
- Don't panic, just unlock the lid and give it a good stir again and close the lid and continue with the pressure cooking process
Strain the milk:
- Prepare a large pot with a strainer and a cheesecloth lined over it to strain the soymilk for a fine smooth texture. Very carefully pour about half of the soy milk onto the strainer. You may need to use a spoon to stir the mixture a bit to help it strain through the cheesecloth. Once most of the liquid has gone down, pour the rest of the soy milk (if it can fit) and let the liquid strain through the cheesecloth again
- When it's cold enough to handle, you can use your hands to squeeze the rest of the soymilk out from the soybean pulps inside the cheesecloth. Alternatively, you can also let the soymilk strained inside the fridge until the next day
Sweeten the soymilk or add flavor (optional):
- You can bring the soymilk to a gentle simmering again and add sugar or sweetener of your choice and also flavor like vanilla extract. The amount is up to you. Reboiling it will also extend the shelf life a bit longer, but make sure to give it a good stir so nothing get burnt at the bottom of the pot
Storage:
- Homemade soymilk can be kept in the fridge for no more than a week. You may find that after sitting in the fridge for a while, the soymilk may look a bit more watery on top and more "stuff" sink at the bottom. This is quite normal. Don't be panic. The soymilk hasn't gone bad (as long as you follow hygiene practice and it hasn't been kept for more than 3-4 days). Simply give it a gentle shake before pouring it out
Serving:
- Soymilk can be served warm, hot, or chilled. Please note that if you mix soymilk with anything acidic, for example coffee, it will cause the milk to curdle a bit, which is normal.


6 comments
Dear,
Whenever make soya milk at home second day it becomes like curd.how can i make proper soya milk at home.
thanks
Dona
Why not cook the whole soybeans first, before blending?
Boy, was this a bad idea. It glued itself to the bottom of the instant pot (even set on low) in a thin tenacious coat and was a real pain to clean off.
You want to make sure that you use a saute mode first to boil and keep stirring to make sure nothing catches at the bottom of the pot and skim off the foam as it cooks before you start pressure cooking. Otherwise, the starches and pulps will get scorched at the bottom. I have done this often and haven’t gotten problems with this method.
Hi, Marv, thanks for the Seremban siew pau recipe. One question before I attempt … can the dough be kept frozen, separately, if I only make 6 pieces. Anxiously looking forward to a reply.
Hi Molly, Yes you can. Just bring them to room temperature and proceed with the recipe.