This post may contain affiliate links. Please read our disclosure policy.
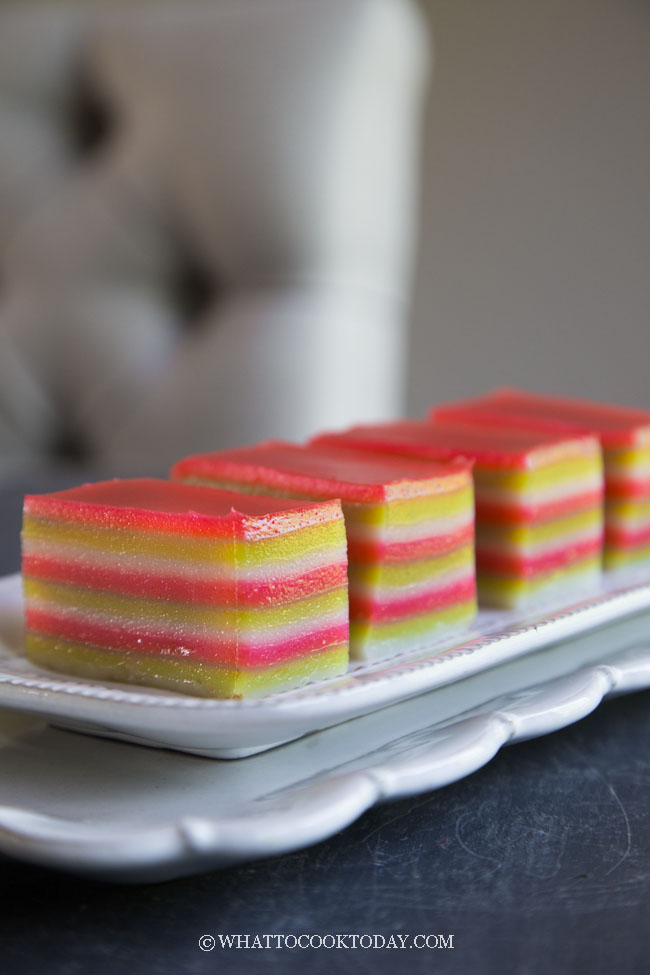
Learn how to make kuih lapis/ gao teng kueh (jiu cheng gao) with an amazingly springy soft texture and can be torn layer by layer with all the tips you need to know.
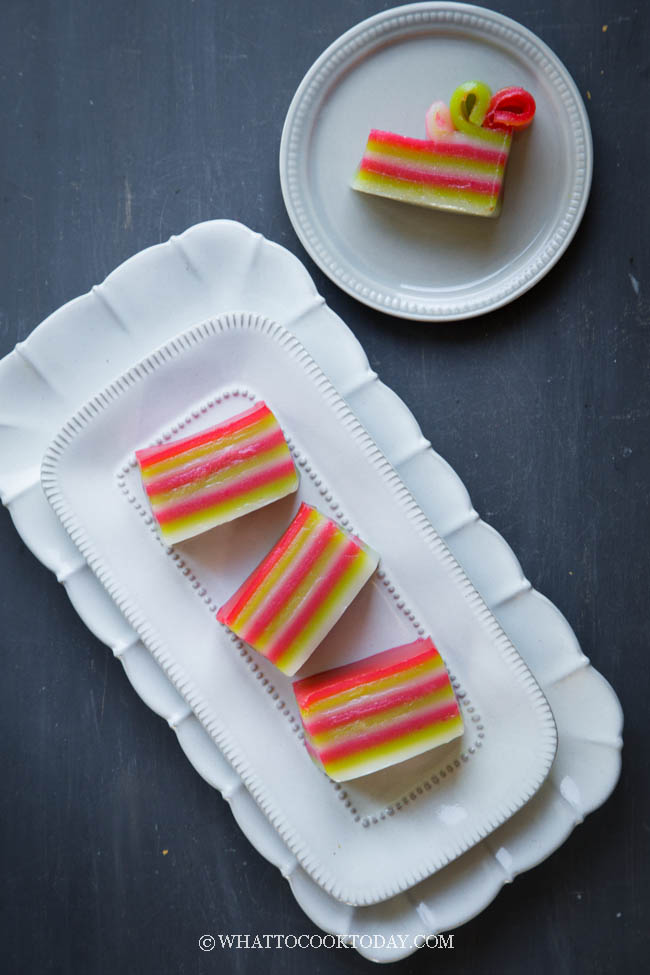
Kue or Kuih is a fairly broad term in Malay and Bahasa language, which may include items that would be called cakes, cookies, dumplings, pudding, biscuit, or pastries in English. Lapis means layers in Bahasa Indonesian/ Malay. My sister is a big fan of gao teng kueh and so am I. As a kid I remember how much I liked to peel it layer by layer before eating the kue.
GAO TENG KUEH IS POPULAR IN INDONESIA, MALAYSIA, AND SINGAPORE
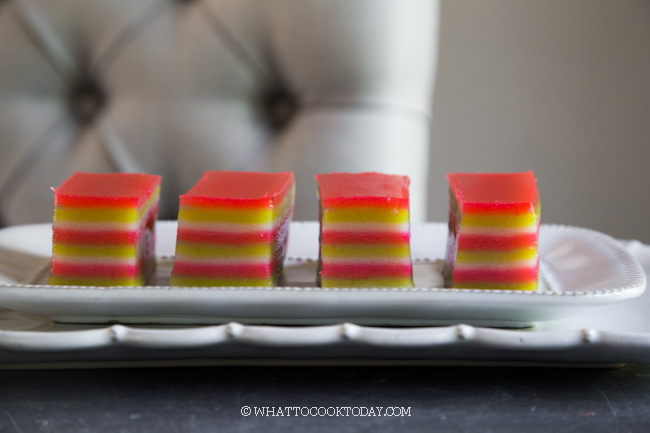
Gao teng kueh is made with gluten-free flour such as: rice flour, tapioca flour, cornstarch. Some people added sago (cassava) flour too. There is also a baked version, often called Kue Lapis Surabaya or Kueh Lapis Legit. The steamed kue lapis is so much “easier” to make compared to the baked version. Most people will make it with three colors: green, red and white.
WHY YOU WILL LIKE THIS GAO TENG KUEH RECIPE
AMAZING SPRINGY RESILIENT TEXTURE
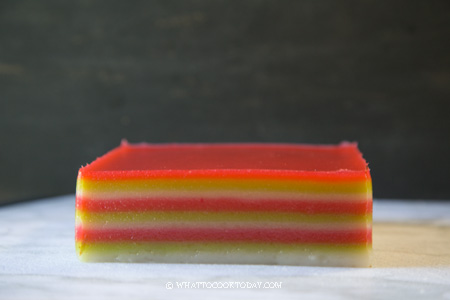
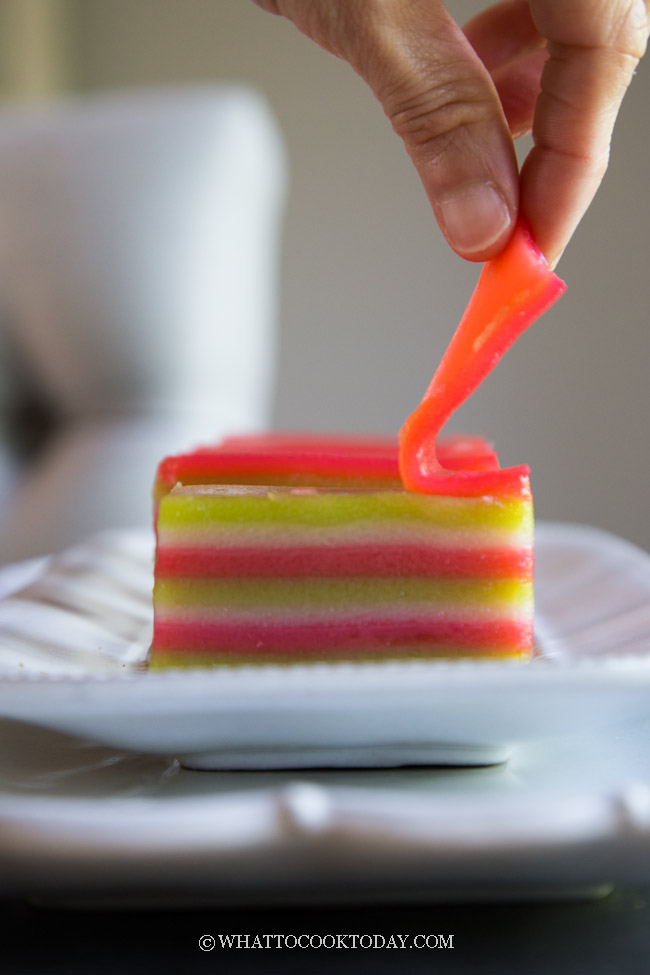
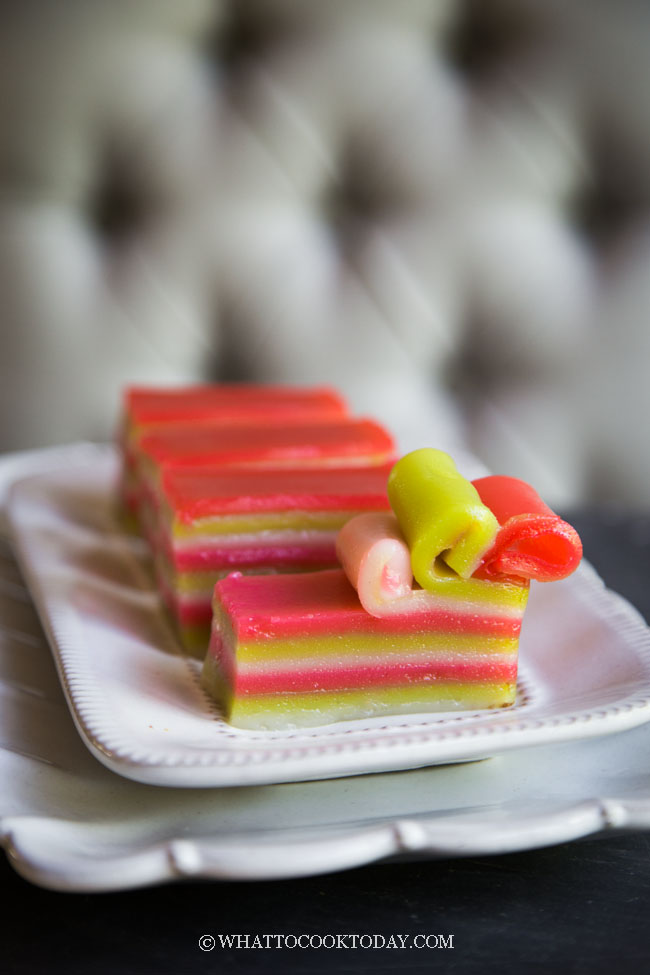
The texture of this cake is springy yet soft and very resilient and does not tear easily which makes it peeling layer by layer so much fun (especially for the kids).
KUEH STAYS SOFT AND BOUNCY EVEN AFTER REFRIGERATION
The texture of this cake is simply amazing!!
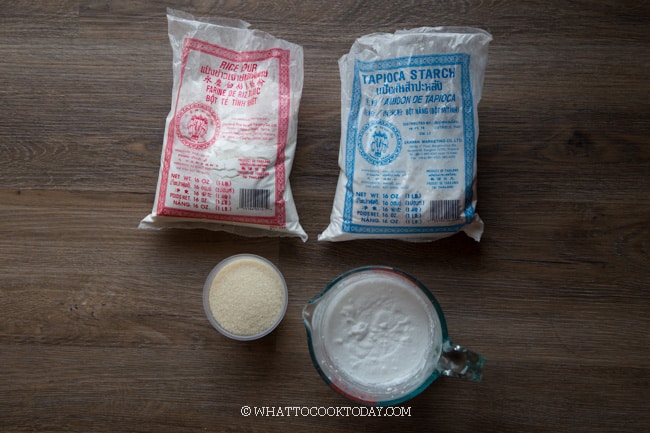
RECIPE IS NO FUSS
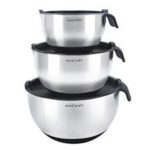
You only need tapioca starch/flour, rice flour, sugar, coconut milk, food colorings and boiling water (not in the picture)
TAPIOCA FLOUR TO RICE FLOUR RATIO
Tapioca flour is known to contribute to that bounciness/springy texture in food. Rice flour will give more of a softer texture. In gao teng kueh, we really want it to be springy, soft, resilient that you can peel the cake layer by layer without tearing it.
The ratio of tapioca : rice flour is 4.5:1. It is mainly tapioca flour and it’s amazing how “bendy” and springy this gao teng kueh is. Just the way I remember it as a kid.
HOW TO MAKE GAO TENG KUEH
1. Prepare the cake batter
Mix coconut milk, sugar, vanilla extract (if using). Give it a good stir
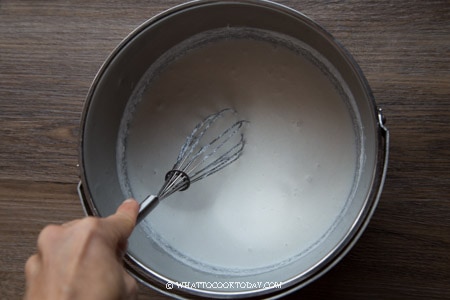
Pour in the boiling water (make sure the water is boiling hot) and stir until sugar dissolves
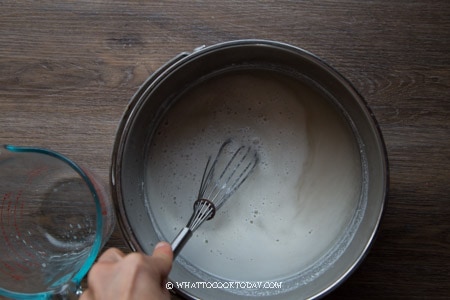
Mix tapioca starch and rice flour and stir to mix.Add this to the coconut milk mixture

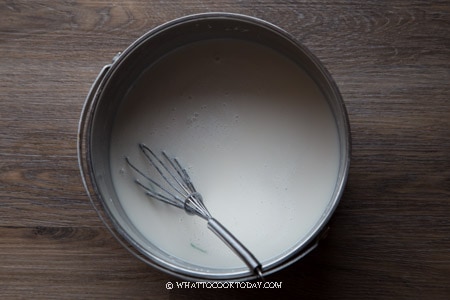
Continue to stir until you get a smooth batter. I don’t need to strain it, but if you can’t get rid of the lumps, strain it
2. Divide batter and add colors
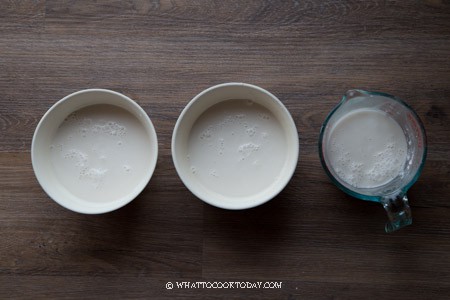
Divide the batter into roughly three equal portions in separate bowls
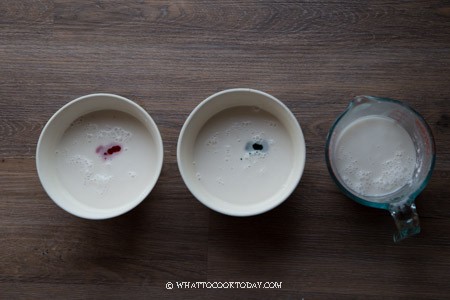
Add about 1-2 drops of food coloring (more if you want the color more intense) to each bowl

3. Steaming
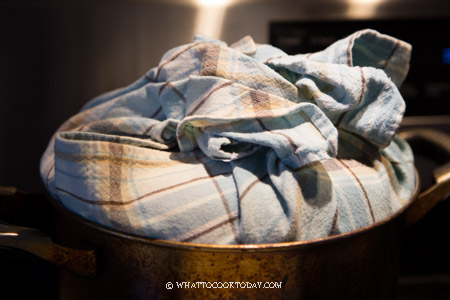
Prepare the steamer by bringing water to a boil. Wrap the lid with a cloth (to prevent condensation drips back to your steamed cake)
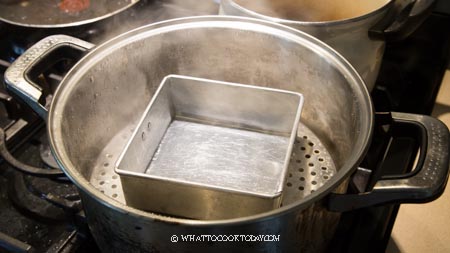
Lightly brush all sides of the pan and bottom with cooking oil. Preheat it by steaming it empty over hot water for 5 minutes
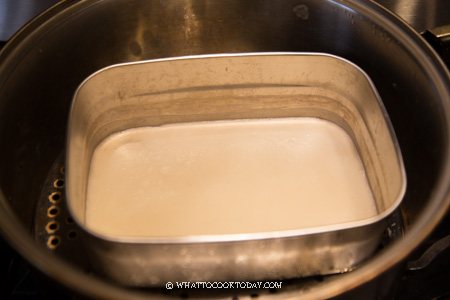
Give the batter a good stir each time before you ladle it on the pan, because the flour tends to settle at the bottom after a while. I start with white color, then green and red. Pour about 100 ml of the white batter into the pan. Lower the heat to medium (Do not steam over high heat). Let it steam for about 7 minutes for the first layer AND then leave it open for 1 minute to dry up (sometimes there is a bit of liquid on top)
Then pour the next layer. Keep the ladle close to the layer and gently pour. Do not pour from a height, it will damage the layer underneath

Repeat this sequence until you get 9 layers. From the second layer up to the 9th layer, steam for 5 minutes each layer and leave it open for 1 minute to dry up the layer before pouring the next layer

Cool well before cutting. It takes about 3 hours or so to cool down completely. Brush the top layer with a bit of oil. Oil a spatula or knife and loosen the cake from the pan. When ready to cut, use an oiled knife or plastic knife to cut to prevent sticking
HELPFUL TIPS FOR MAKING GAO TENG KUEH (STEAMED LAYERED CAKE) YOU NEED TO READ
1. Steam over medium heat
Bring the water in the steamer to a boil and then lower to medium heat to steam the cake. DO NOT steam over high heat or the layer will wrinkle
2. Stir the batter every time
You need to give the batter a stir every time before you pour each layer in. The flour tends to settle at the bottom after left sitting for a while
3. Check the water level in the steamer
The water most likely will run low halfway through the steaming process (I had to refill twice). You can add water but make sure you do so after the layer is cooked through. Once the water comes back to a boil, add another layer to steam again
4. Cool down completely
If you try to cut the warm cake, they tend to stick. It takes about 3 hours
5. Loosen the cake
The texture of this cake is so resilient that I can just use my fingers to simply loosen the edge of the cake from the pan. Alternatively, you can use an oiled spatula or knife to loosen the sides of the cake and then invert onto a serving platter and cut to serving size
HOW TO STORE GAO TENG KUEH (KUE LAPIS)
They can be kept at room temperature for one day. They can be kept in the refrigerator for about 3-4 days. They stay reasonably soft for about 3-4 days. They will harden a bit after 4 days but are still reasonably soft the longer you keep them in the fridge and that’s normal. When you reheat them again by microwaving or steaming briefly, the texture will be back to normal. DO NOT freeze as the texture deteriorates.
I can stop with my gao teng kueh experiment right here and this is it for me! Look at how I can easily fold each layer without breaking the cake! BEND IT LIKE BECKHAM! LOL
DID YOU MAKE THIS GAO TENG KUEH/STEAMED KUEH LAPIS RECIPE?
I love it when you guys snap a photo and tag to show me what you’ve made 🙂 Simply tag me @WhatToCookToday #WhatToCookToday on Instagram and I’ll be sure to stop by and take a peek for real!
September 6, 2021: I updated the recipe with a slightly different flour ratio that gives the best soft, yet chewy, and stretchy texture like how I remember eating them as a kid.
Steamed Kuih Lapis/ Gao Teng Kueh / Jiu Ceng Gao (九层糕)
Ingredients
- 300 ml coconut milk
- 150 gr granulated sugar
- ½ tsp vanilla extract
- 250 ml boiling hot water
- 180 gr tapioca flour
- 40 gr rice flour
- ⅛ tsp salt
You will also need these:
- Red food coloring
- Green food coloring
- I used 5 x 5 x 3 inch pan see notes on different pan size
- measuring cup
Instructions
Prepare the cake batter:
- Mix coconut milk, sugar, vanilla extract (if using). Give it a good stir
- Pour in the boiling water (make sure the water is boiling hot) and stir until sugar dissolves
- Mix tapioca starch, rice flour, salt and stir to mix
- Continue to stir until you get a smooth batter. I don't need to strain it, but if you can't get rid of the lumps, strain it
Add food coloring:
- Divide the batter into roughly three equal portions in separate bowls. Roughly, about 300 ml each color
- Add about 1-2 drops of food coloring (more if you want the color more intense) to each bowl. Stir to mix
Steaming:
- Prepare the steamer by bringing water to a boil. Wrap the lid with a cloth (to prevent condensation drips back to your steamed cake)
- Lightly brush all sides of the pan and bottom with cooking oil. Preheat it by steaming it empty over boiling water for 5 minutes
- Give the batter a good stir each time before you ladle it on the pan, because the flour tends to settle at the bottom after a while. I start with white color, then green and red. Pour about 100 ml of the white batter into the pan. Lower the heat to medium. Don't steam over high heat or the layer will wrinkle or worse the water will boil over. Let it steam for about 7 minutes for the first layer
- Top tips: After 7 minutes, the layer should be set but you may see a bit of liquid pooling on top, don't worry, wear a glove and swirl the pan to distribute that liquid and leave the lid open for 1 minute. You will see that the liquid is no longer runny and set. Then you can pour the next layer
- Very gently pour or ladle another layer on top. Don't pour it from a height, as it may damage the layer underneath. Keep it close and pour or ladle
- Top tips: Monitor to see if you need to refill the water in your steamer, don't wait until it dries up. If you know you will need to refill the water in your steamer before pouring the next layer, wait until the layer that is still steaming to be done with and then add the water, close the lid back let it comes back to a boil and then lower the heat to medium and pour the next layer and continue
- Repeat this sequence until you get 9 layers. From the second layer up to the 8th layer, steam for 5 minutes each layer or until the layer is set then leave the lid open for 1 minute if you see any liquid pooling on top before pouring the next layer. After pouring last layer, steam for 10 minutes and then turn off heat and remove the lead and let it sit for a minute or two and then remove from the steamer
Unmoulding and cutting:
- Let the cake cools down completely, this may take 3 hours or longer before you attempt to remove the cake from the pan. Once it has cooled down completely, brush the top layer with thin layer of oil. You can loosen the cake from the pan with an oiled spatula or knife. When ready to cut, use an oiled knife or plastic knife to cut to prevent sticking


53 comments
If less recipe is used, can use back the same quntities of 300ml for each layer. All ingredients remain the same but change the amount of quantities . Only just changed just the quantities of ingredients ? Tq looking asap ur reply
If you are not making the full recipe, the quantity for each layer won’t be 300 ml, it would be less. The best way is to have the total quantity of all your ingredients and divided by 3 and you will get a rough idea of the quantity for each layer. I hope that makes sense.