This post may contain affiliate links. Please read our disclosure policy.
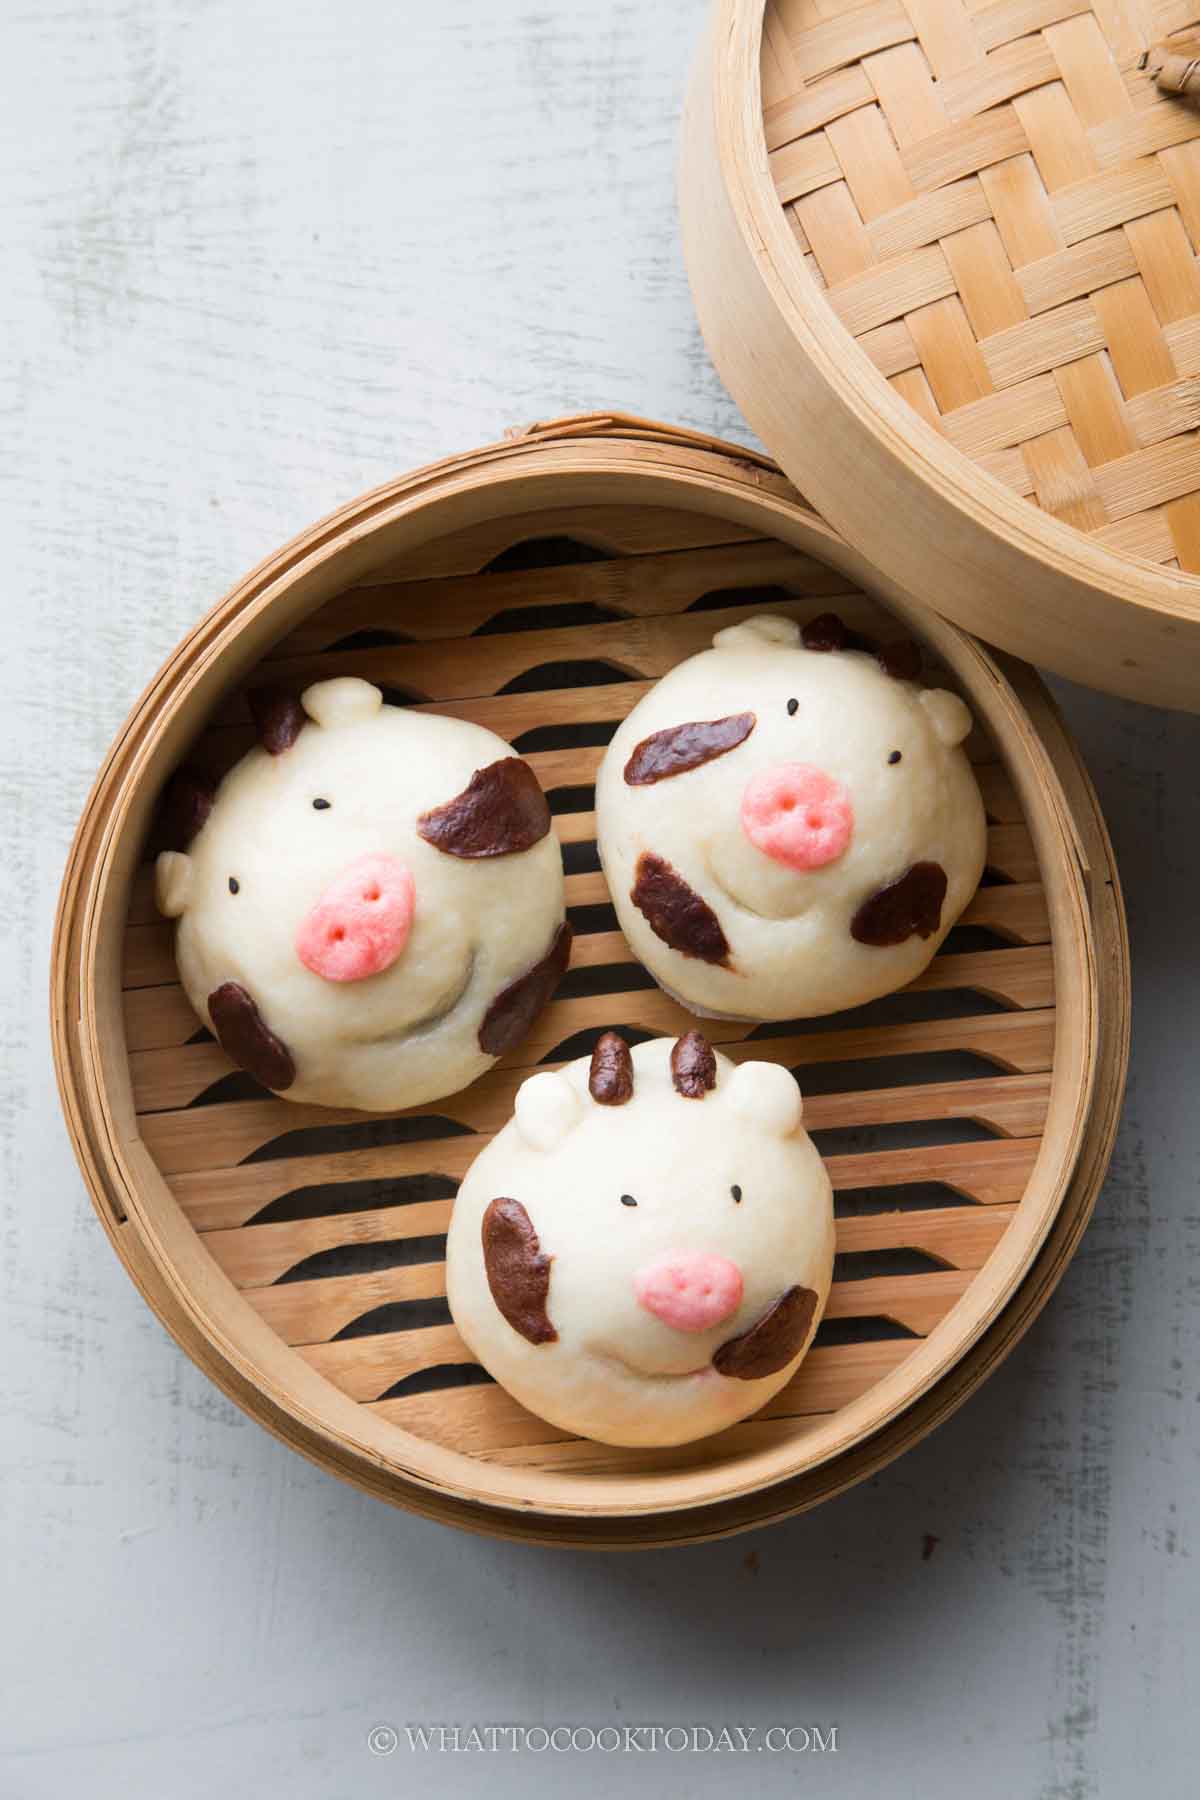
These soft and fluffy steamed buns are shaped like an ox are perfect for a Chinese New Year celebration, birthday, or any special celebration. Step-by-step instructions and video instructions are included.

I love making soft and fluffy Chinese steamed buns. I’ve made piggy steamed buns, the year of rat steamed buns, and also made this golden ingot steamed buns. They are fun to make and if your kids are old enough to help you, they would probably have fun putting different parts together 🙂
The recipe rundown
Taste: The plain buns are just slightly sweetened. It depends on what you use as a filling. I used sweet red bean paste (dou sha).
Texture: Soft and fluffy
Level: Intermediate
Pros: They are fun to make and to look at (and to eat of course)
Cons: It can be a time-consuming project so only do this when you have the time for it

How to make the year of ox steamed buns
1. I use my basic soft and fluffy steamed buns dough. Please follow the step-by-step instruction here
2. Once you get a smooth dough. Cover and let it rest for 15 minutes. This is not to proof the dough. It shouldn’t double in size. This is to relax the gluten for easier shaping and rolling the dough

3. Pinch off 3 small portions from the dough, about 10 grams for the pink (snout), 10 grams for the neutral color ears, 30 grams for the brown spots and horns. Drop a small amount of red food color on the dough for the snouts, and cocoa powder for the spots and horns. Knead until colors are absorbed by the doughs and even

4. Divide the pink dough into 12 pieces, and for the brown dough: 24 horns and 36 for the spots (about 3 spots each buns), and for the neutral color dough: 24 ears. Cover them with a plastic wrap to prevent them from drying
5. Then divide the remaining dough into 12 equal portions


6. Lightly dust the work surface with some flour. Work with one dough at a time

7. Knead the dough a few times to push out any air bubbles (if any). Flatten the dough with your palm and then use a rolling pin to roll it out to form a circle about 4-5 inches, with a slightly thicker middle part. This is to support the weight of the filling. Don’t roll the dough too thin. If you roll the dough too thin, the filling might make the steamed buns “wrinkle” later when you steam

8. Place the filling at the center

9. Then gather the sides to enclose the bun and pinch to seal

10. Flip the bun so the seam side is down now

11. Place on a piece of parchment paper. Lightly dab the surface of the buns with some milk using your finger so the ears, snout, horns, and spots can stick on it. Now attach the two ears on all the buns

12. Attach the horns

13. Attach the snouts

14. Use a toothpick to gently poke two holes on the snout. Put two black sesame seeds for the eyes, then randomly put the spots as you wish

15. Cover and let the shaped buns rise at room temperature or at a warm place. If it’s winter where you are, you can use your oven “bread proof” function to let them proof in there, or simply turn on your oven to the lowest temperature and then turn off and after 15 minutes, place the shaped buns in there to let them proof

16. They will be about 50% bigger than their original size AND when you lift them up, they should feel lighter. If not, let them proof a bit longer. Use a finger test too. When you gently push on the dough, it will leave an indentation but it will spring back slowly. This dough is perfectly proofed. If it springs back right away, it needs to be proofed a bit longer
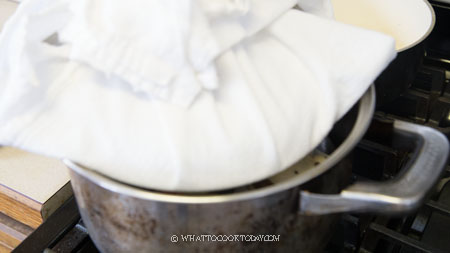
17. Bring the water in your steamer to a boil. Wrap the lid of your steamer with a kitchen towel to prevent moisture dripping back on the steamed buns as this will create “burn” spots. LOWER THE HEAT TO MEDIUM. Place the buns in there, leaving about 1-inch space in between

18. Cover with a lid but leaving it about 1/4-inch gap for some steam to escape. Steam on medium heat for 15 minutes. As long as you steam them like this, the buns will not wrinkle and collapse later when you take them out from the steamer
19. After steaming, turn off the heat. DO NOT OPEN THE LID of the steamer. Let the buns sit there for 1 minute or longer like this. The buns will not sink or wrinkle due to the sudden change in temperature

20. Immediately remove the buns to a wire rack to let them cool down. This is to ensure the bottom of the steamed buns will not be wet and soggy. If you want a smiley face, use a small teaspoon (I use 1/4 tsp measuring spoon) to make a light indentation on a warm bun. Do this gently though


Not too bad right? 🙂 It can be a bit time-consuming I have to admit, but there is that sense of satisfaction when you see the end product 🙂
Color variations
You can use different color combinations too. My kids say the “original” color, which is white, pink, and brown look more like a real ox/cow 🙂 Well, I think so too, but I just thought it’s fun to explore the color possibilities too

How to store and reheat
1. Let them cool down completely on a cooling rack
2. Individually wrap them up with a cling wrap and put them in a zipper bag or air-tight container. They can be kept at room temperature for 3 days if you are not using any filling with meat or cream. If you do, keep them in the fridge for up to 7 days. For longer storage, freeze them
3. Simply reheat in the microwave or steamer until heated through. If frozen, you don’t need to thaw, you can reheat in the microwave or food steamer until heated through

Did you make this year of ox steamed buns recipe?
I love it when you guys snap a photo and tag to show me what you’ve made 🙂 Simply tag me @WhatToCookToday #WhatToCookToday on Instagram and I’ll be sure to stop by and take a peek for real!
The Year of Ox Steamed Buns (Baozi)
Ingredients
For the dough:
- 180 gr all-purpose flour 1 cup + 5 Tbsp, unsifted, plus more for dusting
- 180 gr cake flour 1 cup + 5 1/2 Tbsp
- 4 gr Instant yeast About 1 1/4 tsp, see note 1,2,3
- 60 gr sugar - 5 Tbsp, you can cut down on the sugar or add more to your taste
- 1 Tbsp cooking oil
- ½ tsp salt
- Start with 150 ml about 2/3 cup of milk or water (make sure it's cold or room temperature, NOT warm) - plus more to dab the surface of the buns later, see note 4
Filling option (just some ideas):
- red bean paste you can use store-bought red bean paste
- Custard filling
- Pork filling
- BBQ pork filling
Food coloring:
Instructions
Prepare the dough with a machine:
- Place both types of flour, instant yeast, sugar, salt, and oil in a mixing bowl. If you are using a stand mixer, use a dough hook attachment. Add cold milk or room temperature water. Start with 150 ml and add more until you can form a dough. You will most likely need to add more milk/water if the dough is still a bit dry. I would rather you start with the lowest amount of liquid and add more teaspoon by teaspoon until the dough comes together and continue to knead for 10-12 minutes or until the dough is stretchy and smooth
Prepare the dough by hands:
- Place both types of flour, instant yeast, sugar, salt, and oil in a mixing bowl. Start with 150 ml of liquid, most likely you will need more liquid than called for in the recipe. Mix until you get a rough dough (it's not going to be smooth yet). Cover and rest it for 15 minutes. Then go back and knead it. You'll be surprised by how easier it is to knead it now. Knead until the dough is smooth and pliable, about 15-20 minutes. At any point during kneading, you can always stop and rest the dough if you find it hard to knead. This is to relax the gluten. Then go back to knead again and you'll be surprised by the difference it makes by just resting the dough before kneading again. It's easier for you too
Rest the dough (to relax the gluten, not to proof the dough):
- Cover and rest the dough for 15 minutes. This is not to proof the dough. It shouldn't double in size. This is to relax the gluten for easier shaping and rolling the dough, then proceed to next step that's applicable to you
Divide the dough:
- Pinch of 3 small portions from the dough, about 10 grams for the pink (snout), 10 grams for the neutral color ears, 30 grams for the brown spots and horns
- Drop a small amount of red food color on the dough for the snout, and cocoa powder for the spots and horns. Knead until colors are absorbed by the doughs and even. Divide the pink dough into 12 pieces, and for the brown dough: 24 horns and 36 for the spots (about 3 spots each buns), and for the neutral color dough: 24 ears. Cover them with a plastic wrap to prevent them from drying
Shape and fill:
- Then divide the remaining dough into 12 equal portions. Lightly dust the work surface with some flour. Work with one dough at a time. Knead the dough a few times to push out any air bubbles (if any). Flatten the dough with your palm and then use a rolling pin to roll it out to form a circle about 4-5 inches, with a slightly thicker middle part. This is to support the weight of the filling. Don't roll the dough too thin. If you roll the dough too thin, the filling might make the steamed buns "wrinkle" later when you steam. Place the filling at the center and then gather the sides to enclose the bun and pinch to seal. Flip the bun so the seam side is down now
- Cup the dough with both palms and move the dough in a circular motion to shape it taller. This part is important so your steamed buns come out tall instead of spreading to the side after steaming. Repeat with the rest of the dough
- Place on a piece of parchment paper. Lightly dab the surface of the buns with some milk using your finger so the ears, snout, horns, and spots can stick on it. Now attach the two ears on all the buns, followed by the horns and snouts. Use a toothpick to gently poke two holes on the snout. Put two black sesame seeds for the eyes, then randomly put the spots as you wish
Proofing:
- Let the dough rise at room temperature or at a warm place. If it's winter where you are, you can use your oven "bread proof" function to let them proof in there, or simply turn on your oven to the lowest temperature and then turn off and after 15 minutes, place the shaped buns in there to let them proof
- They will be about 50% bigger than their original size AND when you lift them up, they should feel lighter. If not, let them proof a bit longer. Use a finger test too. When you gently push on the dough, it will leave an indentation but it will spring back slowly. This dough is perfectly proofed. If it springs back right away, it needs to be proofed a bit longer. If it never springs back, then you have overproofed the dough. Loosely cover them with a plastic wrap and put the overproofed buns in the fridge to slow down the proofing while waiting for the steamer
Steaming:
- Bring the water in your steamer to a boil. Wrap the lid of your steamer with a kitchen towel to prevent moisture dripping back on the steamed buns as this will create "burn" spots
- LOWER THE HEAT TO MEDIUM. Place the buns in there, leaving about 1-inch space in between. Cover with a lid but leaving it about 1/4-inch gap for some steam to escape. Steam on medium heat for 15 minutes. As long as you steam them like this, the buns will not wrinkle and collapse later when you take them out from the steamer
- After steaming, turn off the heat. DO NOT OPEN THE LID of the steamer. Let the buns sit there for 1 minute or longer like this. The buns will not sink or wrinkle due to the sudden change in temperature
Cooling:
- Immediately remove the buns to wire rack to let them cool down. This is to ensure the bottom of the steamed buns will not be wet and soggy.
- If you want a smiley face, use a small teaspoon (I use 1/4 tsp measuring spoon) to make a light indentation on a warm bun. Do this gently though


4 comments
Hi, I made these and they turned out so well for the first try! Thanks for the detailed recipe.
I’m glad they turned out great 🙂 Must be adorable!!
Hi! I made these with my own ground chicken filling and they were delicious. You can see them here: https://i.imgur.com/O5BkupL.jpg
Thank you for the recipe! I’ll definitely be making these again.
Hi Mina. Yummy! I love that you filled it with savory chicken filling! Thank you for the photo! Love them!