This post may contain affiliate links. Please read our disclosure policy.
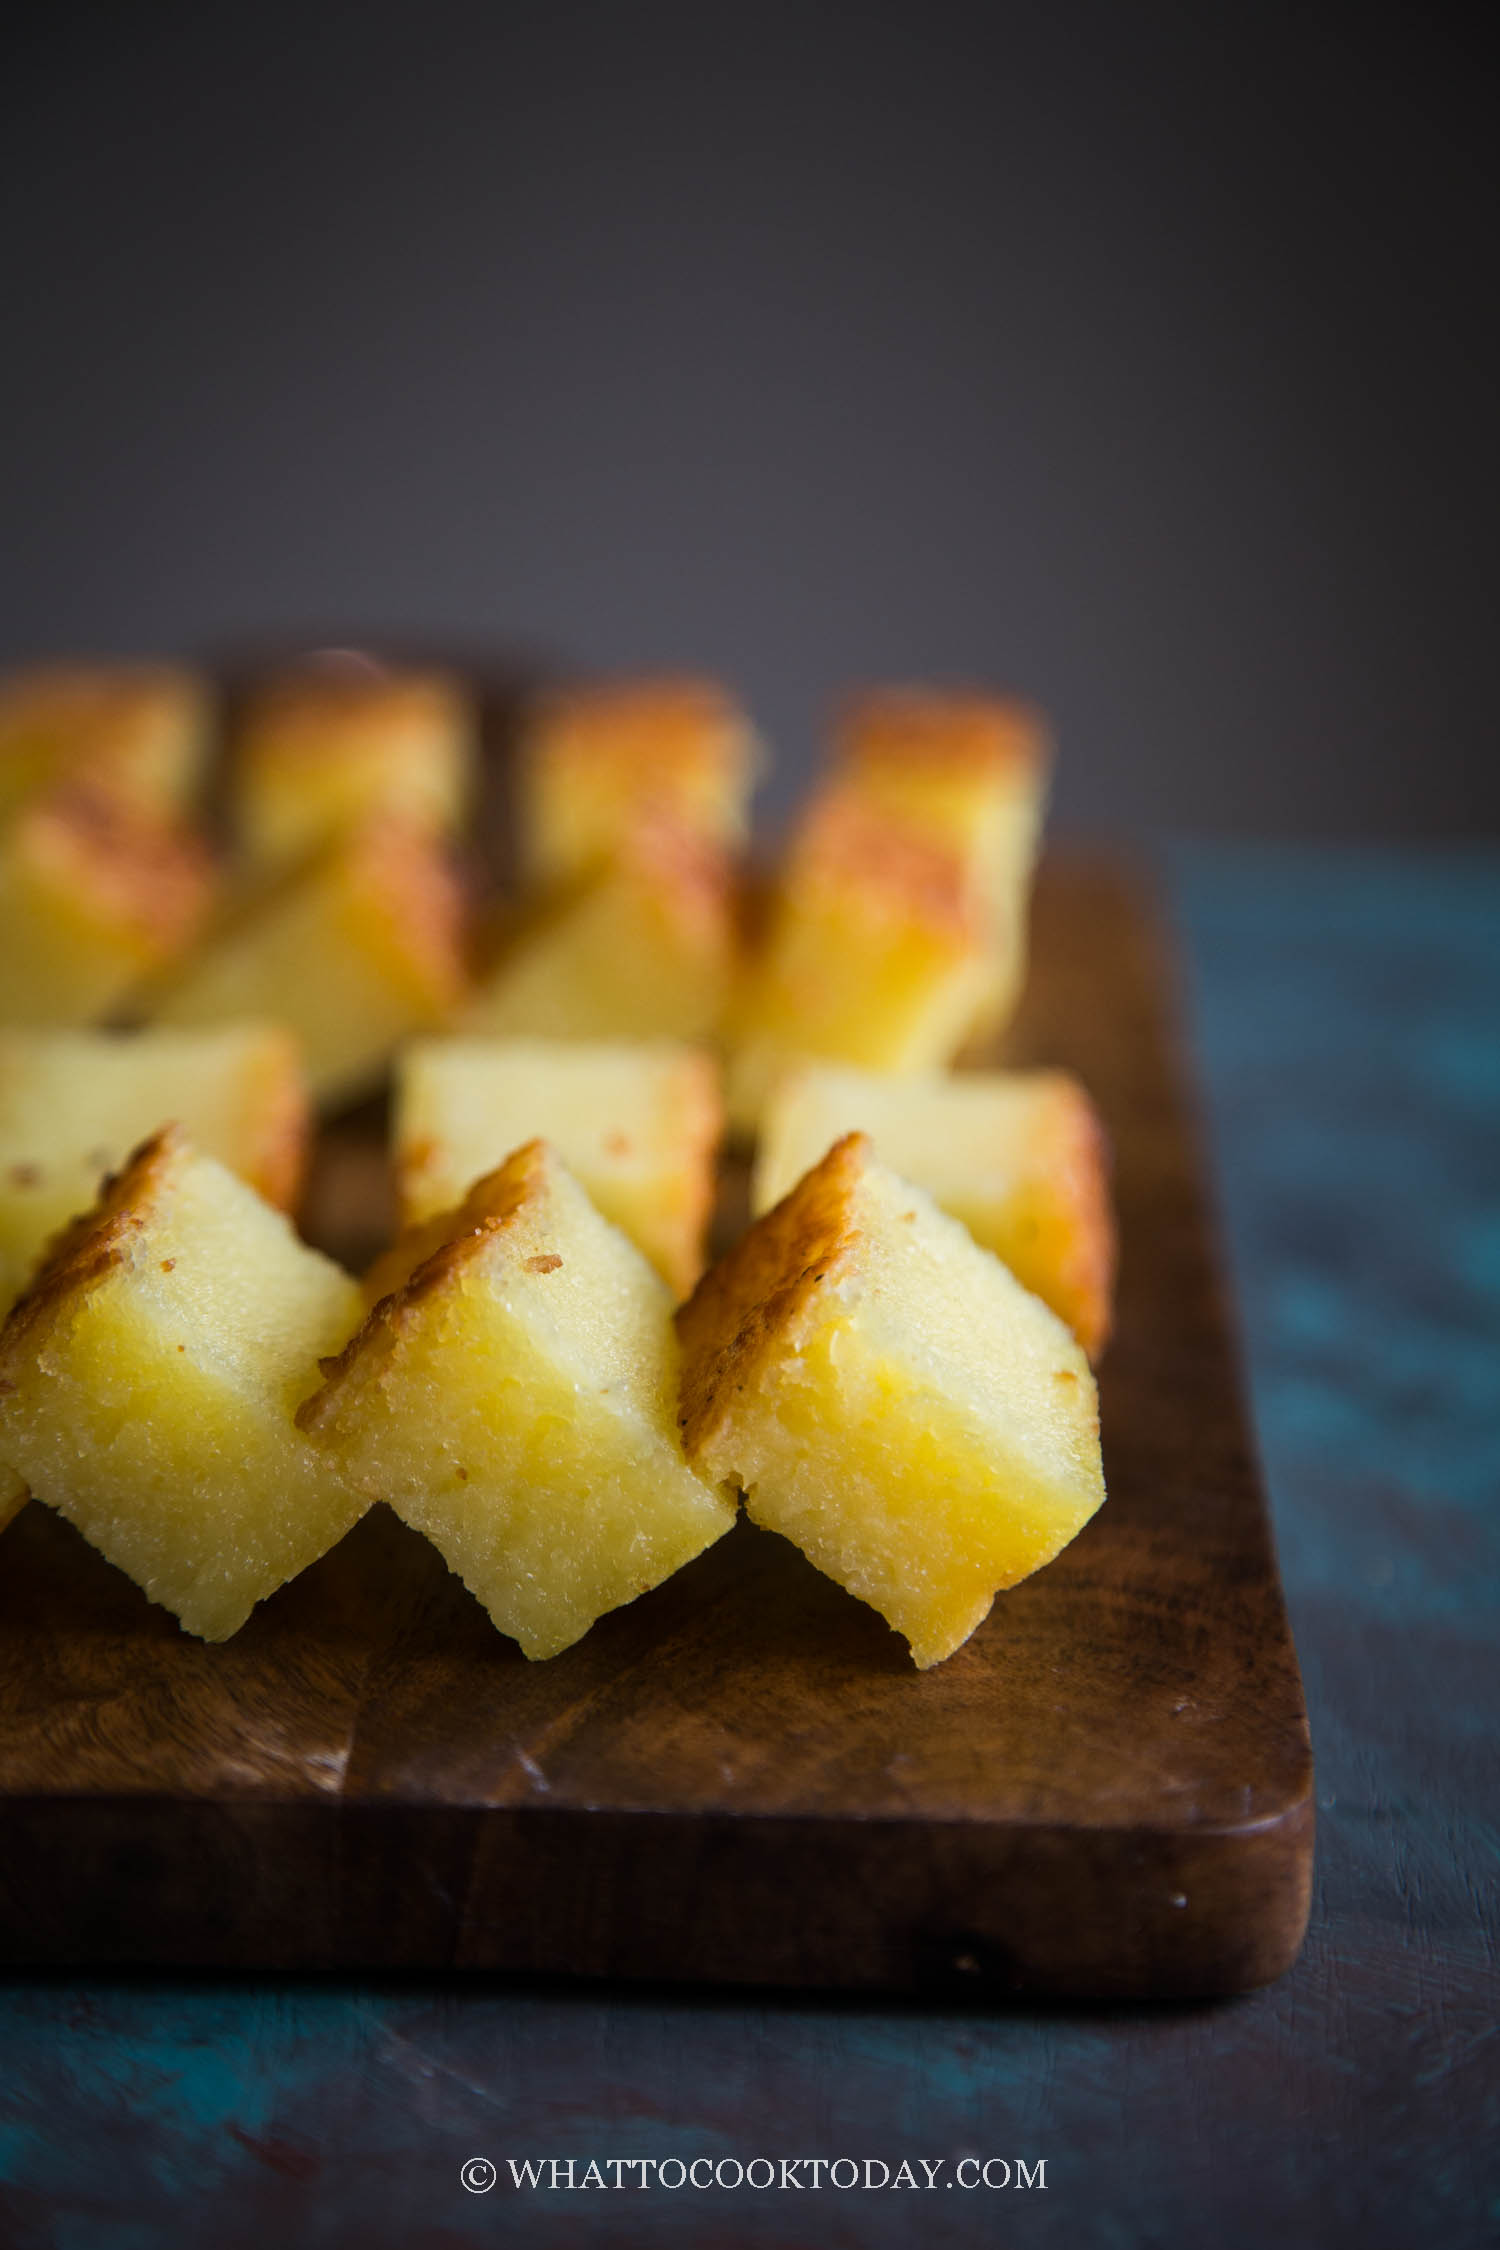
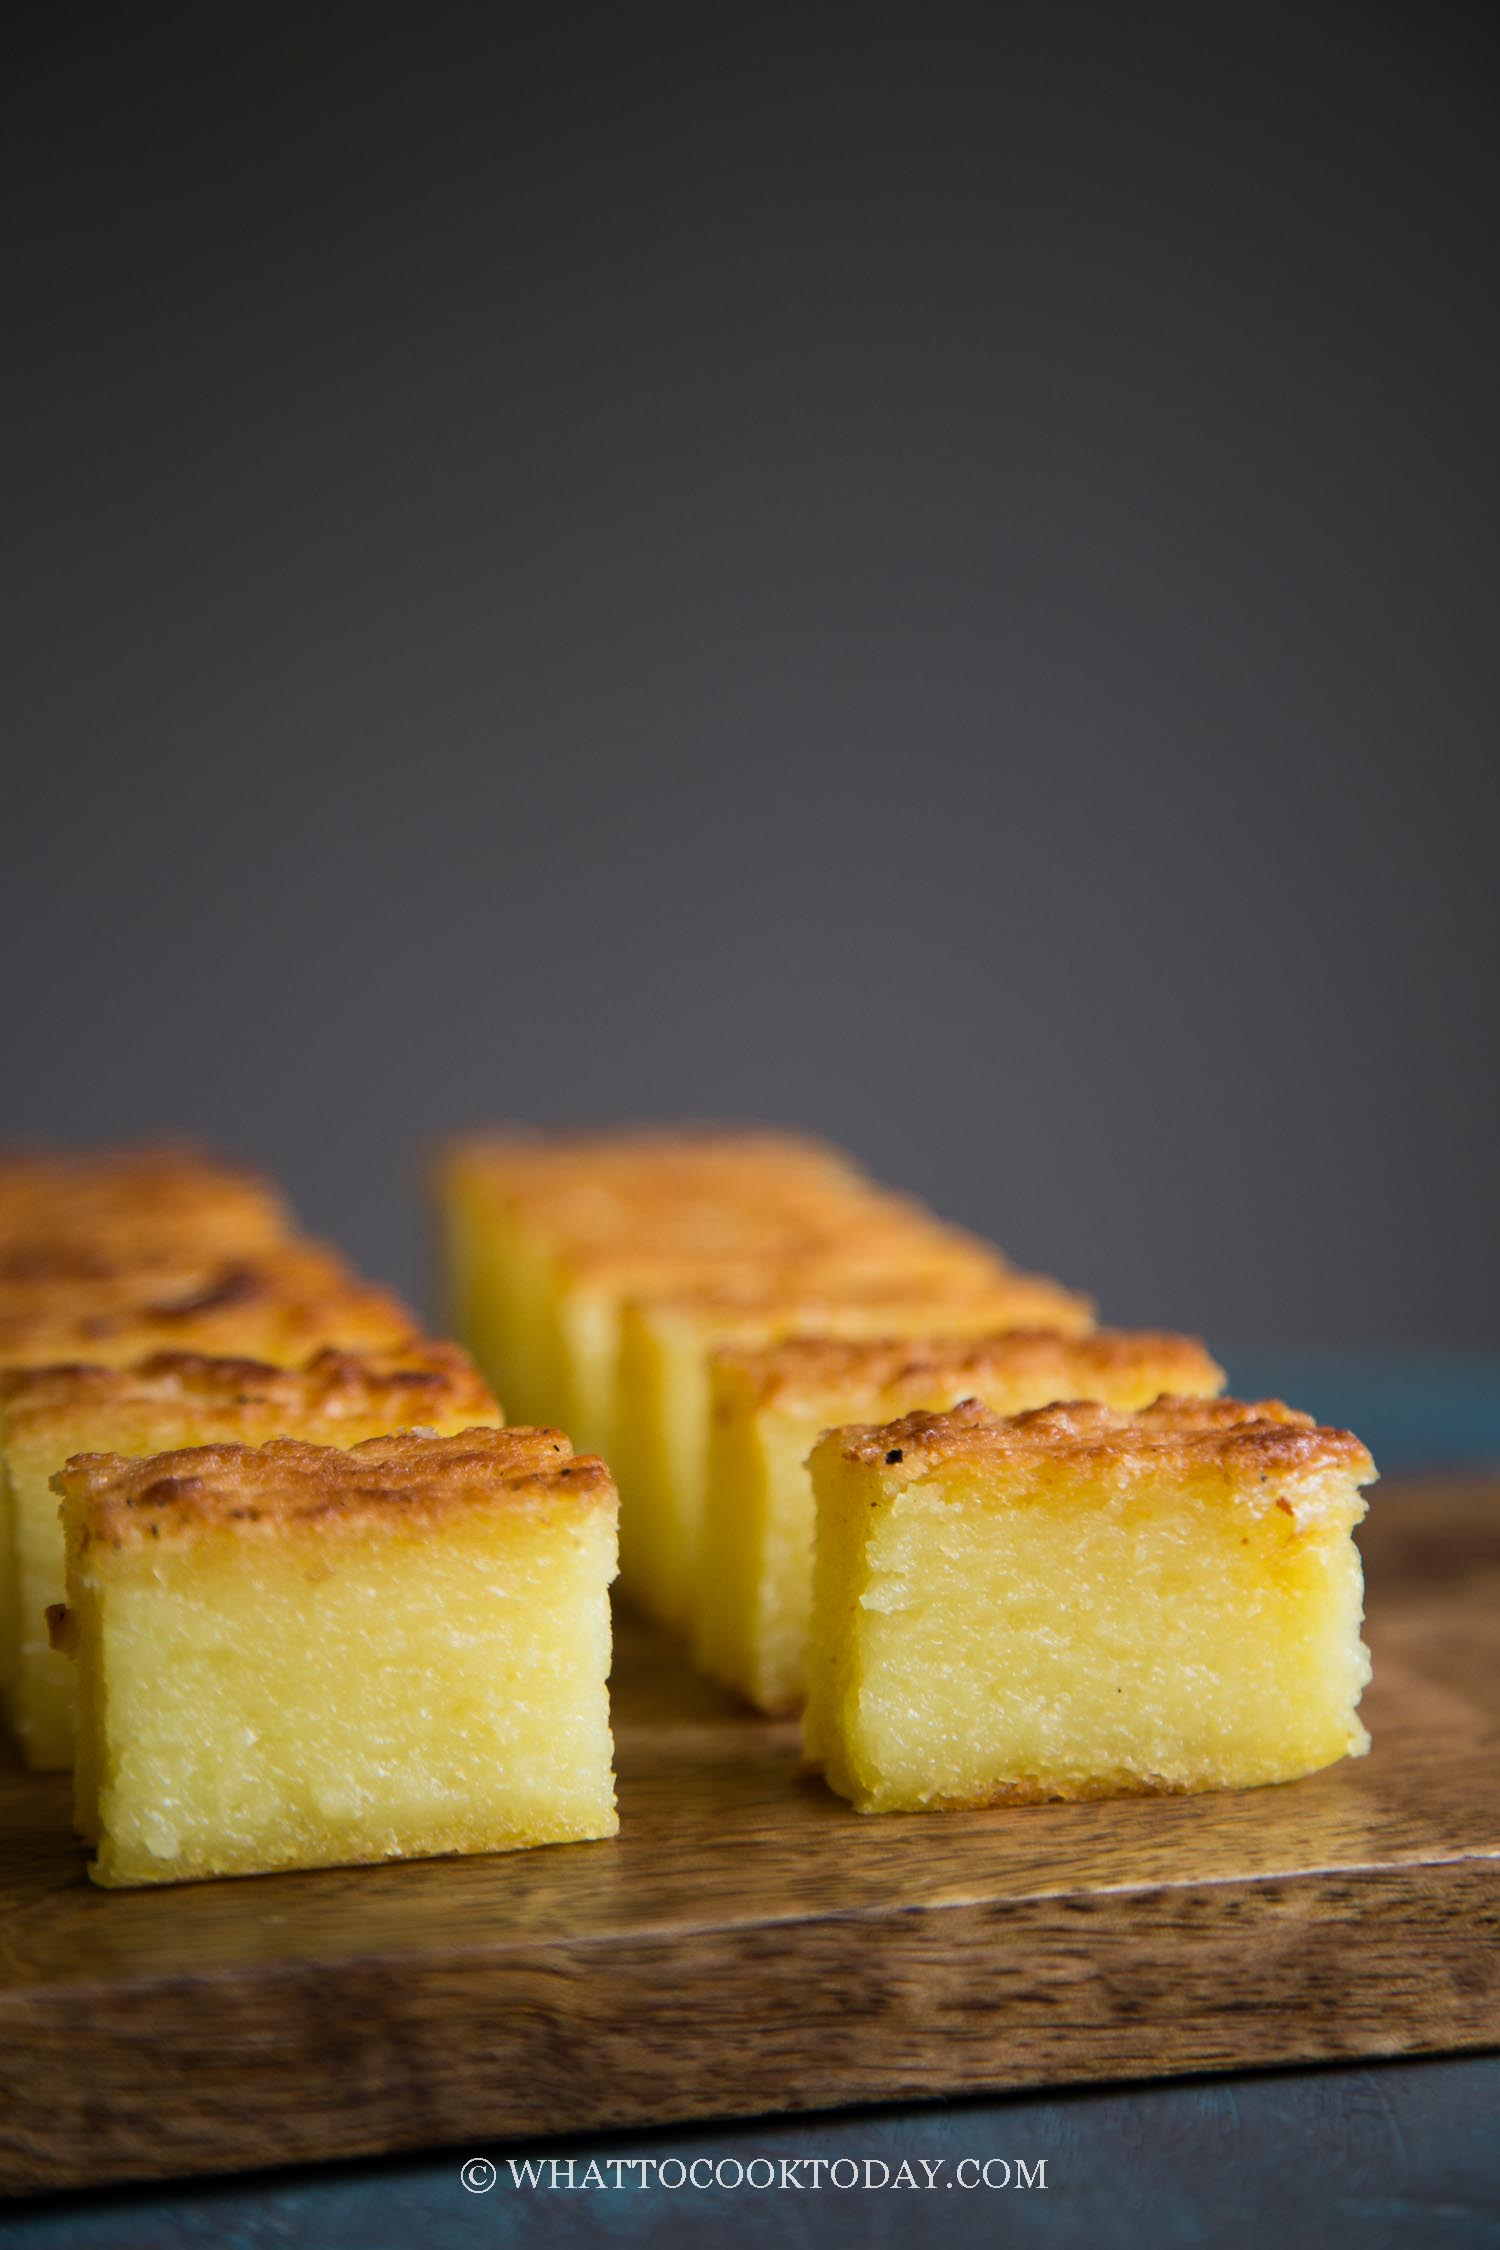
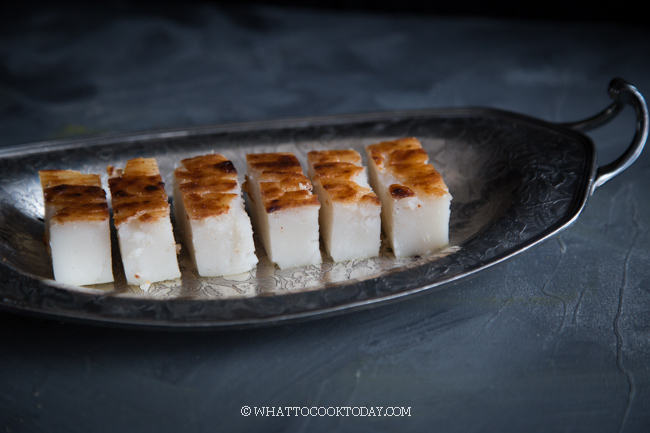
A traditional nyonya kuih made with grated cassava and coconut milk mixture is baked to give you a cake that is naturally gluten-free, not too sweet, soft, and springy with a crispy crust at the same time. The recipe can be made with or without eggs.
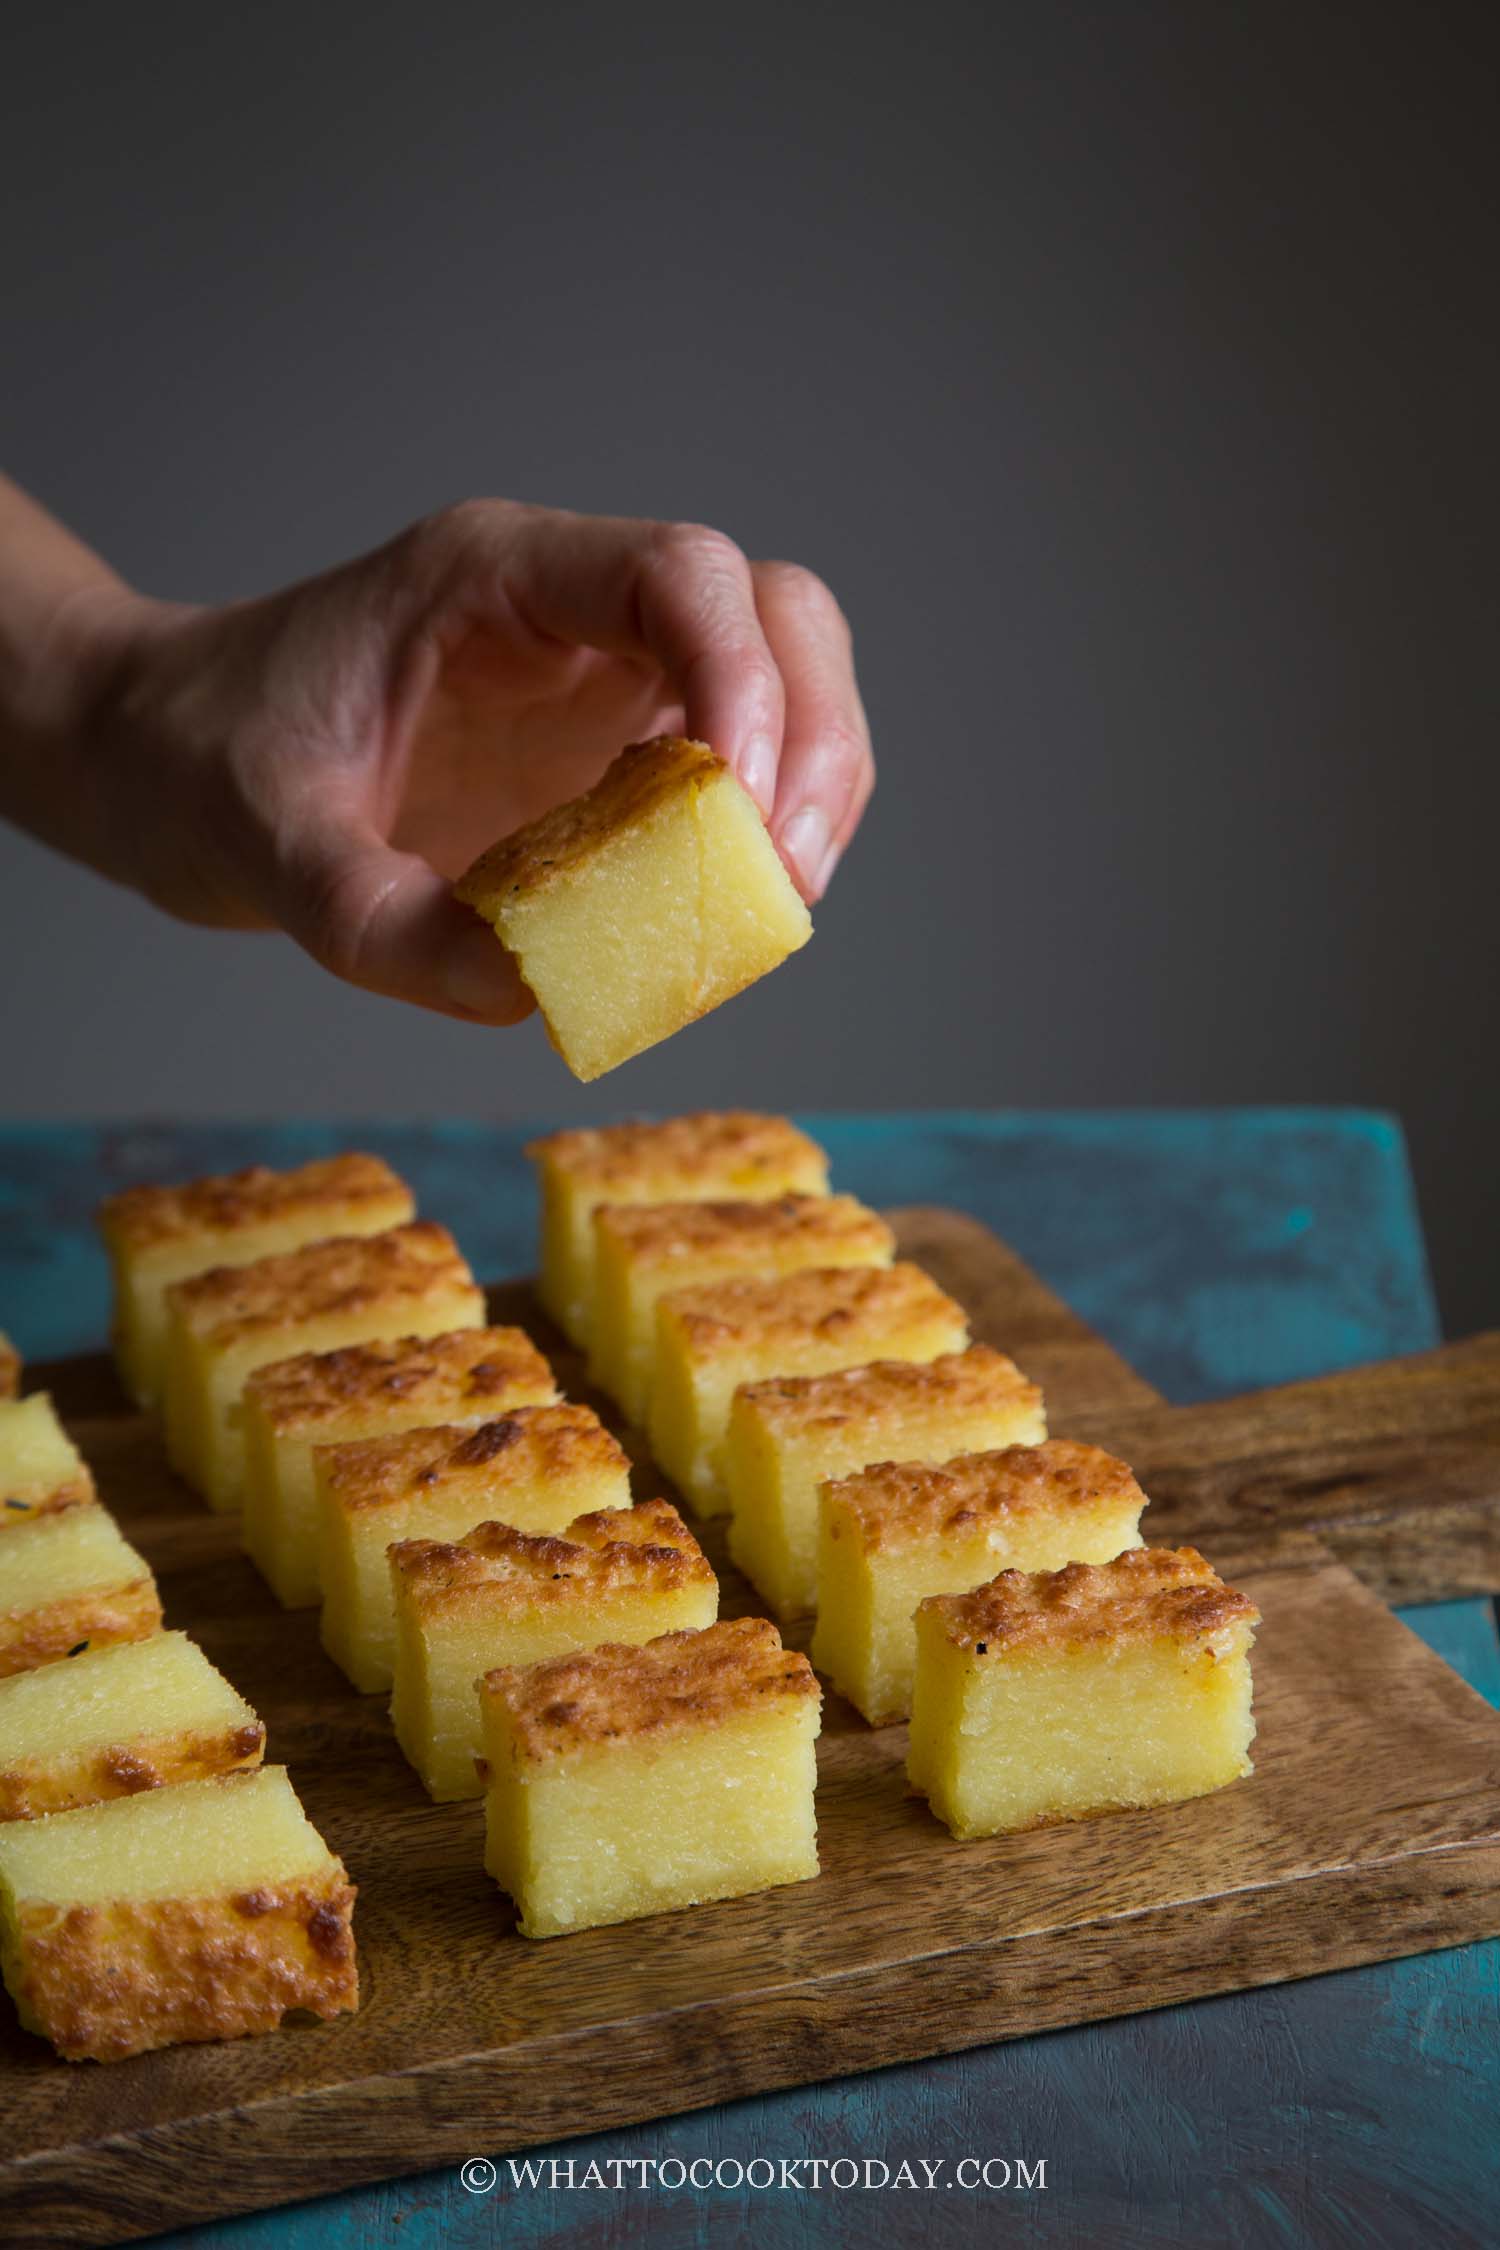
OMG! Yes…this bingka ubi kayu is like one of my most favorite cakes ever! I know I have lots of favorites, but this is TRULY one of my favorites after Candied Cassava with Coconut Milk! I love tapioca/cassava! I have like serious OD when it comes to cassava or what we call ubi kayu in Indonesian. I can eat steamed or fried cassava roots on its own dipped in a bit of salt! Yeah..that’s the kind of snack I grew up eating. Cassava and tapioca mean the same thing in case you are wondering and I’ll use them interchangeably in this post.
ONE OF THE EASIEST CAKE TO MAKE
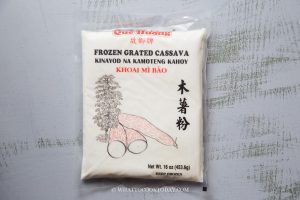
This cake is almost impossible to fail if you ask me. You only need one bowl and add everything in there. Stir and bake. I used frozen grated cassava I bought from the store so it saved me some work from having to cut the cassava. Cassava has tough outer layer skin and honestly, I hate to cut cassava by hands 🙂
INGREDIENTS
1. Cassava/Tapioca Root
You can use fresh cassava or frozen and already grated. You can’t substitute with just tapioca starch however
2. Coconut Milk
This adds richness to the cake. I used Asian canned unsweetened coconut milk. Do not use the coconut milk sold as a beverage, the consistency is too runny and it’s not meant for baking
3. Sugar
I use granulated sugar. You can use Keto-friendly sugar like monk fruit sugar
4. Egg
The egg acts as a binder and also gives the cake its soft moist texture. Simply omit for eggless version and refer to the recipe card
5. Coconut oil
I recommend using coconut oil as it adds nice flavor to the cake. You can also use melted butter too
6. Salt
A pinch goes a long way and it brings out the overall flavor
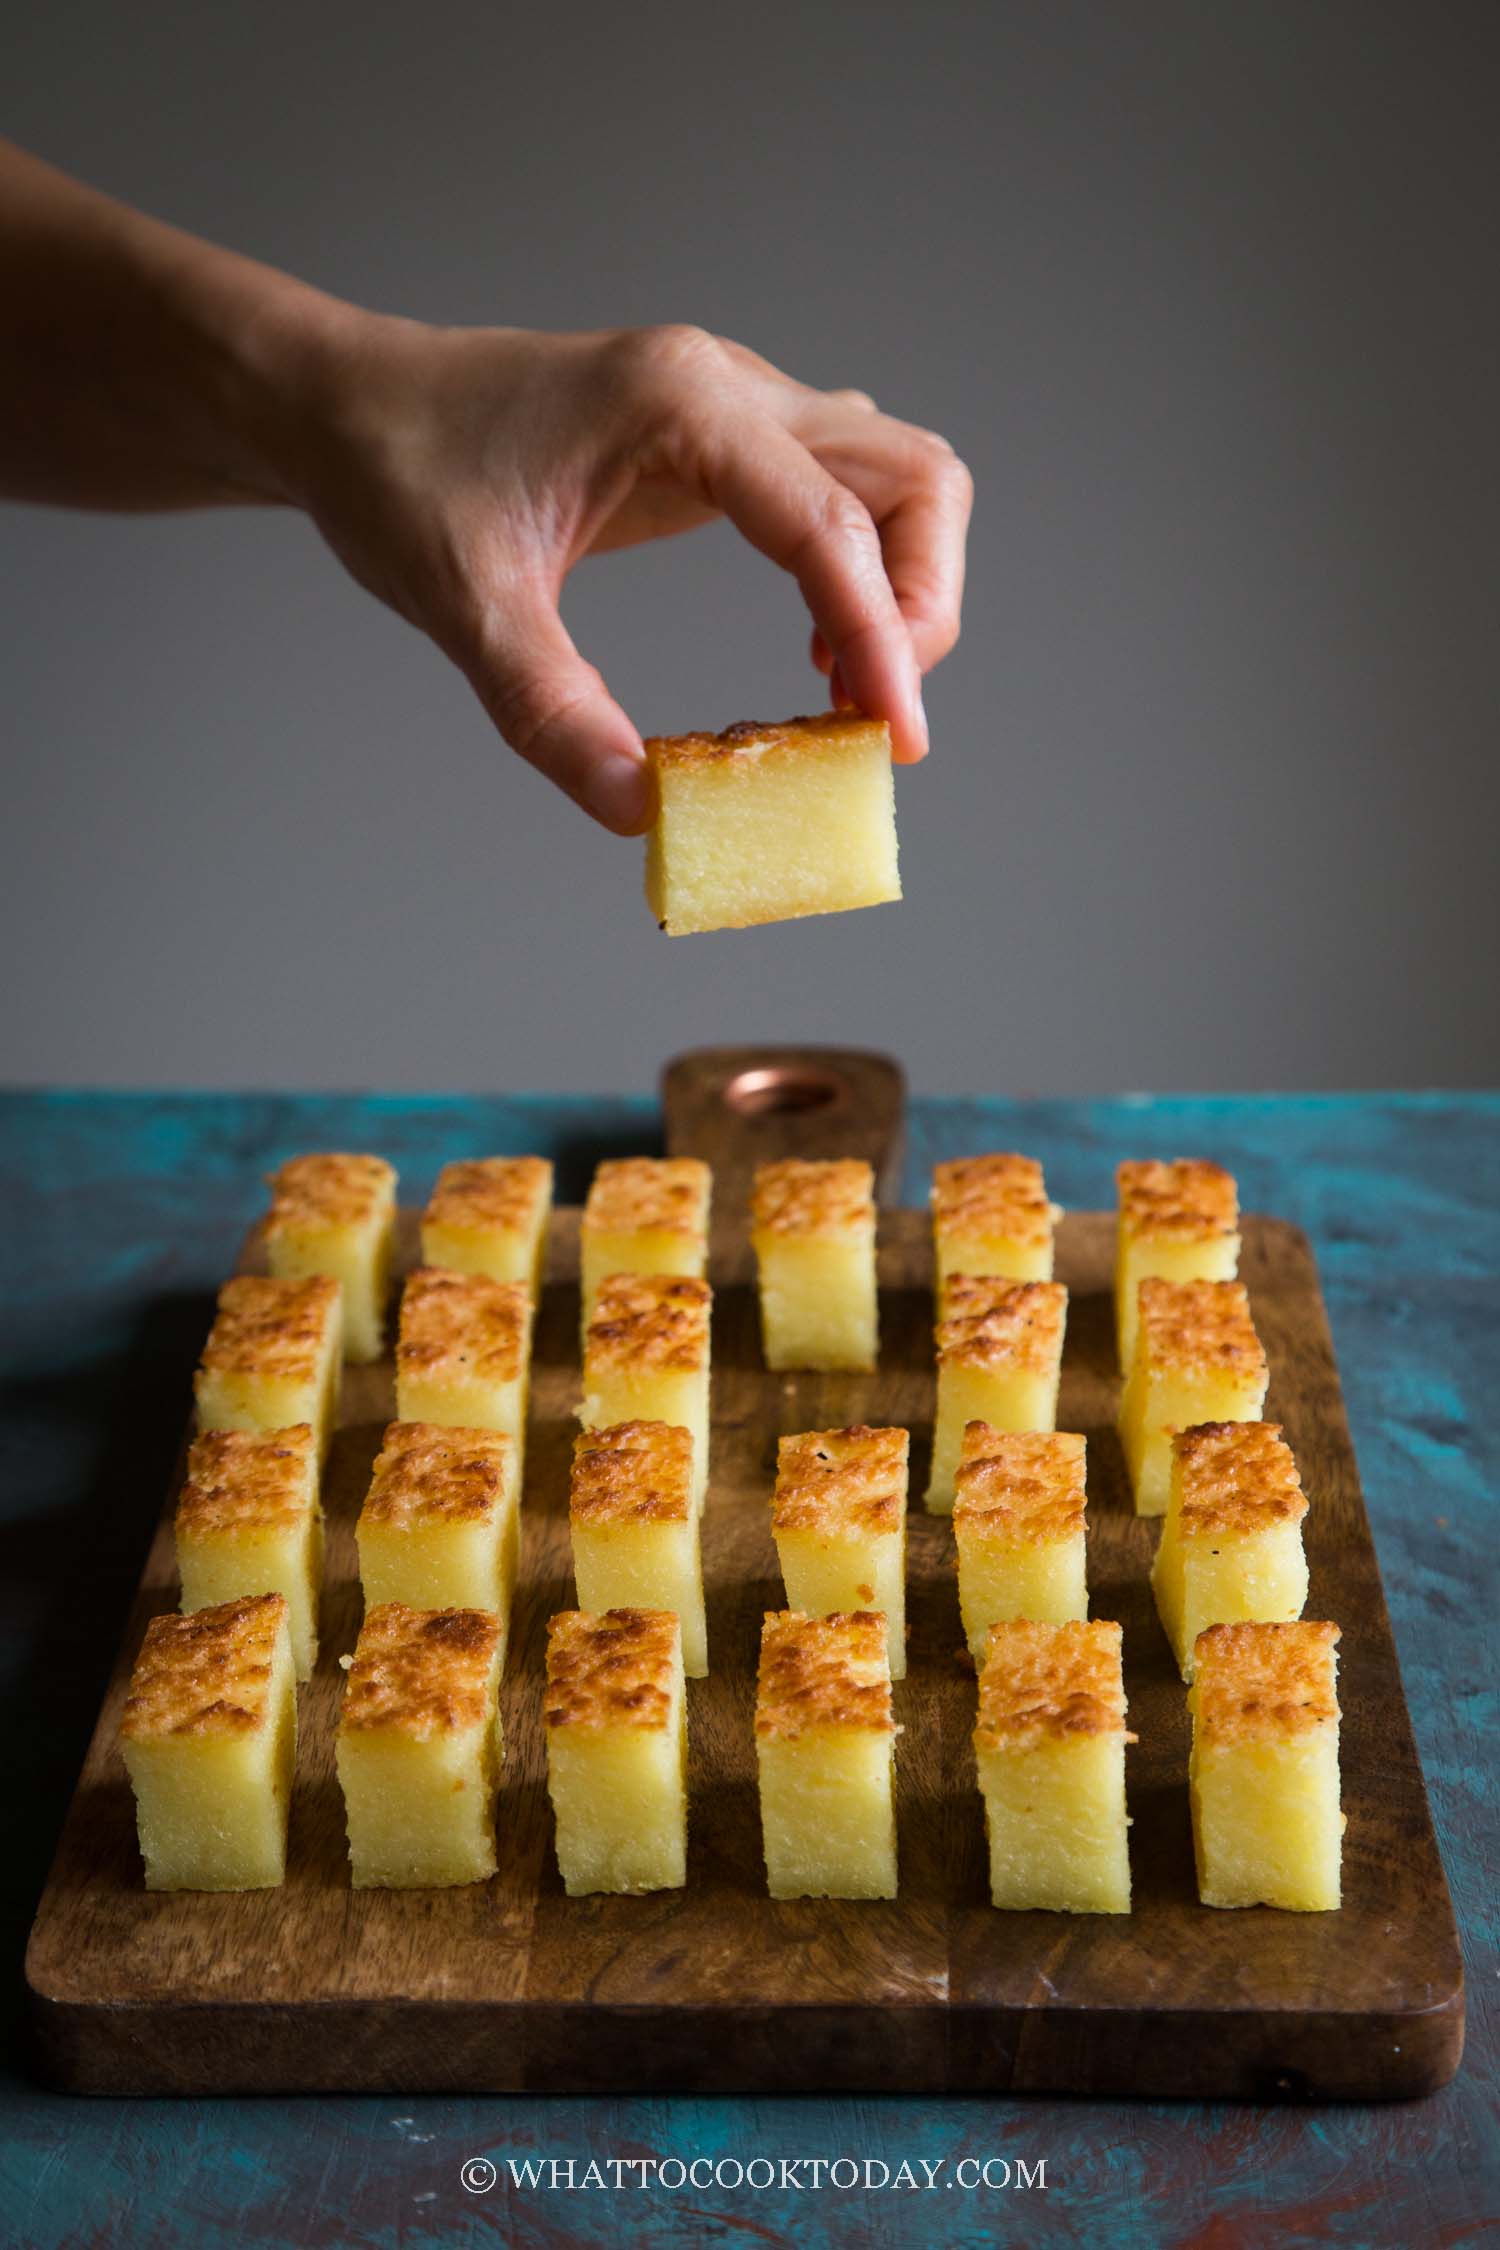
Kuih Bingka Ubi Kayu (Baked Cassava/Tapioca Cake) – Egg or Eggless version
Ingredients
With egg version:
- 454 g grated cassava
- 125 g sugar
- 200 g canned coconut milk
- 40 g coconut oil melted, plus more for brushing
- 50 g egg from 1 large egg
- ¼ tsp salt
- 12 g tapioca starch
- Yellow food coloring or small pinch of turmeric powder
Eggless version:
- 454 g grated cassava
- 125 g sugar
- 250 g canned coconut milk
- 40 g coconut oil melted, plus more for brushing
- ¼ tsp salt
- 12 g tapioca starch
- Yellow food coloring or small pinch of turmeric powder
Instructions
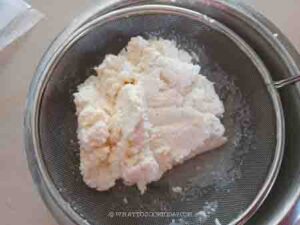
- RECENT UPDATE: I no longer squeeze out excess liquid from the cassava and I have updated the baking temperature. Please note that the video hasn't been updated with this recent changes.
- This cake is best made the day before you plan to serve it. If you leave it overnight, the flavor and texture are so much better. So plan accordingly.
- This recipe makes a small loaf of cake. I use 8 1/2 x 4 1/2 metal loaf pan. If you want to make a larger cake to fit 8 x 8 inches square cake pan, please double the recipe accordingly. The baking time remains the same.
If you use fresh cassava:
- Get about 800 grams or more of tapioca root. Peel the skin off and cut in the middle and remove the tough core. Make sure you get about 454-500 grams of tapioca root after peeling. A little extra is fine too
- Use a fine grater to grate the cassava. Don't use a large hole grater. We want the texture of the cassava to be fine and smooth. You can also use a blender to do so

If you use frozen grated cassava:
- Frozen grated cassava usually they come in 454-gram pack. Thaw before using

Prepare the cake batter:
- You can use a small loaf pan such as 8 1/2 x 4 1/2 inch loaf pan. Line the bottom of the pan with a banana leaf or parchment paper for easier removal
- RECENT UPDATE: Preheat oven at 375 F (195 C) for conventional oven. For convection oven, lower the temperature by 20 F or 15 C. Place all ingredients in a mixing bowl and stir to mix until combined.
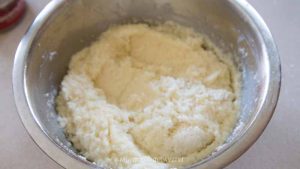
- In a large mixing bowl, combine the grated cassava,sugar, egg (omit for eggless version), canned coconut milk, salt, tapioca starch, melted coconut oil, yellow food coloring or turmeric powder (for more vibrant yellow color)

Bake the cake:
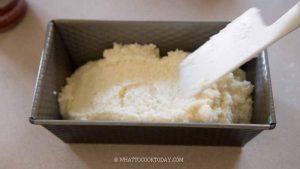
- Pour the batter in and smooth the top with rubber spatula the best you can.

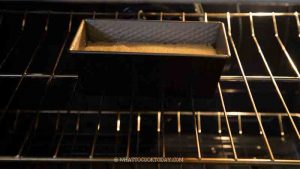
- Place this inside the oven, 3rd rack from the top and let it bake for 50-60 minutes. The cake shouldn't jiggle when you shake the pan. If you insert a skewer, it may not come out entirely clean with a bit of sticky crumb is okay as long as it's not wet. If it is, bake for another 5 minutes and check again.

Brown the top:
- I turn on the broiler function in my oven on high to brown the top.
- Remove the cake from the oven and brush it with some melted coconut oil. Put it back in the oven and broil until golden brown, about 2-3 minutes. Do not walk away during this process as you may burn the cake.
- If your oven doesn't have a broiler function, remove the cake from the oven and brush it with some melted coconut oil on top. Increase the oven temperature to 420 F (215 C) for conventional oven. Decrease temperature by 15 C or 20 F for convection oven. Put the cake back in and bake for another 5-10 minutes or until the top is golden brown
Cool down:
- Remove from the oven completely and let it cool down completely before cutting
- The cake may seem dry and tough on the first day, but it will soften and the texture will be soft and bouncy the next day. I highly recommend serving it the next day
Storing:
- The cake can be stored at room temperature for 2-3 days if it's not too humid, otherwise, store in the refrigerator for up to 1 week. The cake will harden once you refrigerate and it's normal. You can reheat in a microwave or loosely wrap them in a foil and use a toaster oven or an air-fryer or oven to reheat at 350 F for 5 minutes or until warm and the cake is soft. I do not recommend freezing the cake because the texture changes
RECOMMEDED TOOLS
*Nutrition facts are just estimates and calculated using online tools*


39 comments
Hi Marvelina, can I use a blender and blend the cassava instead? Thanks!
Hi Wilbur, yes you can! I have added that into the instruction! Somehow I forgot about the option of using blender 🙂
can i use fresh coconut milk…
Of course you can!
I made this for my mothers birthday and she loved it!Next time I want to try with monk fruit sugar replacement. Do you have a suggestion on how much to use?
Hi Rachel, I’m glad she loved it! 🙂 I haven’t tried with monk fruit sugar replacement, but it always says on the packaging that you can substitute 1:1, but I know from experience that it’s usually less sweet compared to real sugar when you do 1:1, but again that also depends on the kind of sugar replacement blend you use. I only have monkfruit + erythritol blend.
Thank you for this recipe! It turned out a treat ♥️
Thank you Sylvia! I’m so glad the recipe turned out great for you 🙂
Hi Marcelina, If i’m using frozen cassava, the 500g is it weighed before squeezing the water out or after?
That’s the weight BEFORE squeezing out the water.