This post may contain affiliate links. Please read our disclosure policy.
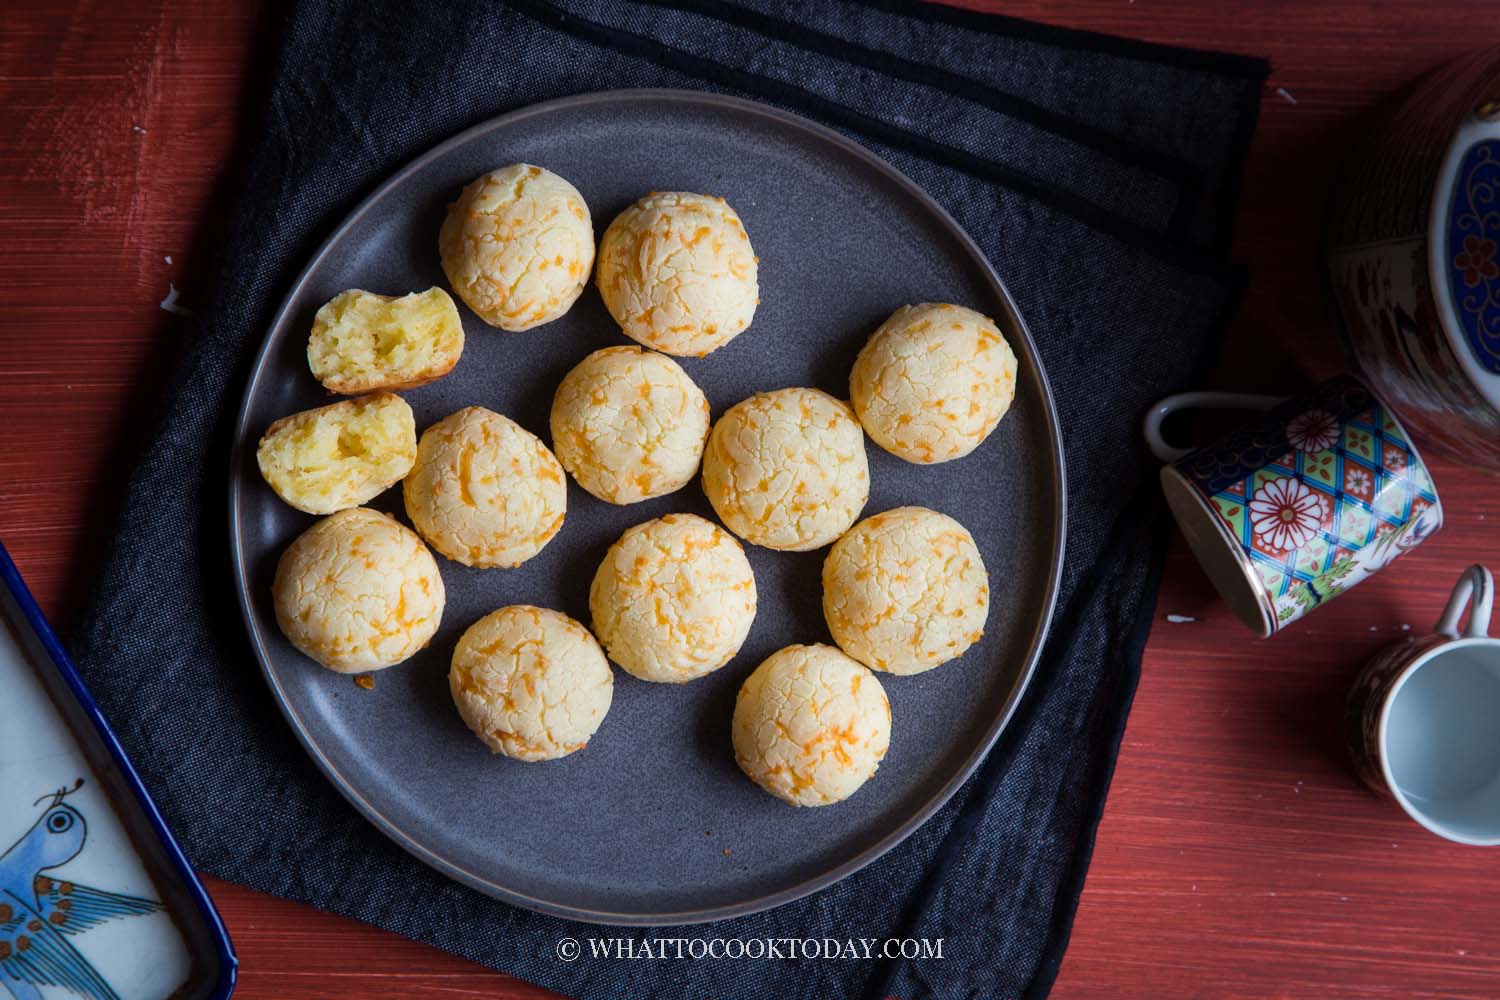
You have to try this super easy air-fryer tapioca (cassava) cheese bread to believe how good they are. The bread has an amazing crust with soft, stretchy, and chewy inside that will leave you asking for more. It is so easy to make and one of the tastiest no-yeast gluten-free bread I’ve ever eaten.
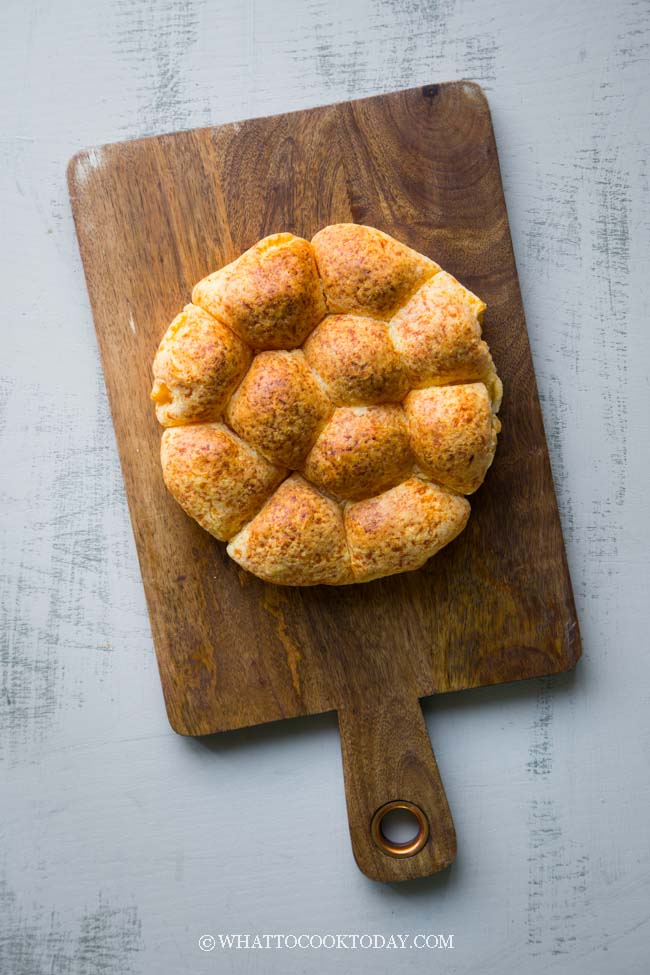
My family got hooked to this gluten-free cheese bread I made a few days ago. I made two batches back to back and they were gone in an instant! This bread reminds me of the mini cheddar mochi bread I made a while ago, which is also gluten-free but made with mochiko flour (glutinous rice flour) and a bit of tapioca starch. The mochi bread is also equally good I must say! They have the same crusty outside and soft, stretchy, and chewy inside. It’s hard to describe but I just can’t stop eating this bread!

The inspiration for this comes from the Colombian cheese bread known as pandebonos, which is also similar to the Brazilian Pao De Queijo. They are both made with cassava starch (similar to tapioca starch) and so they are naturally gluten-free. People tend to think that gluten-free bread won’t taste good or just not the same as regular wheat bread, but this… I can’t tell if it’s gluten-free or not, it’s just so good!!!
INGREDIENTS
1. Tapioca starch
You can use cassava starch. You can also substitute tapioca starch with an equal amount of potato starch (not potato flour) with a good result
2. Cornstarch
Cornstarch adds some tenderness to the bread
3. Unsalted butter
Use softened unsalted butter. I substitute with coconut oil
4. Baking powder
This is the only leavening agent for this bread, so do not omit this!
5. Egg
The egg acts as a binder, leavening, and also flavor. I used a large grade A egg
6. Cheese
Pandebonos usually use grated Columbian cheese or Mexican Queso Fresco and Feta cheese. I use a mixture of shredded cheddar, Monterey Jack, and Mozzarella
7. Sugar
I thought the sugar adds a nice touch to the bread. I tasted a bit of sweetness balanced by the savory cheese. Super good!
8. Milk (as needed)
Depending on the type of cheese you use, I definitely have to add some because the shredded cheese are dry. If you use feta cheese or queso fresco, you may not even need to add any milk

HOW TO MAKE AIR-BAKED NO-YEAST GLUTEN-FREE CHEESE BREAD
1. Prepare the dough
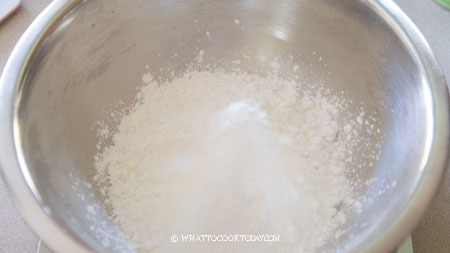
Preheat air fryer at 330 F (165C) for 5 minutes. Mix all the dry ingredients and whisk to mix
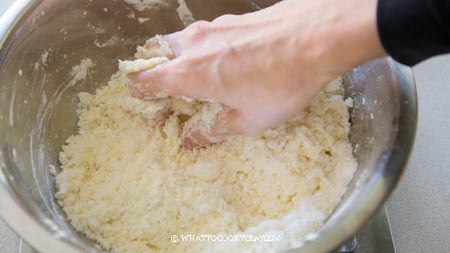
Crack in eggs and add butter. You can also use a stand mixer with a paddle attachment to make the dough. I just use my hands
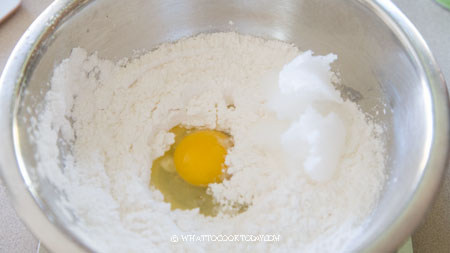
Roughly mix
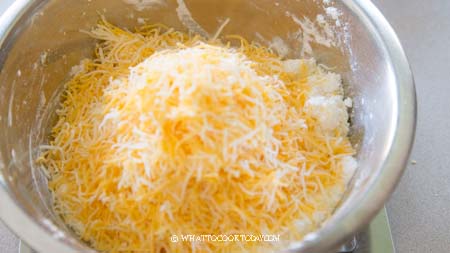
Then add the shredded cheese
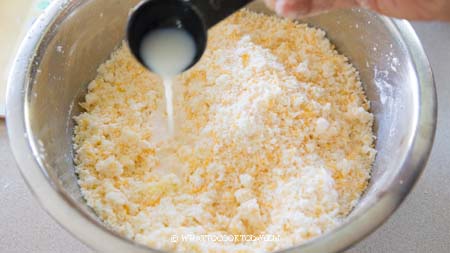
The mixture is dry at this point. If you use feta cheese and/or queso fresco or Colombian Quesito, your mixture may not be as dry. I added milk tablespoon by tablespoon until I can form a dough that is just very slightly sticky
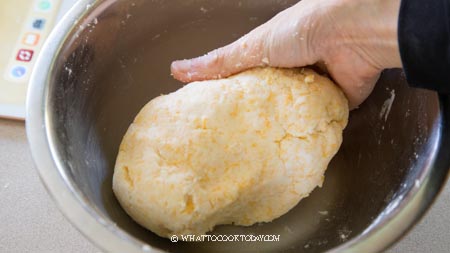
3. Shape the dough
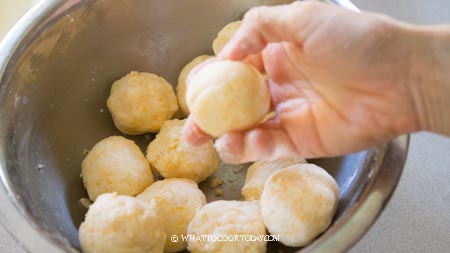
Divide the dough into 10-12 pieces, it’s up to you. Roll them into smooth round balls
4. Bake
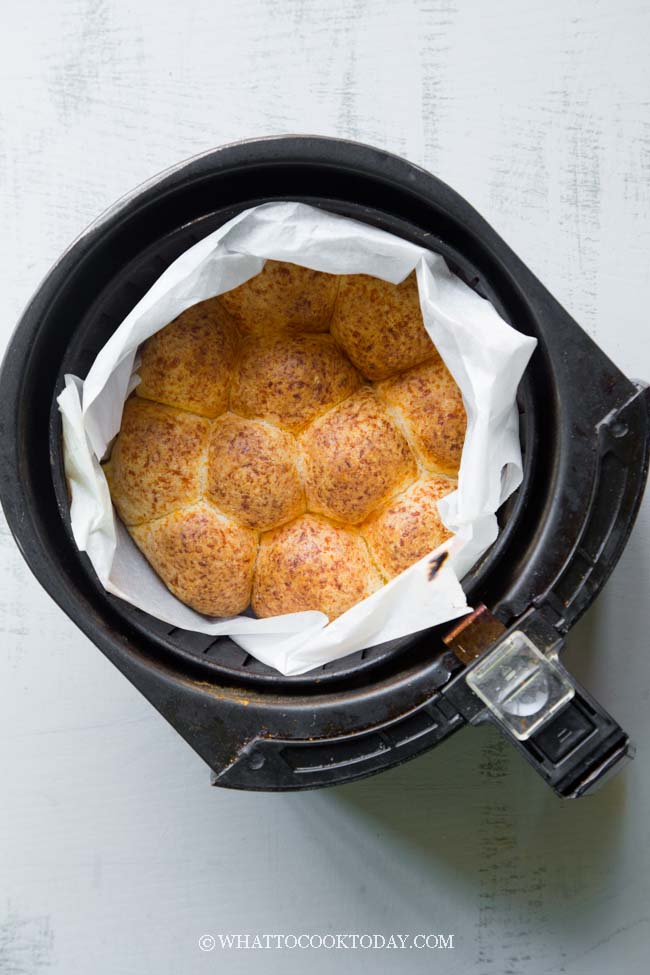
Line the air fryer basket with a parchment paper covering the bottom and the side of the basket. Try not to cover the side too much (like I did in the photo and video). I find that it took longer to bake when I did that. Maybe just come halfway on the side, about 1-inch above the bread. Arrange the dough balls inside the basket, about 1/2 to 1 inch apart. Bake for 20 minutes or until they puffed up and are nicely golden brown

From start to finish it took me just barely about 30 minutes or so. My family finished them in less than 15 minutes LOL!
HOW LONG WILL THESE BREAD STAY SOFT

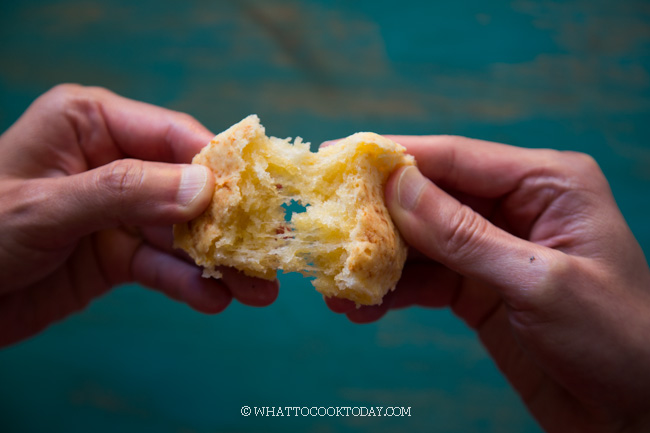
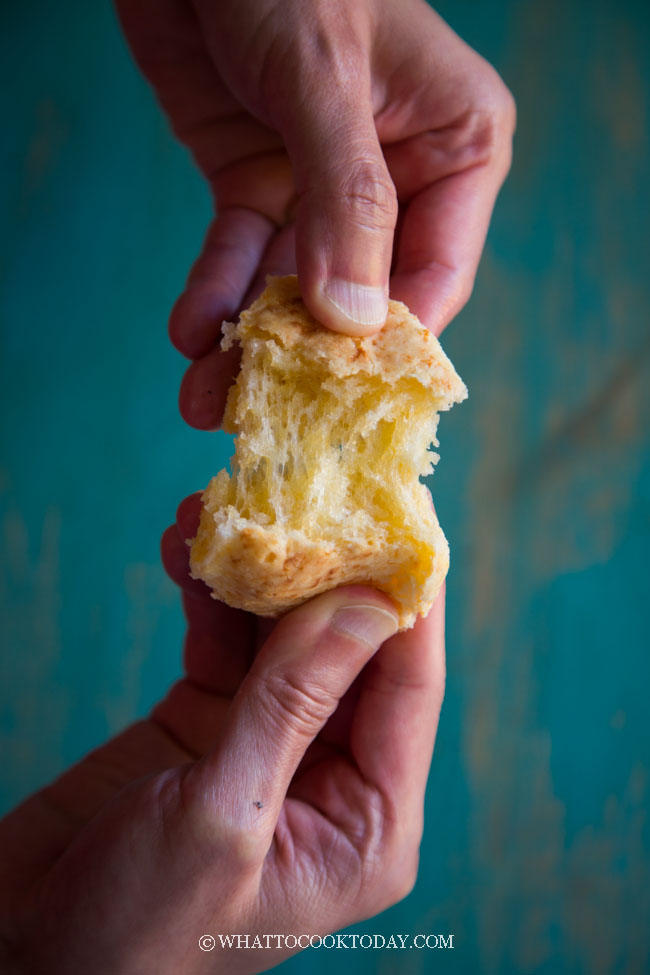
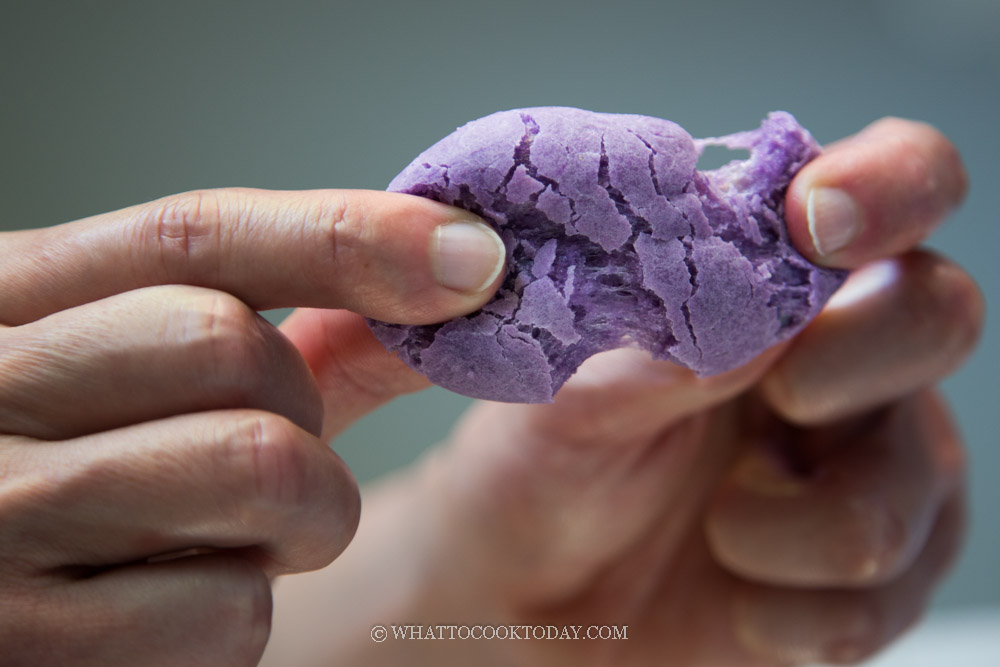
Look at that stretch!!!
This bread is best served warm and on the same day they are made if possible. The outer crust tends to harden once they cool down, which is very normal. They won’t be rock hard as you imagine though. If you prefer a softer crust, simply warm them up in the microwave or in the air fryer
CAN I BAKE THESE IN THE OVEN?
Of course! Bake them in a preheated oven at 400 F (200 C) for 15-20 minutes or until golden brown
HOW TO STORE LEFTOVER
1. Room temperature
Once they have cooled down completely, wrap them up in a cling wrap and put them in an air-tight container. You can store them at room temperature for 3 days
2. Freezer
For longer storage, I suggest freezing them instead. You can separate the bread or freeze the whole bread unseparated. Wrap them with a cling wrap and then put them in a freezer bag for up to 1 month. Simply reheat, without thawing, in the air fryer at 330 F for 5 minutes or until heated through
DID YOU MAKE THIS AIR-FRYER GLUTEN-FREE TAPIOCA CHEESE BREAD RECIPE?
I love it when you guys snap a photo and tag to show me what you’ve made 🙂 Simply tag me @WhatToCookToday #WhatToCookToday on Instagram and I’ll be sure to stop by and take a peek for real!
Recipe is adapted from SweetYSalado with minor modifications.
Easy and Quick Air-Fryer Gluten-Free Tapioca Cheese Bread (No Yeast)
Ingredients
Dry ingredients:
- 120 gr tapioca starch 1 cup, you can also use cassava starch or potato starch
- 30 gr cornstarch 1/4 cup
- 1 tsp baking powder
- 20 gr sugar 1 1/2 Tbsp
- 200 gr shredded cheese 2 cups (I use blend of sharp cheddar, Monterey Jack, Mozzarella)
Wet ingredients:
- 60 gr butter 1/2 stick, softened. I used coconut oil
- 1 large egg about 50 grams with no shell
Only add as needed (depends on the cheese you use, you may not need it):
- 2 Tbsp milk start with this amount and add as needed
Instructions
Prepare the dough:
- Preheat air fryer at 330 F (165C) for 5 minutes. Mix all the dry ingredients and whisk to mix. Crack in eggs and add butter. You can also use a stand mixer with a paddle attachment to make the dough. I just use my hands. Roughly mix and then add the shredded cheese
- The mixture is dry at this point. If you use feta cheese and/or queso fresco or Colombian Quesito, your mixture may not be as dry. I added milk tablespoon by tablespoon until I can form a dough that is just very slightly sticky
Divide and shape:
- Divide the dough into 10-12 pieces, it's up to you. Roll them into smooth round balls
- Line the air fryer basket with a parchment paper covering the bottom and the side of the basket. Try not to cover the side too much (like I did in the photo and video). I find that it took longer to bake when I did that. Maybe just come halfway on the side, about 1-inch above the bread
Bake:
- Arrange the dough balls inside the basket, about 1/2 to 1 inch apart. Bake for 20 minutes or until they puffed up and are nicely golden brown.
Serve:
- Serve the bread while they are warm. It's normal that the crust tends to harden as they cool down, but the inside will still be soft, stretchy, and chewy
Store:
- The bread can be kept at room temperature for 3 days. If you like a softer crust, simply reheat them in an air fryer at 300 F for a minute or so until they are just warm. They can be kept in the freezer for up to 1 month. Wrap them in a cling wrap and then put inside a freezer bag. Simply reheat, without thawing, in the air fryer at 330 F for 5 minutes or until heated through


10 comments
Please let me know what I can substitute glutinous rice flour with, as I am currently on traditional Chinese medicine and am barred from having glutinous rice.
Hi Gem, I haven’t tried it with other starches besides glutinous rice flour for this particular recipe. If you like bread with this type of chewy texture, I have another recipe that uses all-purpose flour and tapioca starch https://whattocooktoday.com/korean-sesame-mochi-bread.html#recipe
I am allergic to corn. Is there a way to make this without the cornstarch? I am also allergic to rice and wheat.
Hi Nancy, I haven’t tried this myself, but you can probably try replacing the cornstarch with arrowroot starch or replace it all with the tapioca starch. The texture may be slightly different, but I think should be okay! I probably have to experiment on this in the future!
Dietary limitations aside, this is the bread for those who eat a cheddar biscuit and think “This is pretty good, but I’d rather have more cheese”. The crust was very biscuity and wouldn’t make you think ‘gluten-free’, while the soft inside created an even “cheesier” mouth-feel. I used 1 bag of pre-shredded cheddar and a conventional oven and it was very easy. I popped one in the microwave the next day and the inside was still deliciously cheesy, though the crust might benefit from a re-toasting. It’s also a very weird dough lol, you have to feel it to know what I mean! Mixing the dough by hand and rolling up could also be a fun kiddie project! I’d also like to try again with different cheeses or even herbs. Solid recipe!
Gluten-free dough always kinda feels “weird” to me ha..ha..! It’s almost play-doh like somehow! I’m glad it worked out for you though!
With your cheese bread recipe. Made in the air fryer… could I take out the cheese and make plain biscuits??
Yes you can make them without the cheese too.
Hi Marv,
May i know how long do we need to knead the dough by hand? Also, for coconut oil substitution for butter, is the ratio 1 to 1?
Hi Silvia, it’s basically just mix everything until it comes together into a dough, there’s really not much kneading going on. and yes, it’s a 1 to 1 substitution between coconut oil and butter.