This post may contain affiliate links. Please read our disclosure policy.
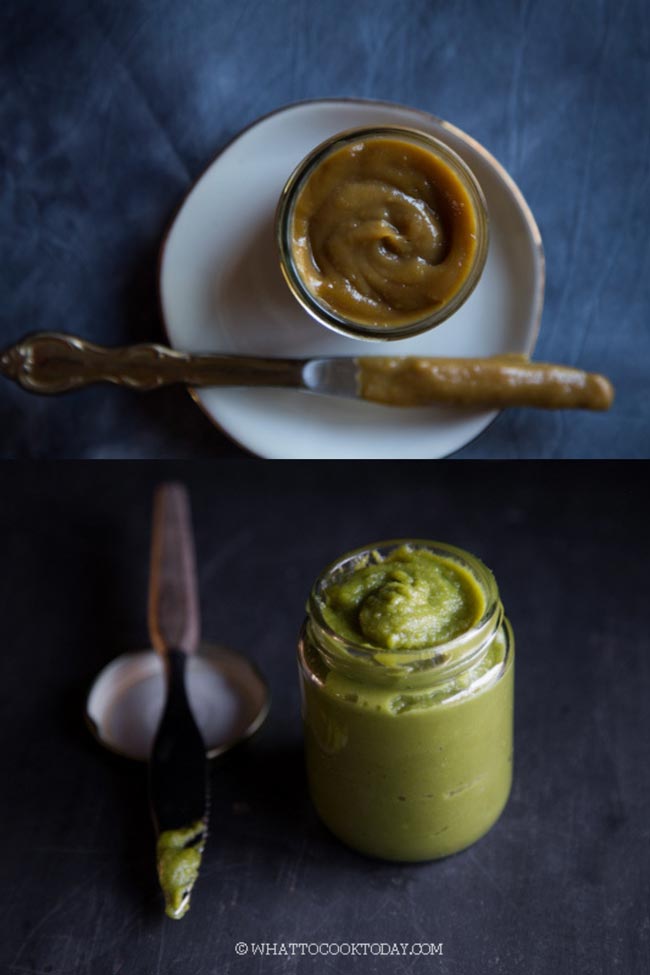
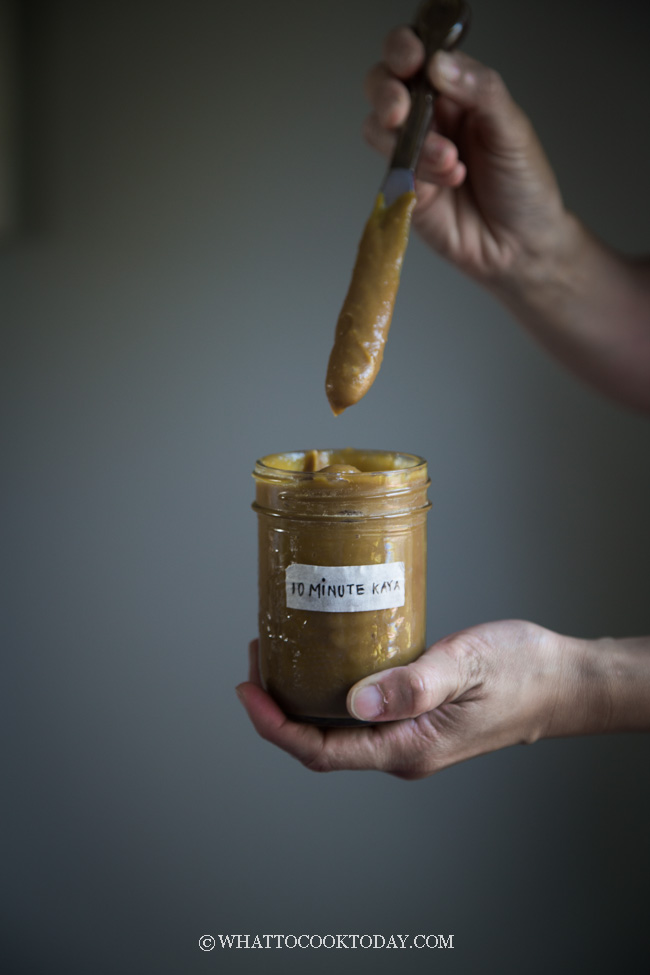
Discover how to whip up silky-smooth, richly flavored Hainanese-style kaya (also known as srikaya) in just 10 minutes—not the hours of stirring traditionally required. The recipe is for both palm sugar kaya jam or pandan flavored kaya jam.
I remember the image of these two little girls anxiously waiting to taste the kaya cooking inside a double-boiler. The lovely lady would grab two spoons and hand a big spoonful of the jam to each of the girls. The glow and the delight on their faces!! Those little girls are my sister and I, and the lovely lady was my late aunt. She made the best kaya, or what we call it srikaya in Indonesia. Named as such because of its rich (kaya) and creamy nature.
The Story Behind the Flavor
Kaya, also called coconut jam or srikaya, is a cherished Southeast Asian spread made from coconut milk, eggs, sugar, and often pandan leaves. It’s thought to have Eurasian or Portuguese origins, popularized in Malaysia and Singapore by Hainanese cooks in the colonial era, who adapted it from traditional egg jams.
Why I won’t make kaya the traditional way anymore
Kaya is my favorite jam EVER (repeat: EVER!). I never really appreciated it until after I’m far away from home and the only way to get a hold of kaya was to get a store-bought one, which is never the same compared to the home-made one. You look at the ingredients list and immediately you got turned off. But, making a kaya means A LOT OF STIRRING! and for hours! Mom often says “if you stop stirring, then you’ll end up with scrambled eggs” and she wasn’t exaggerating when she said that. That’s the traditional way! UNTIL…I discovered this 10-minute kaya recipe from KT. I’ve made it twice since I discovered it a few days ago.
Why This 10-Minute Kaya Is a Game-Changer
- Fast without compromise – Unlike the traditional method that demands nonstop stirring, this streamlined approach delivers the same creamy results in a fraction of the time.
- Simple ingredient swaps that make it work:
- Use only egg yolks – no whites, which are finicky and can curdle, enabling quicker thickening.
- Use coconut or palm (gula melaka) sugar – skips the caramelizing step while retaining that rich aroma and color.
- Use coconut cream – avoids excess water and cuts cooking time dramatically.
What makes this 10-minute kaya works
How traditional kaya is made: Traditional kaya is made with coconut cream, sugar, and whole eggs. My mom said to me that I need to stir the eggs and sugar by hands without any heat until the sugar melted. She said it may take about 1 hour. Mom, I love you, but I haven’t made kaya for so long because of that reason! Then the whole mixture of coconut, sugar, and beaten eggs need to be strained and cook in a double boiler. You can’t walk away once you turn on that heat. I gotta continue to stir until the mixture started to thicken into smooth custard consistency and no longer runny, close to one hour!
Now, you will be curious why this kaya recipe can be done in 10 minutes. Here are the reasons explained:
1. Use only egg yolks instead of whole eggs
Egg whites need to be cooked at a very low temperature or it will turn lumpy, so that’s why traditionally it was stirred over low heat for so long and water needs to evaporate to achieve that smooth thick consistency
2. Use coconut sugar/ palm sugar
Some traditional recipes require caramelizing the sugar to achieve that golden brown. Replacing some of the regular white sugar with coconut sugar/palm sugar is such a brilliant idea. It gives that exact same taste and pleasant aroma to the kaya
3. Use coconut cream
I don’t have access to freshly squeeze coconut milk/cream here in the U.S., at least not where I am. So I use canned coconut cream, which is thicker than regular coconut milk.
Pro Tips for making 10-minute kaya successfully
1. Use coconut cream
Do not use coconut milk as this is more diluted and you won’t be able to make this kaya in 10 minutes for sure! IMPORTANT TIP: Do not shake the can before opening the coconut cream. The top is usually cream and the bottom usually has some water. I scoop all the cream out from the can and trying not to scoop out any of the water. The less water you have, the better chance you can get this done in 10 minutes. I like to use this brand for coconut cream. You can use Thai brand like Aroy-D or Chaokoh as well. I’ve used those before too.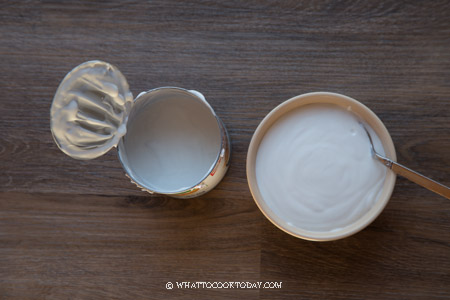
2. Use palm sugar (gula melaka) or coconut sugar
This will save one step from having to caramelize sugar (I don’t like to caramelize sugar!). Palm sugar or coconut sugar is a perfect addition to achieve that golden brown and add a nice aroma to the kaya
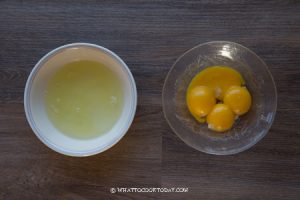
3. Separating egg yolks from the white
Make sure you separate the egg yolks from the white very carefully. Leaving as little trace of egg whites as possible when separating. If there is a trace of egg whites, you can run the egg yolks through the sieve. This is to ensure you don’t get any lumps in the kaya. Otherwise, beat the yolks until smooth. Just using a regular fork is fine. Run it through the sieve if you want to
Frequently asked questions
1. Can I use fresh coconut milk?
Yes, but it’s likely more watery, so cook time may increase and you may need adjustments on the quantity too.
2. Can I use regular coconut milk instead of cream?
Yes, but expect a longer cook time due to higher water content. It’s not going to be 10-minute kaya anymore
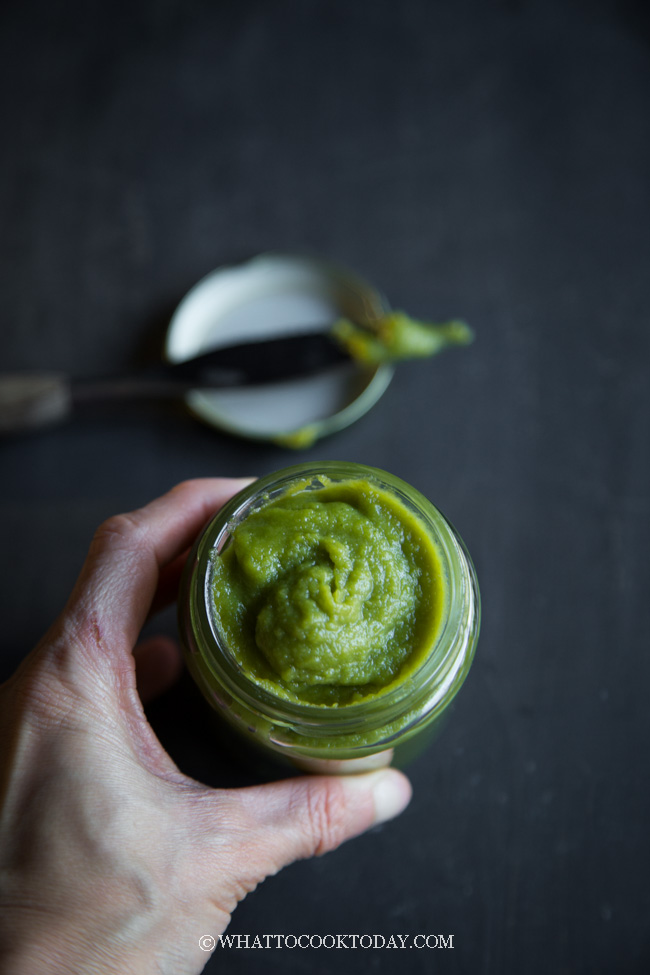
3. No pandan leaves?
Use pandan extract or omit entirely—flavor remains rich.
4. How long does homemade kaya last?
Refrigerated, up to 1 week. Freezing is not recommended—it may separate.
Best Serving Ideas
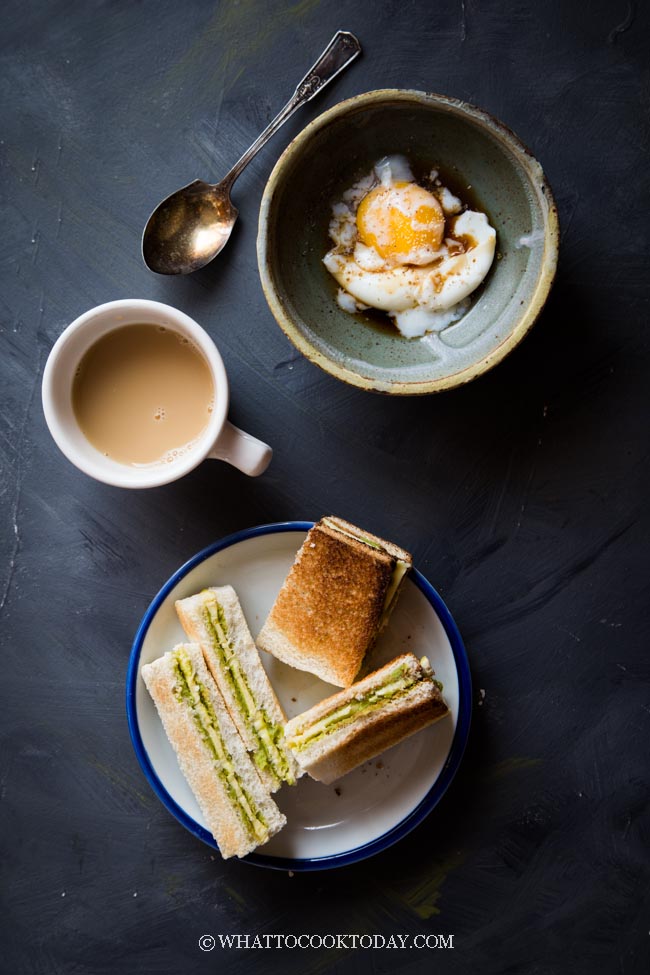
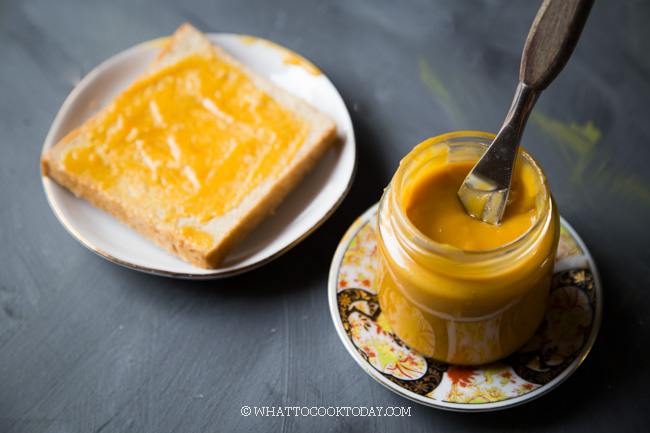
- Classic Singapore Kaya Toast – Spread on toast or Roti Bakar, topped with a sliver of cold butter. Serve with soft-boiled eggs and dark soy sauce.
- Dessert fillings – Use it to make Kaya Swiss rolls, pulut seri muka, or as a topping for glutinous rice treats.
- Pair with cheese – Kaya’s sweetness complements sharp or creamy cheeses.
Make this Singapore kaya toast set!
Now that you have this really good and quick kaya jam recipe, you gotta check out this How To Make The Best Singapore Kaya Toast! and also the Kopitiam Soft-boiled eggs! Like..For real!
Have you ever tried the Creamy Eggless Kaya Jam? It’s quick to make, creamy, and satisfying too.
Easy Authentic 10-Minute Kaya Jam (Palm Sugar Kaya or Pandan Kaya)
Ingredients
- 200 ml canned coconut cream see notes 1
- 4 egg yolks from large eggs beaten
For regular kaya:
- 50 gr white sugar you can reduce amount of sugar to your taste
- 50 gr palm sugar
- 3 pandan leaves/screwpine leaves knotted
For pandan flavor kaya:
- ½ tsp pandan essence or use 50 ml of pandan juice extract (see notes 2)
- 80 gr white sugar you can reduce amount of sugar to your taste
- 20 gr palm sugar
Instructions
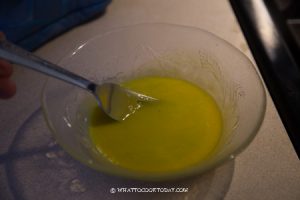
Separating egg yolks from the whites:
- Make sure you separate the egg yolks from the white very carefully. Leaving as little trace of egg whites as possible when separating. If there is a trace of egg whites, you can run the egg yolks through the sieve. This is to ensure you don’t get any lumps in the kaya. Otherwise, beat the yolks until smooth just using a regular fork is perfectly fine. Run it through the sieve if you want to

Tempering the egg yolks:
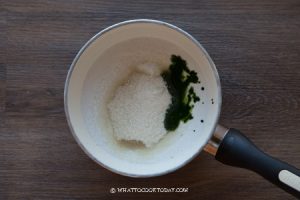
- Place coconut cream, sugars, pandan leaves (for regular kaya), pandan extract or pandan juice (for pandan kaya) in a saucepan
- Cook over medium heat and just cook until the sugar melted. It shouldn't be boiling, just heated to warm
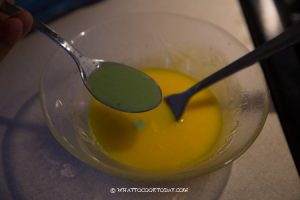
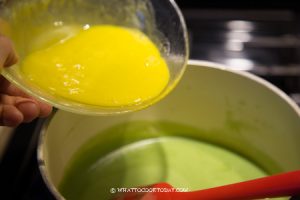
Tempering the egg yolks:
- With one hand still beating the egg yolks, the other hand holding the saucepan with coconut cream, add 1/4 of the coconut cream mixture
- Continue doing so several times
- Then you can pour the egg mixture back to the saucepan
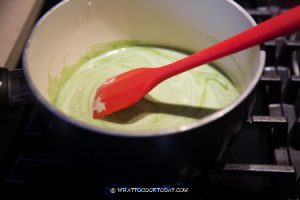
- Stir to mix everything and then place this on the stove over low-medium heat
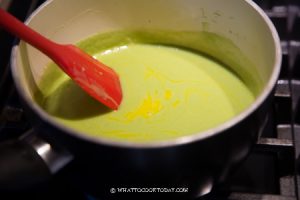
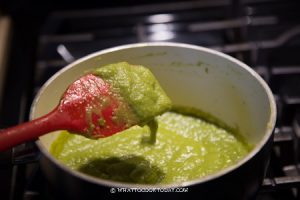
- Continue to stir over low-medium heat. Don't crank up the heat too much as the texture won't be as smooth. The mixture started to thicken for me at around 8 minutes mark and continue to stir
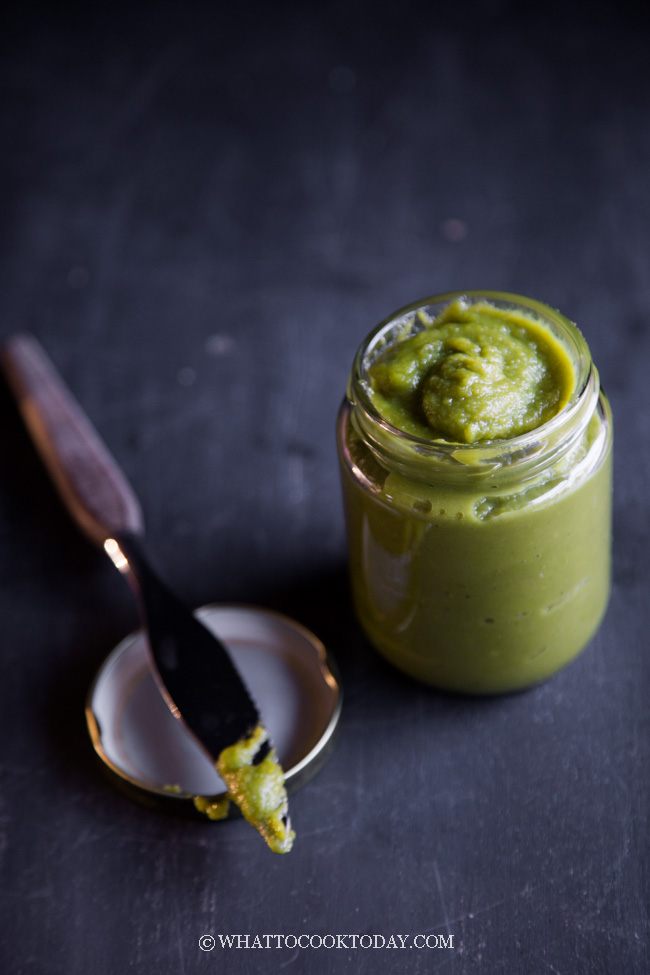
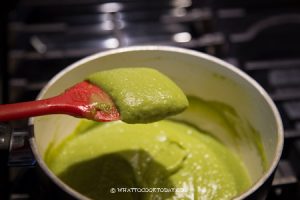
- At around 10 minutes mark, the kaya should coat the back of the spatula thickly but still has that spreadable consistency. The kaya will continue to thicken once it cools down completely. So don't cook it until it's too thick. Discard the pandan leaves. If you use pandan juice instead of extract, you may need to cook just a bit longer to get to this consistency. Remove from the heat
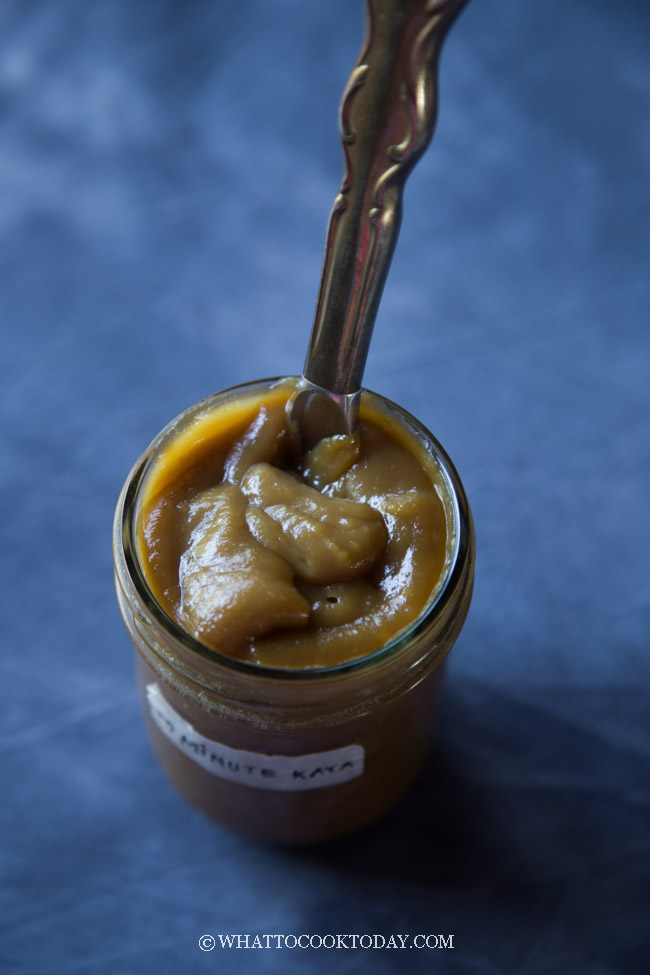
- If the texture of the kaya is not as smooth, you can use a blender or an immersion blender to smooth out the mixture
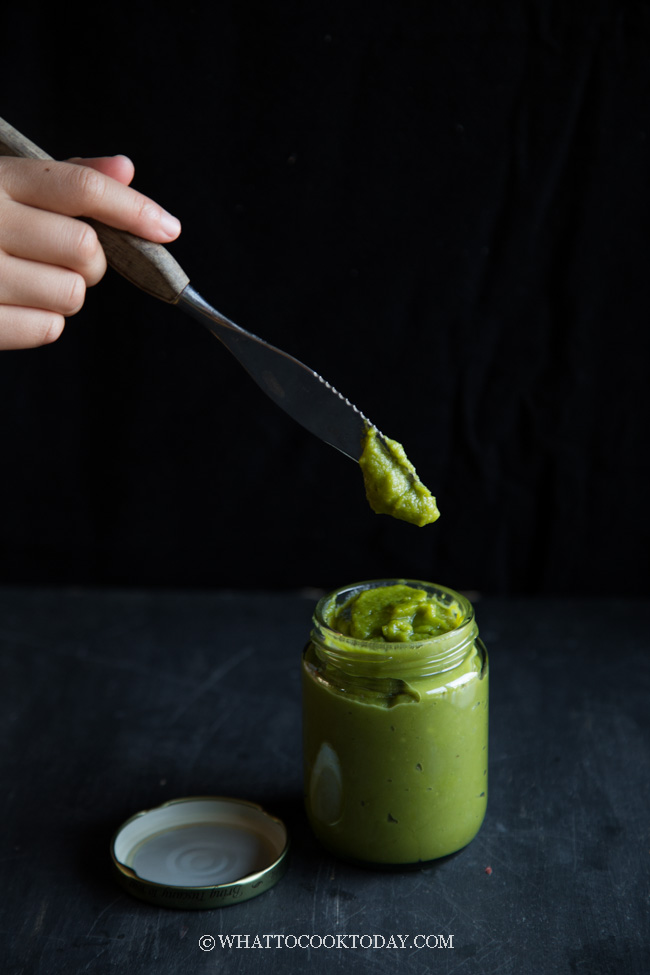
Storing:
- Once the kaya has cooled down completely, transfer to a glass jar and secure the lid. Put in the refrigerator for up to 1 week. I do not recommend freezing as they tend to separate
Serving:
- The kaya tends to "harden" a bit after refrigeration. There is fat in the coconut cream. Simply leave them to come to room temperature before serving and they'll soften
Marv’s Recipe Notes
2. If you use pandan juice instead of pandan essence, the cooking time may be a little over 10 minutes because of the extra liquid added, but it shouldn’t take you too long either
*Nutrition facts are just estimates and calculated using online tools*

128 comments
Hi,
I’ve made this recipe multiple times. Downright delicious. I just wanted to say that I made it using only 50grams of coconut sugar. It is the perfect balance of sweetness to aroma to flavour. My main query is the nutritional value you’ve put right at the end. Is that accurate? What would be the nutritional value to only using 50grams of coconut sugar rather than the 100 grams of white and palm sugar that your recipe calls for.
Hello, the nutritional value is calculated using an online tool and it’s just an estimate. Based on the online tool, it’s about 160 calorie difference. This is just an estimate!
I’ve now made pandan kaya twice, using your proportions exactly, but two different cooking methods. Both times I made a double-batch, so I knew that the total cooking time would be longer. Here’s what I found.
First attempt I followed the “traditional” way (creaming the eggs and sugar first, then cooking eggs, sugar, and coconut milk in a double boiler). To combine the yolks and sugar, I used a stand mixer with the paddle attachment and the lowest setting, letting it run for 20 minutes. Indeed, this method definitely took about an hour on the stove to thicken the entire mixture (stirring ~ every 5 min); however, the result was SUPER smooth and creamy.
Second attempt I followed this recipe’s cooking method a bit more closely, but still used a double boiler. Because of this, I think it ended up still significantly lengthening the cooking time, since the ingredient pot isn’t on direct heat and the water bath was around 200F. Even using a double boiler, I found that the resulting texture was not as smooth as the first attempt, even though it still took about the same length of time (worth noting that I did not strain the yolks of excess whites, which could’ve also influenced the texture). I suppose cooking it in the pot directly on the heating element is what significantly speeds up the cooking time, so I’ll do that if I want to cook kaya quicker next time (and maybe try passing it through a sieve or finishing it with a stick blender). If I wanted to prioritize texture, though, I’d say the traditional method is still worth it (with the stand mixer shortcut)
Many thanks for providing proportions that suit my taste though; I can’t believe some kaya recipes call for double the amount of sugar! I suppose it helps preserve the jam for longer, but 100g sugar to 4 egg yolks & 200 mL of cream is perfect for me.
Hi Julian, thank you so much for taking time to share your findings here. I truly appreciate it. You are right. The water bath is definitely much much gentler and hence the longer cooking time as opposed to cooking it directly on the stove. To smooth out the texture with the quick method, yes, try to pass the eggs through the sieve to smooth out that egg white lumps or use a stick blender after finished cooking it! You are spot on! 🙂
Hi,
Thanks for your recipe and tips! I made this using only coconut sugar, egg yolks and coconut cream, with a dash of salt. It is super yummy! Also, if the kaya has a few lumps, I use a sauce whisk to stir it while cooking to make it smooth.
Hi Cheryl, I’m very happy to know that the recipe works out for you. Great idea using a whisk to break the lumps!
Fantastic
So glad the recipe works out for you! 🙂
I love Kaya jam an this recipe is perfect!!! Thank you so much
yay! Happy to know that you like it 🙂