This post may contain affiliate links. Please read our disclosure policy.
White long-grain rice is cooked in herbs, spices, coconut milk and served with arrays of side dishes. It can be made on stove-top, rice cooker, or instant pot.
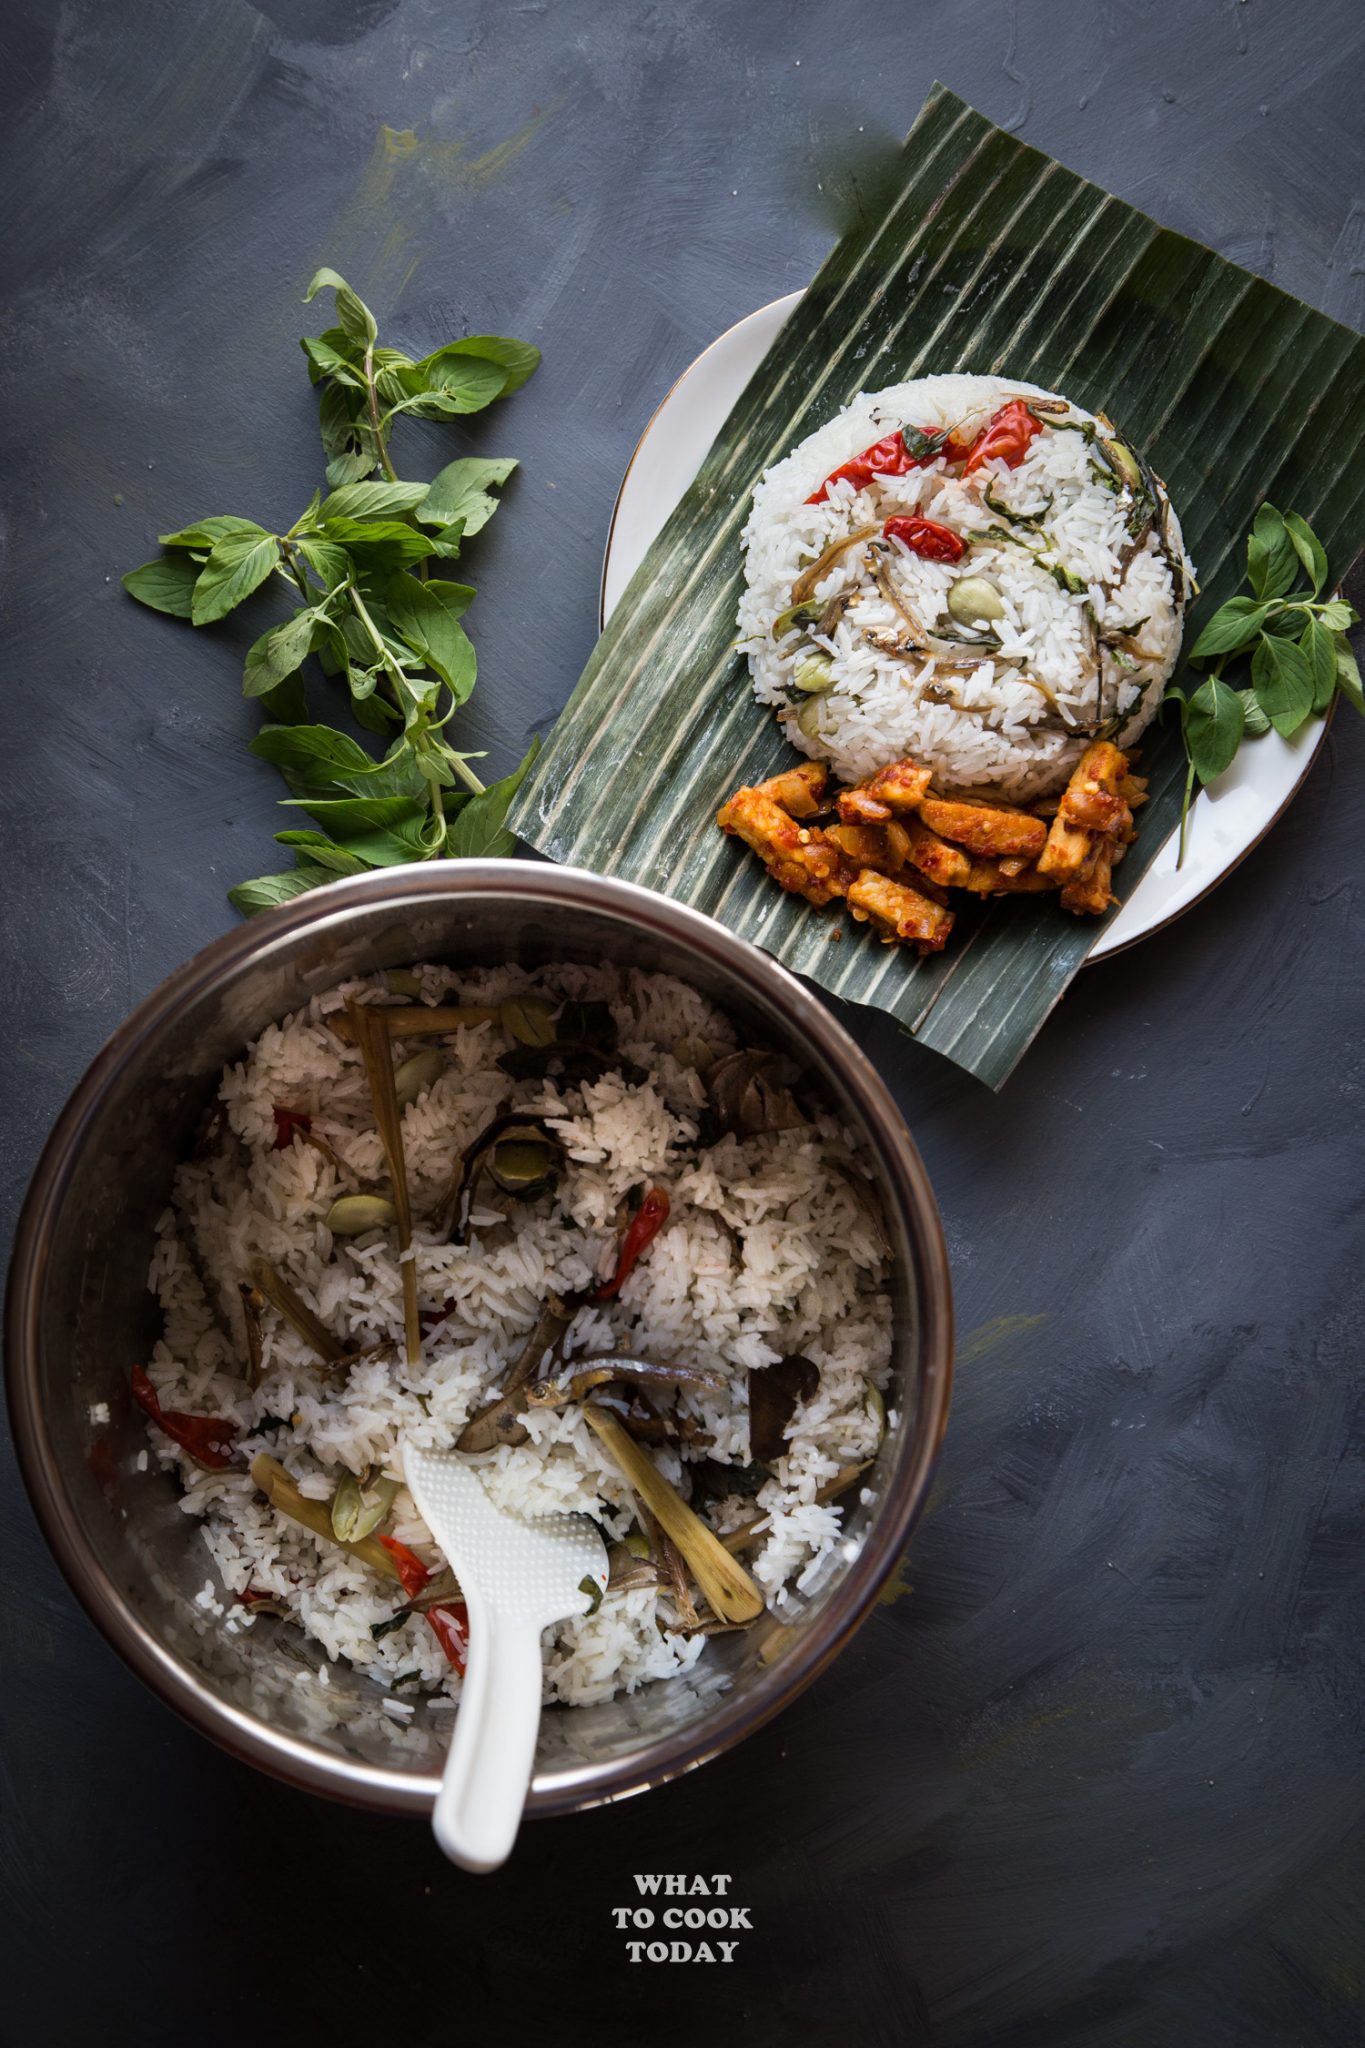
What is nasi liwet?
Nasi liwet is a traditional Indonesian rice dish that originates from Solo, Central Java, and is also popular in West Java. It is a flavorful dish made by cooking rice in coconut milk, chicken broth, and various aromatic spices, such as lemongrass, bay leaves, and galangal. Nasi liwet can be very simple like this version I made here or more elaborate or they call it Nasi liwet komplit (komplit=complete), which means it serves with arrays of entrees and side dishes.
What type of rice to use
For making nasi liwet, it is best to use long-grain or medium-grain white rice. Jasmine rice is a popular choice due to its fragrant aroma and slightly sticky texture when cooked, which works well with the rich and flavorful broth used in nasi liwet. However, you can also use other types of white rice, such as basmati or regular long-grain rice, as long as they can absorb the flavors of the coconut milk and spices well.
Nasi Liwet Sunda ( Indonesian Aromatic Spiced and Coconut Rice)
Ingredients
- 3 cups long grain white rice
- 2 ½ cups water add 1/4 cup more if cooking on the stove
- ½ cup coconut milk add 1/4 cup more if cooking on the stove
- 2 Tbsp cooking oil divided
Aromatics:
- 4 shallots peeled and thinly sliced
- 8 cloves garlic peeled and finely minced
- 6 whole red chili
- 100 gr salted mackerel (ikan asin) optional – cut or flake into small pieces
- 100 g stink / sator / sataw beans thaw if frozen
Spices and herbs:
- 1 large lemongrass trim the skinny top and cut into half
- 2 inch fresh galangal peeled
- 6 fresh bay leaves or 8 dried ones
- 6 kaffir lime leaves tear the edges to release flavor
- 3 pandan leaves knotted
Seasonings:
- ¾ tsp salt
- 1 tsp chicken powder seasonings
Optional toppings:
- 150 g dried anchovies small to medium size, ikan teri Medan if you can find
- 1 large bunch holy basil / daun kemangi
Instructions
- *Recipe is written for 6-quart Instant Pot. Cooking time should remain the same for 8-quart size but will take longer to pressurize. For mini duo (3-quart), I suggest to half the recipe and use the same amount of time to cook*
- I use the cup that comes with the rice cooker, which is usually about 1/4 cup less than U.S. standard measuring cup. I use the same cup to measure rice and the liquid.
- Wash the rice with clean running water until the water is clear. Completely drain off the water with a strainer if necessary to make sure no water is collecting in between the rice grain. Set aside
Cooking with rice cooker:
- Preheat 1 Tbsp of cooking oil in a saute-pan. Add shallots and garlic and stir fry for 1 minute. Add salted fish (if using) and stink beans, and whole red chili. Stir fry for another minute. Add lemongrass stalk, galangal, bay leaves, kaffir lime leaves and stir fry again until fragrant, another minute

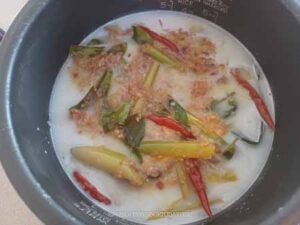
- Add rice grain, seasonings, and the ingredients you stir fried earlier to the inner pot of the rice cooker. Pour in the coconut milk and water and stir to mix everything.

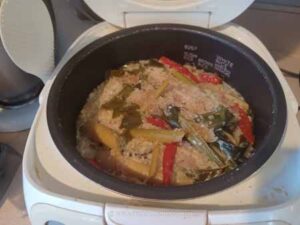
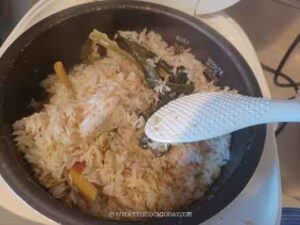
- Turn on the rice setting on your rice cooker and let it cook until the cycle has finished. Wait 10 minutes before you open the lid and use the rice paddle to fluff the rice. You can discard the lemongrass stalks and other leaves


Cooking with Instant pot:
- Press saute on Instant Pot. When it's "HOT", add 1 Tbsp of cooking oil and swirl it to coat the bottom of the pot. Add shallots and garlic and stir fry for 1 minute. Add salted fish (if using) and stink beans, and whole red chili. Stir fry for another minute. Add lemongrass stalk, galangal, bay leaves, kaffir lime leaves and stir fry again. Deglaze by pouring in water,coconut milk, water and seasonings. Make sure to scrape the bottom of the pot so nothing is stuck there. Turn off the saute mode
- Sprinkle in the rice. Use the spatula to gently push in the rice so it is covered by liquid. Close the lid. Press "Pressure Cooker". Set on "High Pressure" and use -/+ button to set the timer to 3 minutes. Turn the steam release valve to seal. You can also use the "rice" function. It takes about 12 minutes and usually it cooks on low pressure.
- When the rice is done cooking, wait 10 minutes and then release the pressure. Once the pressure valve is down all the way, uncover the lid and use the rice paddle to fluff the rice. You can discard the lemongrass stalks and other leaves
While the rice is cooking:
- Preheat 1 Tbsp of oil in a large non-stick skillet. Pan fry the dried anchovies until crispy. Remove into an absorbent paper towel. In the same skillet pan fry the basil until crispy
Cooking on stove-top:
- Preheat 1 Tbsp of cooking oil in a large heavy-bottom pot with tight-fitting lid. Add shallots and garlic and stir fry for 1 minute. Add salted fish (if using) and stink beans, and whole red chili. Stir fry for another minute. Add lemongrass stalk, galangal, bay leaves, kaffir lime leaves and stir fry again. Add rice grain, salt, and sugar. Stir to mix everything. Pour in the coconut milk and water and stir again. Bring to a gentle boil and then lower the heat to simmer. Close the lid and cook for the next 20 minutes undisturbed.
- Remove from the heat after 20 minutes and wait for 10 minutes before opening the lid. After 10 minute, uncover the lid and fluff the rice with a fork. You can discard the lemongrass stalks and other leaves
Serving:
- You can pile the toppings you prepare on top of the rice and let everyone get their own rice or served the toppings on the side
*Nutrition facts are just estimates and calculated using online tools*
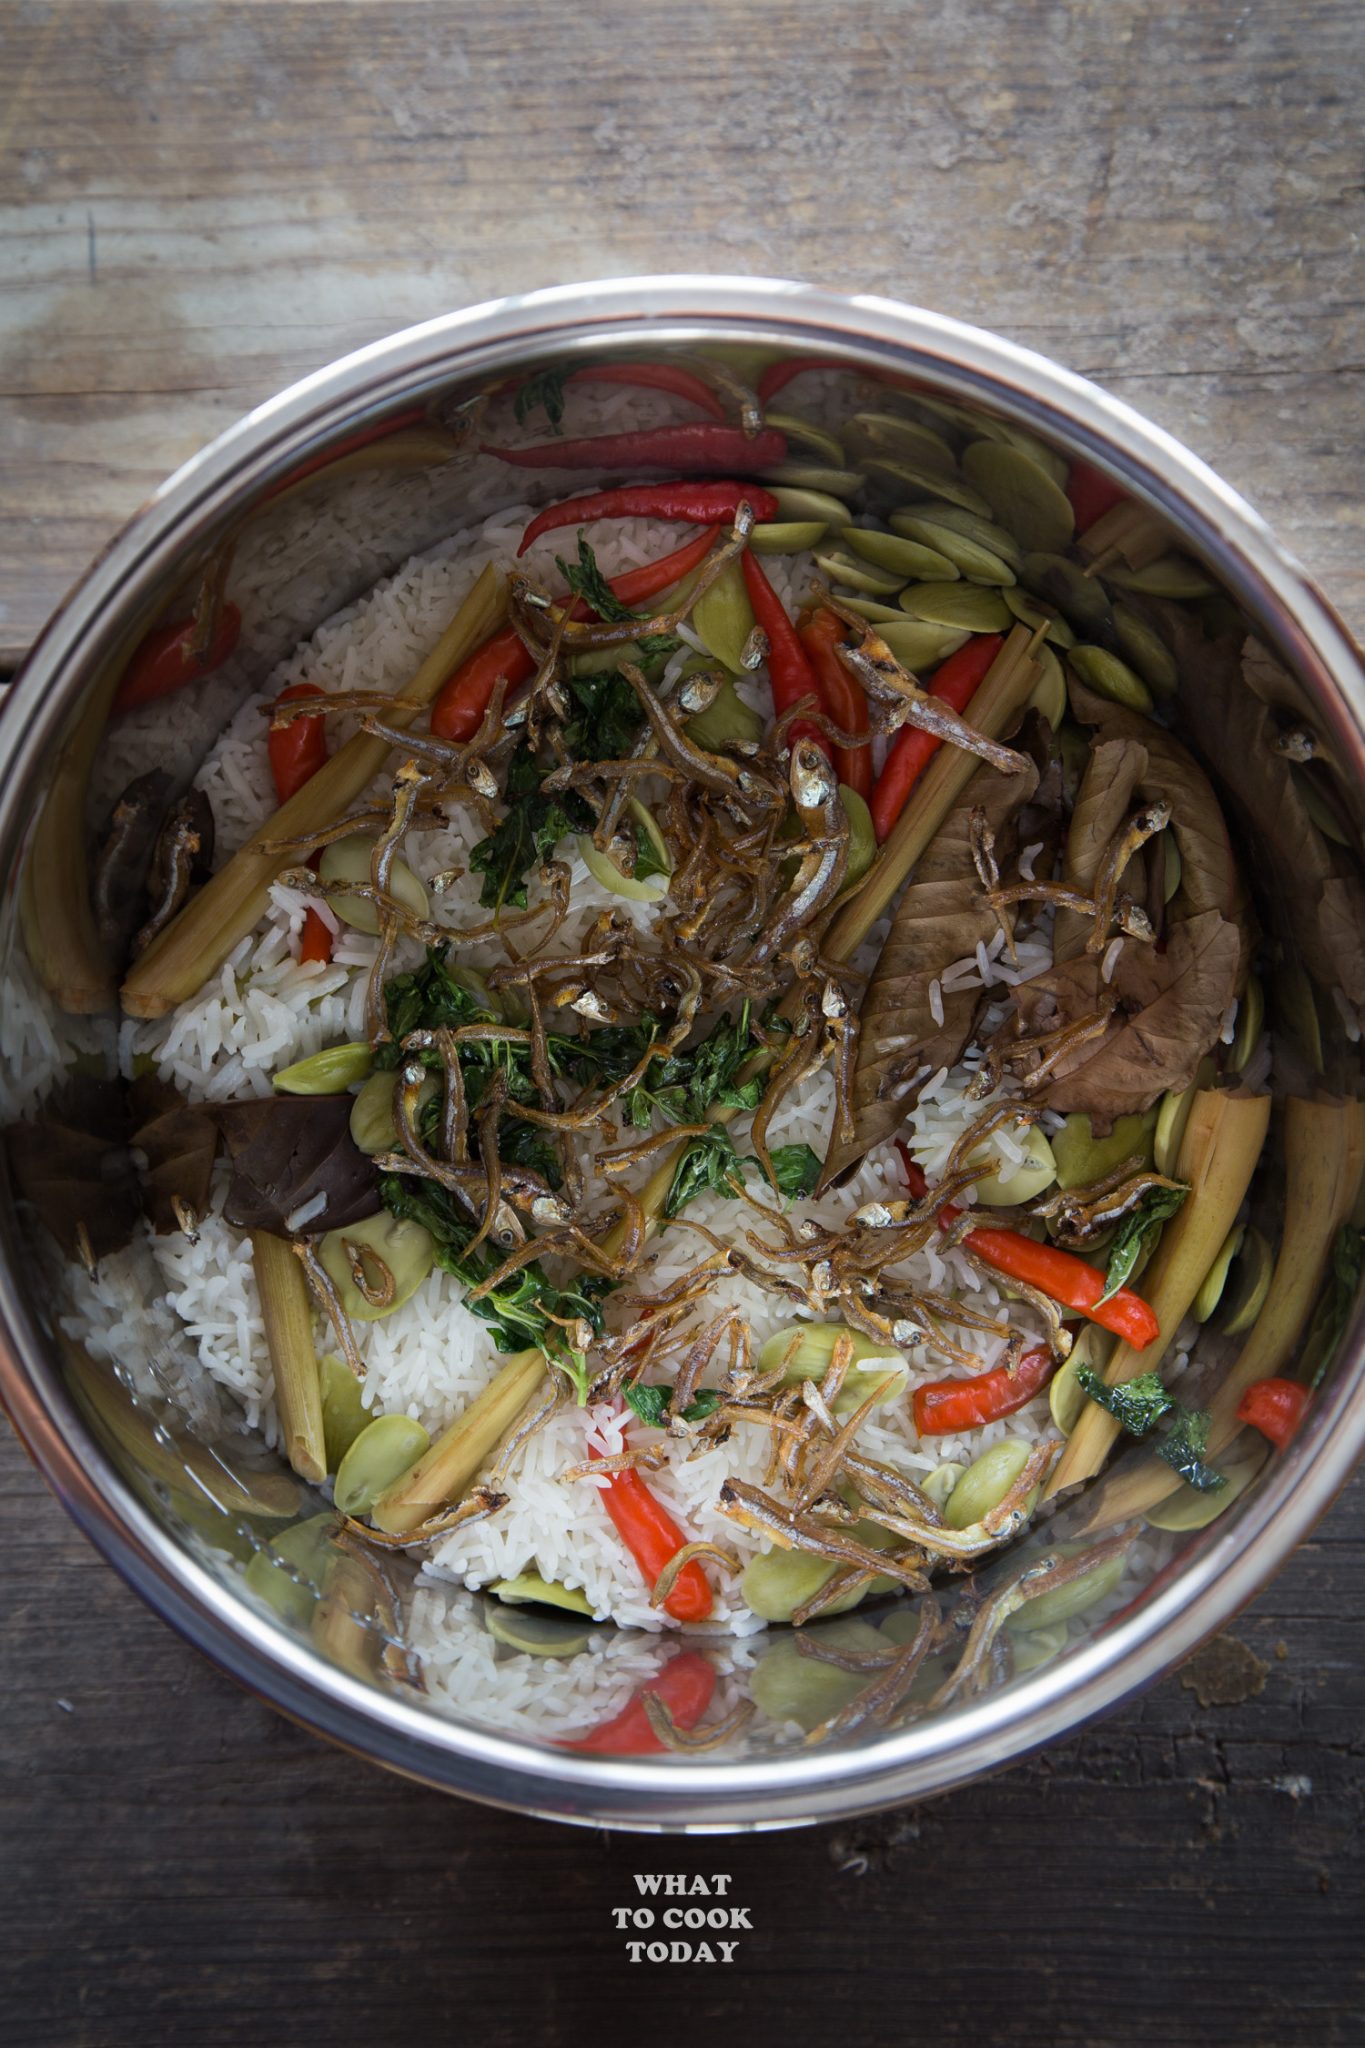
How to prevent rice from sticking to the Instant Pot and causes burn display
1. Deglaze
This is applicable when you cook something like this recipe where you saute first before pressure cooking. Saute the ingredients and then add the liquid and use a scraping spatula to scrape the bottom to make sure you get all the bits and nothing is stuck to the bottom of the pot.
2. Add the rice last
After deglazing, layer whatever you need to layer, like meat or veggies. Then sprinkle in the rice and use a spatula to gently push the rice down so it is submerged in the liquid to cook properly. So the rice doesn’t really “touch” the bottom of the pot and has less chance of getting burn
3. Thinning down the liquid
I recommend using thin coconut milk in this recipe to prevent the rice from burning. If you use something thick like coconut cream, it will surely cause a burn later.

What to serve with nasi liwet ?
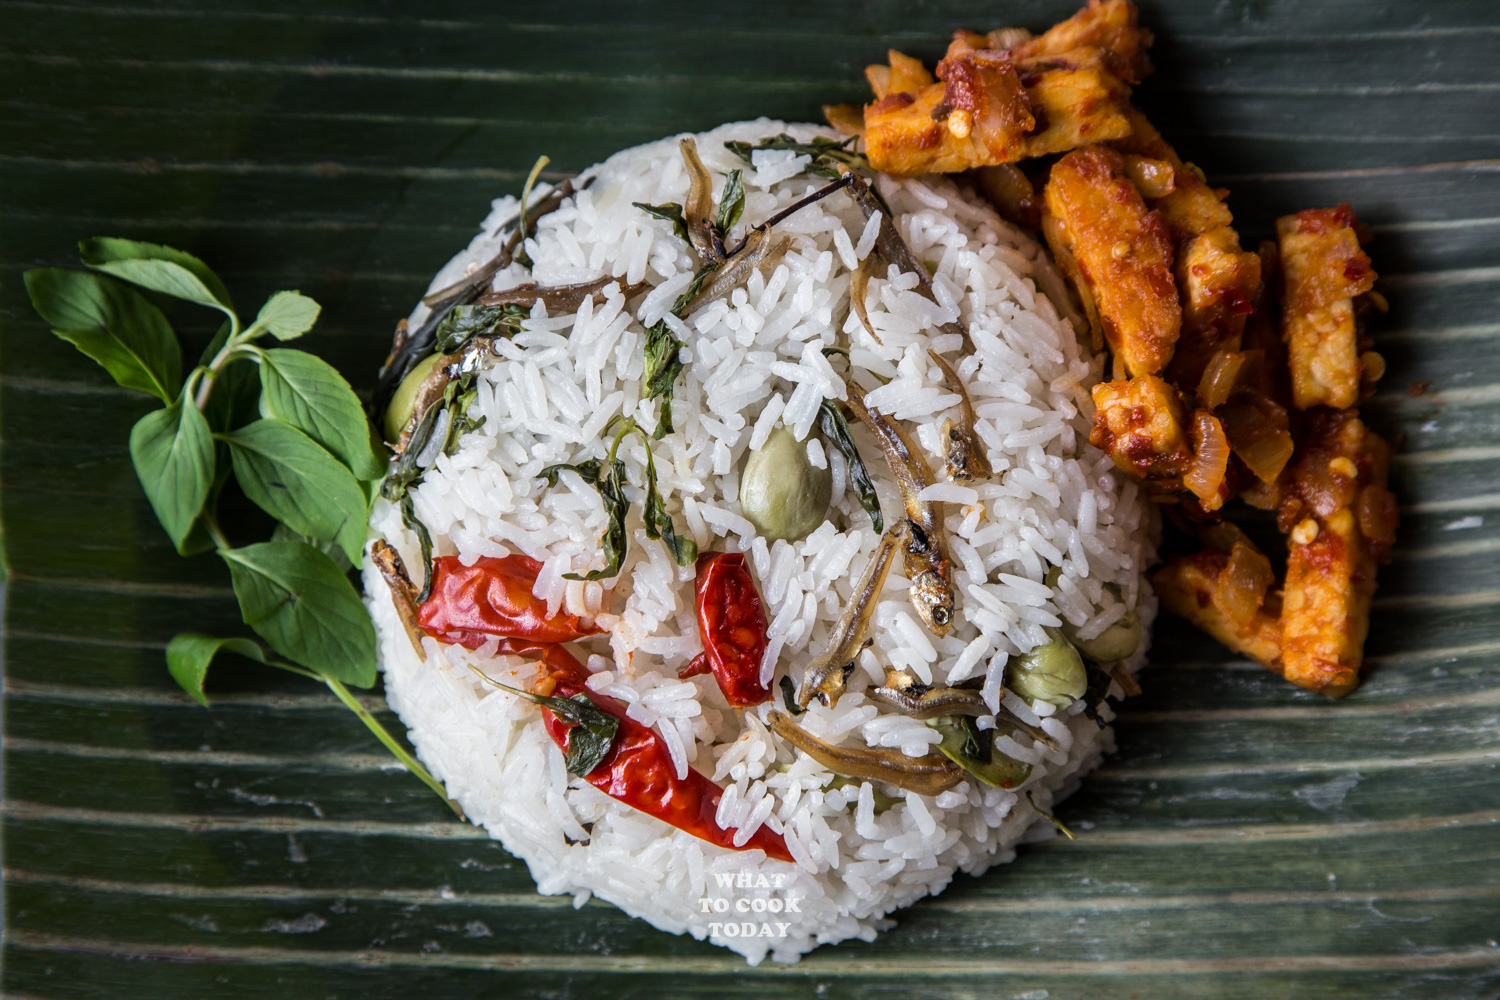
I topped mine with pan-fried dried anchovies and some sambal goreng tempeh on the side. This is a complete meal on its own. The addition of daun kemangi / holy basil leaves made the nasi liwet even more aromatic. I pan-fried the daun kemangi briefly until crispy. You can throw them in and cook them together with the rice too. Other side dishes you can serve it with:
Ayam Suwir
Sambal goreng kentang
Sambal goreng tempeh
Telur pindang
Sayur lodeh

10 comments
Is the ‘cup’ for rice a regular US cup or rice cup? How many gram? Just so I can be sure I’m using the right measurements 😊 thanks in advance!
Hello, do you know how to save the left overs of this coconut rice ? Or does it have to be eaten on the same day ? Thanks before
Hi Rani, you can just wrap it up and store in the fridge for up to a week. You don’ thave to finish it on the same day. You can reheat it in the steamer or use your microwave. You may need to splatter a bit of water on the rice if you use microwave and heat it up in 1 minute increment until it’s heated through, or use your rice cooker “warm” function if there’s one. I hope this helps
Wow! Great January newsletter Marvellina and worth the wait. I don’t know how you find the time to cook all that fabulous food and photograph it so beautifully for us.
Thank you so much Dorothy! I was just told there were few errors on the links that linked up to the recipes! my apology! I will do better next time 🙂 But thank you again for your nice encouraging comments 🙂
This is very beautiful… and yummy too.. 😀
Nice pics…
Hi Widya, Thank you dear 🙂
This rice dish just sounds amazing, so many great flavors and ingredients that you added, specially love the salted mackerel
THank you Albert! Salted Mackerel kicks up this dish a notch for sure!