This post may contain affiliate links. Please read our disclosure policy.
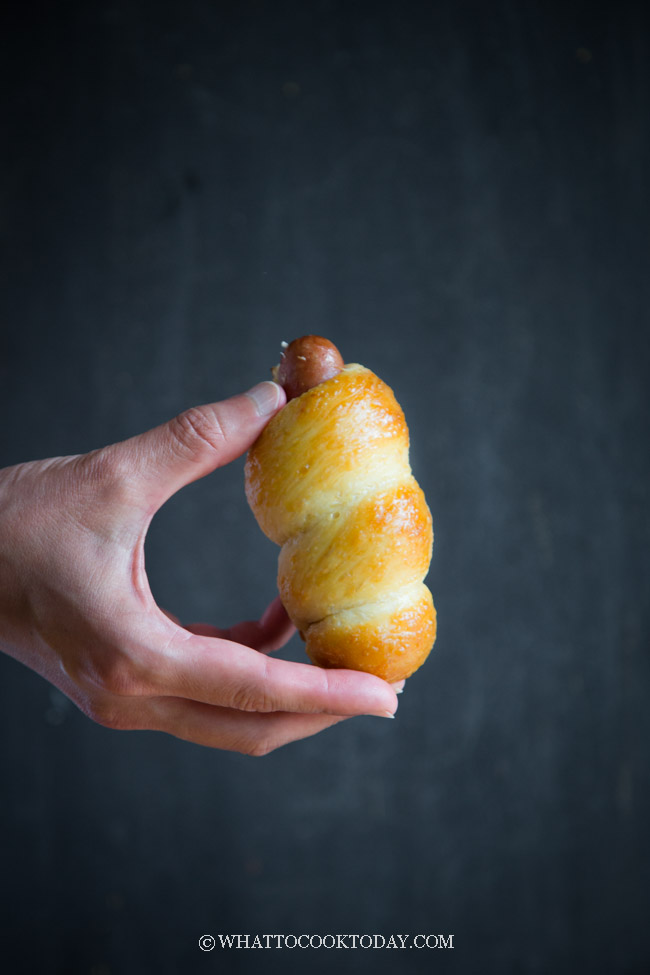
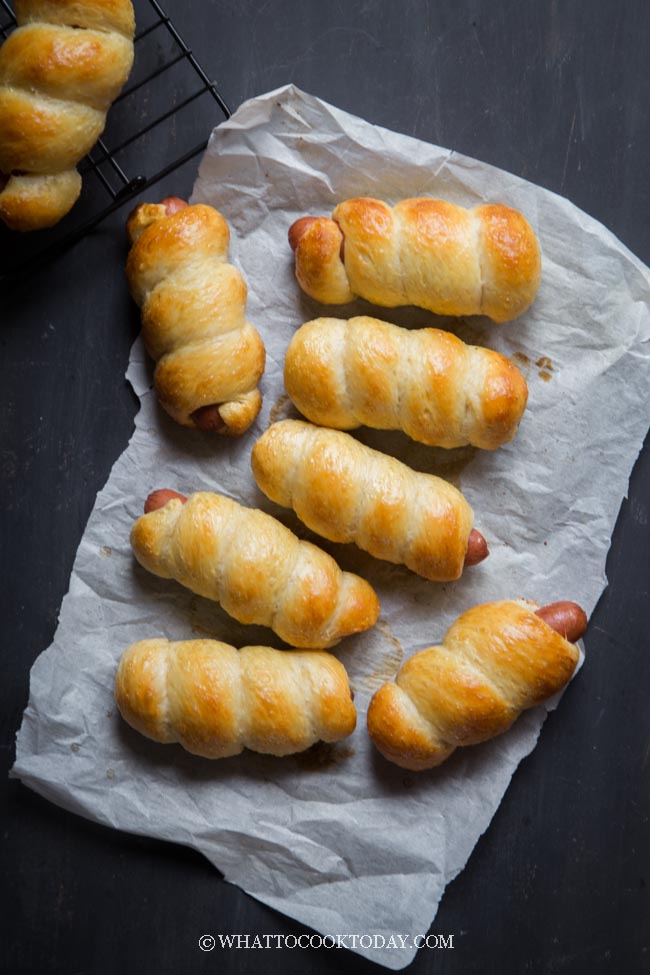
Make these delicious Asian bakery-style sausage / hot dogs are wrapped in soft fluffy milk buns made with tangzhong (water roux) method.
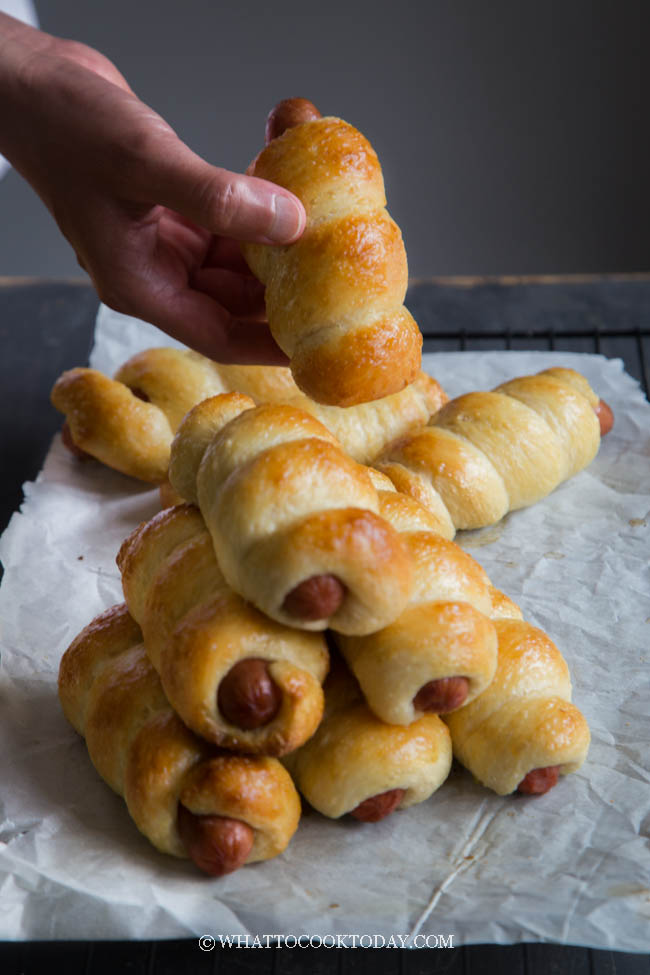
If you walk into bakery shops in Asia, chances are you will see these Chinese sausage buns. It’s one of my favorites and I often chose that when I went to a bakery shop with my dad. I love making bread/buns using tangzhong method. It’s almost like my go-to when it comes to making bread or buns. If you have not tried Chinese sausage buns wrapped with tangzhong buns, you have to try it out. Hot dog is one type of sausage and in Asia, at least where I grew up, the term hot dog and sausage are used interchangeably. But here in the U.S., hot dogs and sausages aren’t used interchangeably like that. I don’t know if it is because of sausages in the U.S. are usually shaped like round patties instead of long and lean like hot dogs? Anyway, I’m not here to argue which is what and I’m not an expert enough to do so anyway. Just so you know that the sausage here refers to hot dogs 🙂
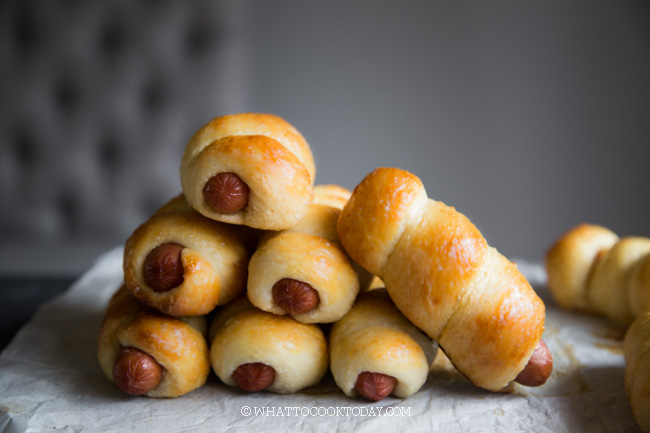
It’s no secret anymore by now that tangzhong seriously makes soft and fluffy bread and buns. I used my favorite Hokkaido milk bread (tangzhong and autolyse method) recipe to make these sausage buns too. You can read more about what tangzhong is in that post if you are new to it. I won’t bore you again with the same discussion in this post.
HOW TO MAKE TANGZHONG CHINESE SAUSAGE BUNS
You can refer to the step-by-step process on how to make the tangzhong and the dough here. It’s the exact same steps until the first proofing.
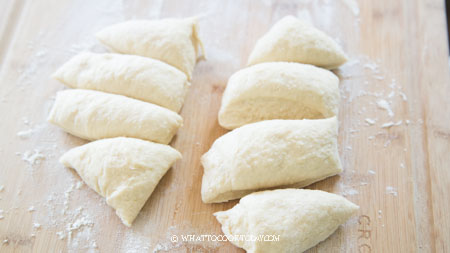
1. After the dough is proofed for the first time and double in size, divide into 8-10 equal pieces. 8 pieces will make really large buns. I think 10 is perfect, especially if the sausage is short. Cover and let them rest before proceeding
2. Roll each ball out into a long rod shape, about 7-8 inches long.
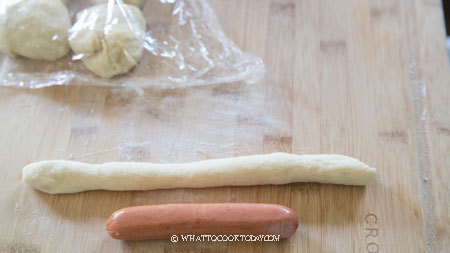
3. Wrap the hot dog with the rod and tuck the end at the bottom and place it on a baking sheet. Repeat with the rest. Keep them covered while you are shaping the rest
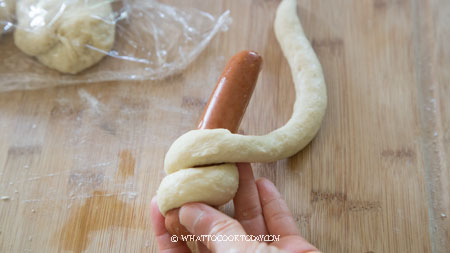
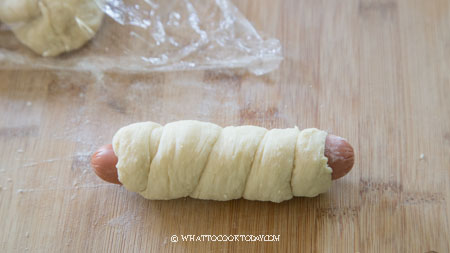
4. Let the shaped dough proof again for another 40 minutes or until they are almost double in size again
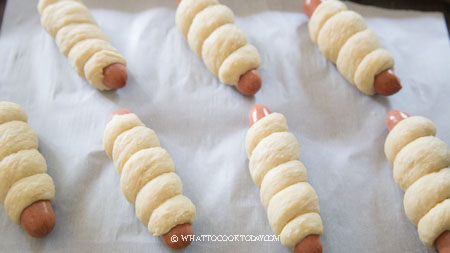
5. Mix the egg with milk. Brush the top of the dough with egg wash
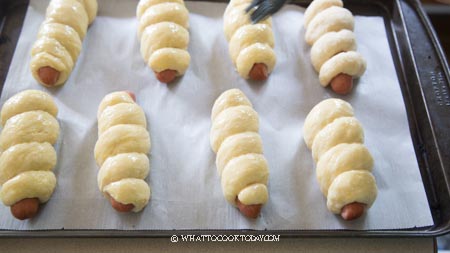
6. Preheat oven to 350 F and pop it into the oven (3rd rack from the top) and let them bake in the preheated oven for 15 minutes or until golden brown. Move them to the cooling rack to let them cool down

HOW TO STORE
1. Let them cool down completely
2. Keep in a zipper bag or air-tight container for 2-3 days
FREEZE FOR LONGER STORAGE
I won’t recommend storing them in the fridge as it makes the bread stale faster. Here’s how to freeze them:
1. Wrap them in an aluminum foil
2. Put them in a freezer bag, push all air out, and seal the bag. Consume within 6 months for the best result
HOW TO REHEAT
1. Thaw them overnight in the fridge
2. Loosely wrap them in an aluminum foil. Reheat in preheated oven/toaster oven/air fryer at 350 F for 5 minutes or until heated through
TO MAKE THE DOUGH AHEAD AND FREEZE
Freezing unbaked yeasted dough is a great idea to be ahead of your game, however, there are a few modifications that need to be done because some yeast that has been activated may die in the cold freezer. I actually prefer to bake and then freeze, but if you must make ahead and freeze the unbaked dough, here are what you can do:
1. Prepare the dough as instructed in the recipe up to the point where you have done kneading until it reaches a windowpane stage
2. DO NOT let the dough rise. Divide the dough and shape them immediately
3. Place them on a baking sheet lined with parchment paper and put the shaped buns not touching each other in the coldest part of your freezer, for about an hour or so until they are hard but many not be completely frozen. We want them to be frozen as quickly as possible to avoid ice crystals from interfering with the yeast
4. Transfer them to a freezer bag and push all the air out and seal and keep them frozen
5. I recommend not to freeze them more than 2 weeks for the best result (I would do only one week if I were you). Freezing them for too long will decrease the yeast ability to rise well because some of them may have died in the cold
6. When ready to bake, thaw at room temperature and then proceed to let them rise at a warm place and bake as instructed in the recipe
TO MAKE THE DOUGH AND REFRIGERATE
1. Prepare the dough as instructed in the recipe up to the point where you have done kneading until it reaches a windowpane stage
2. Put it in a lightly oil bowl and cover with a lid or wrap to prevent the dough surface from drying out. Let it do its first rise at a warm place for about 30 minutes or until you notice it is about 50% puffy. Put this in the fridge to continue the first rise in the fridge. The dough can be kept in the fridge for up to 48 hours for the best result. Make sure your bowl is large enough as the dough will rise and grow larger
3. On the day you are ready to do the baking, get the dough out and let it comes to room temperature, may take about an hour or so and then proceed to shaping and continue with second proofing at a warm place

DID YOU MAKE THIS TANGZHONG CHINESE SAUSAGE BUNS RECIPE?
I love it when you guys snap a photo and tag to show me what you’ve made 🙂 Simply tag me @WhatToCookToday #WhatToCookToday on Instagram and I’ll be sure to stop by and take a peek for real!
Tangzhong Chinese Sausage Buns (Hong Kong Style)
Ingredients
Tangzhong:
- 15 gr bread flour 5 tsp
- 90 ml whole milk 6 Tbsp
Dry ingredients:
- 300 gr bread flour 2 cups + 2 Tbsp + 1 tsp
- 5 gr instant yeast 1 1/2 tsp
- 5 gr milk powder 1 1/2 tsp
Wet ingredients:
- 120 ml whole milk 1/2 cup
- 1 large egg lightly beaten
Ingredients to add last to the dough:
- 40 gr butter 3 Tbsp, softened
- ¾ tsp salt
- 2 Tbsp sugar
Filling:
- 10 hot dogs
Egg wash:
- 1 egg beaten
- 1 tsp milk
Instructions
Prepare tangzhong:
- Place milk and the bread flour in a small saucepan. Whisk until there is no more lumps. Cook this mixture over low-medium heat until it reaches 65 C (149 F). Remove from the heat and cover with a plastic wrap, touching the tangzhong so the skin won't form. I highly suggest using this the next day instead of using it on the same day. Store this in the fridge
Prepare dough:
- Mix all the dry ingredients together in a mixing bowl. Make a well in the center and pour in the wet ingredients and the tang zhong you made earlier. Use a dough hook attachment to knead the dough until all the crumbly dough starts to come together into one mass, it may take about 2-3 minutes for this to happen. Don't be tempeted to add any liquid. You may need to stop halfway and scrap the dough off the hook and the sides of the bowl and knead again several times
- Once it comes into a dough, stop the machine. The dough will not be smooth, don't worry.Cover the dough and let it rest for 20 minutes. This is an important rest that bakers refer to as an autolyse (though in our case it's a short one. Read my post above for detail)
- After the rest, turn on and knead the dough again and knead for 1-2 minutes until it is a bit smoother. Then add the salt and sugar into the dough. Continue to knead until the dough is relatively smooth. You need to stop and scrape the dough off the hook and the bowl several times during this process. I promise it's worth the effort!
- Once you have a smooth dough, turn the machine back on again to knead and gradually add in the softened butter a bit by a bit. The dough will turn into a REAL sticky mess again because of the butter, just keep kneading and stop halfway and scrape the dough off the hook and bowl again and continue to knead until the butter is absorbed by the dough. IT WILL HAPPEN, don't worry! DO NOTbe tempted to add any extra flour. You will get a shiny smooth dough that is very elastic. I promise!
1st proofing:
- Place this dough in a lightly oiled large bowl, cover it with a clean and damp tea cloth or plastic wrap and let it rise at a warm place for about 1 hour. It may not double in size, but it will puff up some for sure.
Shaping:
- Line your baking sheet with a parchment paper. Punch the dough down and divide the dough into 10 smaller doughs. Cover these doughs loosely with a plastic wrap and let them rest for 15 minutes. Make sure you don't skip this part of resing the dough before shaping
- Roll each ball out into a long rod shape, about 7-8 inches long. Wrap the hot dog with the rod and tuck the end at the bottom and place on a baking sheet. Repeat with the rest. Keep them covered while you are shaping the rest
2nd proofing:
- Let the shaped dough proof again for another 40 minutes or until they are almost double in size again. Mix the egg with milk. Brush the top of the dough with egg wash
Baking:
- Preheat oven to 350 F and pop it into the oven (3rd rack from the top) and let them bake in the preheated oven for 15 minutes or until golden brown. Move them to the cooling rack to let them cool down


29 comments
Great recipe. I made these as just buns and they turned out perfect.
I’m glad you like them 🙂
I made these twice this week and doubled the recipe! These have been a child hood favorite for me and my kids. I would always buy them at the Asian bakeries in the Bay Area. But a lot of them closed so I’ve been looking for a recipe and these are the best buns I’ve ever had. So easy to make. I even tried them with hot links. My kids love them. Thank you I’ll be making your custard buns tomorrow .
Hi Raquel, I’m happy to know that you guys enjoyed this. And yes, they worked great with hot links too! Hope you like the custard buns too!
I followed the recipe to a T. My dough was sturdy and easy to work with. To my surprise they puffed up beautifully in the oven! I guess I’ve gotten used to working with sourdough and generally wetter doughs so I was surprised at the end result. My family really enjoyed these. I’ll definitely be trying your other recipes.
I’m glad it turned out great for you and your family enjoyed them 🙂
My husband – who doesn’t like “plain white bread” – couldn’t get enough of this sausage roll. He ended up eating my son’s share and I had to make them again! He was surprised by the soft and flavourful “plain white bread” 😂. And now he wants me to make more. Thank you for sharing the recipe Marv!
Hi Sue, I’m so glad the “plain white bread” won his vote ha..ha..! 🙂 You are so welcome and thank you for your all your feedbacks as always 🙂
I have made the hot dog using your dough and method and they are good, without a dought the second time I added a twist. I put a line of dijon along the hot dog and wrapped it with a cheddar cheese slice before wrapping with the dough. I thought it was a nice touch it taste very, very good. I have used your dough with many different sausages and they all came out good and disappeared very quickly..
Hi Larry, I’m happy to hear that you like it. What a great idea to add dijon and cheese. I bet they tasted even better 🙂 The dough is really versatile for any bread/buns recipe. Thank you for your trying and your feedback 🙂